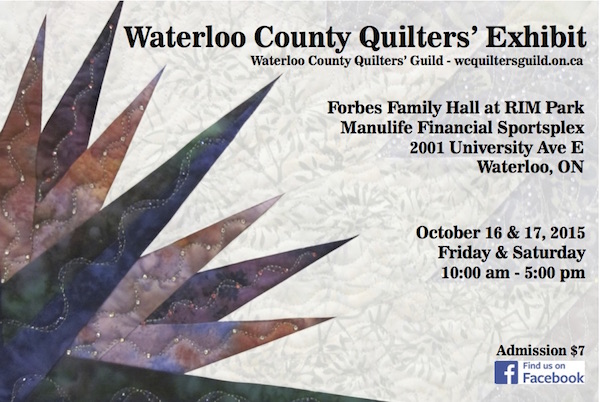
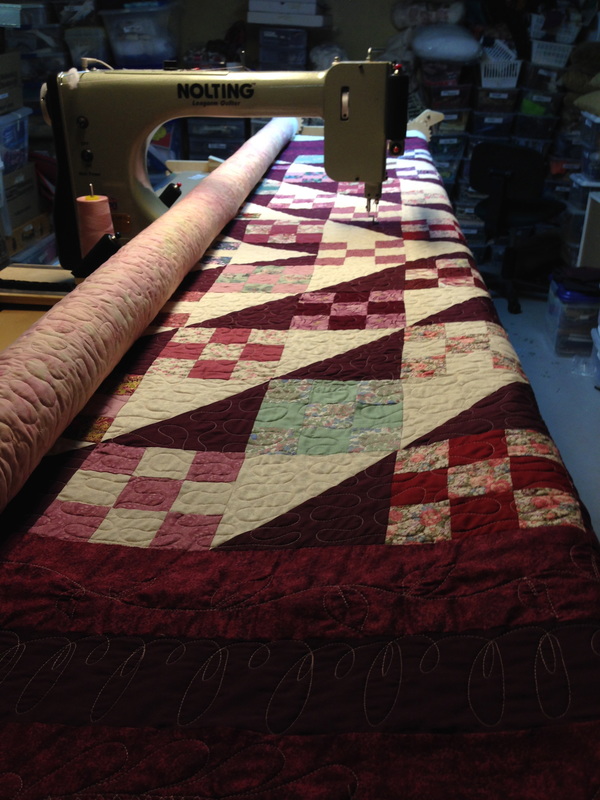
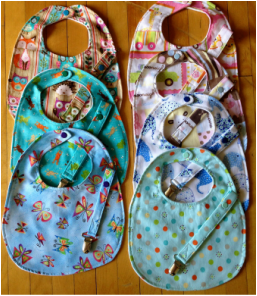
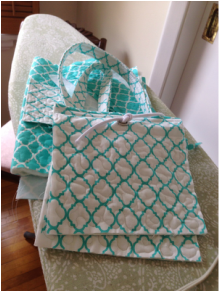
 This week was a shorter week in terms of productivity as a result of Thanksgiving but still productive. I finished a customer quilt and scheduled 3 more quilts. I also delivered 2 of my quilts to the Waterloo County Quilters Guild Show that is running today and Saturday, if you are in the area, please be sure to attend. There is so much talent in this area that sometimes it astounds me. My quilts, “Reaching for the Sun” and “Northern Cardinal” will both be shown there. Of course in addition this week, I had some final details to complete to get these quilts ready! Who does not work under pressure???? I promise to post pics once I get to the show on Saturday. Yesterday I drove into Toronto to pick up my daughter as I am assisting her with an OCAD University Thesis project involving thread painting,modern trapunto and domestic roles, see pic below. I will have to let you all know when her show is in the spring and show more pictures of final work at a later date. So proud of her, she is working very hard. 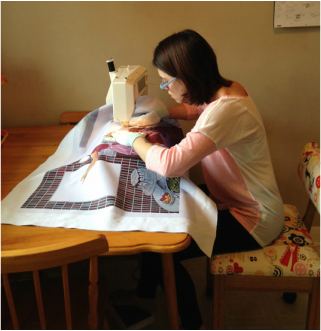 Today, I also got back to my preparations for a craft show I'm helping my niece with and completed 9 baby bibs/scarfs, they are lined with Minky and have Snapsetter snaps to attach at the neck ( I highly recommend these) . See pics below. 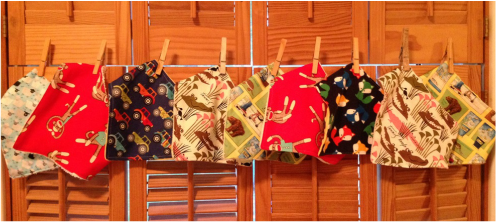 Have a great weekend! Please consider attending the Waterloo County Quilters' Exhibit, it will be sure to inspire!
0 Comments
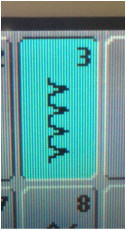
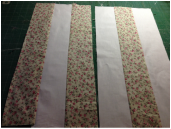
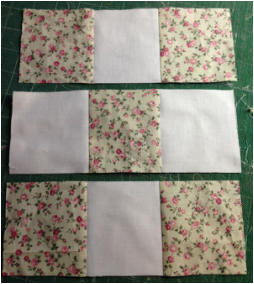
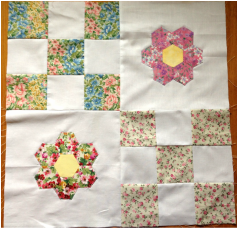 Respecting Tradition 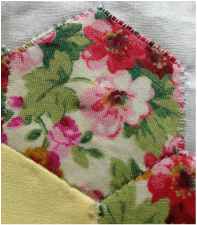 I have an addiction for making hexies, especially while travelling. I am often a bored passenger. I have many of the above flowers made by the English Paper Piecing method and have decided to make them into something. I decided to make a 9-patch mixed with the "grandmothers" flowers in keeping with the floral/traditional look of these little flowers. There is a great tutorial on how to English Paper Piece here My flowers are made from 1 3/4" finished hexes and they are made from floral scraps with all centres finished with the same yellow. The flowers were appliquéd onto my background with a # 3 Bernina Stitch, I believe it's a hemming stitch but I like the look of it! See photos. The backgrounds are 9 1/2" cut (9" finished) from solid white because I intend to show off my quilting once I get the quilt top done. The 9- patch blocks are made from 2 strip sets each with 3 1/2" cut strips
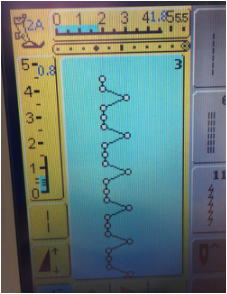 Stitch width 1.8 and length 0.8 using a 2A foot to appliqué the "grandmothers" flowers to the background Enjoy, try and send me photos, I would love to share them!
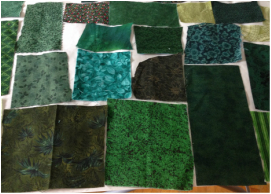
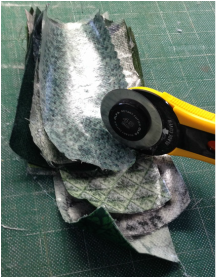
How to Make a Snippet Background I'm working on a challenge block and have to include many shades of green, so I have decided to do it "snippet" style or some may call it crazy pieced. This is my own method and I hope you gain some new knowledge from it! Step 1- Prepare a background fabric from muslin or inexpensive cotton as you will not see it in the final project. Iron it smooth. My background is 18" x 18" square but this method would work as a background for any size. Set this aside. Step 2- Choose many pieces of fabric for the snippets, I found I used more than I thought because the fabric overlaps and it gets used up quickly. The pile below represents 35-40 pieces of greens- they are anywhere from 2 x 2" to 6 x6" and very scrappy. 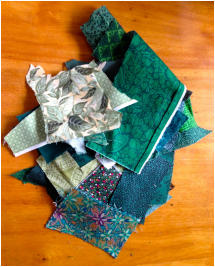 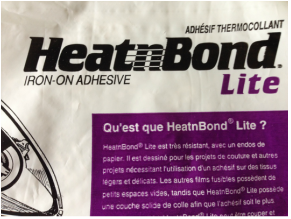 Step 3- Get out some fusible web, I am using Heat and Bond Lite and the reason for this is, it is heavier than other "light" fusibles and therefore with the overlapping process, I will be sure my fabrics are well fused. The manufacturers description of this is as follows: "Description: This heat activated adhesive has the strongest bonding power of any lightweight adhesive you can buy without adding extra weight or stiffness.
 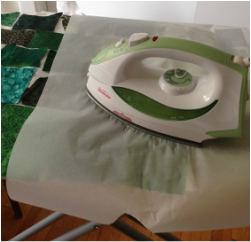 Step 5- Using a hot iron on cotton setting and lay either parchment paper or a silicon pressing sheet over your fabric (to protect your iron from the glue). Press down first directly and hold for 5 -10 seconds in all areas and then once fused, press the entire fused section of green with a gentle sweeping motion. Step 6- Once cool remove each piece of fabric from the fusible web sheet paper backing and trim all the edges so there is no fusible on the edge of each piece of fabric. Pile these fabrics in 2 piles . Using a rotary cutter ( with an old dull blade so as not to ruin a new one) you will be cutting these piles into "snippets". These pieces are a maximum of about 1.5", they are irregular shape cut randomly.
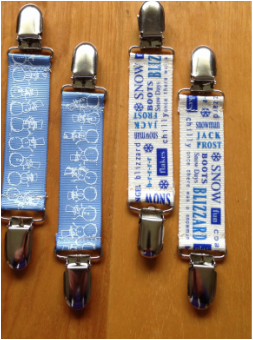
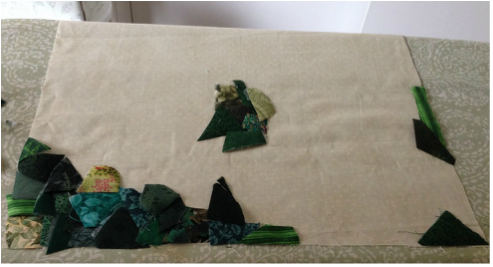 Step 7- Fuse the fabric snippets, fusible side down to right side of background using a hot iron. This takes a bit of time as you need to place each piece, filling in any gaps and overlapping where necessary until your entire background is filled. Again use a pressing sheet to protect your iron and press as you go so that your pieces are carefully and completely fused. Step 8- Admire your finished background and enjoy! Check back next Tuesday October 20th when I will be discussing what I will be doing to add "sewing" and thread painting to this block. I hope you try this and have as much fun as I did :) 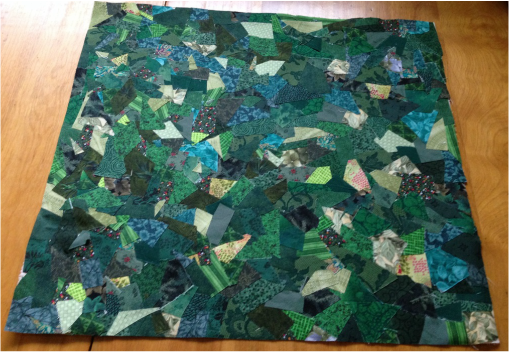  This could be a very easy project just perfect for a weekend afternoon! The weather is getting colder and the little ones will be starting to wear mittens and of course loosing them. The Mitten clips below might be a solution to the problem, they make up in 2.27 minutes per set (I timed myself, ha, ha!) and they also would be great stocking stuffers. Ok I will let you get past Thanks Giving first! 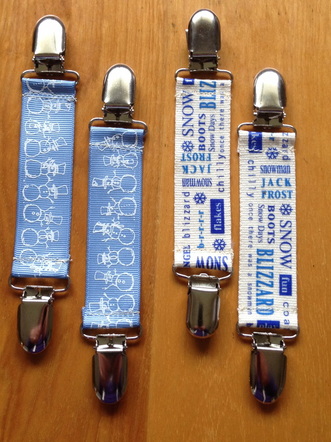 How to make them?
Happy Sunday, Happy Thanksgiving, I hope you are enjoying your weekend!!
 TGIF stands for "Thank God Its Finished" I am finished with:
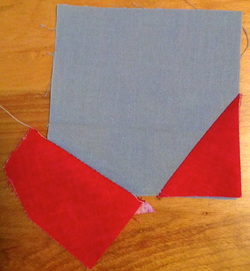
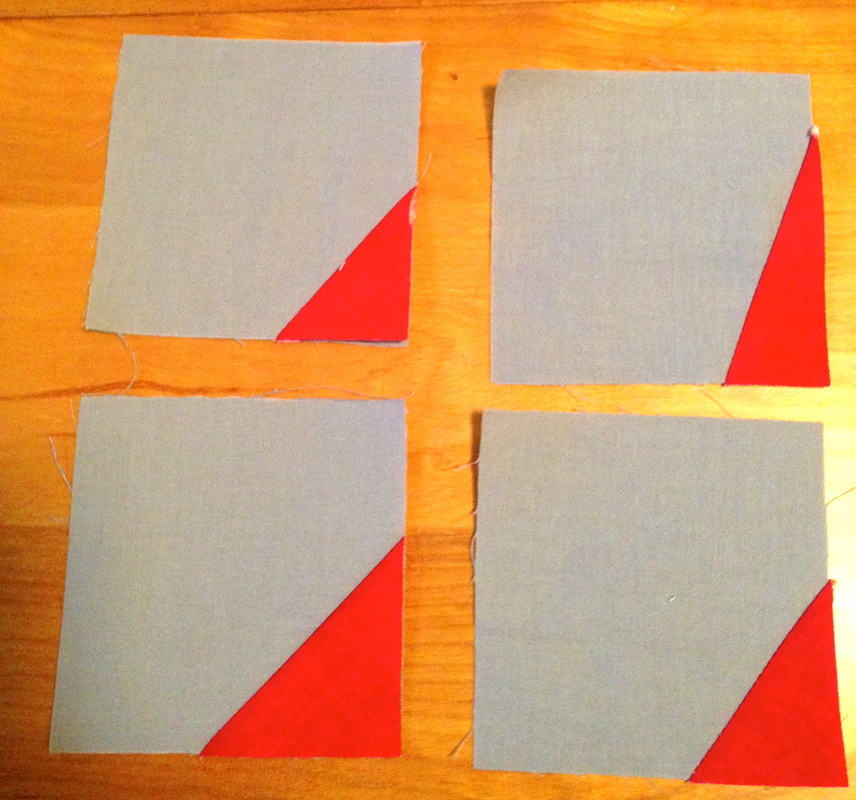
Well the answer to this is I am helping my niece Ashley out with a craft sale in November - all of these items (with the exception of the quilt) are Quiltingintheloft original designs. Therefore, once I get the patterns completed, they will be available in the shop section, some free patterns and some at an affordable price. I hope you all have a wonderful weekend and....... Happy Canadian Thanks Giving !! The block I am discussing today incorporates a 9 1/2" block and a 6 1/2" block within a 12 1/2" block. So now I have got you thinking, if you do the simple math 9.5 + 6.5= 16 how can this work?? Please look at the picture below:  This is a funky stars block, I am using creative expression to make it this way (with very wonky points). Yes a 9.5" block and a 6.5" block can fit into a 12.5"- if they interlock like this design. Please look at the diagram below for layout. 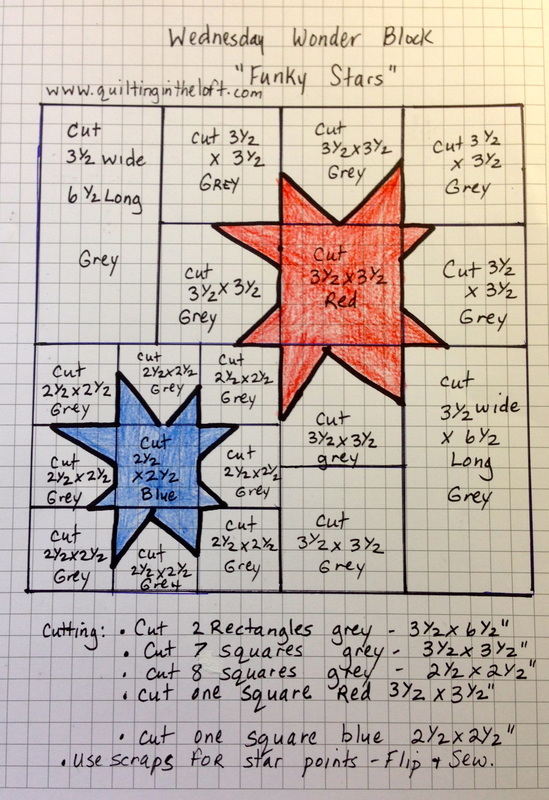 For instructions on how to construct see photos below and refer to layout above:
 Step 2- Do the same for the blue star & lay out all 2 1/2" sections, lay out the red star 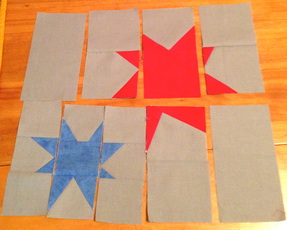 Step 3- Lay your entire block out and sew individual segments together as shown above Step 4- Sew all top rows (red star and grey) together from left to right, sew all bottom rows (blue star and red star bottom) together from left to right
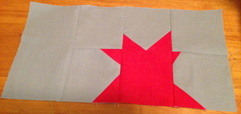
I hope you are inspired to try this block, just Imagine it with other block designs with the same measurements. Please send me your photos to our contact page if you try this block and I will be happy to post it!
Please check back for more Wednesday Wonder Blocks, so much fun! If you are enjoying this please like me on Facebook feel free to Pin my posts to Pinterest or let me know what you think by commenting below. Happy Wednesday, I hope yours is wonderful! 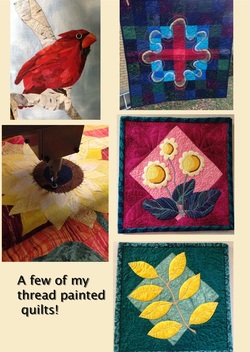 Let's Talk Machine Needles for Thread Painting Today I thought it would be beneficial to readers to talk about the needles I use for thread painting by machine and more importantly why I use these needles. I use Microtex (sharp) Needles and mostly a size 60 for thread painting. The reason for this is they are very sharp as the name suggests. The Microtex (Sharp) style of needle has a thin accurate point that is ideal for sewing batiks. Designed to be used with micro fibers, polyester, silk, foils, artificial leather, and coated materials such as laminates.Very thin acute point creates beautiful topstitching and perfectly straight stitches for quilt piecing when precision is paramount. 60/8 size is for really fine fabrics. Hence the reason I use them with quilting cotton and fine embroidery thread. 70/10 size is for fine to medium fabrics and is ideal for piecing. 80/12 size is for medium fabrics and is ideal for piecing and general sewing. Sizes available: 60/8, 70/10, 80/12, 90/14, 100/16, 110/18, Assorted- to get more info look here Note: If my quilt art that I am thread painting gets very thick, sometimes I change the needle to an 80/12 to avoid needle breakage. Generally, I find they are fantastic, don't break easily and do not leave large holes in my work. Also, you should be matching the hole of the needle you are using to your thread, so if you use fine thread like embroidery thread or monofilament, you should be using a finer needle. The needle world as I see it with thread painting!  Actual photo of thread packet 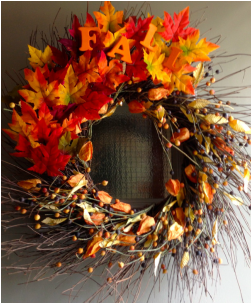 Hobbies are VITAL! I had a great weekend working on projects that inspire me. One was rather crafty and seasonal, a fall wreath for my front door and the others were of course sewing projects. I will be showing the sewing projects in later blog posts this week. I reflect today on what made this such a great weekend? It was therapeutic for me because I was able to work on projects that made me happy and I realize the value of my creative pursuits. I wish for everyone to have pursuits outside of work and family responsibilities and although not scientific, these are the reasons I believe that having a hobby or creative pursuit is important: 1) Creative hobbies are great ways to take a break from your busy life while still having a sense of purpose. You are still getting something done. 2) It promotes Eustress. Eustress: This is the type of ‘positive’ stress that keeps us vital and excited about life. For example, the excitement of a roller-coaster ride or making something new or reading a pattern, there may be challenges with it, but it is part of being alive and it's not negative. 3)Hobbies offer a new challenge. Hobbies break up routine and challenge you in new ways. They are not like work related challenges, they are more positive! 4)Hobbies allow you to be united with others. If you attend a guild or events related to your creative outlet like I did with the Waterloo County Quilters Guild - you meet friends who share common interests. 5)Hobbies provide an outlet for stress- so if you work, get in your sewing room and you will find that your work related stress is soon forgotten or the stress fades. 6)Hobbies promote staying present- when you are sewing or quilting you are focused, not worrying about the past or the future but undeniably in the present. It also keeps you up to date and current about trends. This is great because if you love your craft your mind is active, enthusiastic and responsive. 7)Hobbies have physical health benefits-Ok here comes the Social Worker in me!!! Happiness is correlated to hobbies. Studies have found that being involved in enjoyable activities are associated with lowered blood pressure, total cortisol, waist circumference and body mass index and that it can lower levels of depression and negative affect. Hobbies are good for your mind and body! (that is if you stay away from the treats at Guild Meetings!) Check out this article from Shape Magazine. So I encourage everyone to have a hobby or creative outlet and If you don't know where to start, ask a friend what they do as a hobby or google something you think might interest you. When I worked outside of the home in the past, it saved me from sinking down the stressed out rabbit hole! Happy Monday!----- and please make this week count on your happiness meter! |
Follow Me:
Welcome!Hi I'm Robin and I am a professional long arm quilter, pattern designer and teacher. I am passionate about all things quilty!  
  Categories
All

Sponsors
This blog contains affiliate links. This means that we endorse products.
We do receive rewards for these endorsements and this helps to keep this site alive and well. We support products which we believe are the best quality and to inspire your creativity! |


 RSS Feed