 March is National Craft Month, and one way you can celebrate is by honing your crafting skills! Craftsy has grouped complementary classes together that will help you in your learning journey. These bundles are now discounted starting at 50% off for the next few days. Hurry, the offer ends Sunday!
Check out which classes are bundled and on sale here Happy Saturday, I hope everyone has a great weekend!😊
0 Comments

Click on the link below to save 10% off at Keepsake Quilting and use the offer code. They also have a new SPRING online catalogue of great quilting and sewing supplies!
Happy Friday! TGIF!
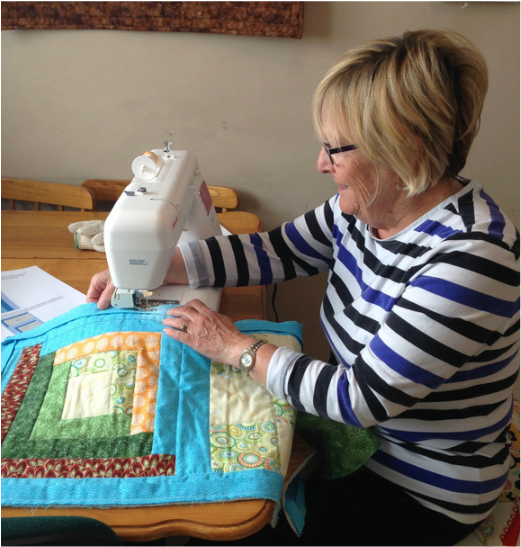 My student Joan quilting her sampler table runner Recently I was teaching my neighbour Joan my Quilting Foundations Course. This course consisted of 5 lesson with 4 classic quilt blocks, stitch in the ditch (walking foot) quilting and binding. I have to say it was very rewarding! I found teaching this course rewarding because:
but the most important reason it was rewarding is .....
Congratulations to Joan for "Graduating" from my Quilting Foundations Course!!!! See here final project below: 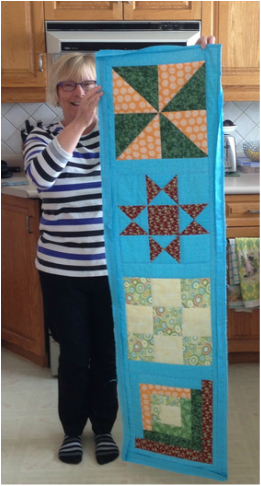 Joan's Table Runner with a Windmill, Ohio Star, 9-Patch and Log Cabin Block 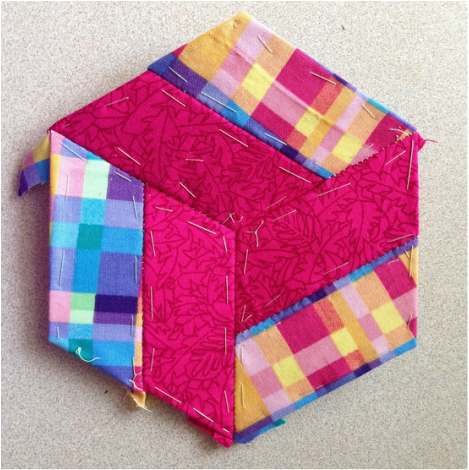
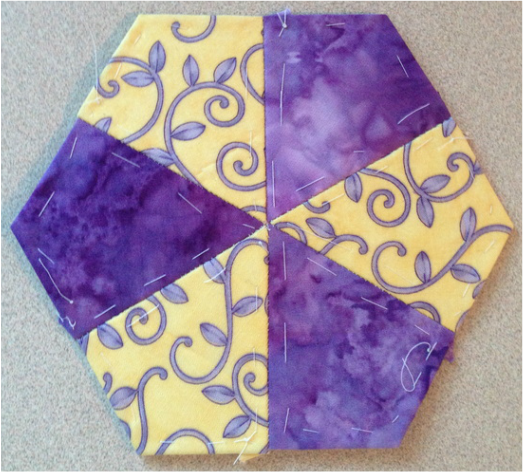
Block # 10 "Kelly"
The block above #10 "Kelly" has a little trick to it, I discovered. Tip: Make sure that when you make the individual parts that the right side of the fabric is making the shape in the right direction, I made it twice because the first time the right sides were going in the wrong direction!!! LOL
It is easy to do but I have directional issues for sure! The blog post about the origins of this quilt along is here, have a look and join us! If you would like to purchase the book, click on the book below 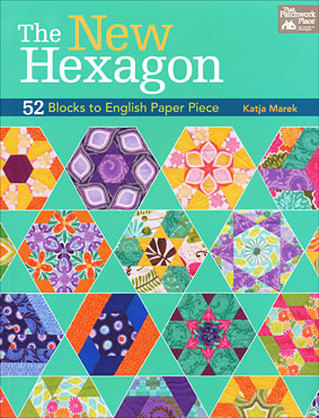
You can also get this book below:
Happy Wednesday everyone, I hope you are enjoying the mild weather! ☀️
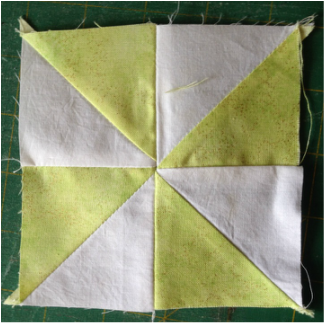 A pinwheel/windmill block- make 2 blocks all at once with this technique! This free tutorial will show you how to make many-(8 )-1/2 square triangle units like the ones above all at once. You can use these to make pinwheel/windmill blocks or any block involving a 1/2 square triangle Step 1: To make a Magic 8, first determine what size finished half-square triangles are desired. For example:
Determine your 2 fabrics, mine are lime green and white 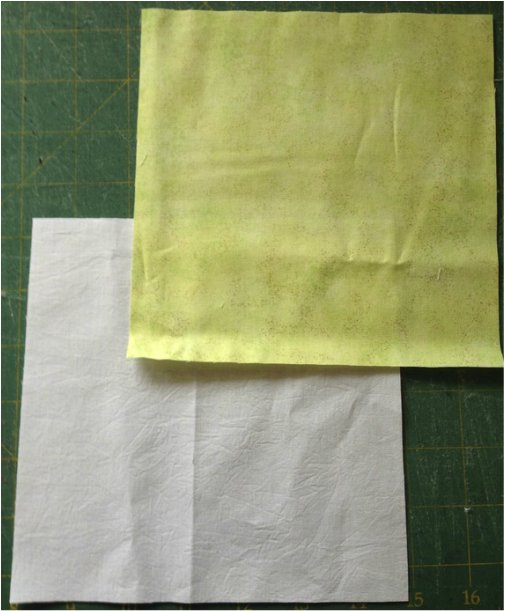 Step 3: With right sides together, draw two diagonal lines corner to corner. 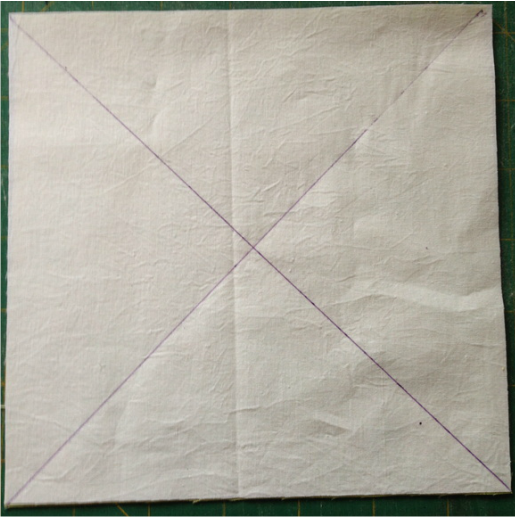 Step 4: Stitch a quarter inch of either side of both drawn lines. 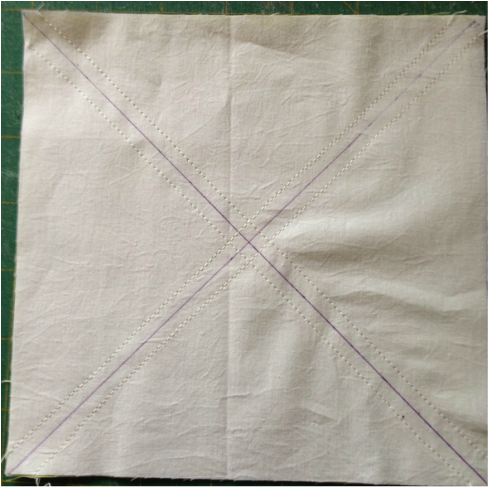 Step 5: Carefully cut apart with out shifting the stitched fabric square. There will be four cuts: Cut down the centre vertically, horizontally and then diagonally on each line you drew earlier Use a rotary cutter and ruler to make sure you are accurate 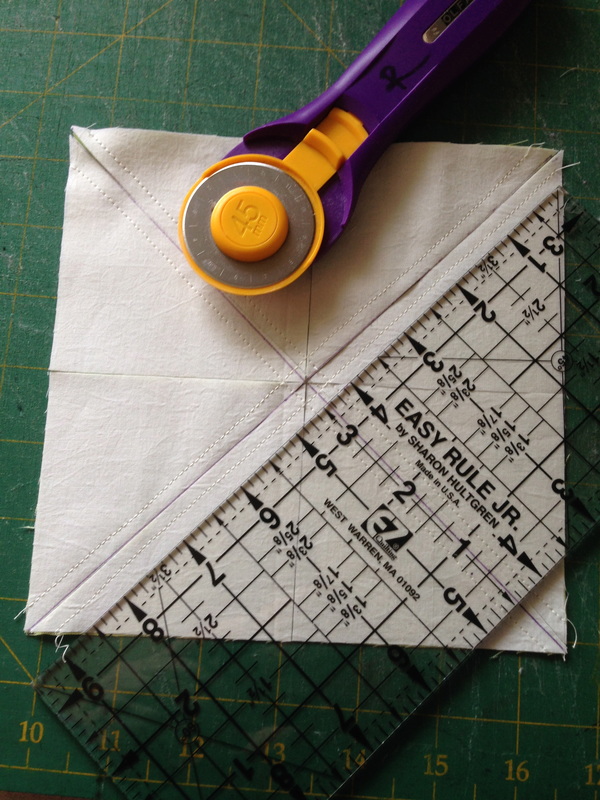 Step 6: Separate all 8 units and you will see you have 8- 1/2 square triangle units made like magic! 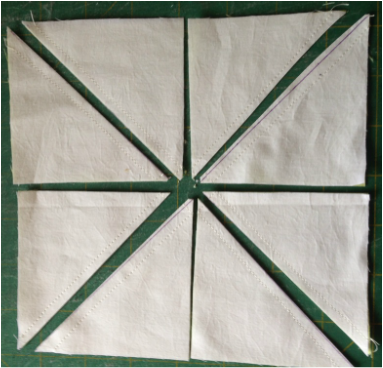 Step 7: Press towards the dark fabric and sew together like the below graphic and use pins to match points (recommended) 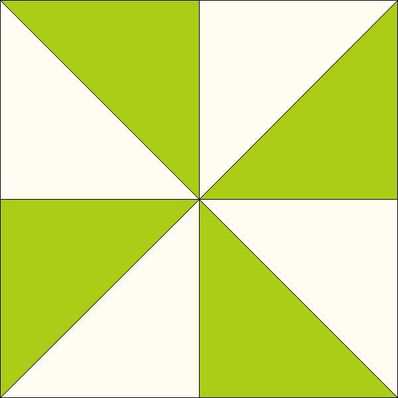 Step 8: Press connecting seams open to avoid bulking up the centre seam (recommended) 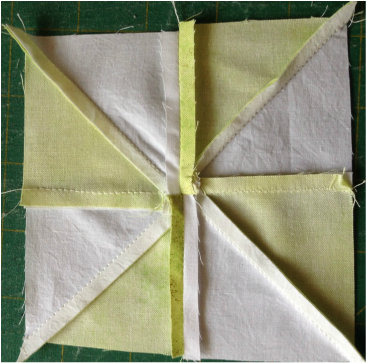 Step 8: Admire your efforts- I think this is the easiest way to make 1/2 square triangles! 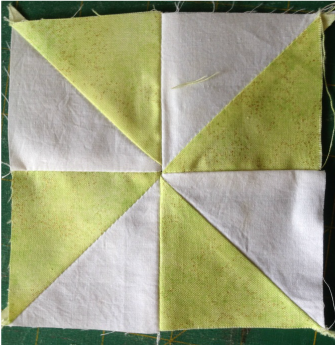 Now get busy and make a quilt entirely from the method above with pinwheels/windmill blocks LOL.
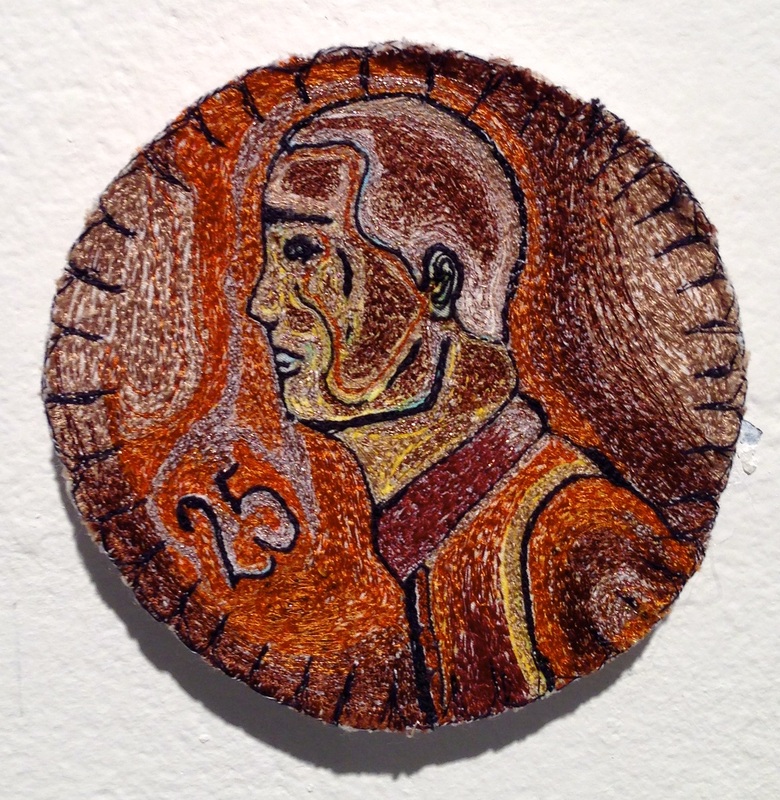
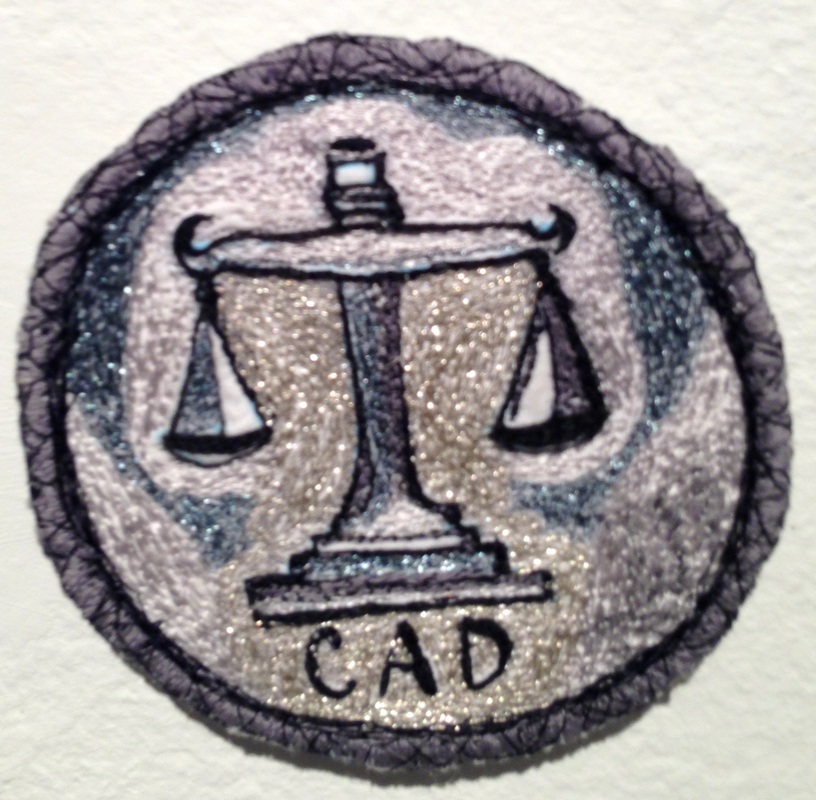
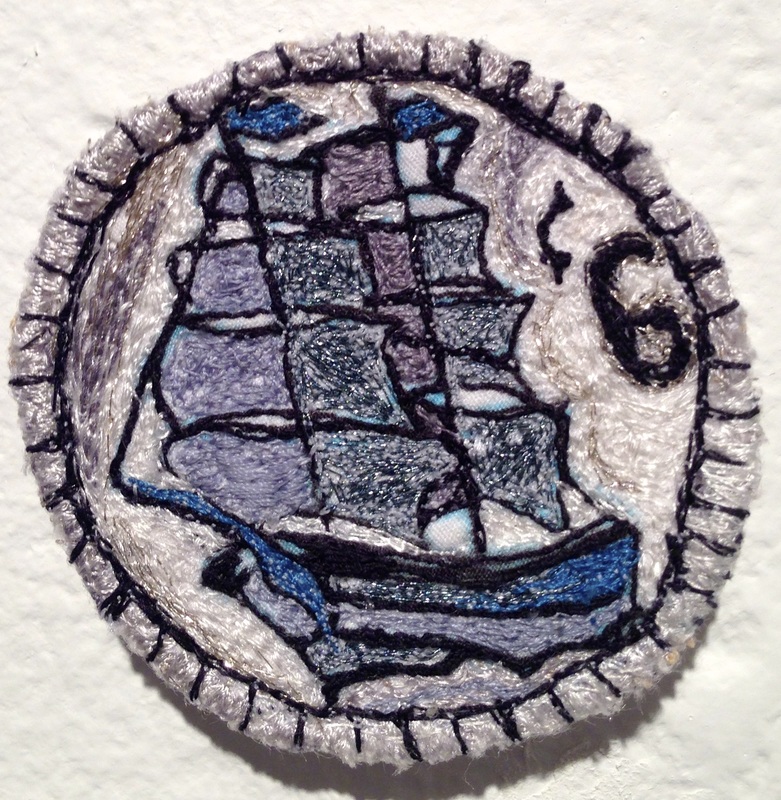
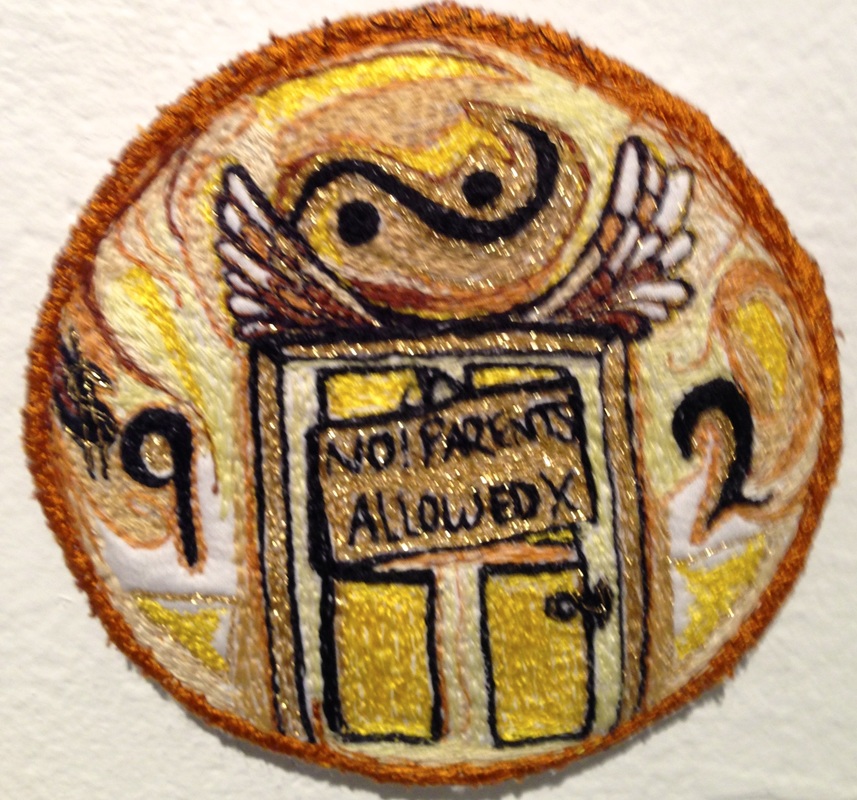
It would make a great summer quilt, don't you think? Send us pictures to share if you do! Happy Tuesday!😊 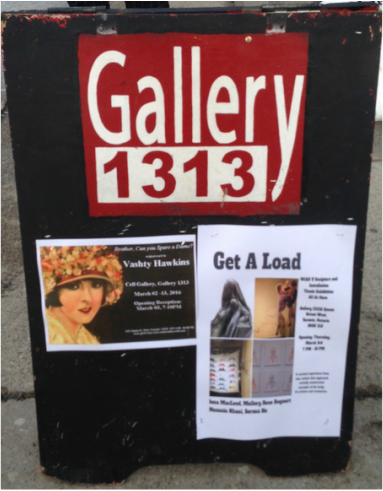 The placard advertiser outside of the gallery My daughter Mallory Rose Bogaert (remember this name because I believe she will be a famous artist one day) ...... I digress............. Mallory had her final art gallery show at Gallery 1313, Queen St W. in Toronto Thursday March 3, 2016 presenting her Thesis/Body of Work for OCAD University. The entire exhibit was called Get A Load referring as well to 3 other talented students who constructed their thesis with "Loaded" subject matter. This show is still on until Sunday March 13, 2016, if you want to see it, it is still up! Not only is Mallory a talented painter, she also recently took on thread painting as part of her repertoire and made this a focus of her body of work. I have to say she excelled and made us very proud parents. I know I am extremely biased but the praise was flowing for Mallory at her show (by other viewers than her family) . I do believe honestly she has some serious talent! To gain an understanding of her work, Mallory's artist statement is as follows: "My practice is based on past memories experienced in my childhood. My works capture these memories, and intern the viewer is invited to formulate their own reading and narrative around the work. These works are fabricated using manual thread-painted embroidery and other textile-based materials. Through the act of sewing and constructing these pieces the childhood memories are reconstructed. In my practice the materiality is literally and metaphorically mending" 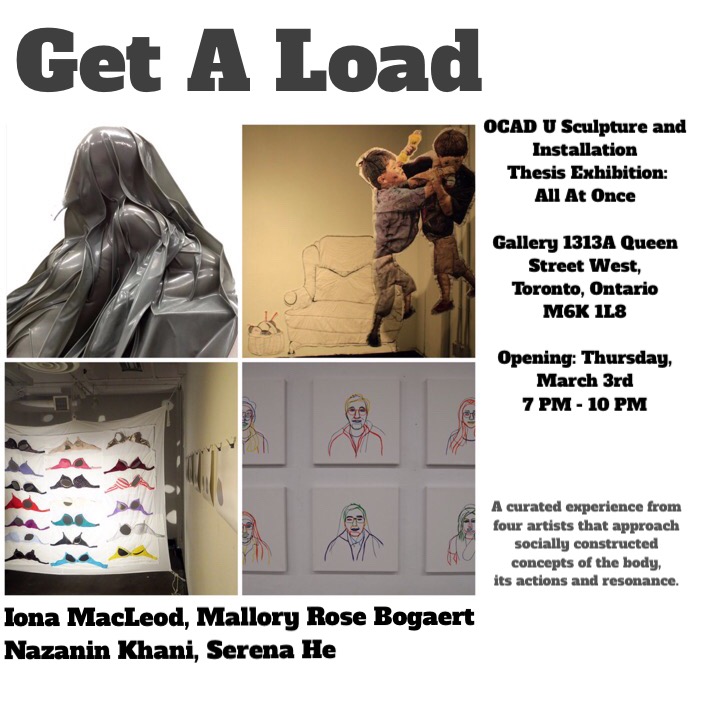 The above is publicity for the show Getting to the good stuff, some pictures of her work!!! Pictures do not do it justice, but I tried with my limited photography skills to do the best I could.  The Swear Jar, it is overflowing! Below it are thread painted coins The coins above were thread painted with lots of metallic thread and they shimmered. This is a humorous childhood view of the many times the swear jar had additions to it! 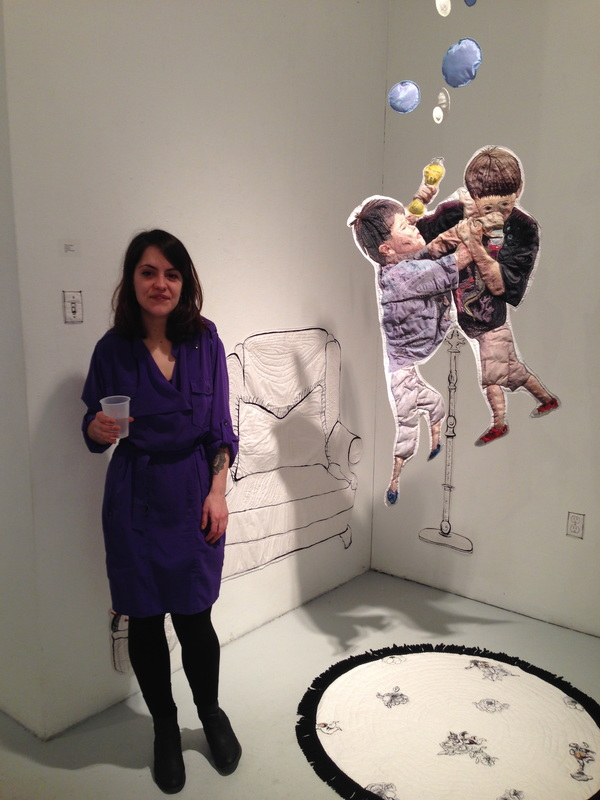 A close up of the "Soapy Boys Living Room". All objects in the room were sewn together, quilted and thread painted 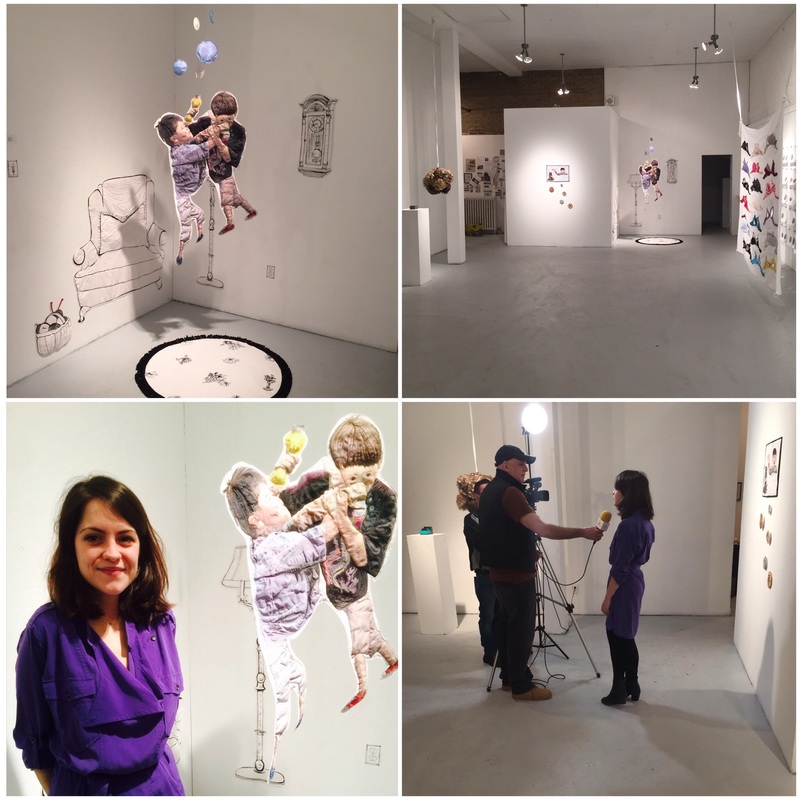 The gallery space, a close up of Mallory and being interviewed by the media 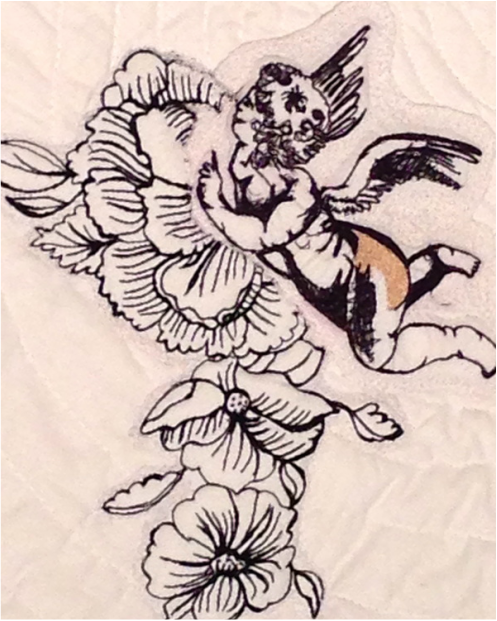 Close up of the thread painted and appliquéd angel on the rug that was also handmade/quilted 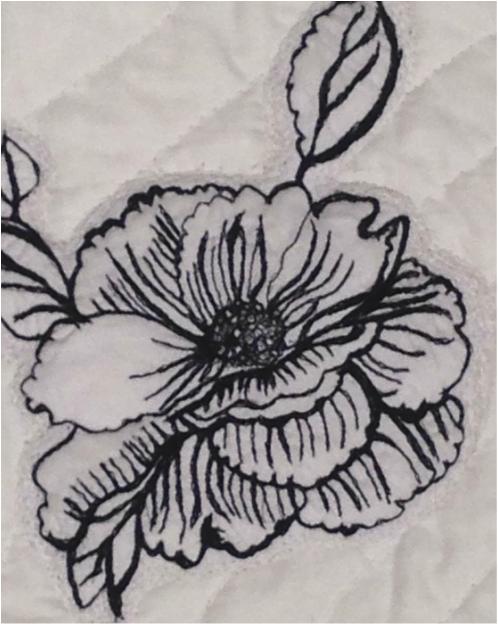 Close up of wild roses, there were many more on the rug! 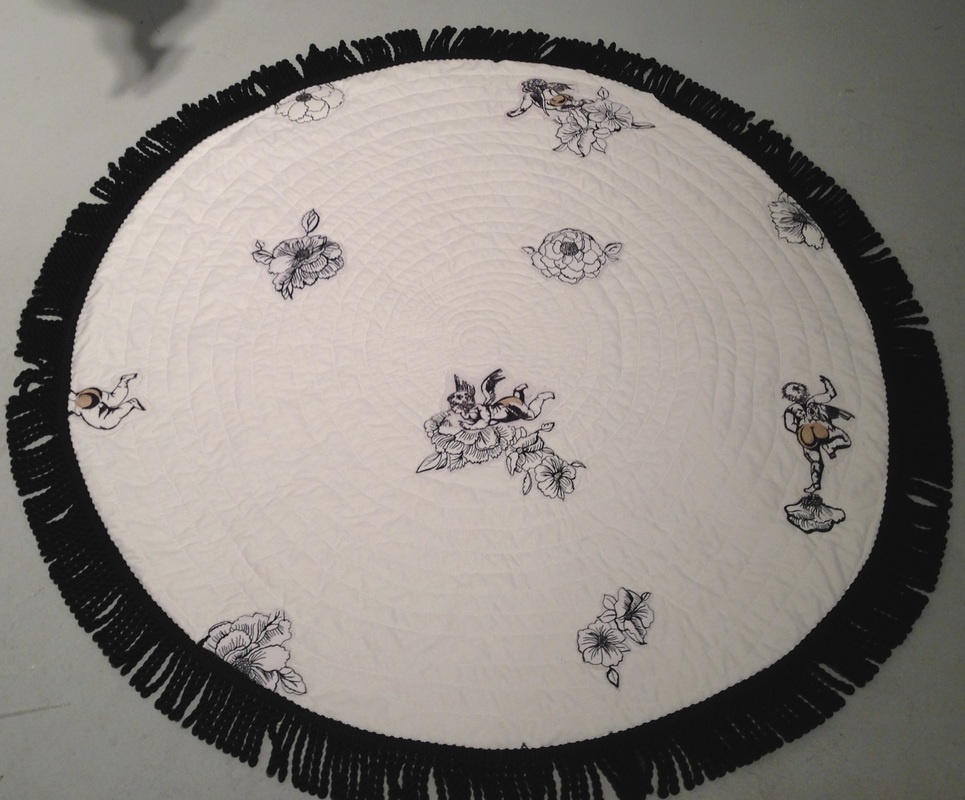 The Rug 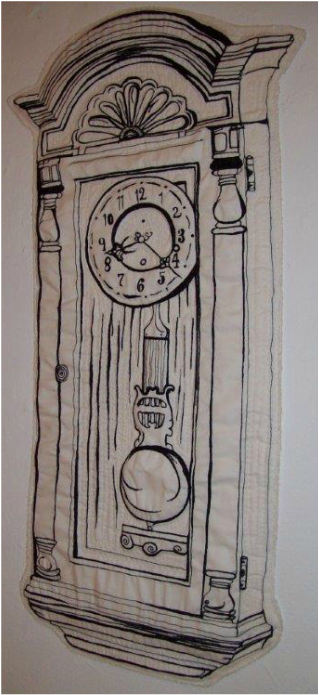 The grandmother clock 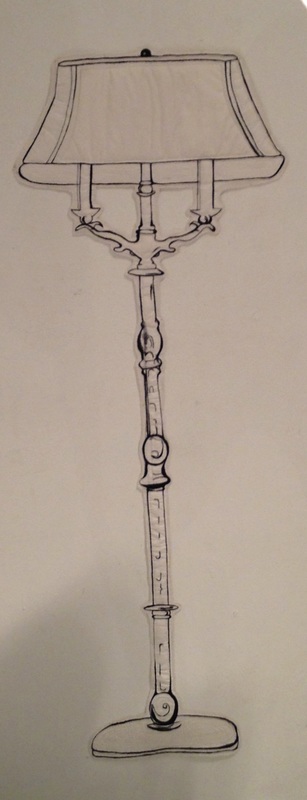 The Lamp 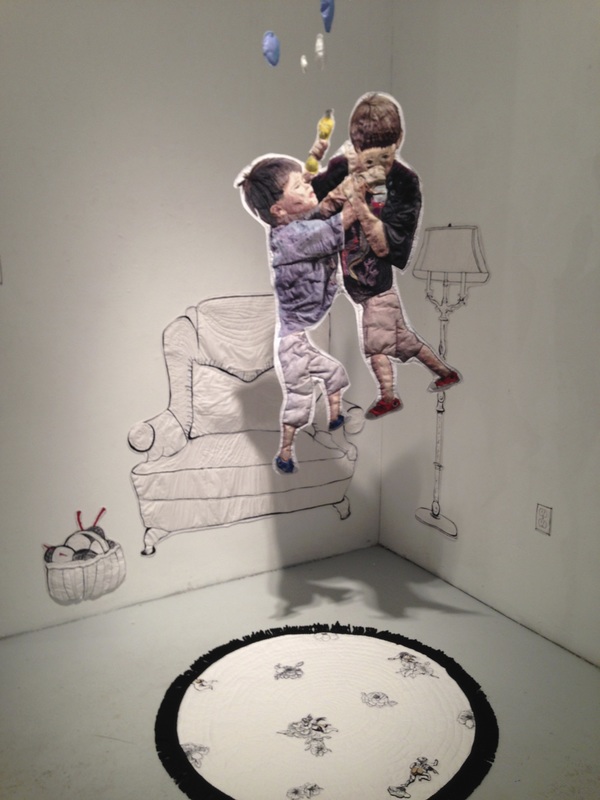 The room, sorry no closeup of the chair available It's hard to see but the bubbles above the soapy boys were like little pillows made from Chiffon, stuffed and satin stitched on the edge with Sulky Sliver Thread in an iridescent colour. 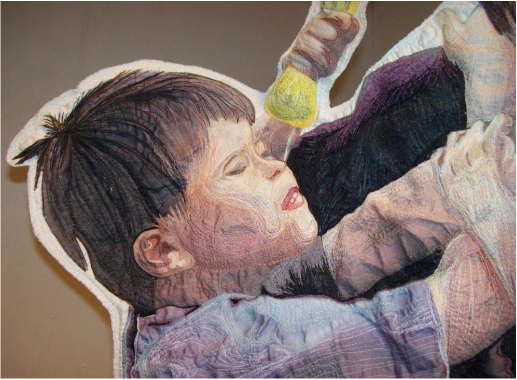 Close up of thread painted Soapy Boys face 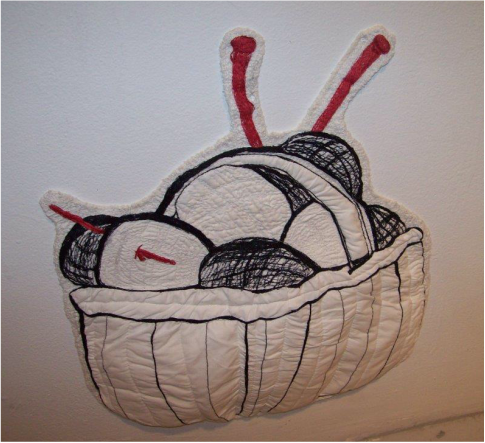 Close up of knitting basket This body of work involved not days, not weeks, but months of work since September 2015 and it showed. The day after the show I was amazed and I am sure in the days to come I will still be in awe at how much work was put into Mallory's final thesis for her Bachelor of Fine Arts. Mallory had significant challenges over the last 3 years believing that she could do such a well developed body of work. Mallory proved that she is strong, smart, hard working, organized and extremely resourceful and fully capable! Yes I do believe we have a Thread Painting Savant on our hands, I am admittedly biased, but I am extremely excited to see her art work to come! Congratulations to my beautiful daughter Mallory Rose Bogaert! 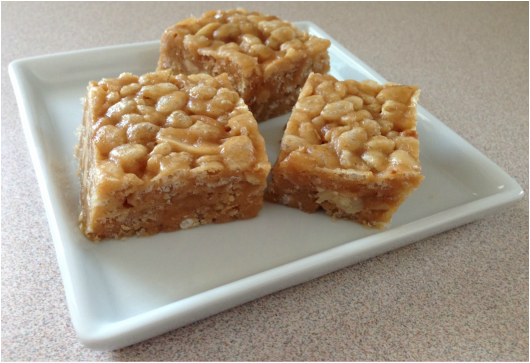 Great recipe, fast to make- 10 minutes maximum and so delicious, you will crave them!
What you will need:
 Block #9 Doris Hi everyone, we got slammed last night with lots of snow, so the block above should have snowflakes on it! BUT, I am still hopeful and using spring colours! This one was fun, minimal pieces and super easy to do. If you don't know what it's about and a new reader to this blog, check out the original blog post here. If you decide to "Quilt Along" with us check out the book below. If you would like to find out where to get the book, click on the book below. 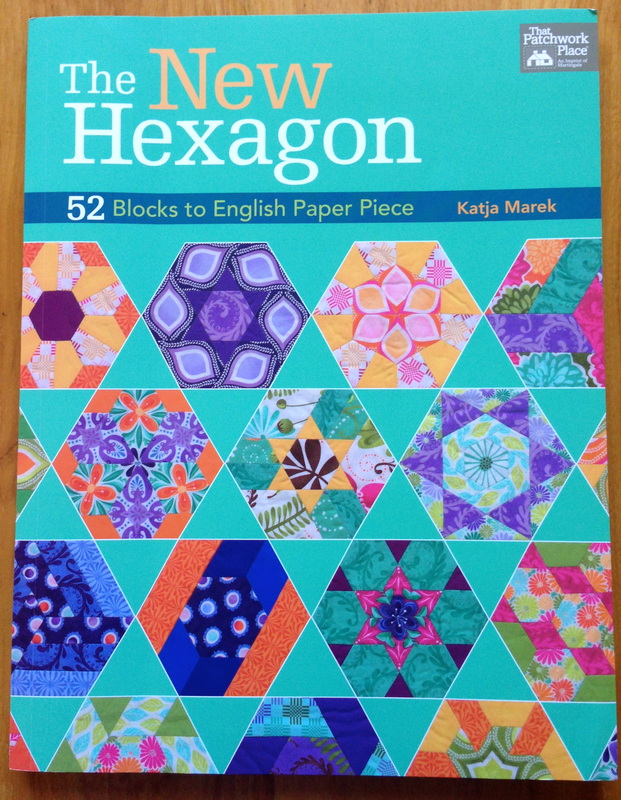 I'll be posting all of the 12 blocks competed to the end of March on the last wednesday of the month. Follow along to see our progress!
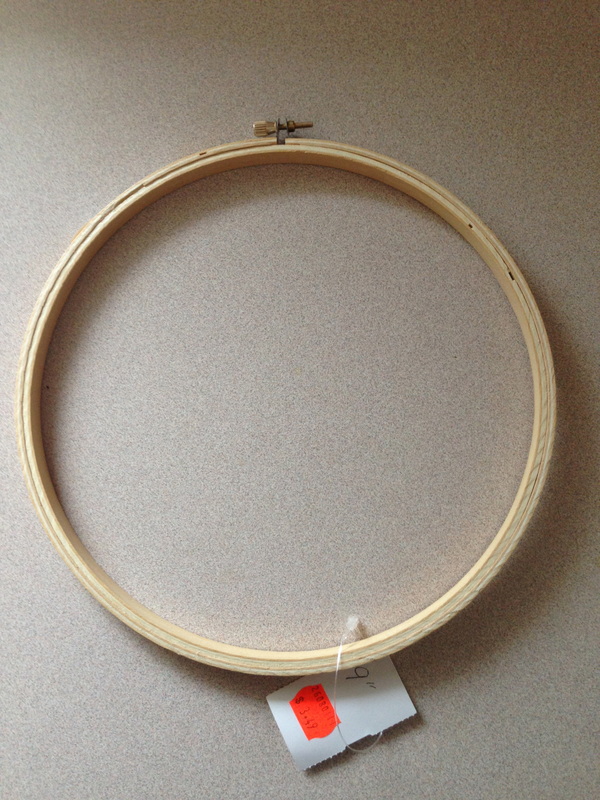
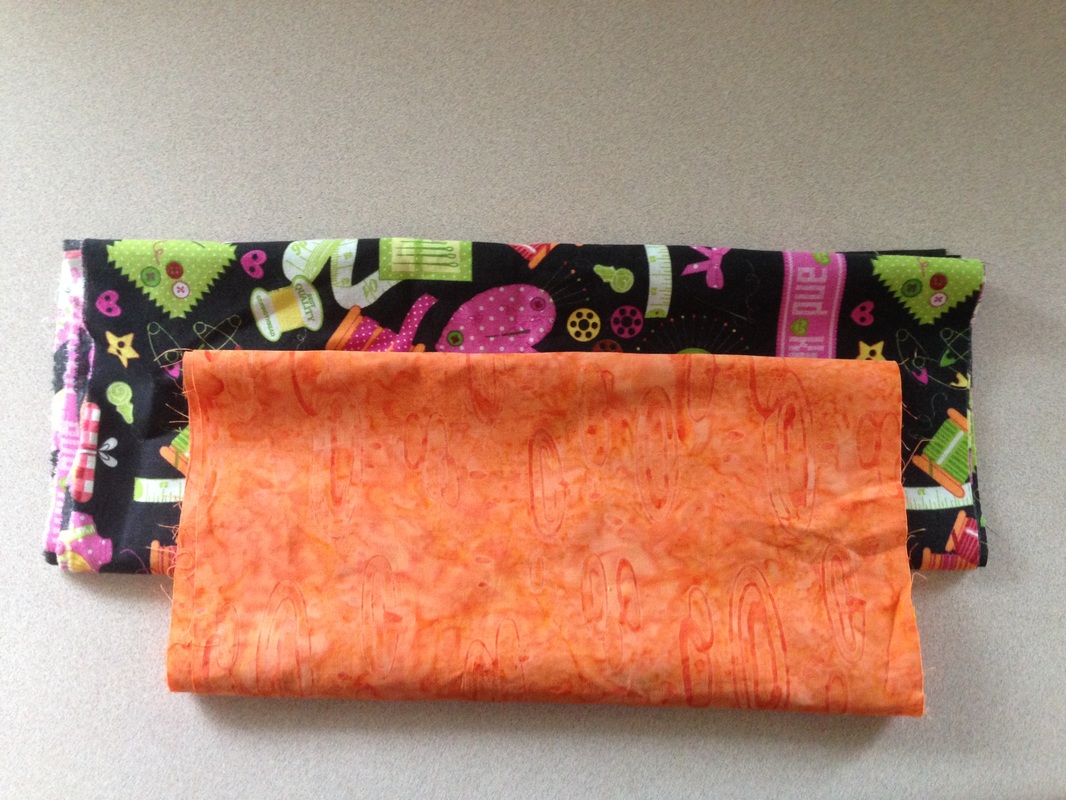
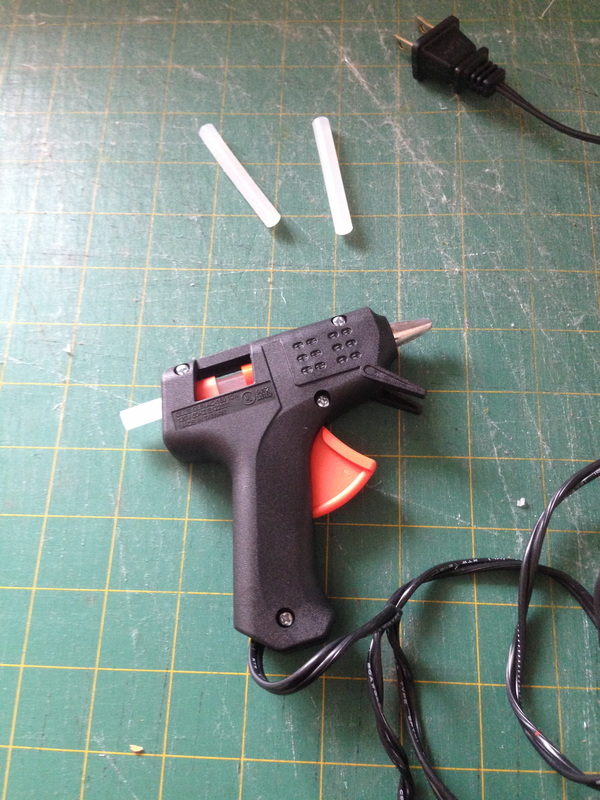
Happy Wednesday Everyone❄️😊☀️ What does an embroidery hoop plus fabric, plus a glue gun make? 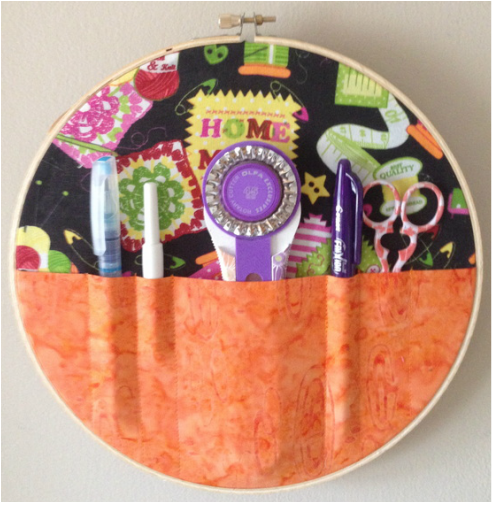 AN EASY DIY SEWING SUPPLY ORGANIZER!! No kidding! It takes about 20 minutes to make (after supplies are assembled). You can sew it or make it no sew- your choice! What You Will Need:
How to make it:
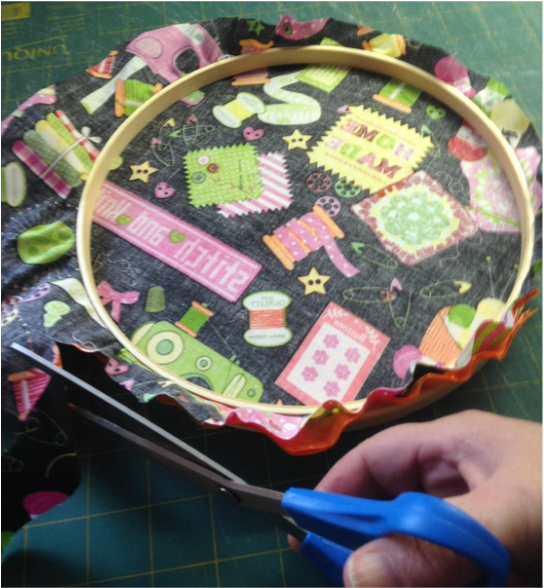
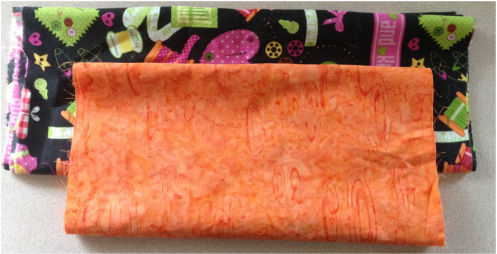 my fabric selection 2. Press your fabric and spray it with a spray starch to give it body. I used my homemade spray starch see this blog post here 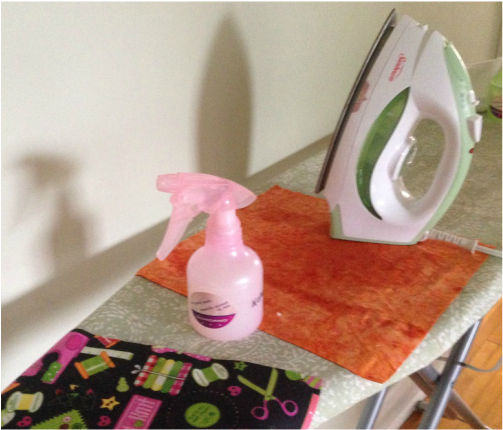 ironing with natural spray starch 3. Fold the fabric for the pocket in 1/2 wrong sides together, lay it right sides together on top of the background fabric and "Audition" it in the hoop for placement. 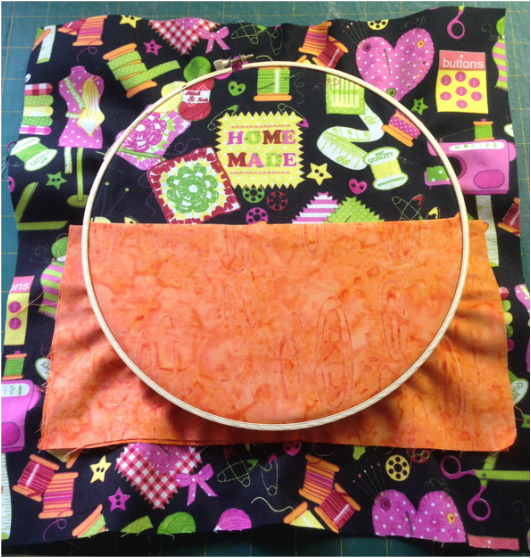 "auditioning" the fabric 4. Take your fabric out of the hoop and attach the fabrics together with glue or sewing ( I sewed a line just beyond the hoop pinch line to attach them) Trim away the excess fabric leaving about 2" beyond the hoop size to upholster to the back. Use pinking shears or a wavy blade to cut edges and avoid fraying.
5. With a ruler and Frixion pen mark lines for pockets and top stitch lines through all layers to make pockets for Rotary cutter, pens, scissors etc. My lines were 3" on centre, 3/4" and 1" . 3" for the rotary cutter 3/4" for pens and 1" for small scissors. If you did not want to sew, simply keep one large pocket with no small channel pockets, no top stitching required 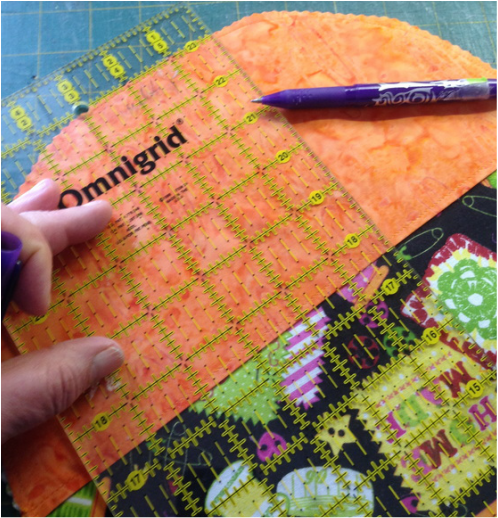 marking with a Frixion pen and a ruler  see lines on the pocket above 6. Once the top stitching of the lines are done, put it in the hoop and tighten the screw to hold in place, glue excess fabric tight to back edge with a glue gun. 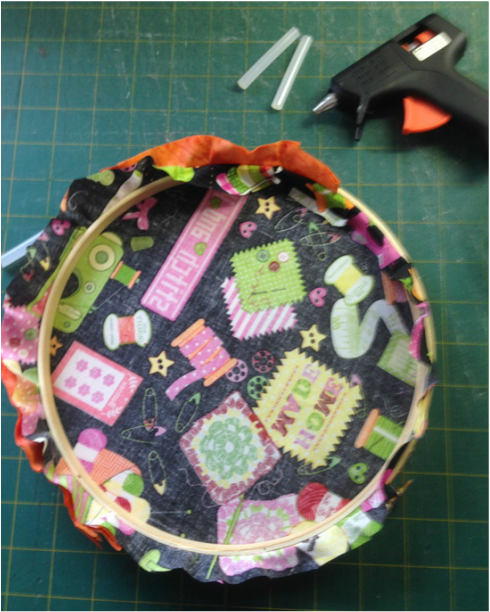 gluing the excess fabric 7. Place items to organize in your pocket and proudly display in your sewing/activity space and enjoy! 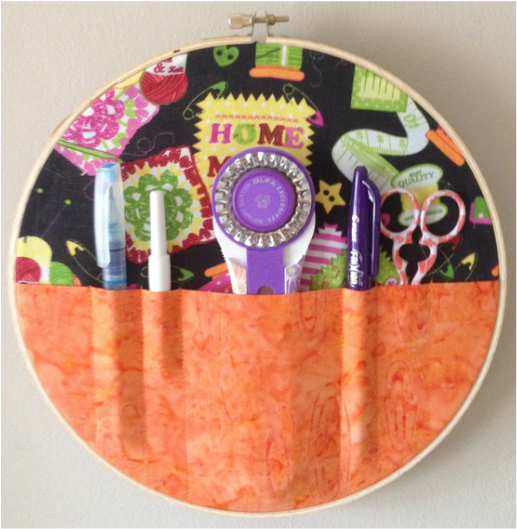 Happy Tuesday Everyone and Welcome to March!
I hope you try this very easy tutorial!! Send in your pictures to rlbogaert@gmail.com 😊 |
Follow Me:
Welcome!Hi I'm Robin and I am a professional long arm quilter, pattern designer and teacher. I am passionate about all things quilty!  
  Categories
All

Sponsors
This blog contains affiliate links. This means that we endorse products.
We do receive rewards for these endorsements and this helps to keep this site alive and well. We support products which we believe are the best quality and to inspire your creativity! |

 RSS Feed