|
Sharing my BERNINA Q20 long arm efforts today with the scrappy K Fasset quilt my youngest daughter put together in kinda random strip piecing to use up left over fabric from her wedding napkins. I finally was able to get it on my frame ! I hope she loves what I did to it. I also binded it by machine for her as she is busy with her 18 month old baby. I used a floral patterned pants and then reduced it in size and alternated large & small designs 8” &3 “ just to make it texturally interesting. I love that with quilting you can learn something with each project. Take a gander at my pics below: Happy Wednesday! 😊☀️🌸
0 Comments
Finish some gorgeous seams with BERNINA Feet #'s 70 & 71 Lap Seam Feet on sale for July 1-31 or until supplies last - check them out at your local quilt shop. Hi there and Happy 4th of July for all my American friends & relatives!
Below is a sneak peak picture of an article I have written on the BERNINA International Blog & that will be posted July 14, 2024 on www.blog.bernina.com/en A few hints : it's a free project tutorial, using decorative stitches with my BERNINA 790 PRO. I will leave you in suspense for the rest, check out the blog post, more info to come! I held another small Quiltingintheloft Studio class recently where we worked on the Enclosed Zipper Bag and ended up learning how to attach a zipper bag into the lining of the actual bag. This created 3 interior pockets. It also included using a lobster claw as a unique closing fixture. I quilted my fabric up on the BERNINA 790 PRO. You can use the ZIPPER FOOT #4/4D designed to stitch next to zipper coils, this foot requires the use of a far right or far left needle position. There is no problem at all going through thickness of fabric with this machine. It handles it all smoothy. Some pictures to date from the finished bags from the day long workshop are below:
Are you using some or any of your decorative stitches on your sewing machine? If your thoughts are a bit vague or it's a no on this subject then this blog article is written just for you and the CREATE Wall Hanging might be just the project you are looking for. It's my sincere hope that you will start exploring all of your sewing machine's potential and why not start with decorative stitches? Have a look at my blog post here It's entitled Create this Wall Quilt With Decorative Stitches There is a free PDF pattern download for the petals in my shop page here Also, check out my video below for even more instruction. It's a great project for your creative space! Happy Wednesday! 🌷😊☀️ Whew ! Do I have a story for you. I wanted to use the Creative Grids Pineapple Mini Ruler for a class to teach the Pineapple Sizzle Tote with my smaller private class at Quiltingintheloft Studio. I though I did not have the ruler and so I ordered it from a mega site ( I think you may know this site). Turned out I got a very bad knock off and waisted time and money.
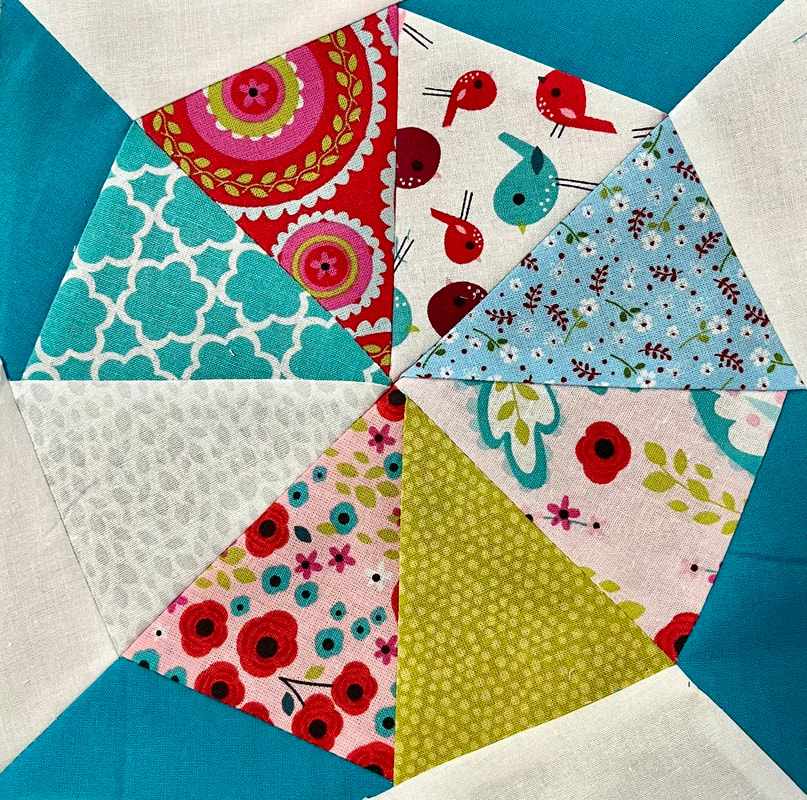
Moral of the story, order direct from the source or from a reputable local quilt shop! Boy did I learn a lesson. Turned out as well, that I already had this ruler lol. I demoed on my BERNINA 790 PRO and it went through the fabric thickness & strapping like the "PRO" it is! It was a technique class to learn/teach how to use the pineapple ruler and using the Cut Loose Press Pineapple Sizzle Tote Pattern, The student projects to date turned out great. See below: Gosh what a gorgeous week, I hope you have time to be outside along with some sew therapy inside. If you love paper piecing or are afraid of it-- check out my blog post here for a refreshing take on "no tear" paper piecing and this may be just what you want to try this week, fresh spring fabric and easy piecing!
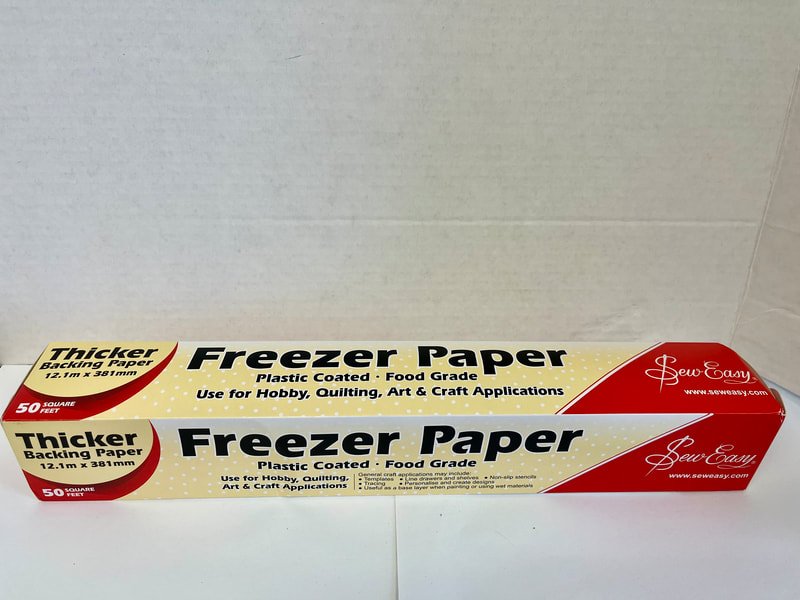
I'm getting into the magic of no tear paper piecing today at www.quiltsocial.com. Using the Clover Roll & Press and Sew Easy Freezer Paper. Check out the post here
Today @quiltsocial my blog article about how to print patterns on freezer paper from your home printer with Sew Easy Freezer Paper. Check it out here The best method for paper piecing with no tearing from fabric at the end! Happy Tuesday!
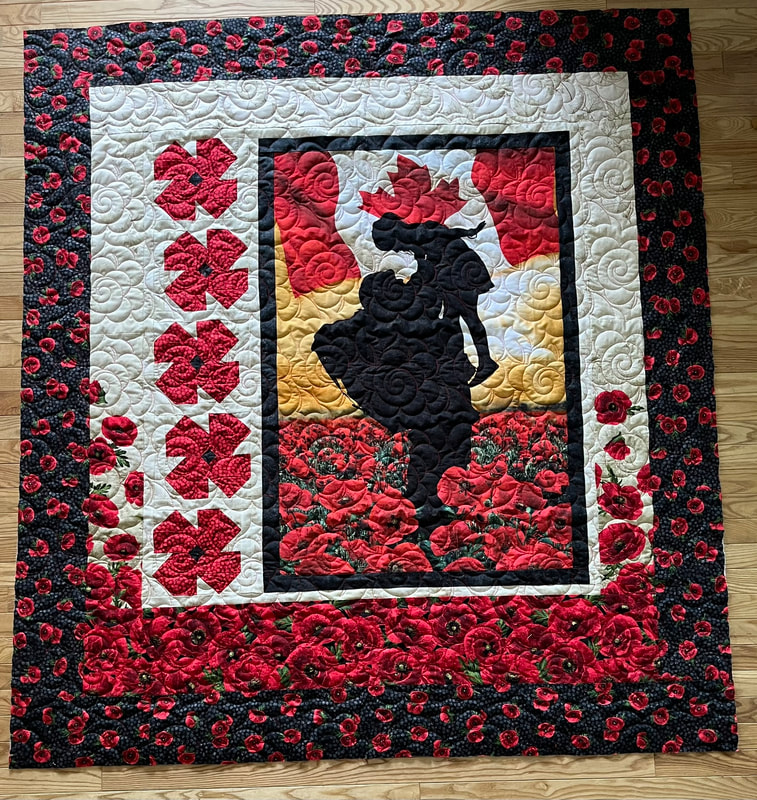
Quilt #12 for 2024 is a "Remembrance" quilt that apparently will be hung in a school. It is my customer's quilt and I quilted it on my BERNINA Q20 with Qmatics (computerized quilting) with the design Camelia which kinda looked like a graphic poppy. I was very happy with how it looked on the quilt. I think my customer was too. Have a great day! |
Follow Me:Welcome!Hi I'm Robin and I am a professional long arm quilter, pattern designer and teacher. I am passionate about all things quilty! Categories
All
Sponsors
This blog contains affiliate links. This means that we endorse products.
We do receive rewards for these endorsements and this helps to keep this site alive and well. We support products which we believe are the best quality and to inspire your creativity! |




 RSS Feed

