|
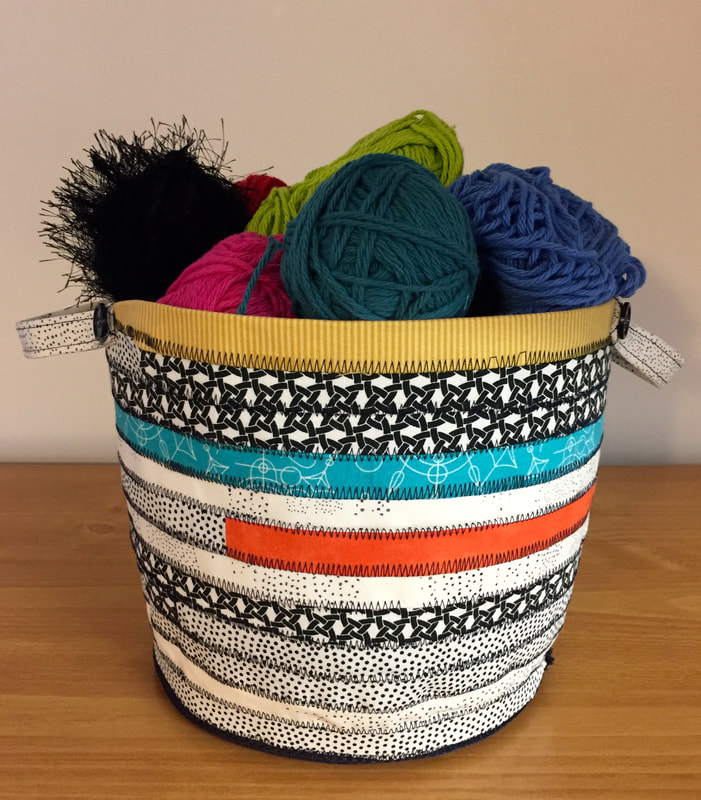
All this week I am discussing Sulky Stabilizers at QUILTsocial.com click here to see an exciting basket project using Sulky Fuse 'n Stitch. I will be showing you how to with a free DIY tutorial today and tomorrow. This basket is very sturdy and would be a great addition to your home decor also great storage for sewing room, craft supplies, toys and more. A fun and easy summer project! "4" fun crafty and sewing projects, check out QUILTsocial.com to see enjoy my free tutorials all this week!
1 Comment
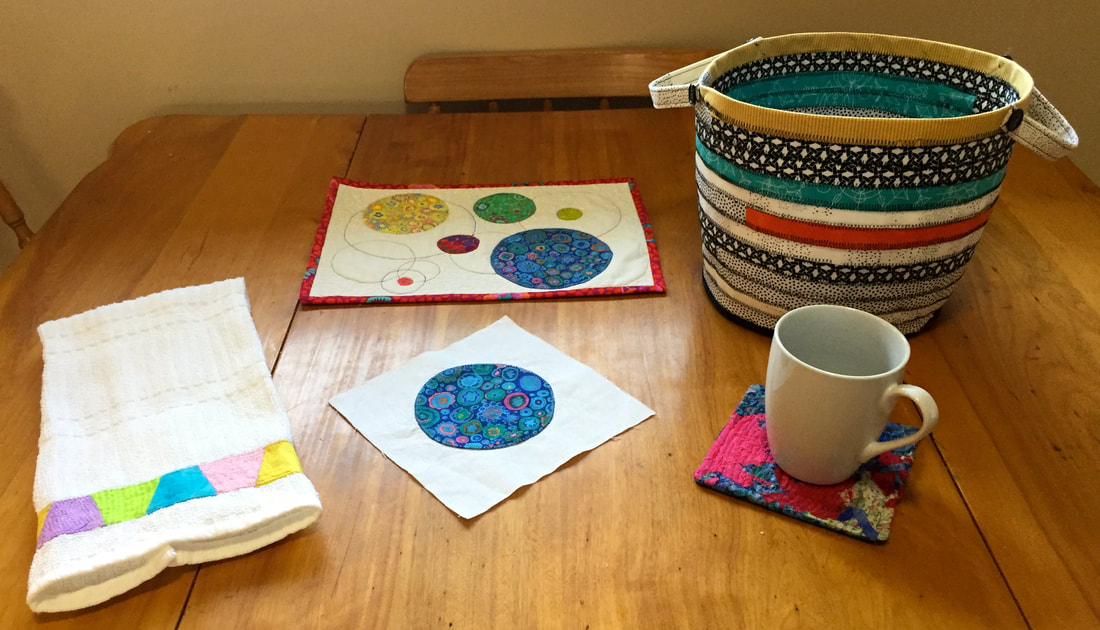
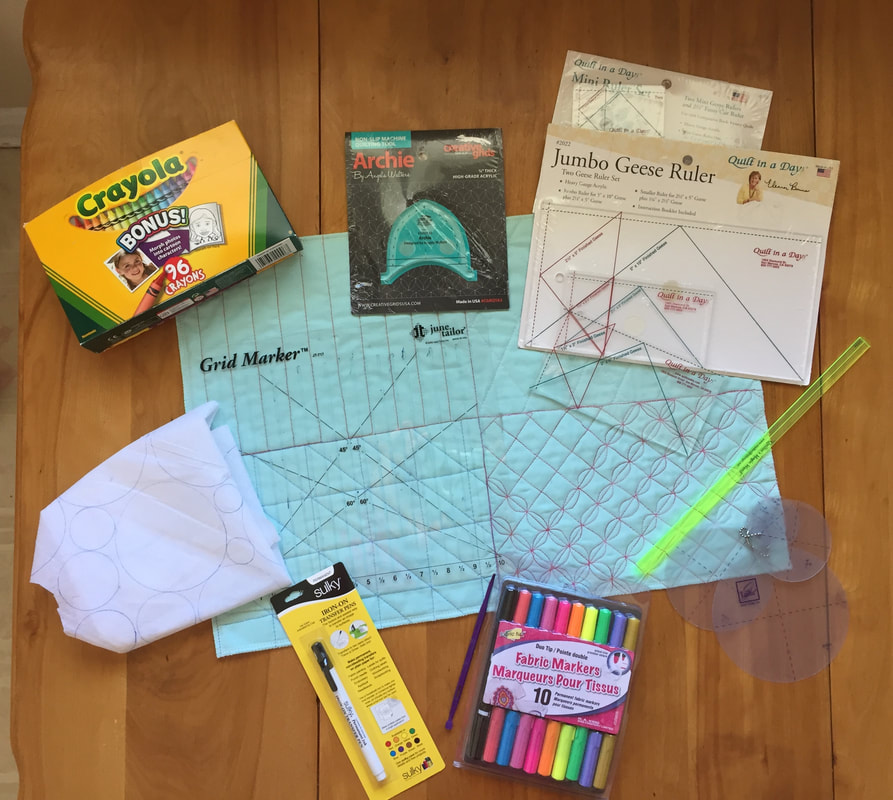
Hi everyone, I am just reminding you to have a look at QUILTsocial.com next week June 24-28 when I will be guest blogging and discussing 4 different crafty/quilty uses for Sulky Stabilizers. Check out my picture below of basket making, creating your own textiles, english paper piecing and help with appliquéing circles all with Sulky Stabilizers. Who knew?, they are not just for embroidery. These are free tutorials with lots of fun tips and ideas. Some experimentation on my part, but these stabilizers worked great! I hope you are having a great week ❤️
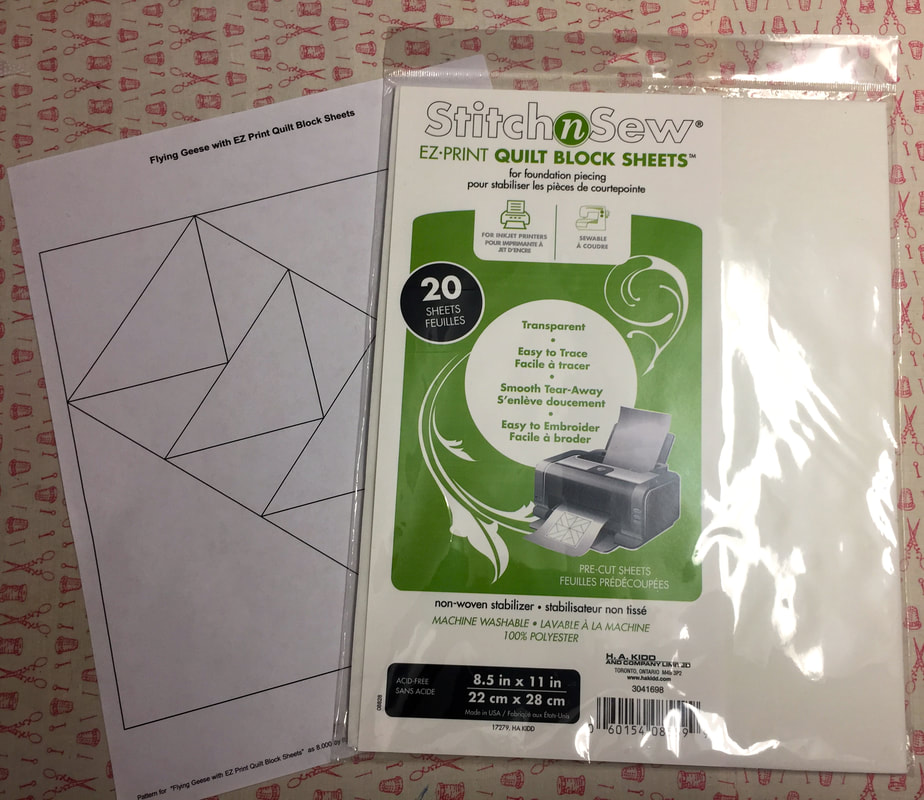
Today I am talking about StitchnSew EZ Print Quilt Block Sheets by HeatnBond and gorgeous Northcott fabric at QUILTsocial.com. Simply print out your design and sew on these transparent, tearable sheets! Such a fantastic way to get accurate piecing results. Have a look here and see the possibilities: Happy Thursday!
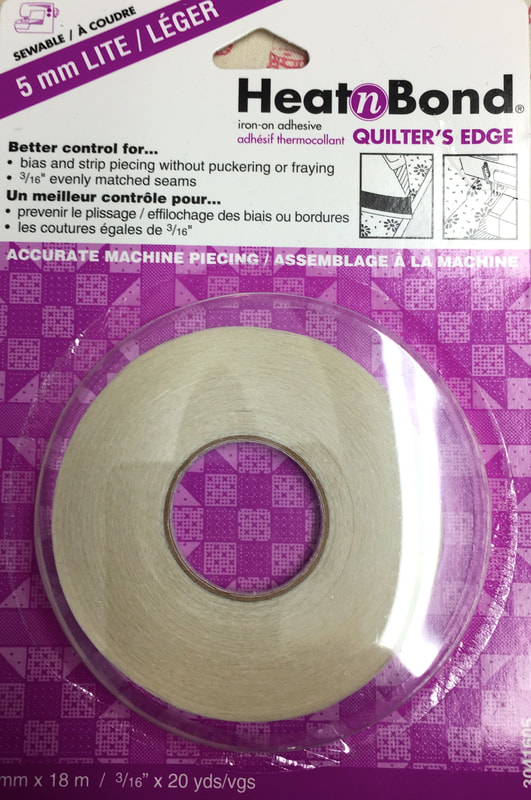
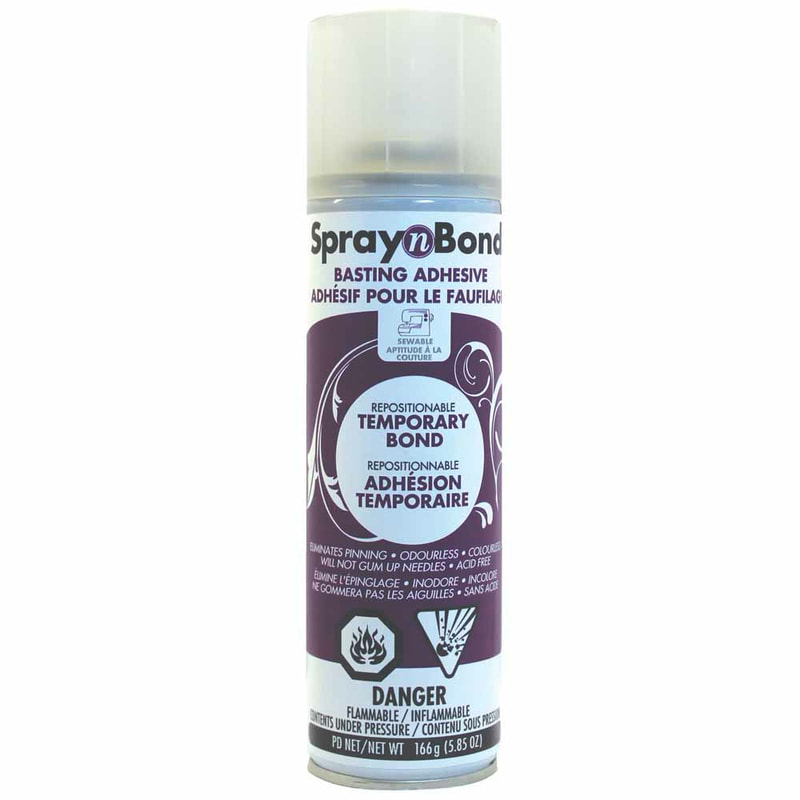
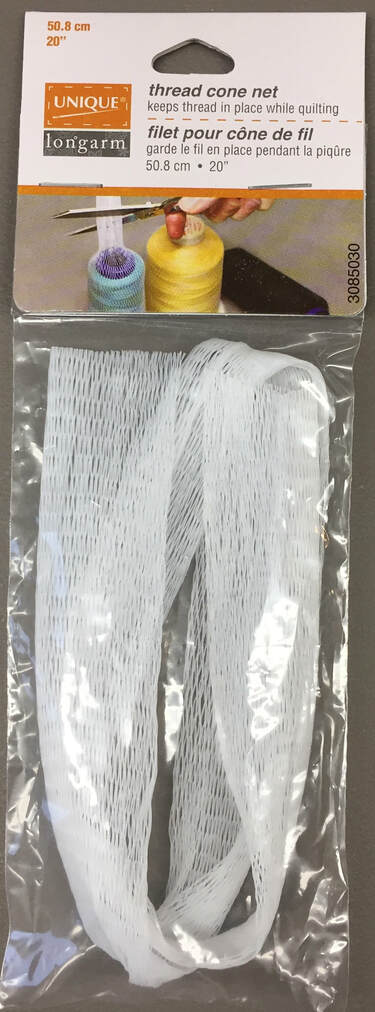
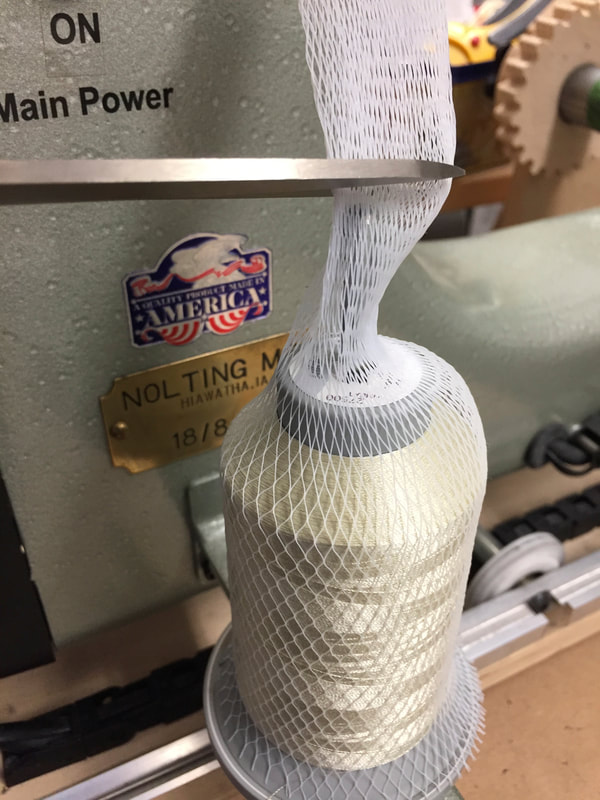
Today I am talking about fusibles that help to hold your fabric while you sew at QUILTsocial.com. I will be discussing Quilters Edge, a wonderful fusible tape to hold trims, zippers, binding etc. and SpraynBond a temporary spray adhesive that is great to spray baste your quilt fabric layers. Join me for a very informative post with lots of great tips and information! Have a great Wednesday :) Today at QUILTsocial.com I will be talking about thread nets and how they can avoid thread pooling and pesky tension issues and why the new UNIQUE longarm thread nets are simply awesome!
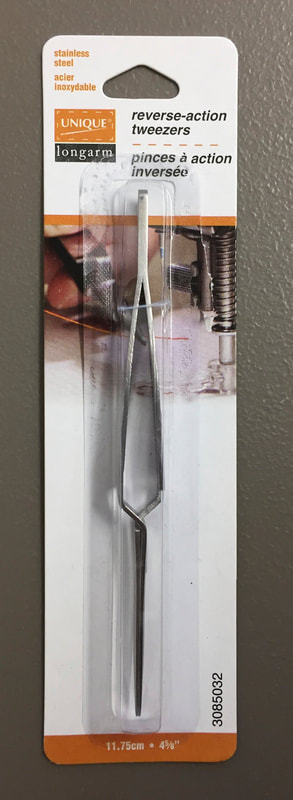
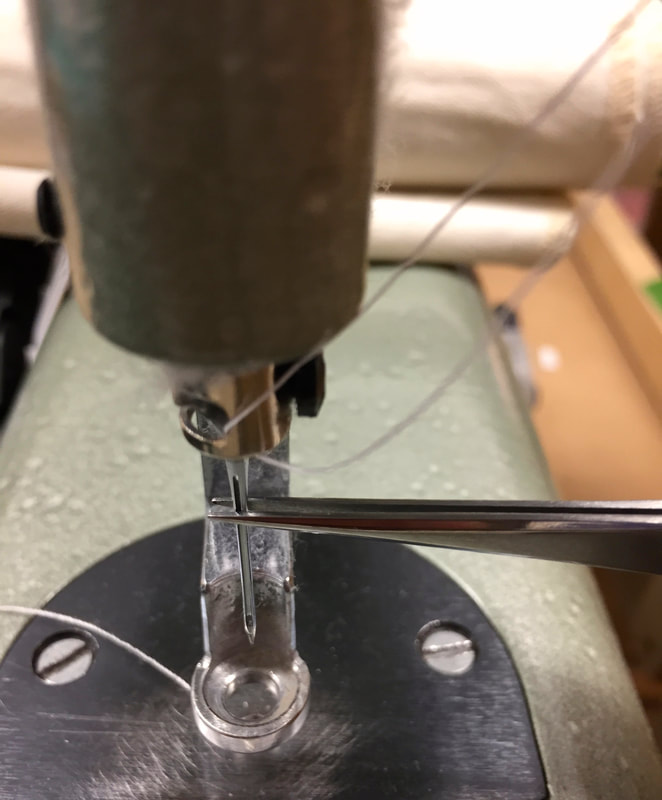
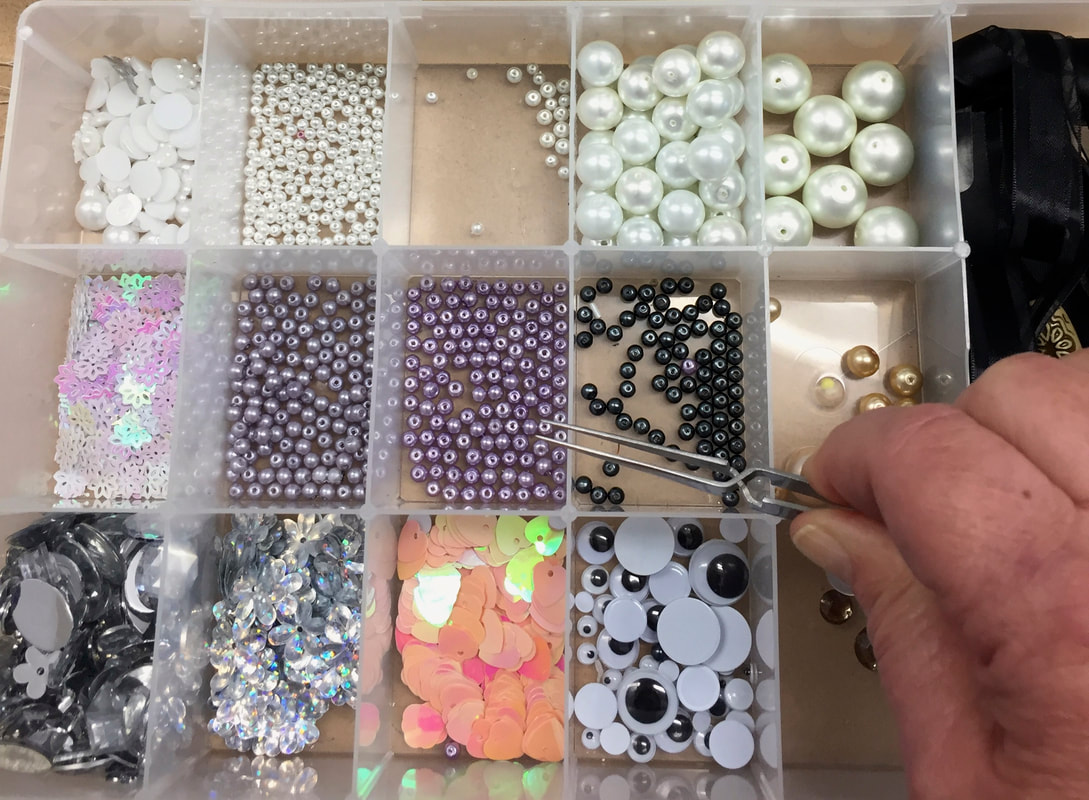
Happy Tuesday, I am discussing reverse action tweezers from UNIQUE Longarm and why they are so great for long arm quilters and domestic (sit down) quilting. I am sharing this valuable information today on QUILTsocial.com. Read all about these UNIQUE longarm reverse action tweezers and why they are essential in my sewing room today at QUILTsocial.com.
Have a great day!❤️ Hi everyone, I am happy to share with you that I am writing again as a guest contributor this time about 9 new and exciting new longarm tools by UNIQUE LONGARM from January 14-18 at QUILTsocial.com. That's Monday to Friday Next week!
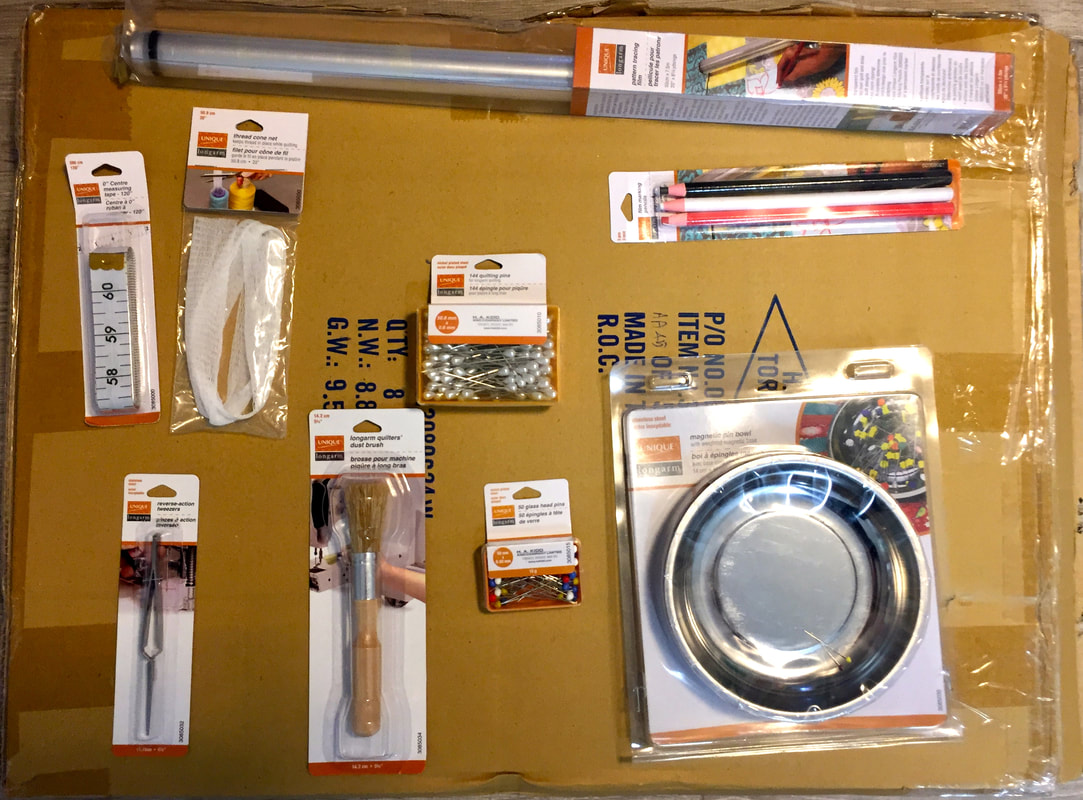
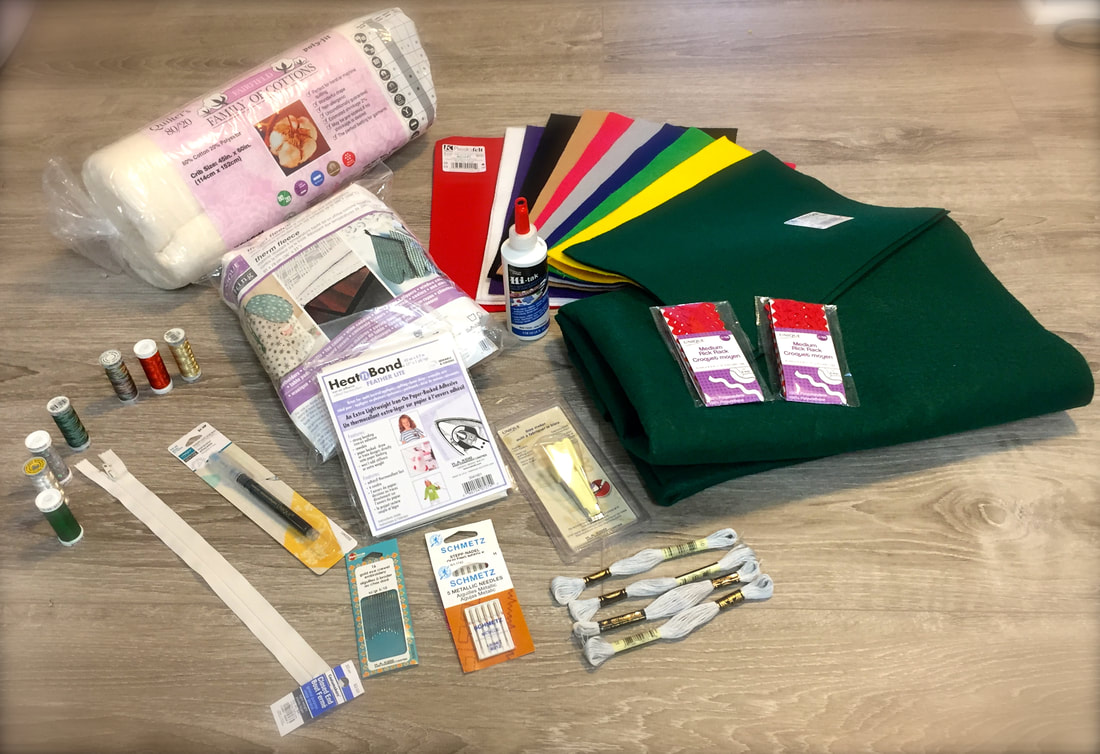
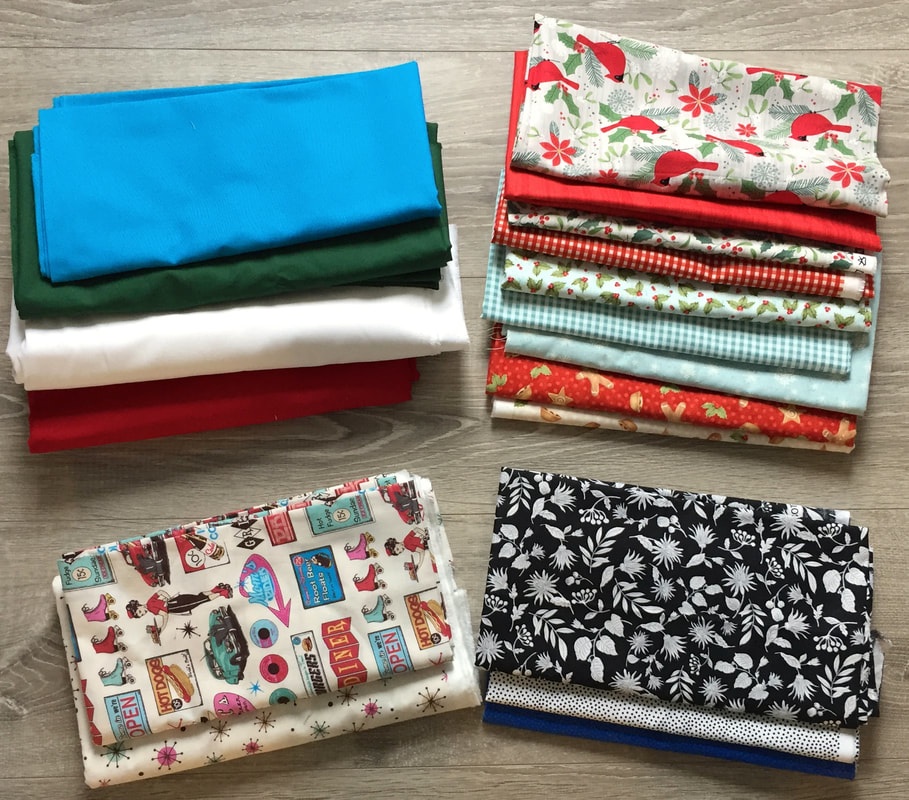
Be sure to read my blog posts each day as I explain each tool and why they are so useful. To find out about QUILTsocial.com check it out here starting Monday Jan 14- 18. I will be discussing, a 120" measuring tape, glass head pins. large pearl head pins, thread nets, reverse action tweezers, a long dust brush, a large magnetic pin bowl, design transfer film and transfer pencils all designed for the longarm industry (useful for sit down sewers as well). Also, if you are interested, ask your local quilt or sewing shop to order them in for you. You won't be disappointed in these quality tools! Happy Friday! Stay Warm ❤️ Sometimes I am "sew busy" I don't think I know how to think straight. Thank goodness for paper and pen or notes on my I phone or I would be lost! I have a lot going on with recent travelling (see yesterdays post), long arm work , charity projects, affiliate work, quilting, sewing, teaching, trunk shows and now more writing and blogging! I am not complaining as all of this is the best job ever ❤️ You all know that I have always blogged with quiltingintheloft.com, but now I am going to embark on a new writing adventure. I am so excited to announce that I will be writing, sharing projects, demonstrating great tools and fabric as a guest blogger for QUILTsocial.com. To get my guest writing started, I just recently unboxed some notions from H. A. KIDD and Company Limited and fabric from Northcott Fabric. These products were sent to me as they are the subject of my upcoming blog posts in November with QUILTsocial.com and I cannot wait to show you what it is I am doing with all of this! The post them is .... drum roll please...... "How to Make Your Holidays Sew Easy" . Check out the pictures of the fantastic sewing and quilting tools sent to me from H. A. Kidd below: Check out what luscious fabric Northcott Fabric have sent me below : Can you imaging what holiday ideas I have with all of this to make your holidays "sew" easy?
I will be sure to post a link to the blog posts (one whole week!) once they are published so that all of my followers can see the whole week of posts, helpful tips, product reviews, patterns and....... it is all FREE to QUILTsocial readers! Please let me know what you think and if you have any questions, you can comment on each blog post. I invite you to" Make Your Holidays Sew Easy" and be sure to check in with QUILTsocial.com in November! "To quilt and sew is fantastic, to share is divine"- author me, lol Happy Wednesday!❤️
I know I have talked about easy flying geese methods before but I discovered these amazing rulers and I know they have been around for a long time. In fact one was in my stash of rulers unopened for about 5 years now. I do not know why and will blame my QADD on it (Quilters Attention Deficit Disorder) LOL!
The reason I love this ruler after finally getting it out and trying it is.
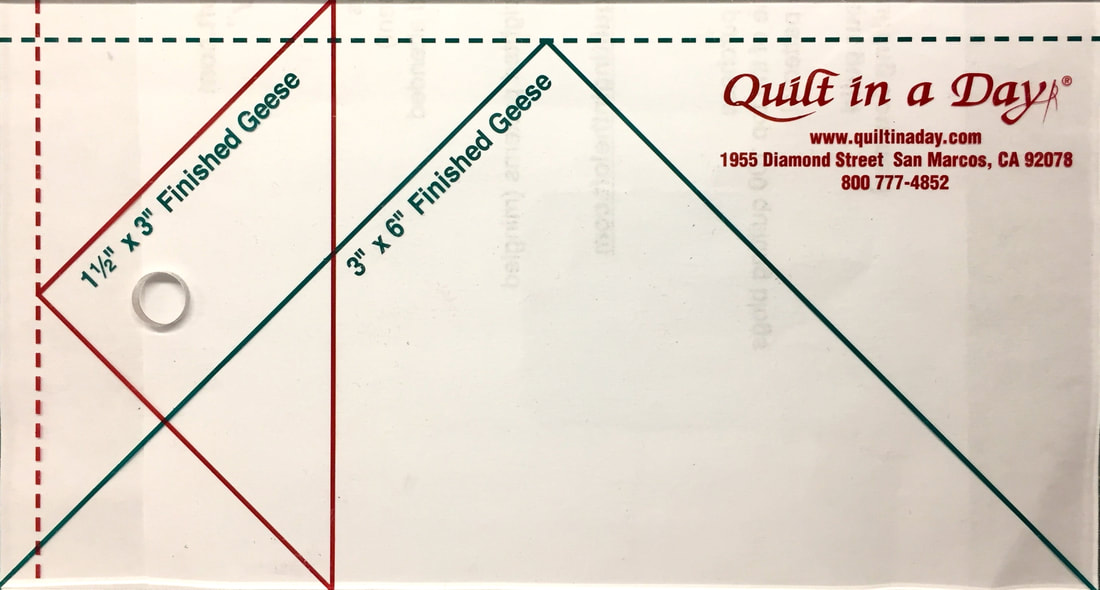
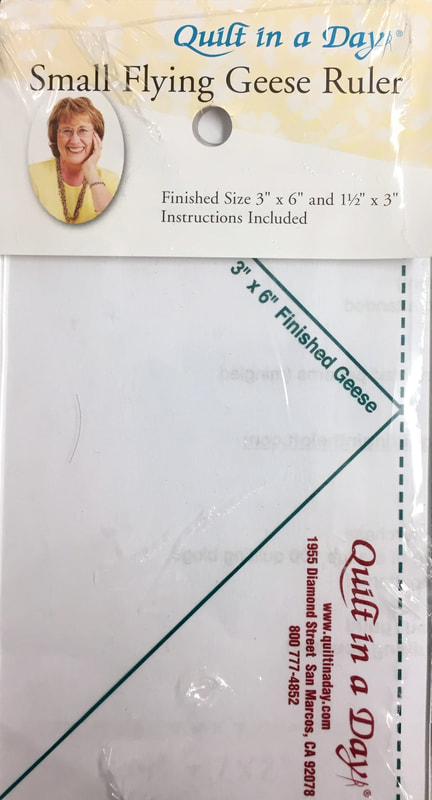
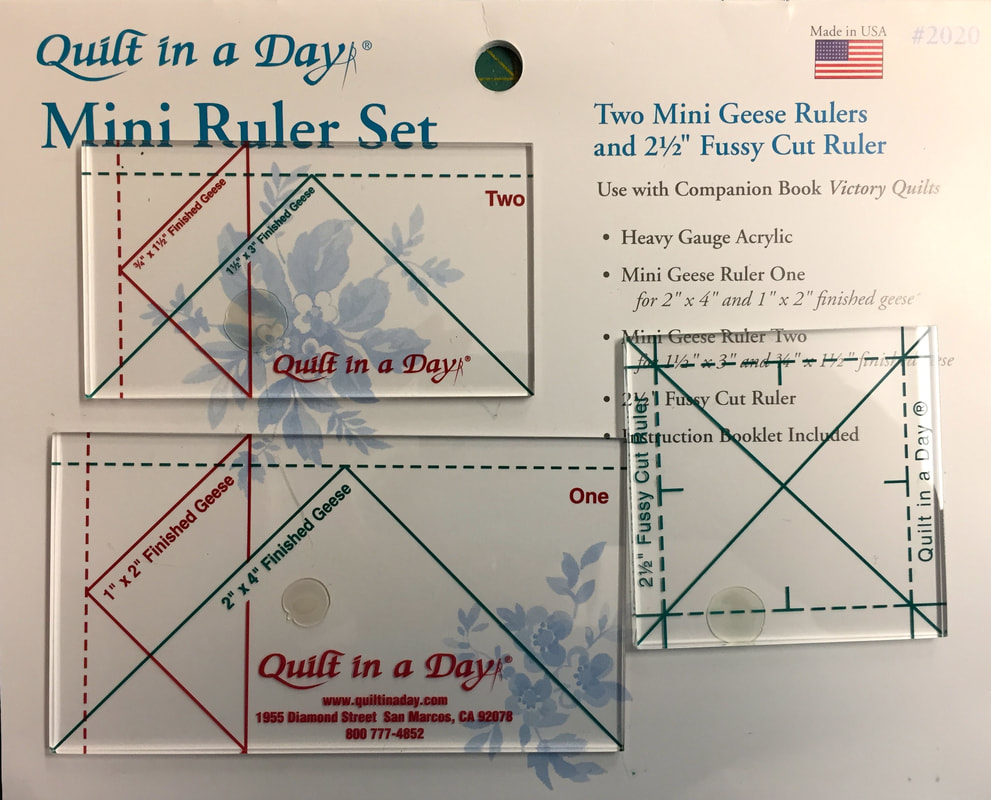
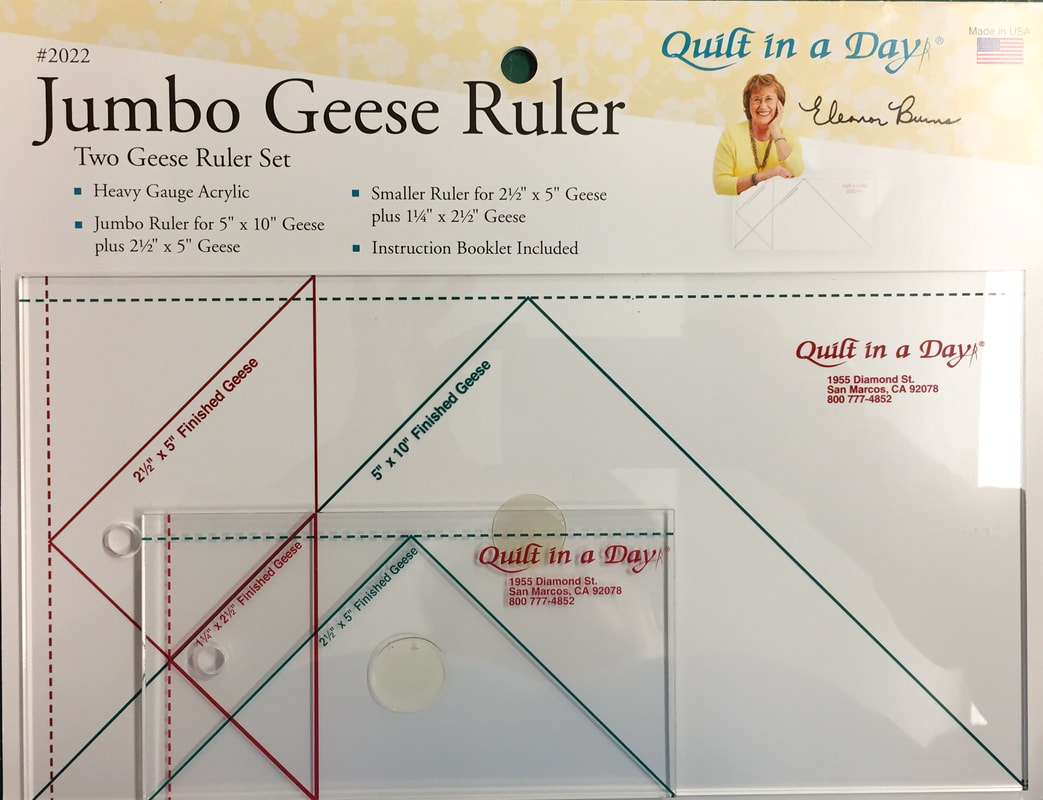
5. It is so accurate with consistent results every time! Pictures of the rulers I have are shown below:
How these work?
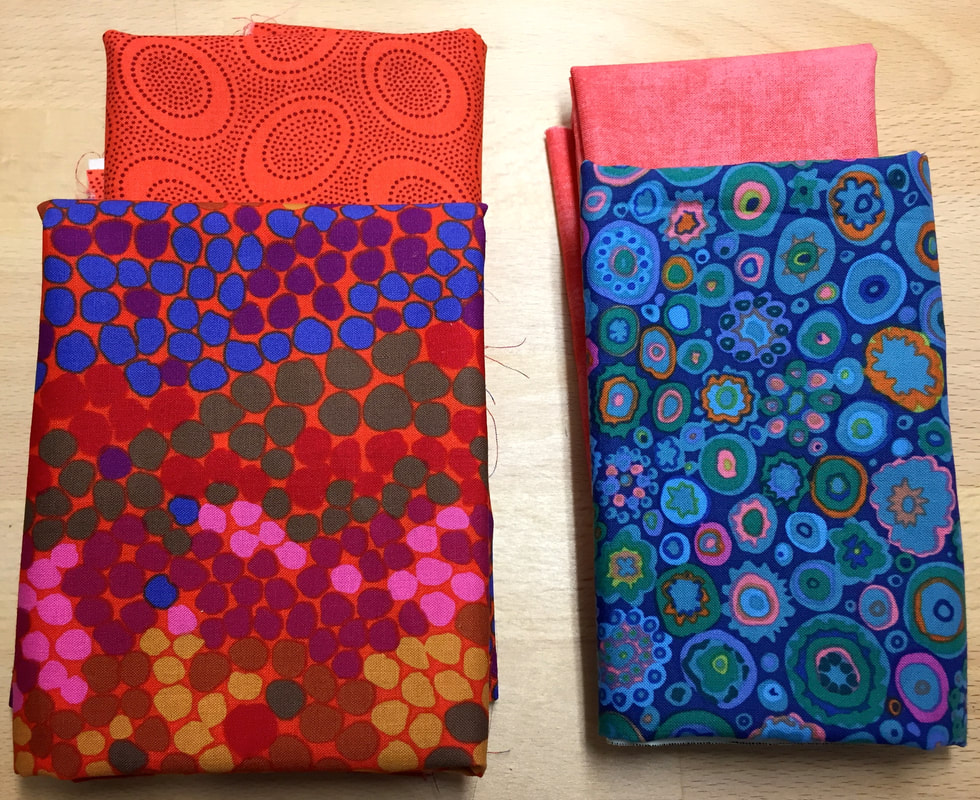
1. Choose some pretty fabric
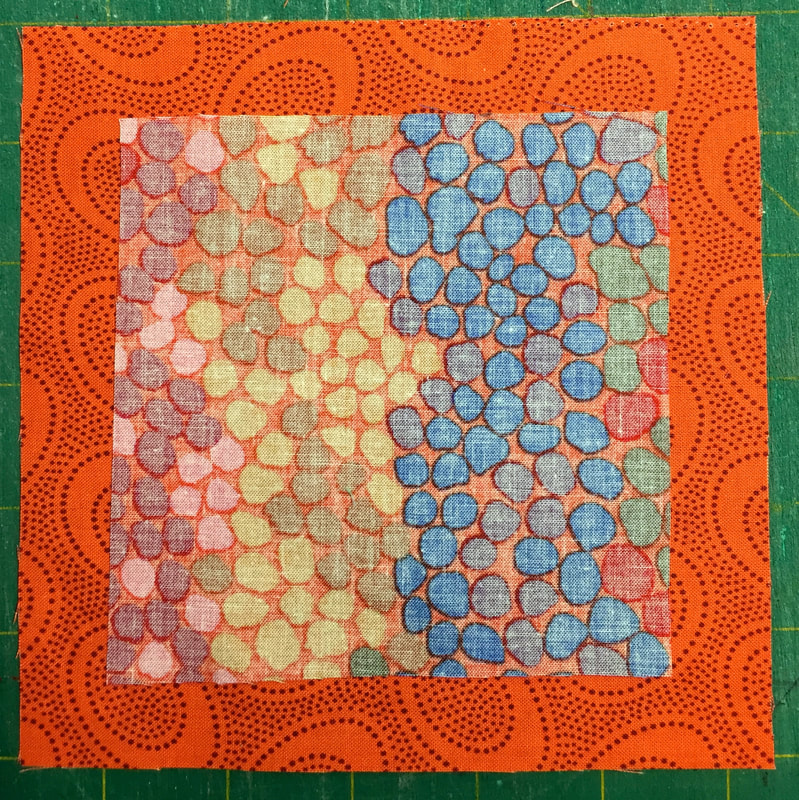
2. Cut a large square of background as per the instructions and a smaller square of the geese fabric as per the fantastic package instructions. Lay them right sides together with the smaller square on top of the larger square and centre it as best you can.
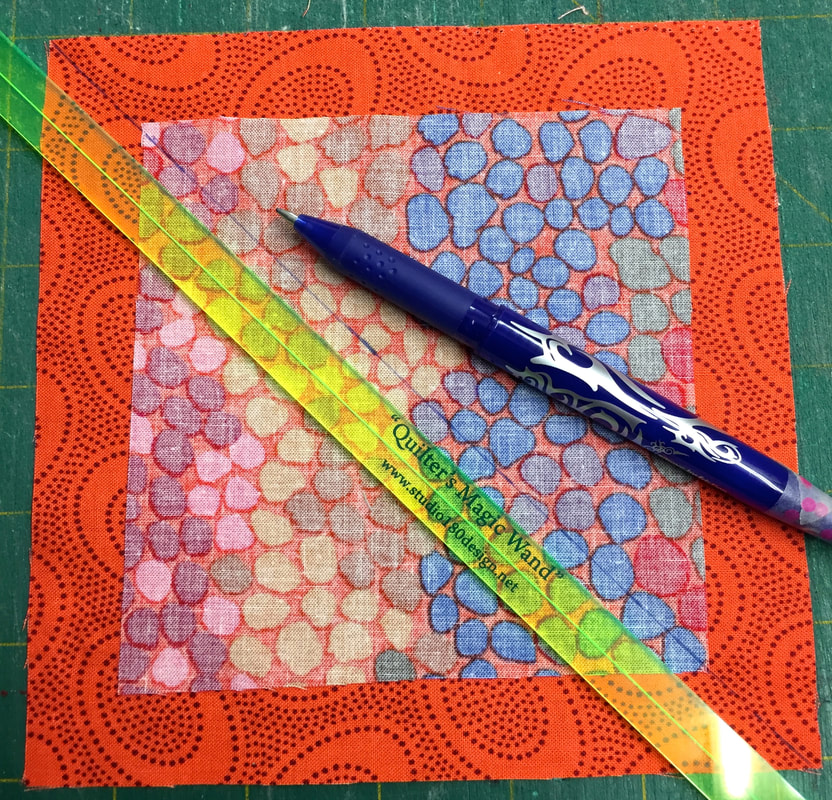
3. Using a ruler and a pen, draw a line diagonally from corner to corner as shown below:
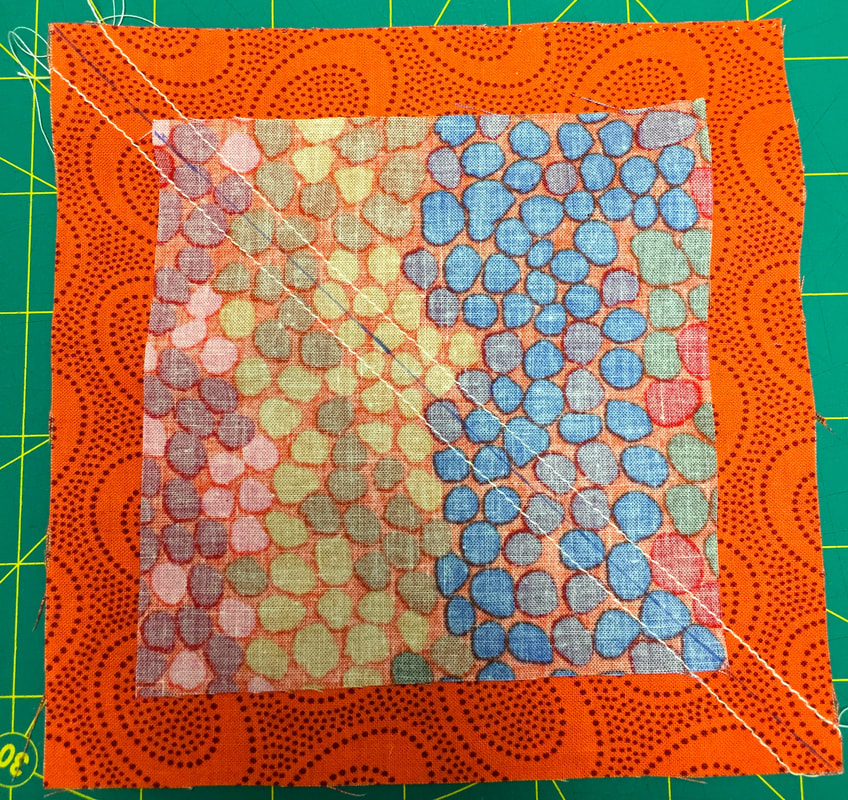
4. Sew 1/4" out on either side of the line you just marked.
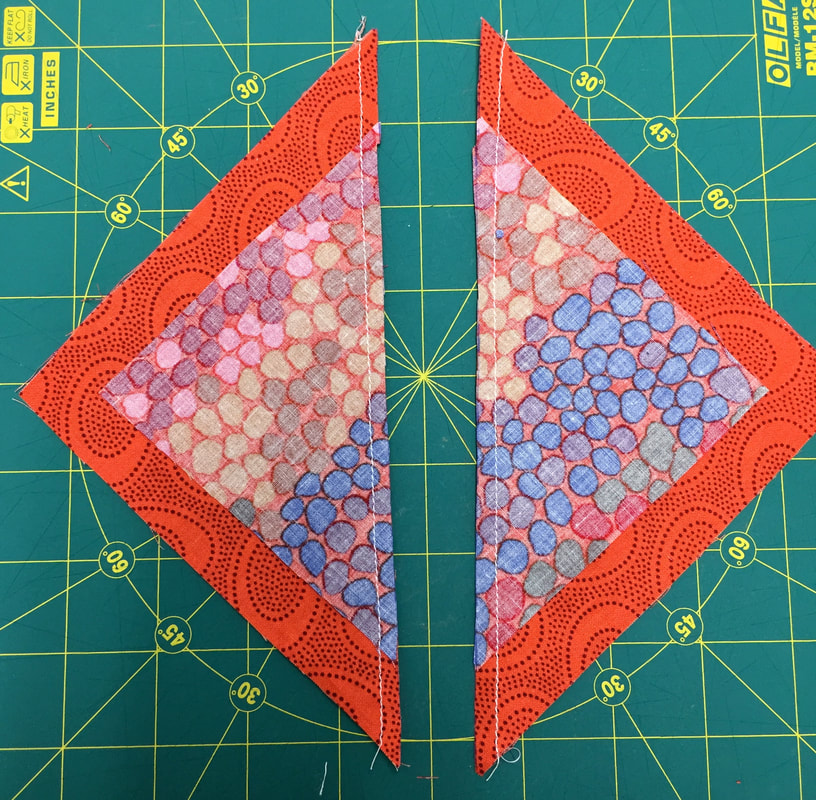
5. Cut on the drawn line as shown below:
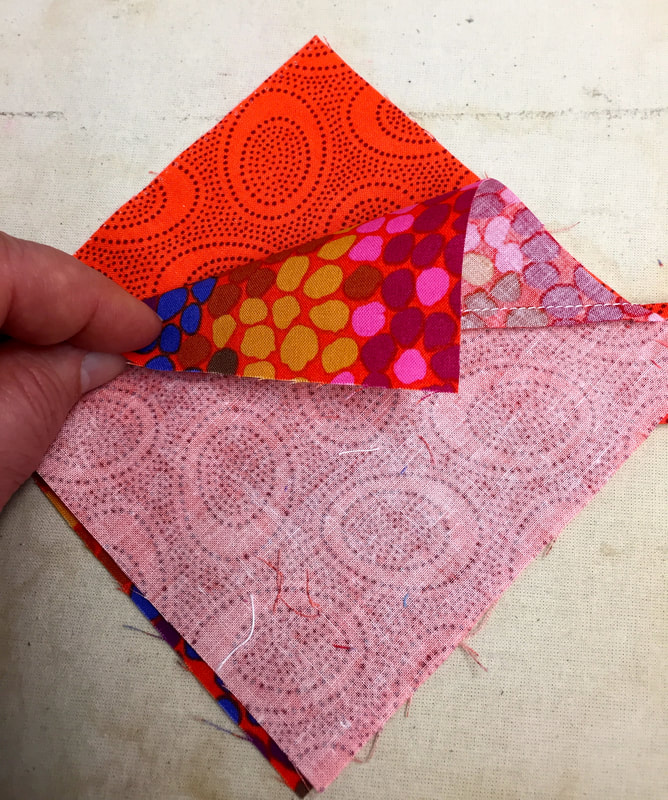
6. Press both units towards the background or larger triangle as shown below:
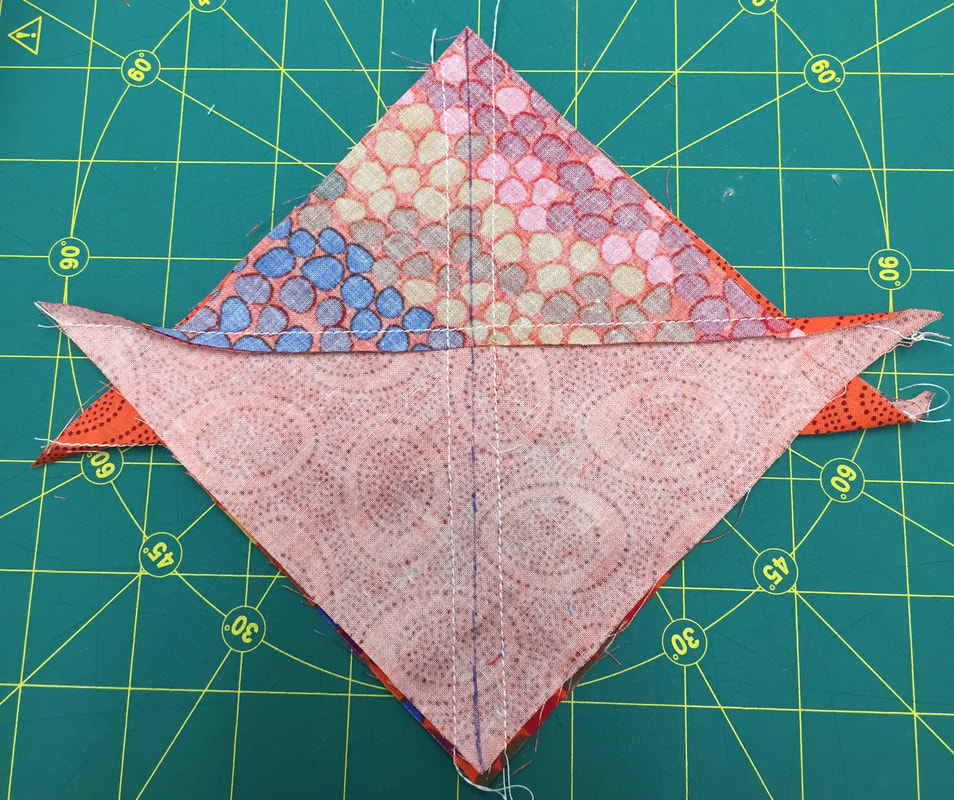
7. Lay both ironed units on top of each other with opposite colours right side together as shown below:
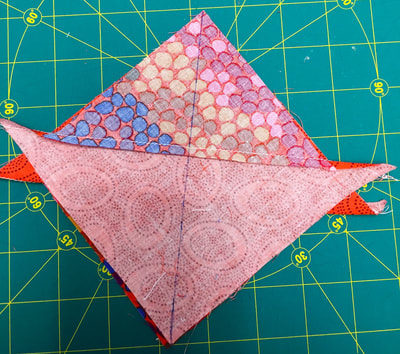
8. Draw another line through the centre as shown below:
9. Sew 1/4" seams on both sides of the drawn line.
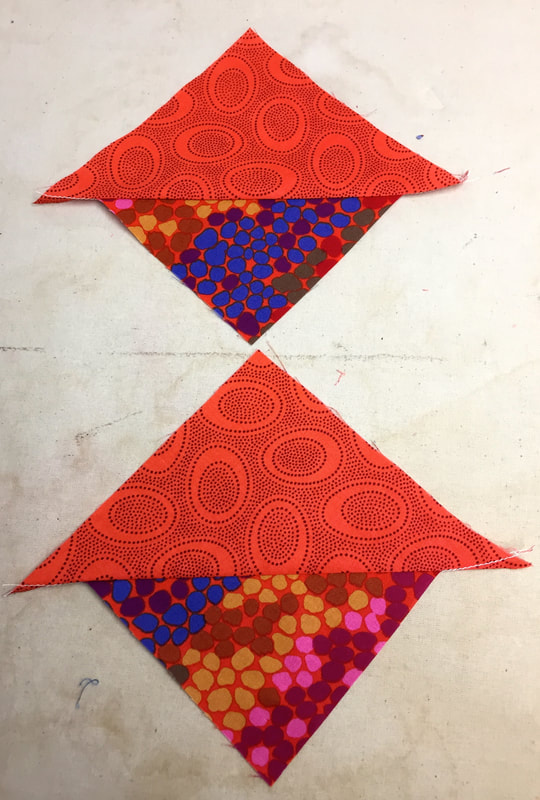
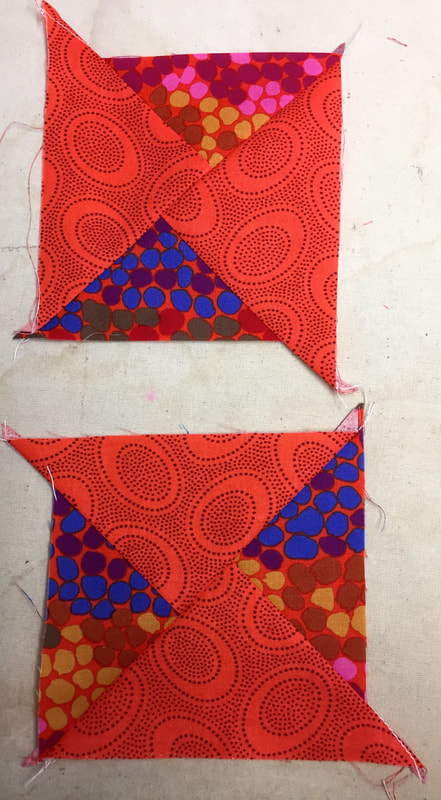
10. Cut down the marked line revealing the 2 odd looking blocks below:
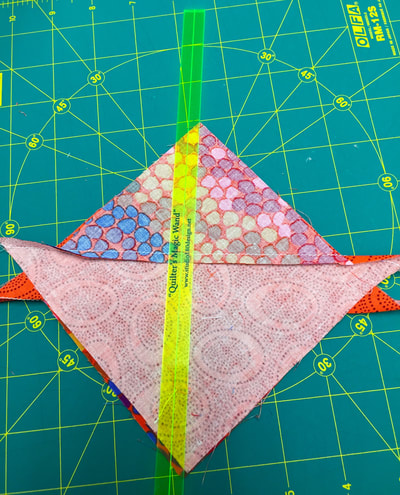
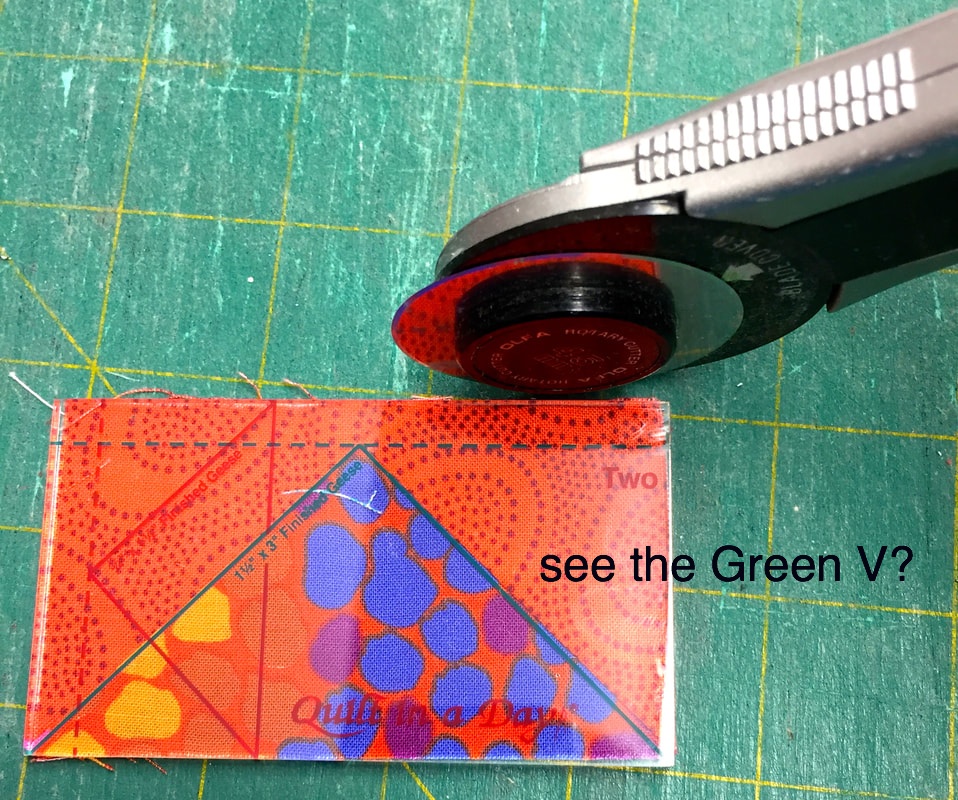
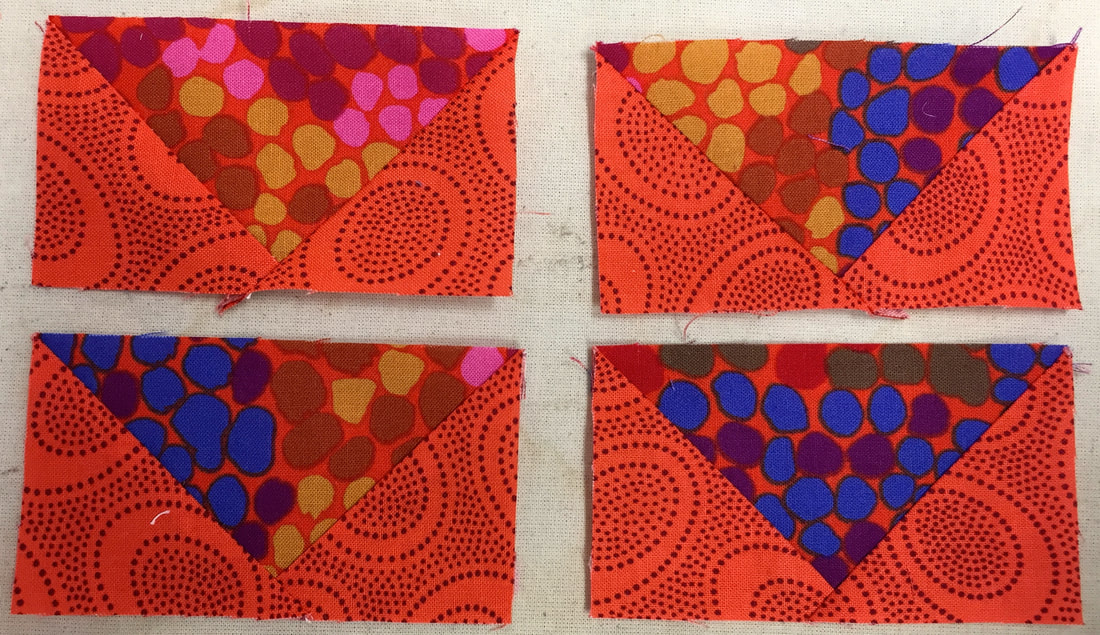
11. Lay your flying geese ruler on top of your block aligning the "green V" marked on the ruler (see the ruler below) with the V of the geese fabric (Pebbled fabric). Square your unit with this ruler - you will get 2 flying geese units from each side of the units above making 4 in total. The ruler also allows for your 1/4" seam allowances
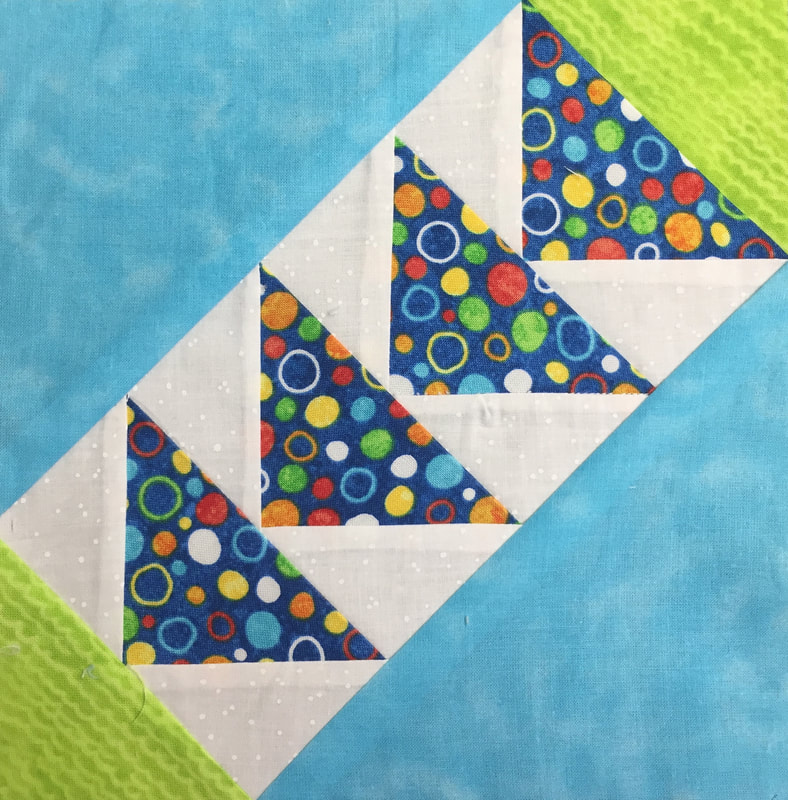
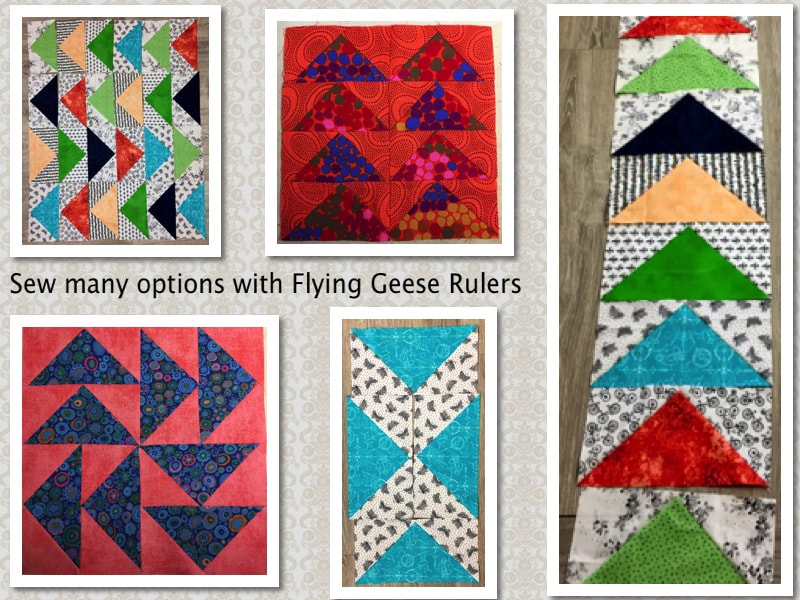
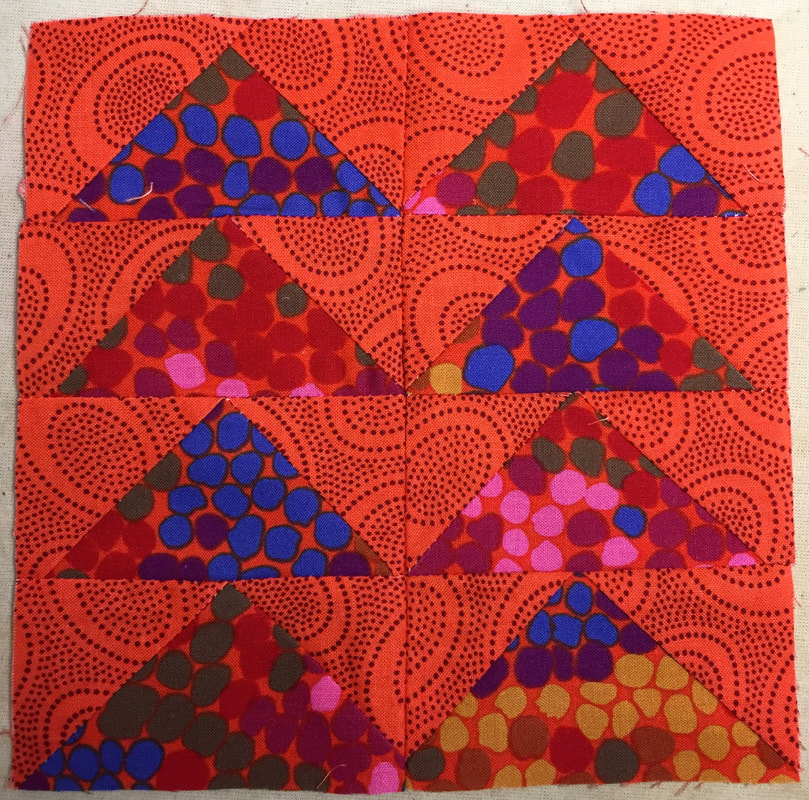
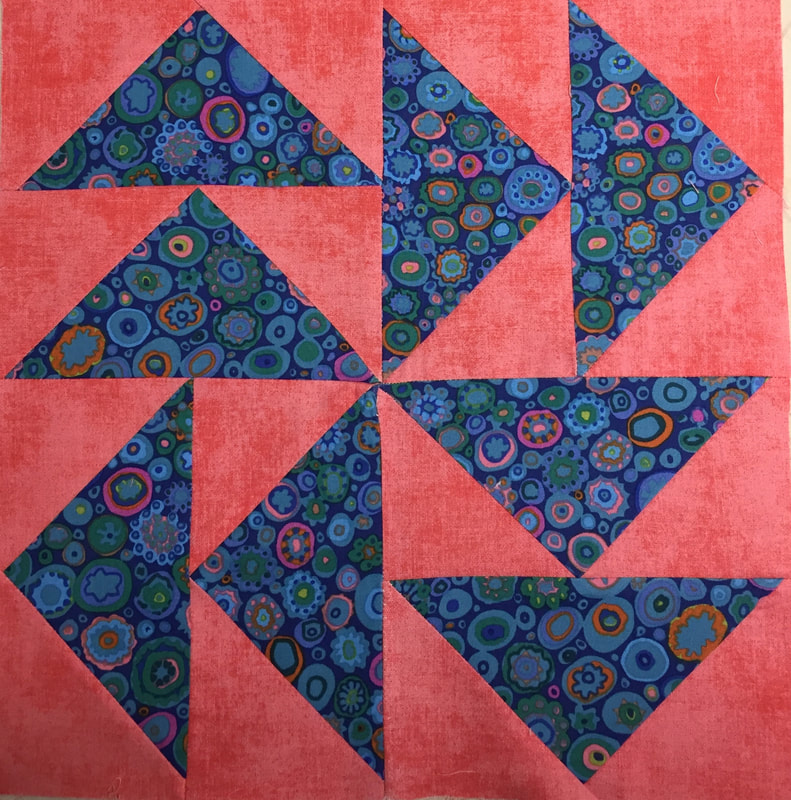
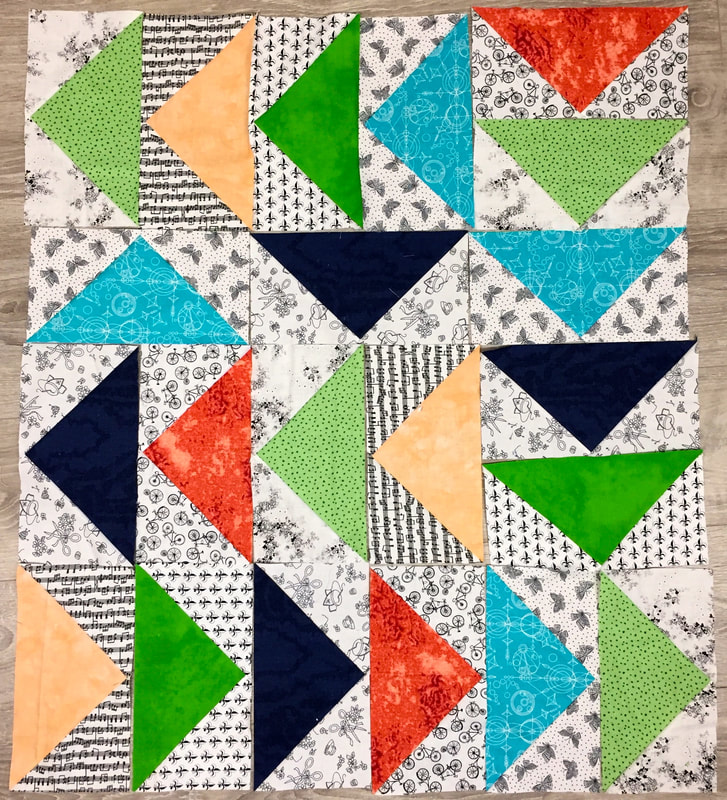
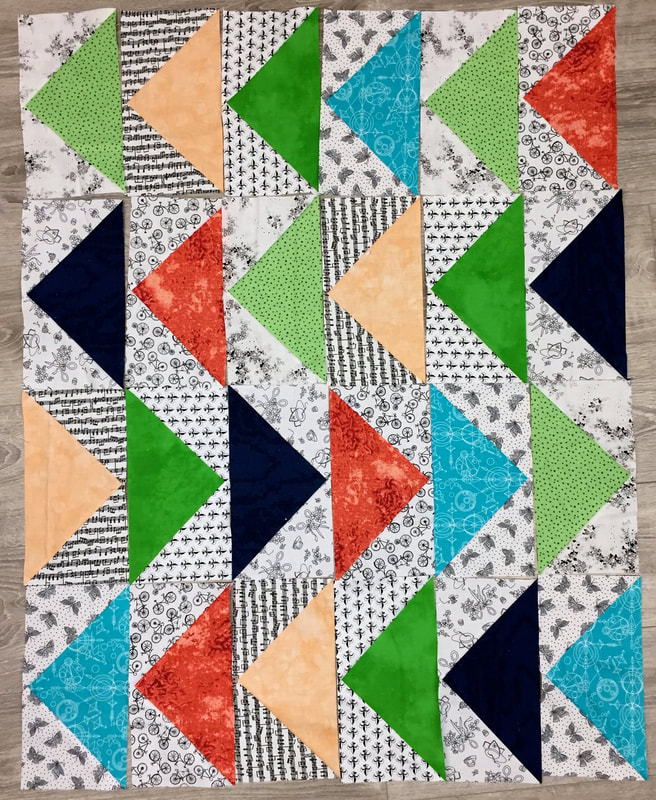
Honestly this is so easy with these rulers and just imagine the quilts you can make with flying geese! Some of my work with these rulers are below:
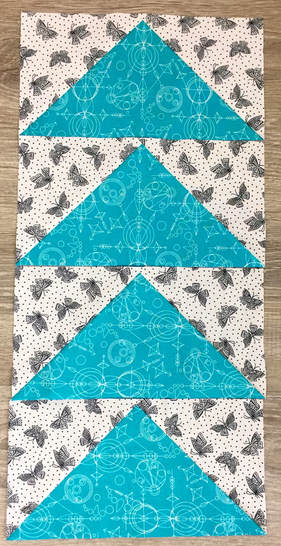
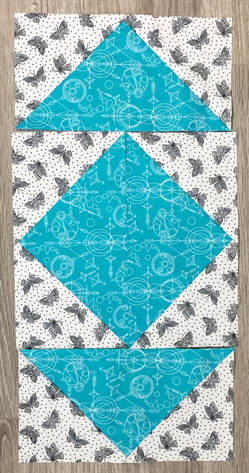
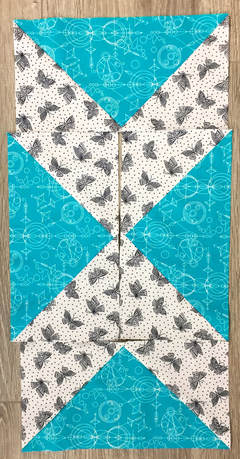
So many options but lets' make a "quilt in a day". Totally doable with this method and Jumbo Sized Flying Geese Ruler! I made the below jumbo geese units in an afternoon!
Where to get these rulers?
Click on the links below:
Stay tuned to see what I actually do with my Jumbo Flying Geese :0)
Have a Great Thursday, I am off to Cookstown today to teach another Quilting with Rulers for Domestic Machines Class! ?
I know I talk about this tool all the time and those who have taken my classes will attest to this! I LOVE IT! Check out my previous blog post about this tool and heirloom quilting samples here. I took an heirloom quilting class a few years back and this tool was suggested and when I purchased it and started to use it. I sincerely thought "where have you been all of my quilting life?"
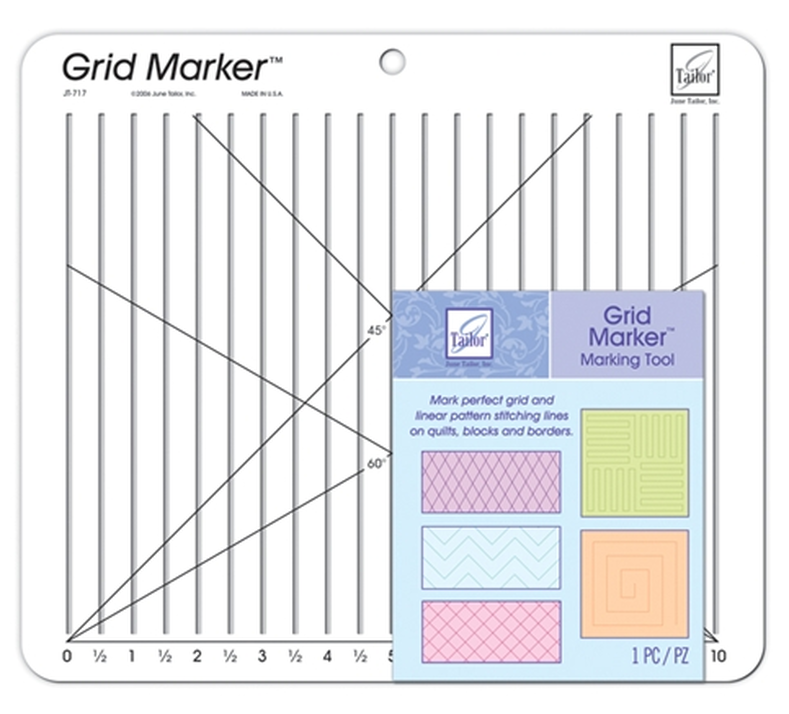
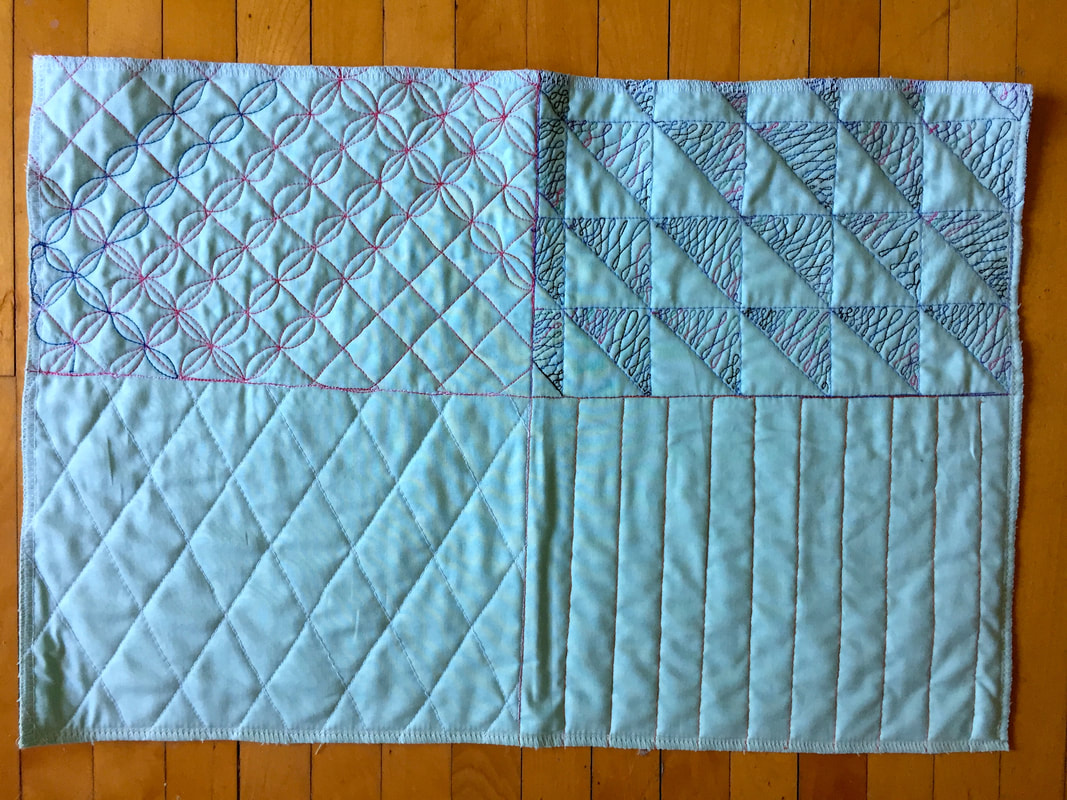
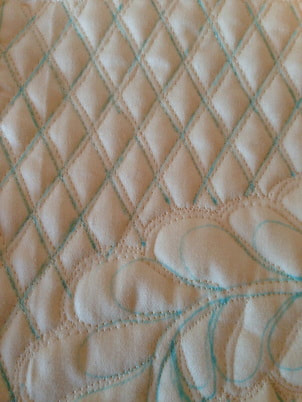
It is such a versatile tool that I take it out almost every time I am planning a quilt. As you can see it has lines every 1/2" and looks very much like the June Tailor Shape Cut Tool but it is a marking tool. So the lines/cutouts on the tool just fit a pen, pencil or marking tool and it is not made to use as a cutting tool. You don't have to look at it as just 1/2", you can skip lines and make squares, diamonds or lines any size you want. As a marking tool you can use it to draw even parallel lines at 90 degrees, 45 degrees and 60 degrees. This also means you can draw shapes with it , rectangles, squares, diamonds and more! You can also make all shapes as wide or as long as you like by moving the tool along your design. It is must faster than moving and trying to realign a ruler. See my (incomplete) sample below where I marked grided parallel lines, squares, diamonds and half square triangles and used it to mark and stitch out a "Robbing Peter to Pay Paul" stitch fill in the background. The fill stitches are completed free motion. Grid Marker sampler using 45 degree, 90 degree and 60 degree markingsHeirloom sample using 60 degree lines and a double needle for background diamond fill below:What other larger shapes can we draw with this grid marker tool hmmm?
If you have a question like- How do I draw that shape? Or... I don't have that shaped template, how can I draw it? This might be the tool for you.
Where to get this tool? Click on the image of the Grid Marker below:
This is just food for thought, there is so much more that can be done with this tool and quilting. It also comes with graphic diagrams to show you what you can do with it. I have just "scratched at the crack in the iceberg" as they say as to the grid markers many uses.
I hope this tool and ideas are useful for your quilting and design success! Happy Thursday! |
Follow Me:Welcome!Hi I'm Robin and I am a professional long arm quilter, pattern designer and teacher. I am passionate about all things quilty! Categories
All
Sponsors
This blog contains affiliate links. This means that we endorse products.
We do receive rewards for these endorsements and this helps to keep this site alive and well. We support products which we believe are the best quality and to inspire your creativity! |

 RSS Feed

