|
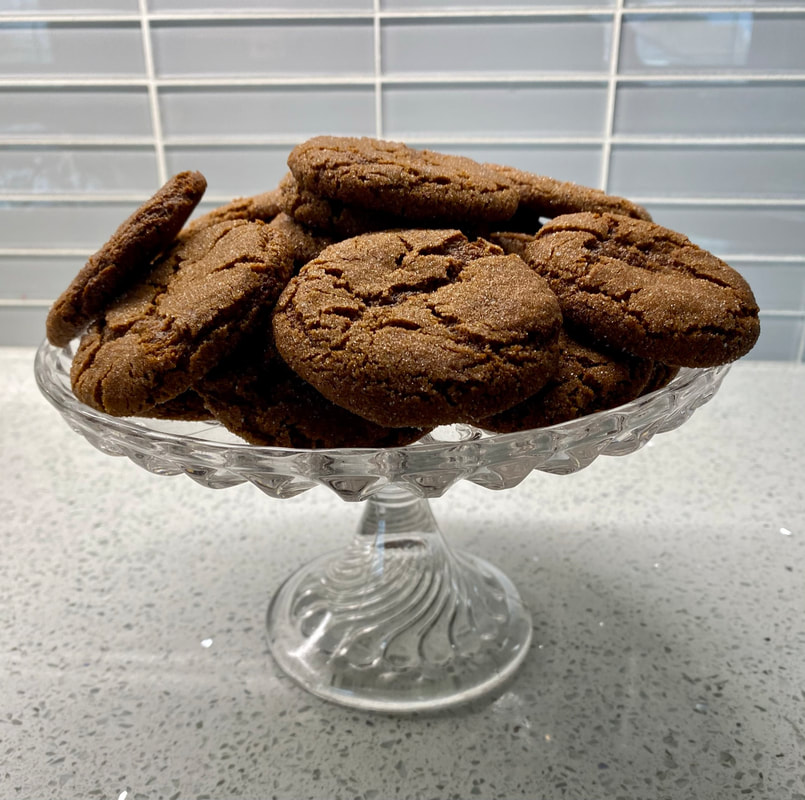
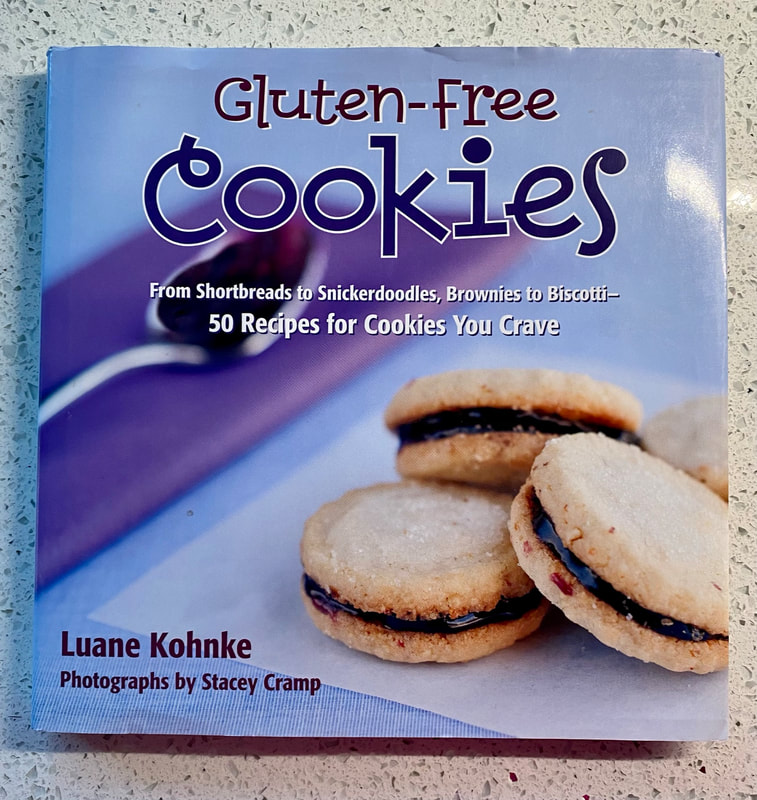
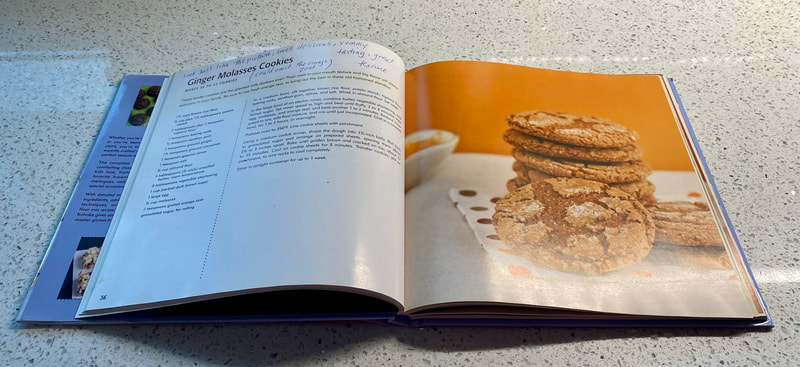
I know it's not sewing and/or quilting but I cannot be one dimensional. Just thought I'd share a little bit of info about my Gluten Free, Covid Baking. If we are going to be locked down, we might as well enjoy it right? Because I wanted a treat, I made the amazing ginger snap cookies shown above on my vintage cake stand. Oh they are so good I wanted to share where I got them from. They are from the book Gluten-Free Cookies by Luane Kohnke. I have made several of her recipes including these "Ginger Molasses Cookies" ( I call them ginger snaps), her Oatmeal Almond Cookies with Dates and her No-Bake Chocolate Oatmeal Drops, MMMMMM for mouth watering. I'm super gluten sensitive but love sweets and these cookies satisfy my cravings.
I'm going to have to try more of her recipes! It's all cookies, hard cover, 50 crave-able recipes & gluten free basics from an accomplished gourmet baker. I just had to mention this book, I'm impressed. For all of you gluten free bakers: If you are interested in obtaining a copy of her very affordable book , its here. Rave reviews from me so far! Have a great week and hang in there! We are all in this world wide pandemic together. Find stuff to do, learn something new, call a friend or family member, walk with a friend, bake, sew, quilt, craft, stay busy and stay happy! 💐
0 Comments
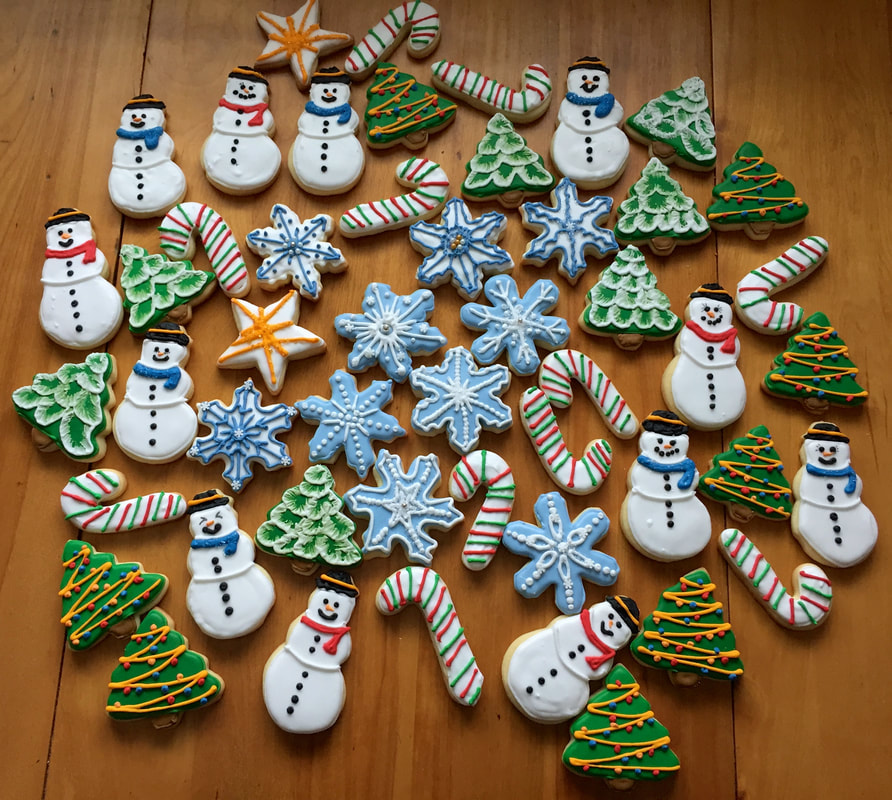
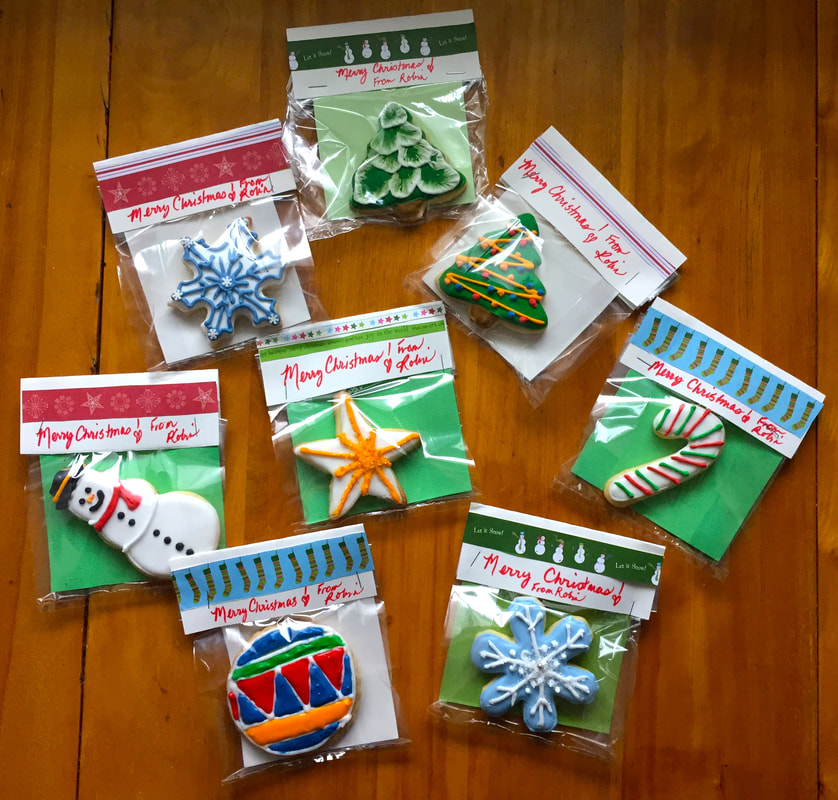
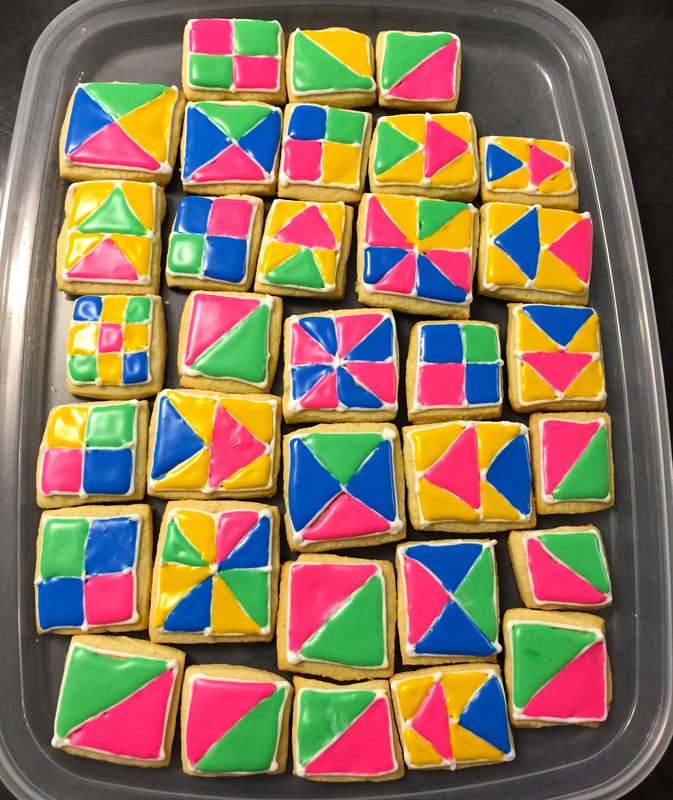
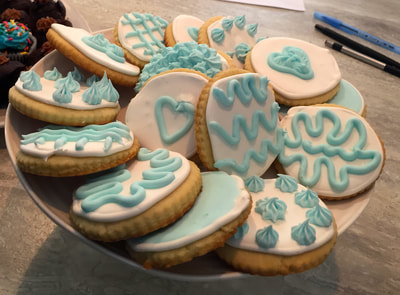
Hi everyone, just sharing some of the sugar cookie designs I decided to try this year. I took a class on bluprint while convalescing from some surgery and decided to put the what I learned to work. See the photos below: The class I took was called Decorating Essentials Designer Cookies by Autumn Carpenter and it was really great because she explained icing consistencies so well and it made it easy to know what I was doing to achieve decent results. I packaged some up for my sorority Christmas party as a little gift as well, see below: Taking the class was a great way to pass time while trying to take it easy, I had to wait a few days to have the energy to actually apply what I had learned and bake the cookies but in the end it was so much fun. Need a great recipe for sugar cookies? Check out this one from a past post here.
I hope everyone enjoys a Very Merry Christmas and it's my hope that you have some time to enjoy family and DIY, baking or creating over the holidays! 🎄
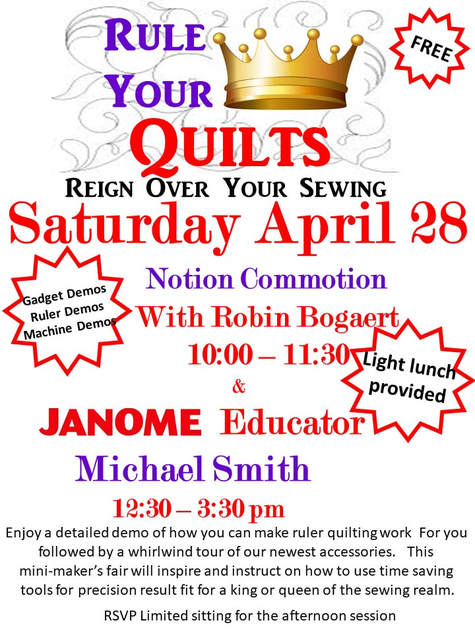
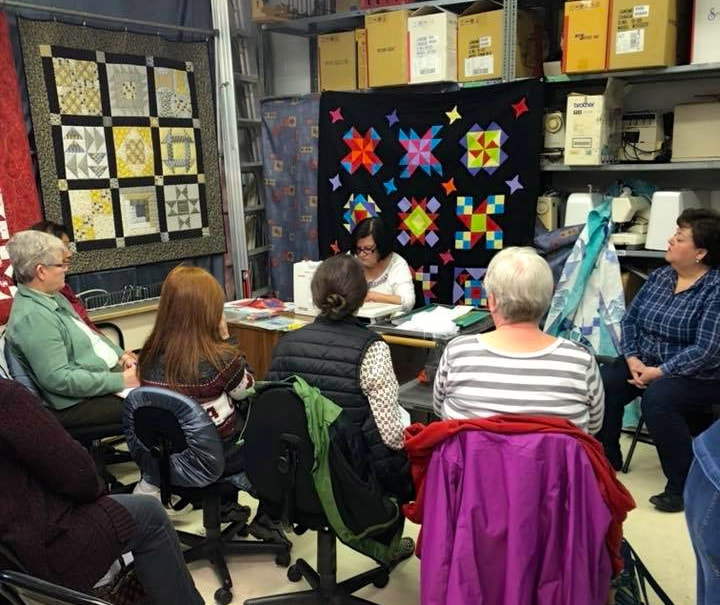
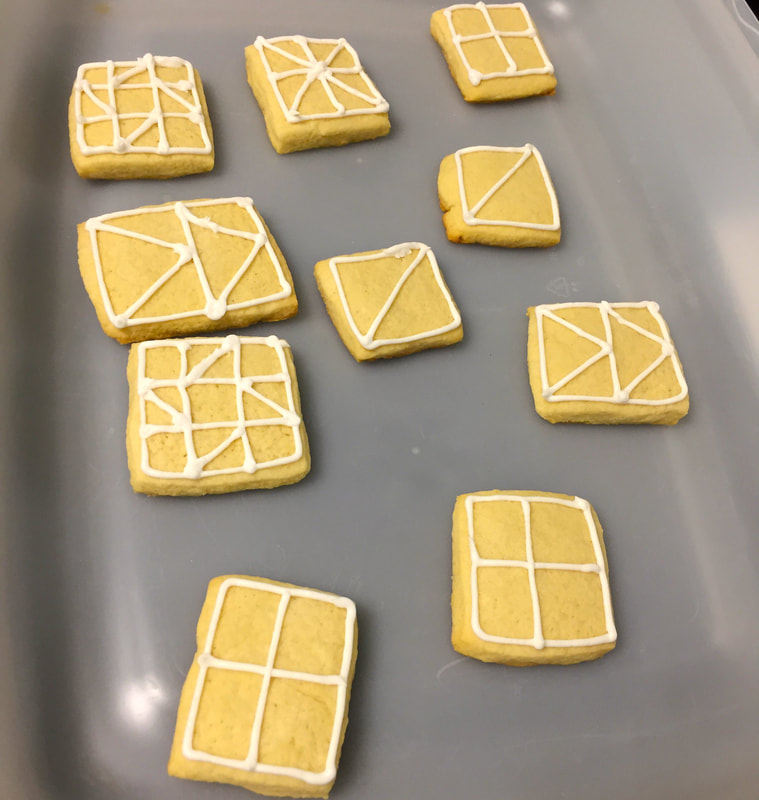
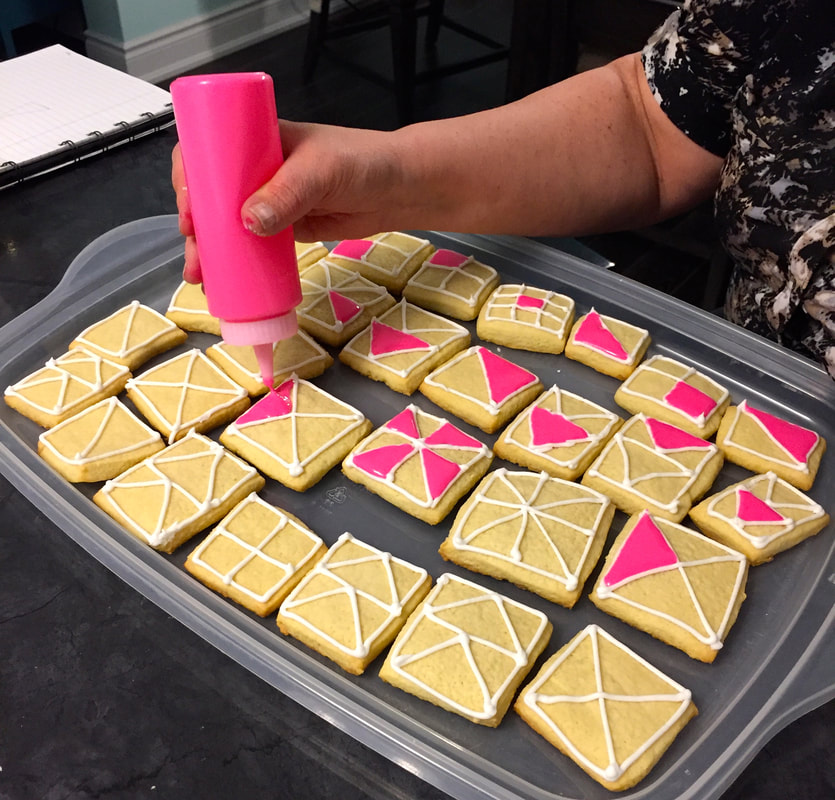
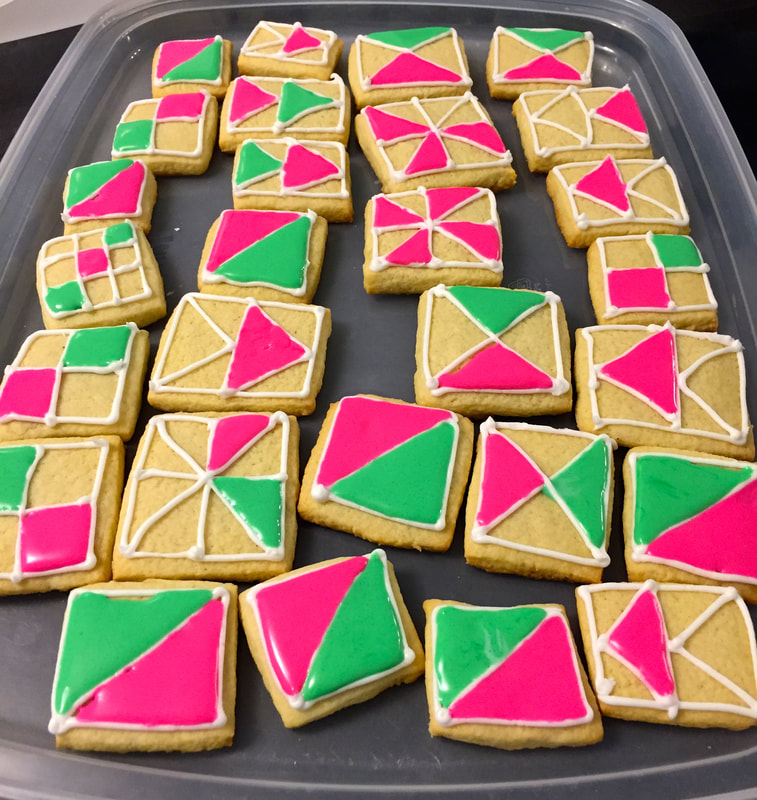
This past Saturday, I was a guest demonstrator at Hummingbird Sewing (Barrie, ON) for their "Notion Commotion" and Janome Education event. The event was lots of fun and because the ladies who own and run the store have been so good to me, I decided I would pay it forward and make some treats for their event. Thanks again to the "Fabulous" Sharon, Deb and Maureen.
I know how hard you ladies work to inspire your customers and I for one appreciate it! Below is the flyer for this SOLD OUT event! Scroll down below for the recipes for the cookies and the icing Sugar Cookies RecipeIngredients: 1 cup butter 3 cup flour 1 teaspoon salt ½ teaspoon baking soda ½ teaspoon baking powder 1 teaspoon vanilla 2 eggs 1 cup sugar How to make them: Mix together the first 5 ingredients until thoroughly mixed with a beater (about 5 minutes). In a separate bowl mix the vanilla, sugar and eggs together. Pour the vanilla, sugar and eggs mixture in with the first 5 ingredients and mix well. Separate dough into 2 discs and refrigerate for a minimum of one hour. Roll out on a floured surface, cut with a knife (as I did) or cookie cutter and place on a parchment lined baking sheet. Bake for 7-10 minutes at 350 degrees F. Note: These are buttery cookies, but not too sweet. The royal icing really makes them tasty and well balanced. Icing is recommended. Royal Icing Recipe
Ingredients:
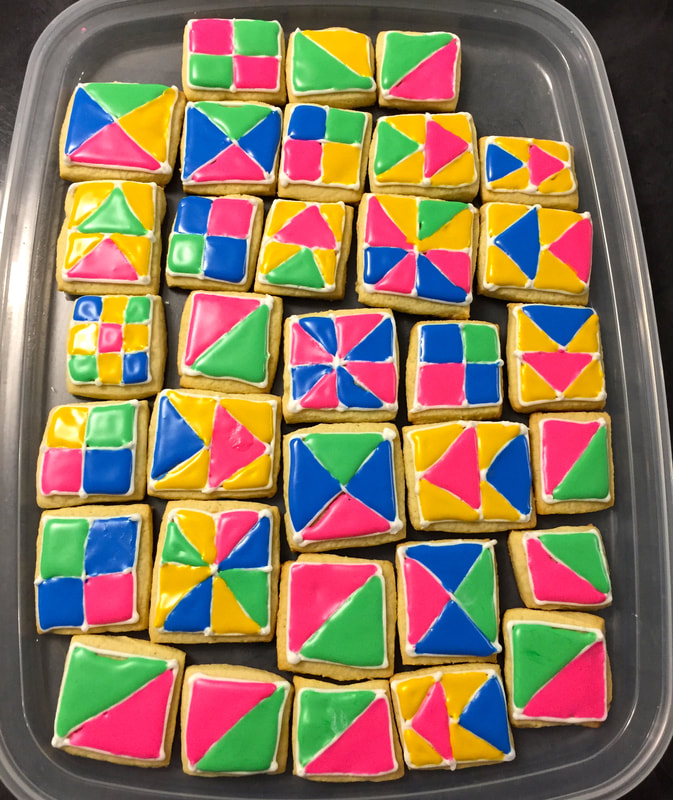
4 TBSP meringue powder scant 1/2 c. water 1 lb. powdered sugar 1/2 - 1 tsp light corn syrup 5 drops of lemon, vanilla or almond extract (optional) How to make it: Mix well with a blender until the icing is "pipe able" for the white icing (5 minutes or so) and "flood able" for the coloured icing (you will need to add more water) . Add water in very small increments for best results. Use a piping/writing tip and piping bag for the white icing. Do this at least 15 minutes before adding colour. Use a squeeze bottle or flooding tip for the coloured icing after the white icing has had a chance to dry slightly. Let the finished cookies sit out for about a 1/2 hour and then store in air tight containers in one layer overnight before serving. See some images below.
I am a TOTAL amateur and plan on improving my cookie decorating skills at Craftsy.com
Who knows, maybe you will see some more "professional" cookies on this blog in the near future, we can all hope for progress, LOL! If you are interested in cookie decorating and/or perfecting your decorating skills, feel free to check out the cookie decorating class below. Price is in USD , when you click on the link below it will show you a price for your country or origin.
I encourage you also to check out Hummingbird Sewing if you are visiting Barrie, Ontario this spring or summer. They have lots to offer quilters /sewist's and very friendly staff!
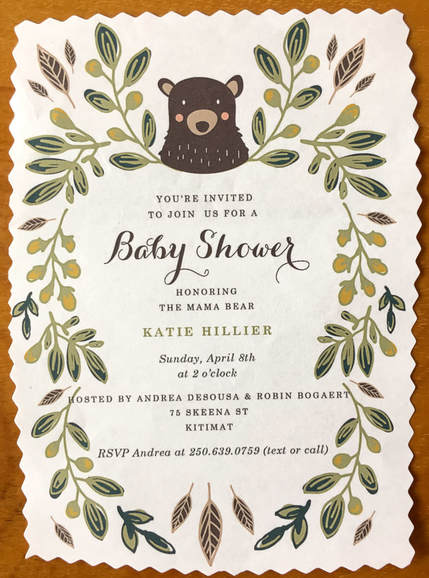
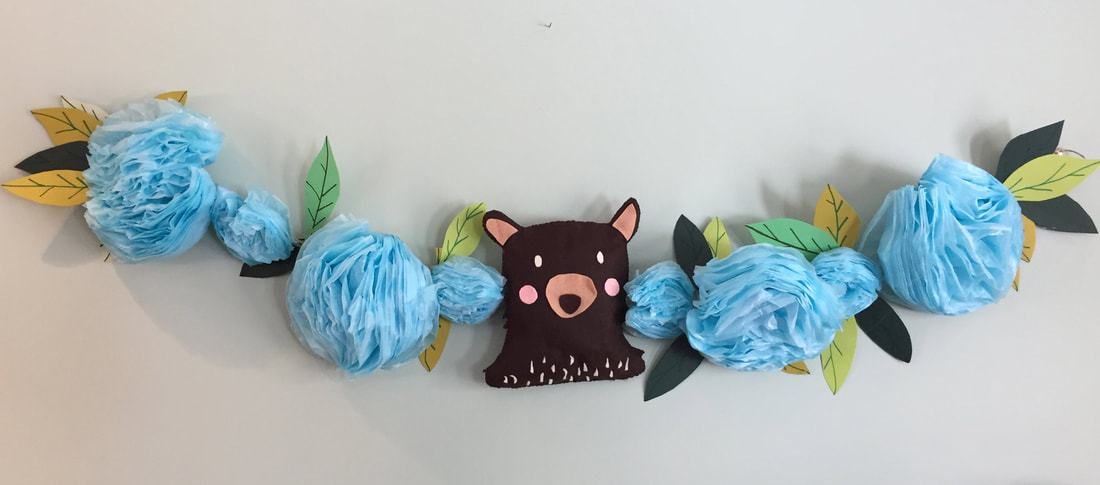
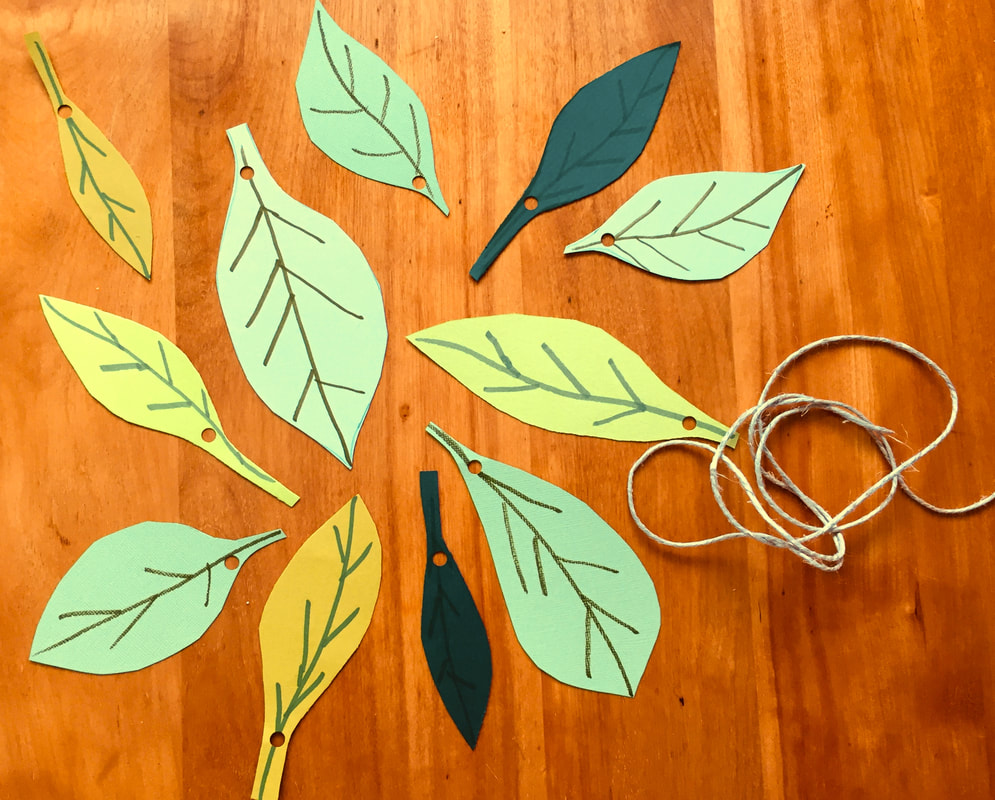
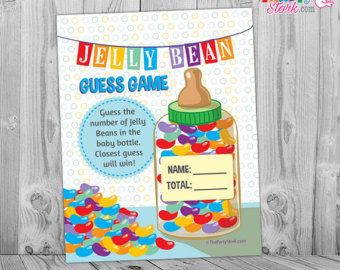
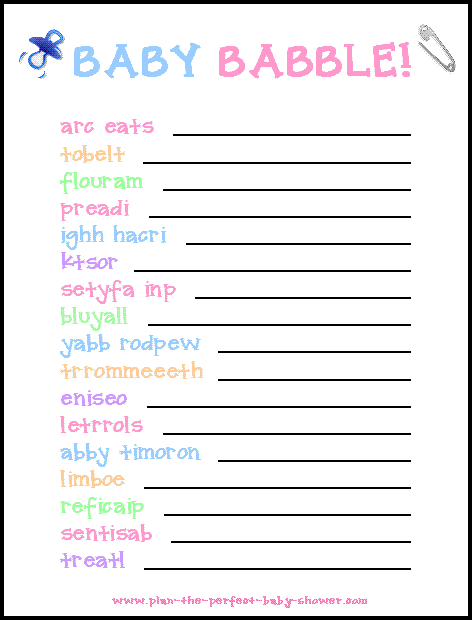
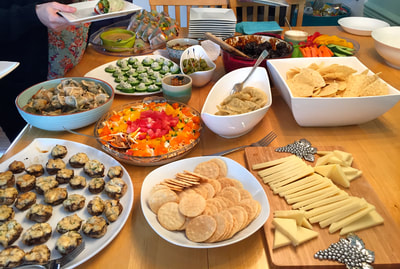
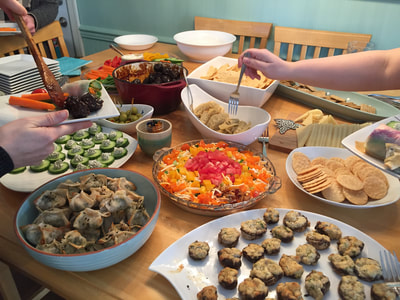
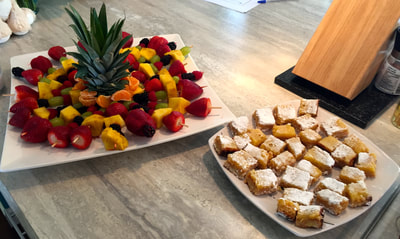
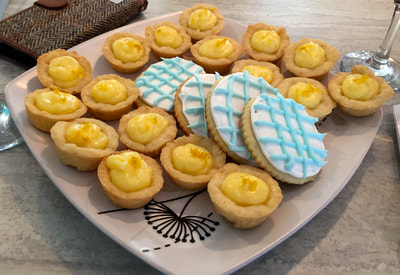
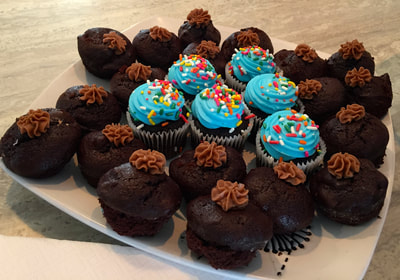
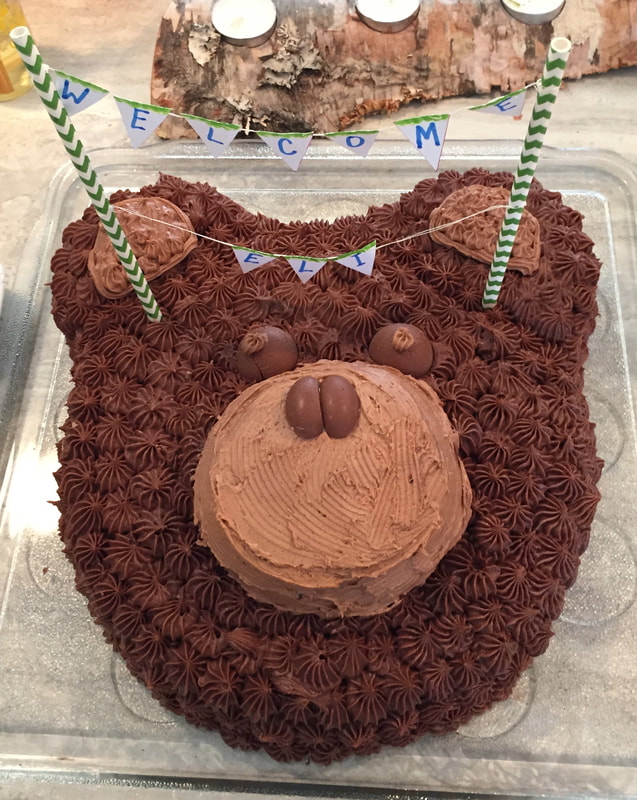
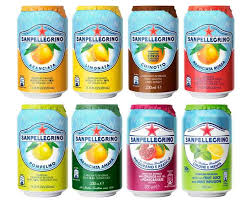
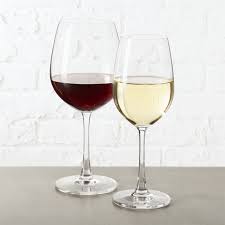
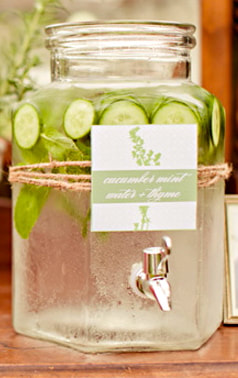
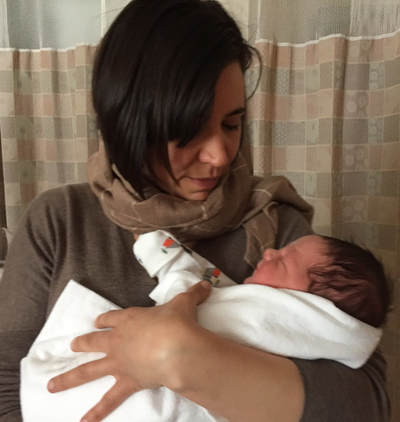
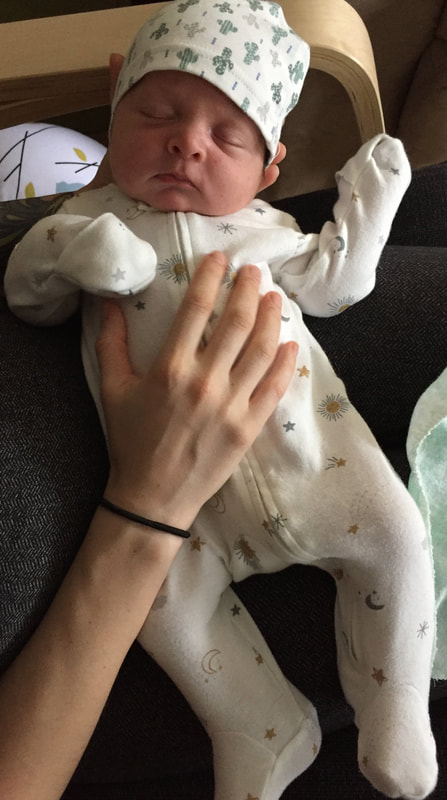
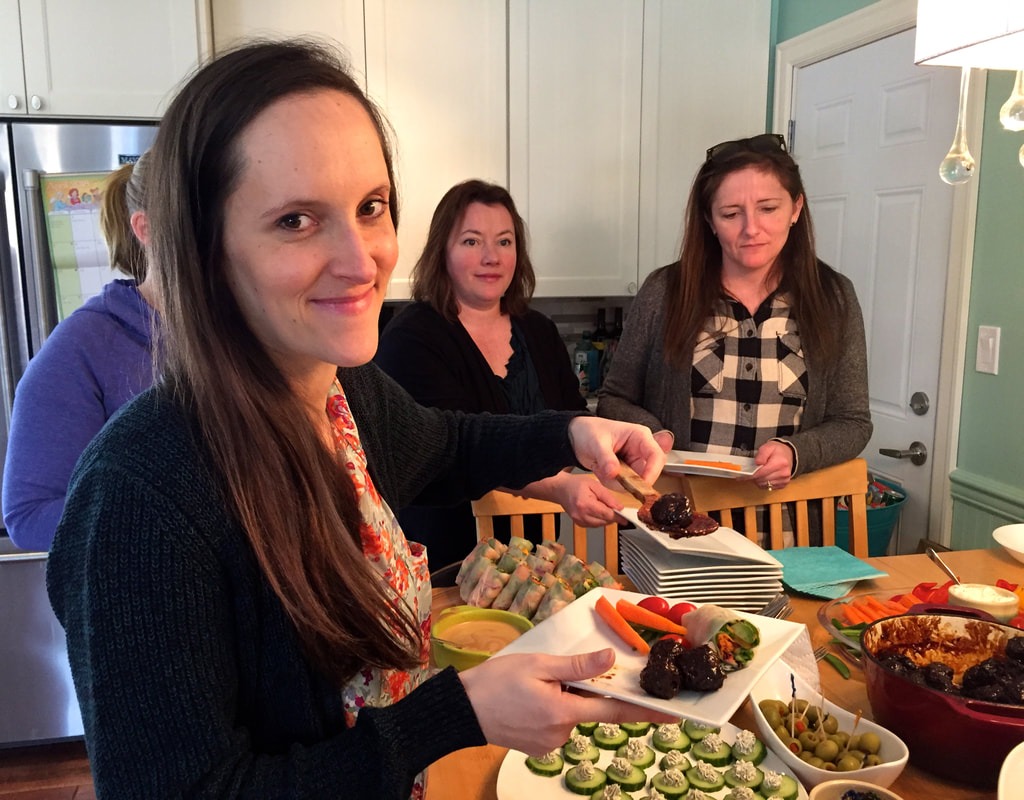
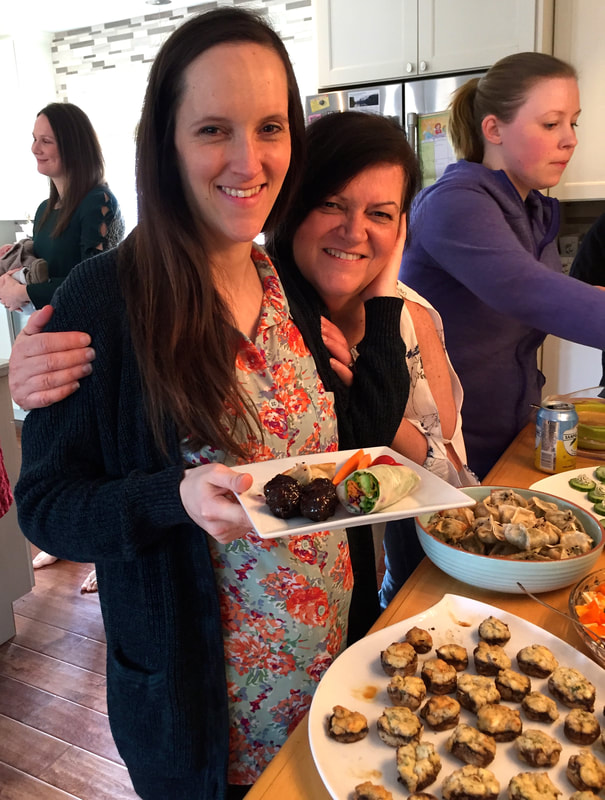
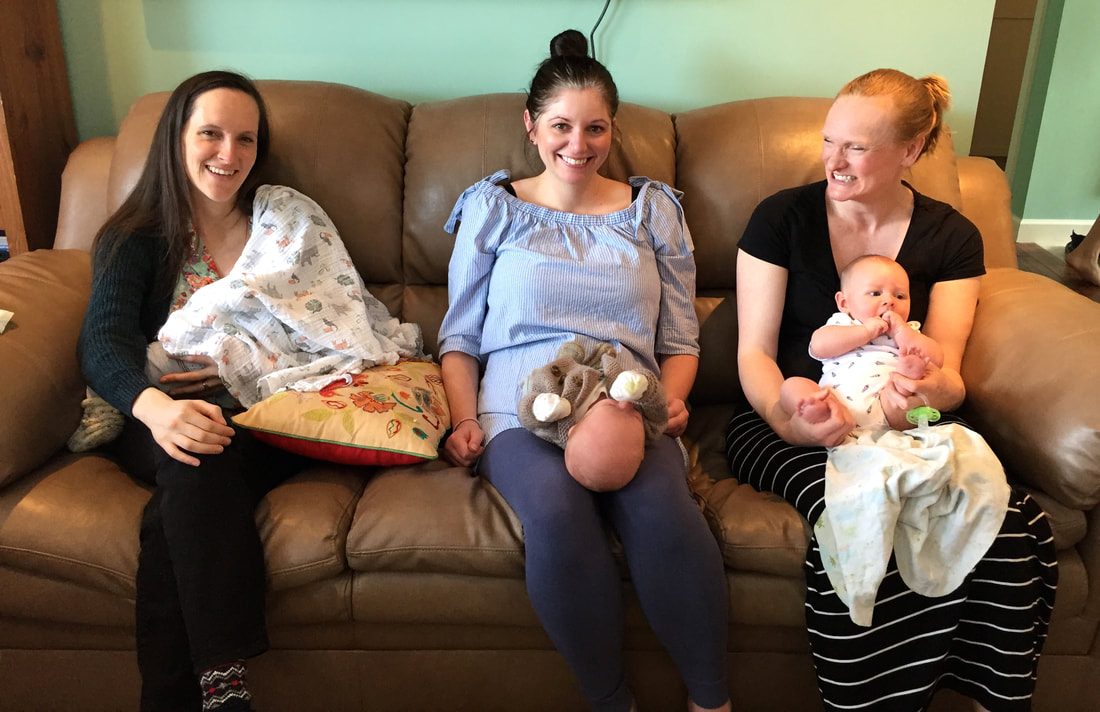
Happy Monday! ? Need some ideas for a DIY baby shower? You have come to the right place! Read the below post for some great DIY ideas and I hope this helps you in your planning process. In yesterday's post I spoke of the arrival of my first grandchild Eli. I am positive you will hear lots about him in blog posts to come. Who can resist talking about a beautiful baby! Especially since he is my first. It will be very hard to remain unbiased!! Today I want to talk about DIY for a baby shower. There are very few sewing elements, but several crafty and cooking elements which I thought my readers may enjoy. So here goes: Invitations: Katie (my daughter) decided paper invites were a must. She felt they would be more personal than social media sent invites. As a lover of arts and crafts, Katie felt that a paper invitation might also better depict a theme and atmosphere of the shower to come. As they live in a small town, most of the invitations were actually delivered in person (almost unheard of these days!). What is funny is that these invitations were sent out before Katie knew the babies' gender and so the little bear theme was wonderful for a baby boy💙. The invitations were also printed from: creative market.com on their home printer. A picture of the invitation is shown below: Decor: My co host for the shower was Andrea, a lovely friend of my daughter's. So we decided on an intimate gathering of about 12 lovely ladies in her Andrea's home. We decided to keep the decor simple with fresh flowers and a simple crafted swag in keeping with the theme of the invitation. The swag was made with construction paper leaves in various colours of green, tissue paper roses to celebrate our little boy and an enlarged bear head made out of felt with glued features, sewn by hand and stuffed lightly. All of the elements of the swag were strung on jute (you could use wire, wool or string but that is what we had on hand). I think you get the idea of how it was constructed right?, if not feel free to contact us with any questions. I also found that glue gunning the leaves in place so they would stand in different directions helped to make them look right for the swag. Games: We chose 3 "games" . #1) Guess the number of easter eggs in a baby bottle. You can get the graphic below on Etsy at https://www.etsy.com/market/jelly_bean_game #2) Baby Trivia Baby Trivia True or False 1. All babies are born with blue eyes? 2. Babies have more bones than adults? 3. Touch is the first sense baby develops? 4. September is the busiest month of the year for giving birth in Canada? 5. Babies take more breaths than adults? 6. Babies are born without kneecaps? Press the Contact tab above if this game is something you are interested in and I can give you my researched answers. 3) Baby Word Scramble from www.plan-the-perfect-baby-shower.com Again press the Contact tab above and email us for the answers to the Baby Babble above Food---- Savory items: We chose lots of finger foods, a range of fresh veggies for dipping, vegetable rice wrappers, cocktail meatballs, creamed cheese cucumbers, pot stickers, crab stuffed mushrooms, aged cheddar and crackers. a taco dip and nacho chips. All made from scratch except the pot stickers! Scroll down to the end of this post to enjoy one of these savoury recipes. ---Sweets We decided to have a cake and several smaller items, along with Gluten Free options and healthy fruit. The menu for the sweets counter included: Sugar cookies (blue and white royal icing), chocolate cupcakes (blue icing), Gluten Free one bite brownies, Gluten Free lemon squares, Lemon Tarts, small fruit kabobs and a double chocolate "Bear Cake" . All sweet items were also made from scratch,. The Bear Cake- note that the little flags strung with "Welcome Eli "were triangles of paper sewn together with sewing thread and then attached to paper straws and stuck into the cake. The eyes were made of round chocolate truffles and the nose was made from chocolate easter eggs cut in half for each nostril. Thank goodness it was right around Easter time or these chocolates would not have been left over! Beverages: We served wine, Gin and tonics (with lots of fresh lime juice), Sparking Water and a Spicket jug of Iced Water with cucumber slices and fresh mint, coffee and tea. This seemed like the perfect assortment for a group of ladies. Some additional photos of the fun below: Little "Man of the Hour": An easy savoury dip recipe to share for your shower below: 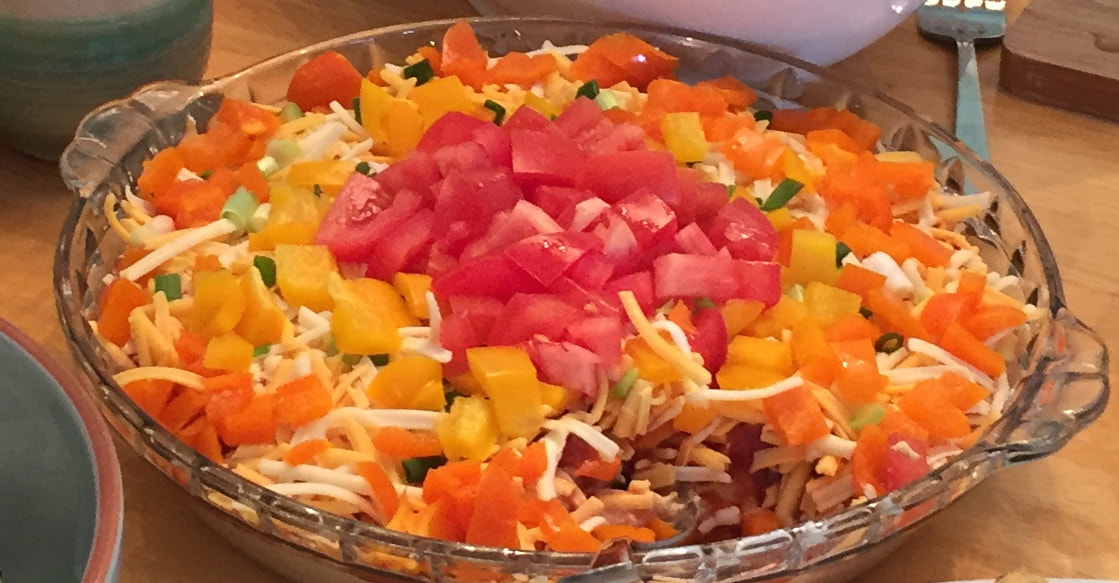 Recipe for Easy Taco Dip 1 cup mayonnaise 1 cup softened Cream Cheese 1 pkg. Taco seasoning 1 cup salsa 2 cups shredded cheddar cheese Chopped veggies of your choice, Suggested: Red pepper, orange pepper, tomatoes. green onions Tortilla Chips for Dipping To Make: Whip the first 3 ingredients together with a mixer until smooth and spread in a glass pie plate, spread salsa on top of cream chess mixture, sprinkle with cheddar cheese and sprinkle with chopped vegetables. Serve with tortilla chips Katie received a plethora of lovely gifts including a gorgeous Chariot Stroller for walking jogging and skiing with baby to which she is extremely grateful. Many thanks to all her lovely guests.
The shower was lots of fun but really---- when is it not fun with babies, good food, beverage and great people? Feel free to use any of these ideas for your upcoming shower and good luck with your planning! The talk about baby stuff has just begun, check back tomorrow and every wednesday for the beginning of my blog series on " Sew Many Easy Gifts For Baby". Happy Tuesday! 😊 Happy Thanksgiving! It's time to get back on a healthy cooking and eating track!! I don't know about you, but I definitely over indulged on the weekend.
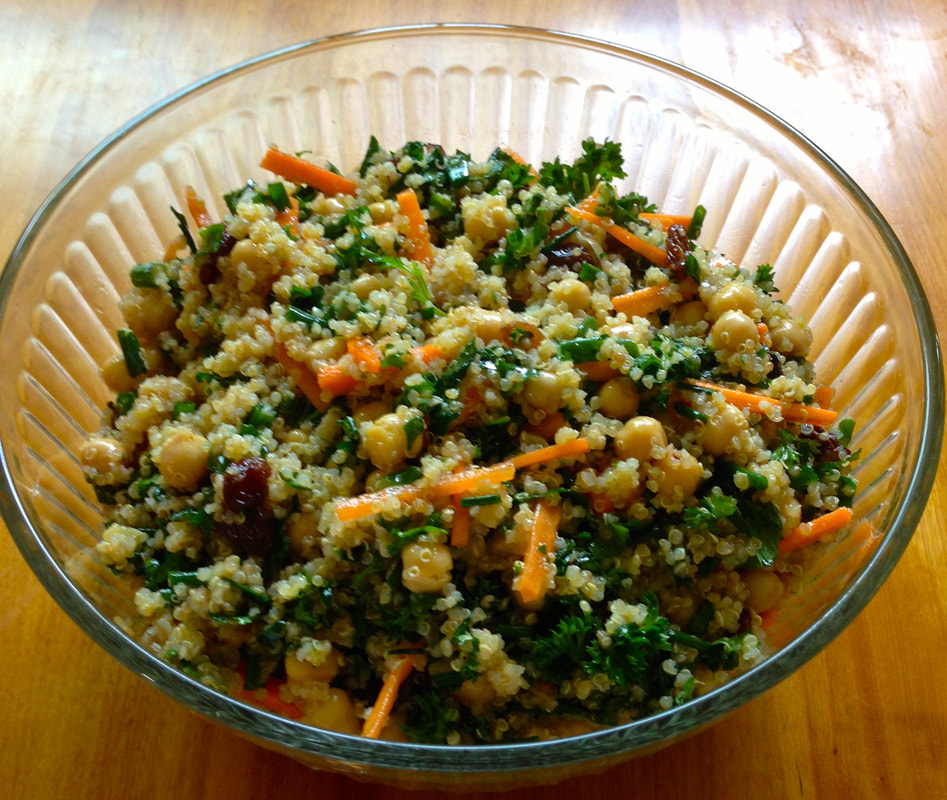
I know I'm completely out of order and not providing you with a quilting/stitchery related post but cooking is creative too right? Also this salad is just too delicious AND HEALTHY not to share! I was actually trying to come up with a recipe that used my fresh parsley from the garden, my carrots and kale while still having a lunch salad that incorporates some protein and this is it! So good, it's worth making again and again. The salad dressing spices are subtle and surprising, Also, mmmmm raisins seemed weird at first but they so make this salad wonderful. This is a great lunch box complete meal salad as well. Ingredients:
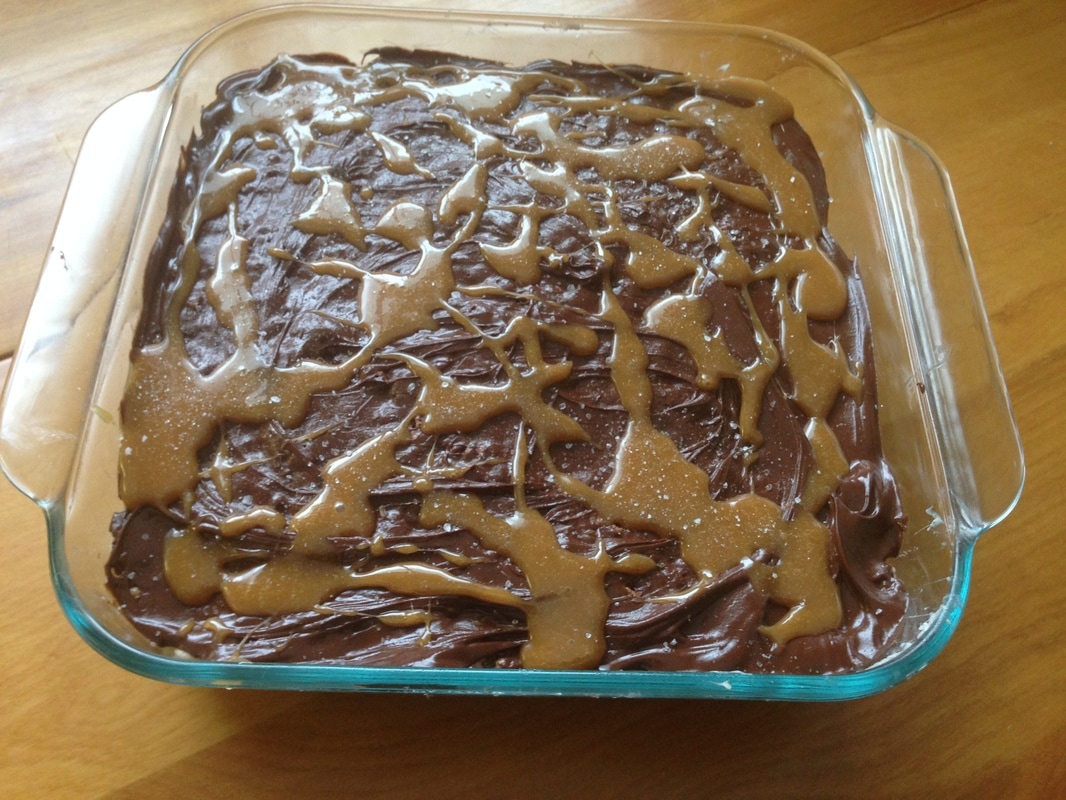
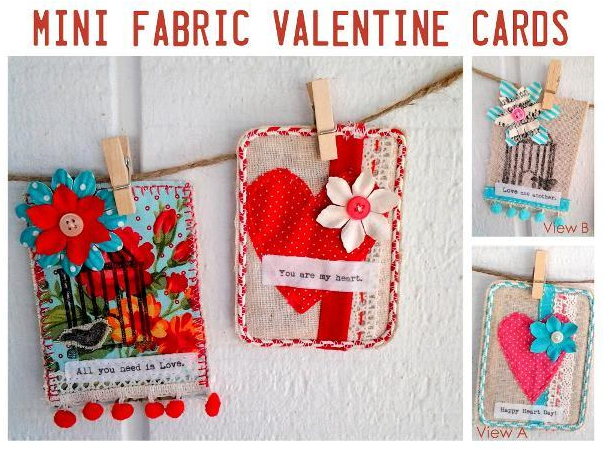
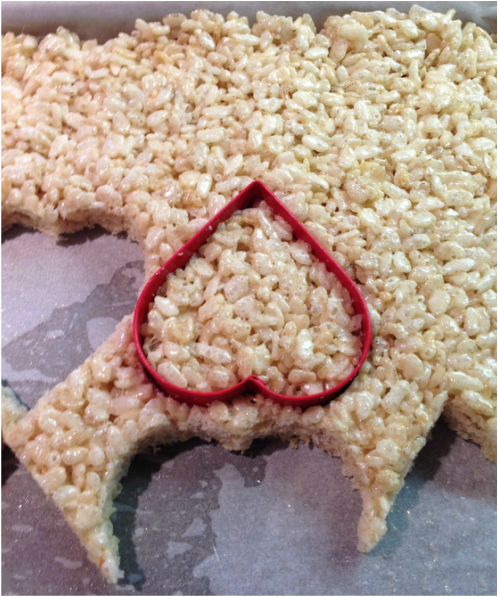
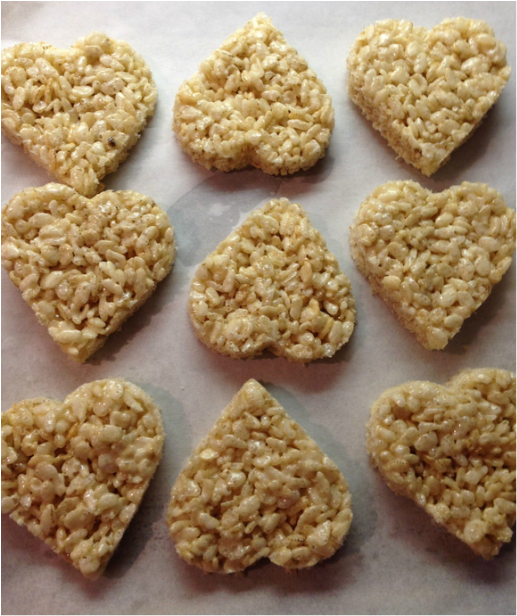
This is going to be one of my new family favourites! I hope you like it too! Happy Tuesday!😊 During super bowl weekend, I made this yummy treat that is easy and a neat way to re-visit a fairly old treat recipe. These lasted longer (in terms of freshness) than the regular plain rice krispy treats and I think it was because of the layer of chocolate smothered on the top. I also kept it covered. Ingredients: 1/4 cup of butter 5 cups or one bag of miniature marshmallows ( I prefer Kraft) About 6 cups of rice krispie cereal or gluten free 1 tsp vanilla 1 cup of dark chocolate chips 1/4 cup of Caramel/butterscotch ice cream sauce (you could melt 7 kraft caramels but stir in some milk (1 tbsp) after melting to make them more liquified) Sprinkling of sea salt Butter a 9 x9" pyrex square pan as above Melt the butter on low in a large sauce pan, add all marshmallows and stir and cook until melted, turn off the heat, stir in vanilla and stir in rice krispy cereal. Pour into prepared pan as above. Melt chocolate in the microwave for one minute and stir, 30 seconds, stir, watch carefully and alternate short intervals in the microwave until it is all melted. Spread over rice krispy treats, Swirl caramel sauce over top and sprinkle with sea salt. Yummy and a very nice change from the ordinary rice krispy treats. Make this for your loved ones today! If you want to get all gooey, wait for them to cool completely in the fridge and cut out with a heart cookie cutter. Or cut and eat as is. Keep them covered between serving if they last! and for a no calorie treat...... from Craftsy.com and 10 “OH SEW SWEET” PATTERNS FOR VALENTINE’S DAY! Treats from me to you❤️
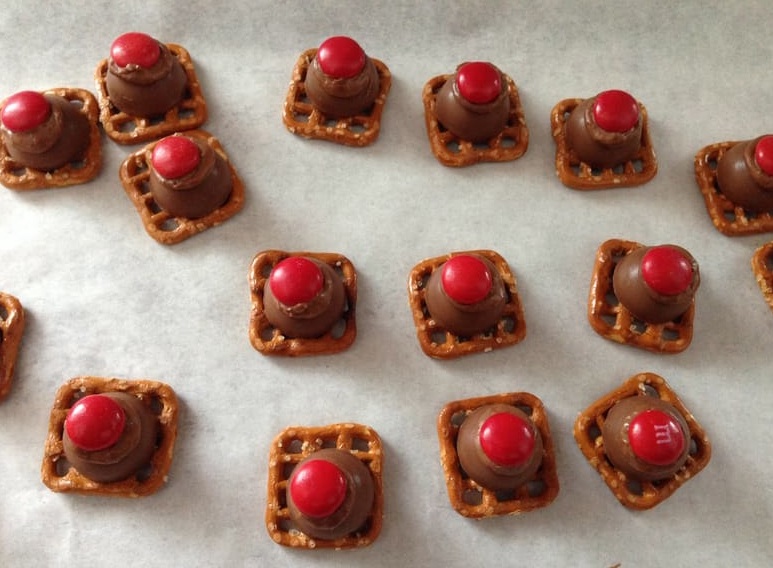
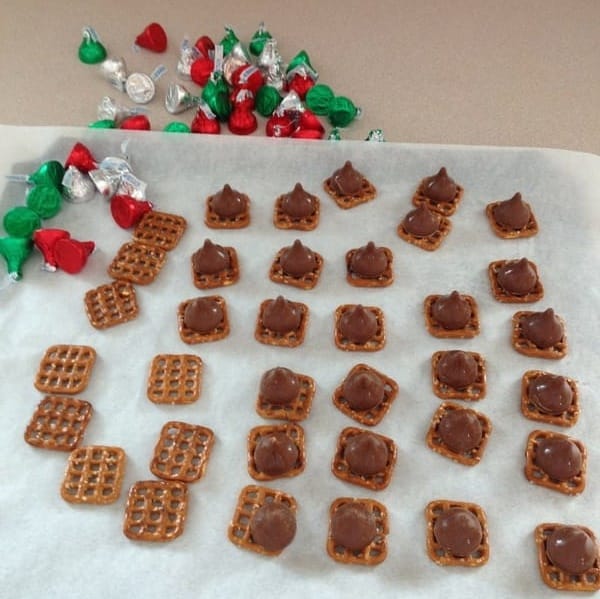
Spread some love around❤️❤️ Happy Tuesday and Happy Valentines Day!❤️❤️❤️ The above are just cute little sweet and salty treats that I made recently as an easy Christmas treat for a quilting group I belong to and I also brought them to a recent holiday family event. They are so fast and easy to make that I wanted to share the recipe with you. There is still time to run out and get these supplies! You will need: Square pretzels (I got mine at the Bulk Barn) Hershys Kisses Red M & M's (or smarties) A cookie sheet Parchment Paper Oven To make them: Preheat your oven to 170 degrees Fahrenheit Line a cookie sheet with parchment paper Unwrap a bunch of hershies kisses ( the kids love to help with this) Lay prezels close together on the parchment paper lined cookie sheet Place a hersheys kiss in the middle Put the cookie sheet with these little gems in the oven for only 4 minutes Remove from the oven and press an M & M in the center (use green M & M's and call them Grinches noses!) Let them cool, remove from cookie sheets and store in an airtight container Little kids and "Big Kids" love them!! Enjoy!🌲
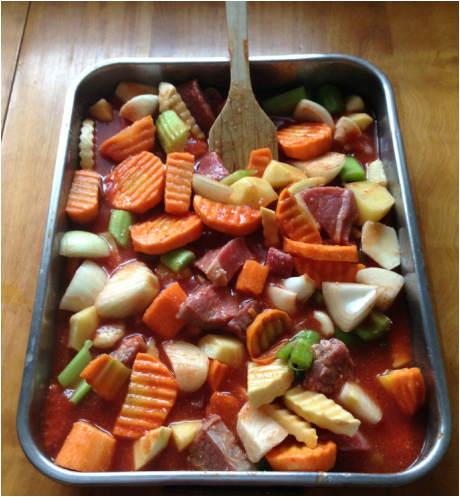
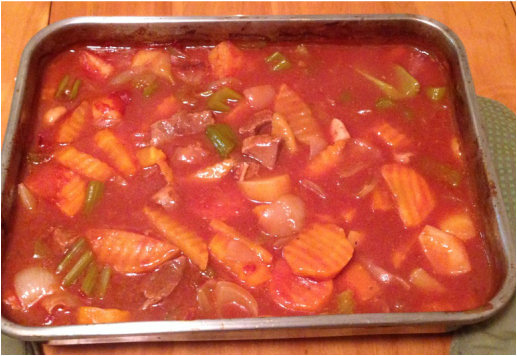
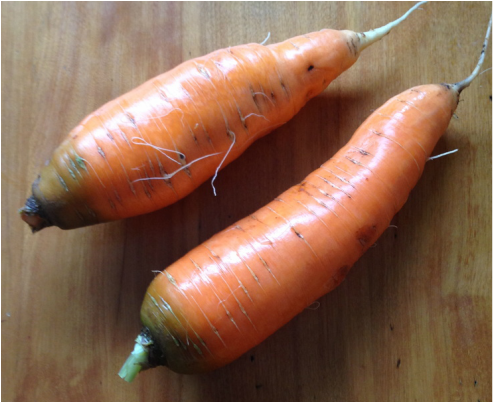 This is a wonderful recipe courtesy of an aunt of mine who made this when I was a child and I have loved it forever it seems. This is my classic stew recipe that I use all the time. It just happens to be that it was always made gluten free even before I discovered I needed to be gluten free! The "secret" ingredient makes the gravy surrounding the vegetables, silky smooth and thickened. It is even better the second day ❤️ Stew is a simple dish with readily available vegetables and I add my own additions (turnip) to make it tasty. This recipe takes 5 hours in the oven at 275 degrees, a wonderful recipe to use on a very cold day like today when it is windy with frigid temperatures. You will need: Carrots 2-3 large ones (mine were almost 3" in diameter in my garden! Huge) Celery 4-5 stocks rutabaga (or turnip) 1 cup roughly chopped 2-3 large onions quartered 6-8 medium potatoes 4-6 whole garlic cloves 2 lbs of stewing beef or steak (on sale) 2 1/2 cups of gluten free or regular beef broth 1-680 ml can or 2 3/4 cup of tomato sauce or juice (Gluten free or regular) Salt and pepper to taste 1 teaspoon celery seed 4 rounded tablespoons of Minute Tapioca * secret ingredient for thickening* (this is gluten free) How to make it:
Enjoy this savoury dish on a cold winter day! It is comfort food at it's best ..mmmmm Happy Monday! I hope you have a wonderful week.
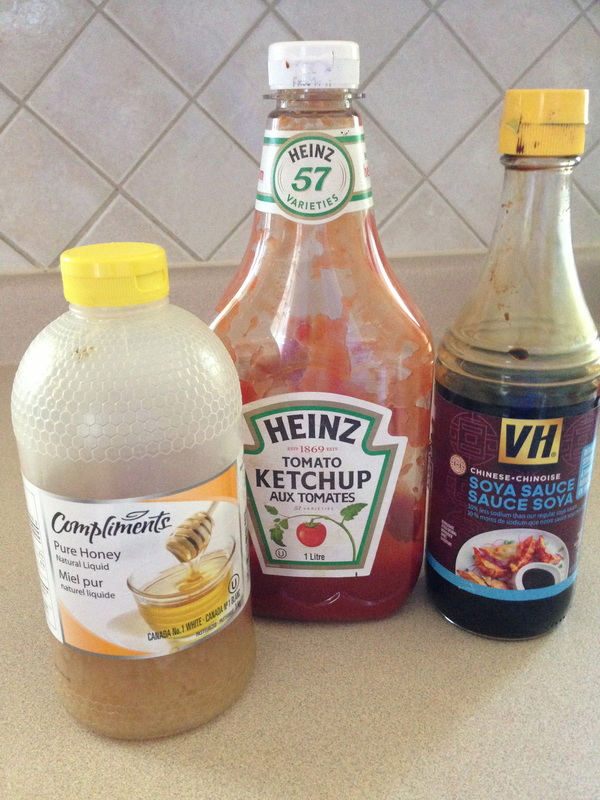
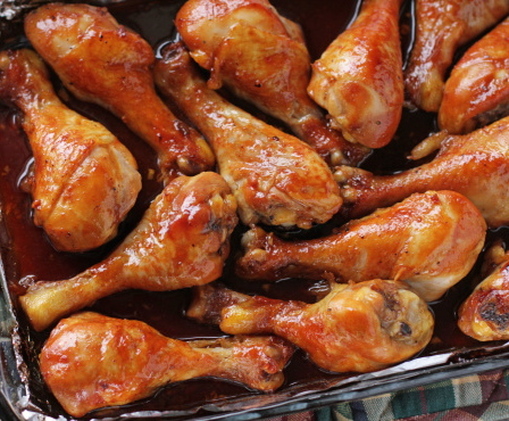 This is an easy recipe to bake chicken legs or thighs and makes them moist, flavourful and delicious! Only 4 ingredients! You will need:
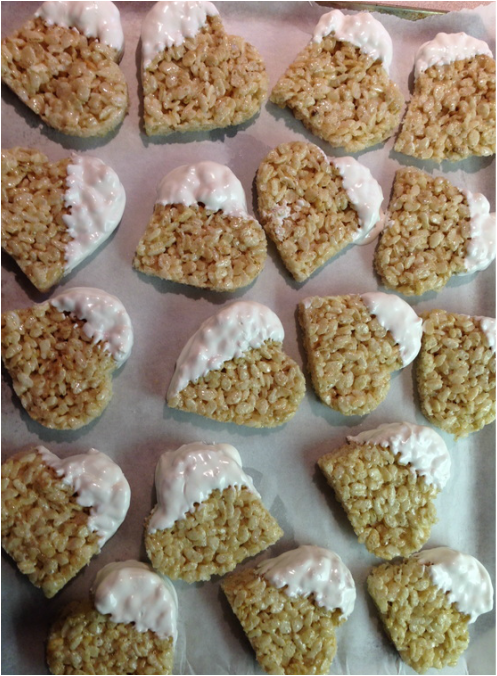
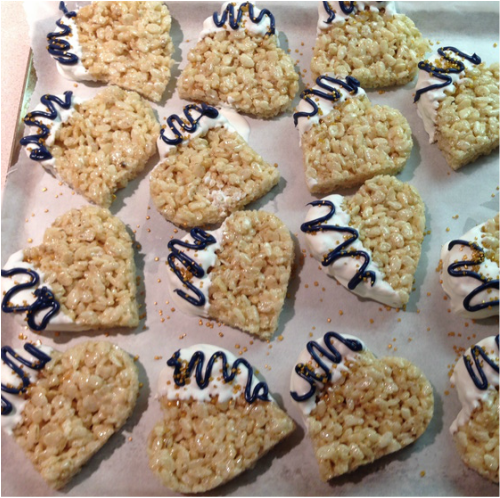
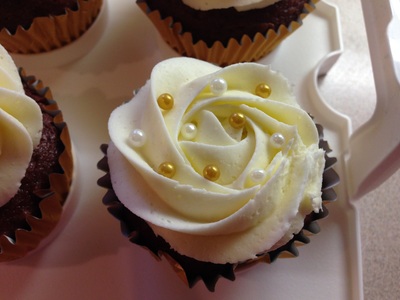
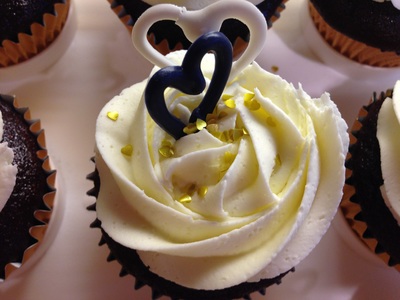
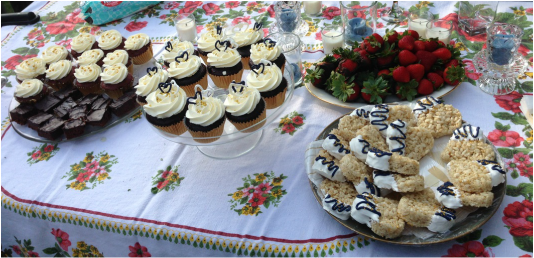
Mix the 3 above ingredients together and pour oven chicken in a baking pan. Bake at 350 degrees for about one hour or until chicken is done. The easiest recipe ever and so delicious! Note: This can recipe can also be cut in 1/2 if you have less chicken to cook. Enjoy & Happy Sunday!🍁 I know this is not quilting related, but I just wanted to share a useful tip to make pretty Rice Krispie treats with you. It just dresses these treats up a notch. This is easy and the kids/grandkids could help you. You could make them in any shape for any occasion. I used GF rice krispies but you could use the regular ones as well. I made these for my nieces bridal shower. Lay your rice krispies once they are made onto a shallow or jelly roll pan and use cookie cutters to cut out shapes. Dip one side in white chocolate or candy melts. Melt some other colours of candy melts or dark chocolate and swirl over the white while its still wet. You can use the corner of a zip lock bag for a piping tool (cut a very small hole) or use a piping tip. My nieces wedding colours are midnight blue and gold so the swirls are midnight blue and I sprinkled gold candy crystals on them. You could make these rainbow sprinkles and skip the piping and they would look great for the kids! Some cupcakes I also made below with candy melt hearts, gold and white sprinkles and pearls: A pretty spread of desserts! Next week, I will be blogging about my vacation in the US, some quilting related, some not ----can you guess where I am??? Hint: Missouri
I hope you have a great Wednesday!☀️ It's gonna be a hot one☀️ |
Follow Me:Welcome!Hi I'm Robin and I am a professional long arm quilter, pattern designer and teacher. I am passionate about all things quilty! Categories
All
Sponsors
This blog contains affiliate links. This means that we endorse products.
We do receive rewards for these endorsements and this helps to keep this site alive and well. We support products which we believe are the best quality and to inspire your creativity! |

 RSS Feed

