|
As promised I completed the pattern for my "Modern Ombré Quilt". I just loved making this queen sized bed quilt (or modern wall hanging) It is easy to construct and it's a great way to examine what colours and shades you have in your stash or your 5 favourite colours! Another reuse project for me this year. I am bent on using up my stash while still making nice things! To make mine, all the strips came from my stash except 2 in the pink to red section. I clearly love colour and I think this quilt is so bright and happy it was not only a pleasure to design and construct, but I also enjoyed the simplicity of the quilting. Check out this my pattern below, available as a PDF download here for only $5.00 Cdn or we are happy to ship it to you for $12.00 Cdn as well if you are interested in a journey to explore colours with ombré placement. 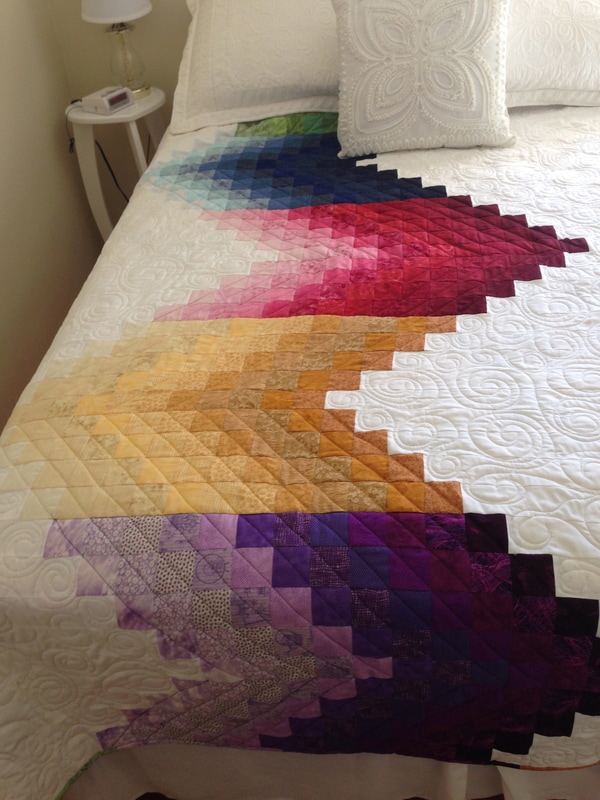  Modern Ombré Quilt 80.5 x 90.5" 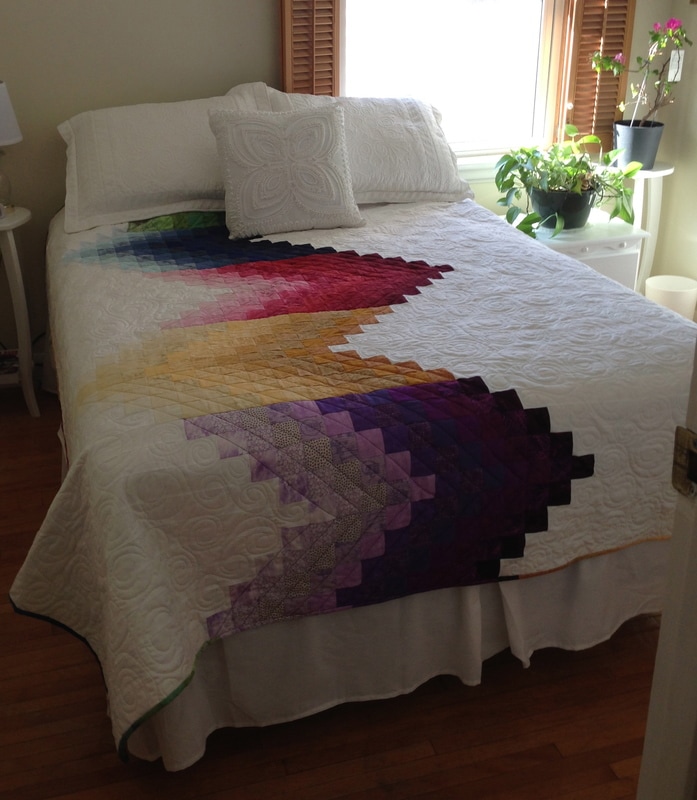 All of the math is done for you, the pattern contains clear and concise directions, a coloured layout diagram and quilting suggestions. Check out our shop page we accept most payment methods and ship anywhere in the US and Canada. Other countries, please contact us for shipping rates so that we may ship to you as well. Happy Tuesday! Happy Spring🌷☀️
0 Comments
I have designed with EQ7 a new quilt to 1) use up my stash by using up my ombre strips 2) design a bargello style quilt 4) audition the colour combinations and 5) make a very accurate quilt.
EQ 7 is wonderful and EQ software has been the top quilt design software in the industry for 25 years! 
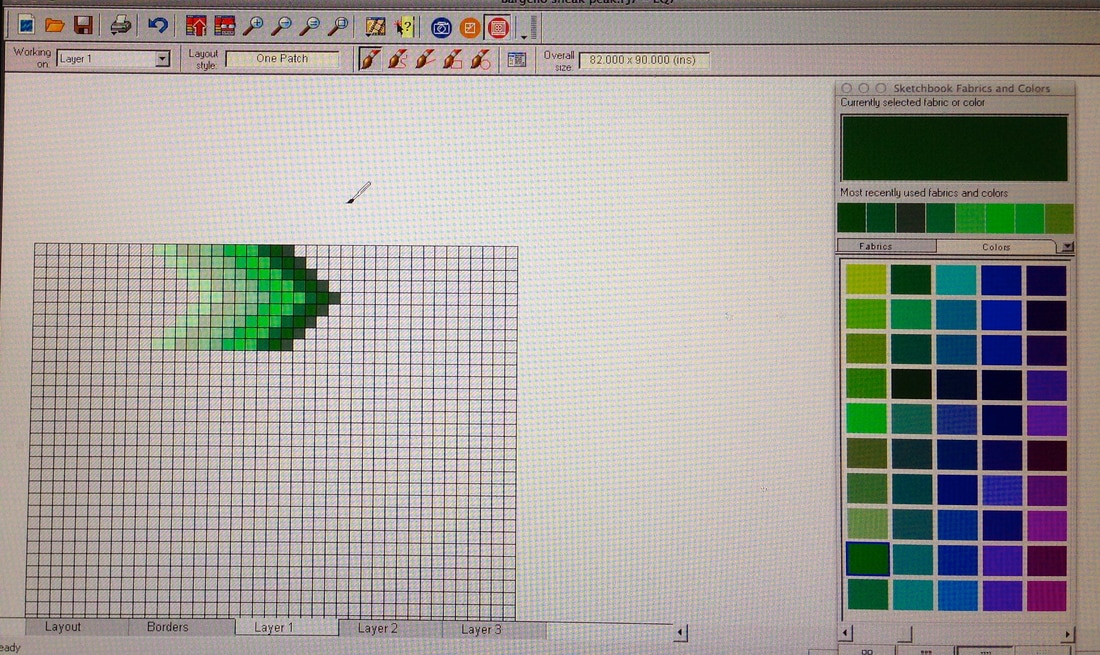
Sneak peak of my design in progress in EQ7
I am happy to say I have started the quilt making process finally! See my photo below. 1/5 of the quilt is pieced!!! It will be double/queen sized.
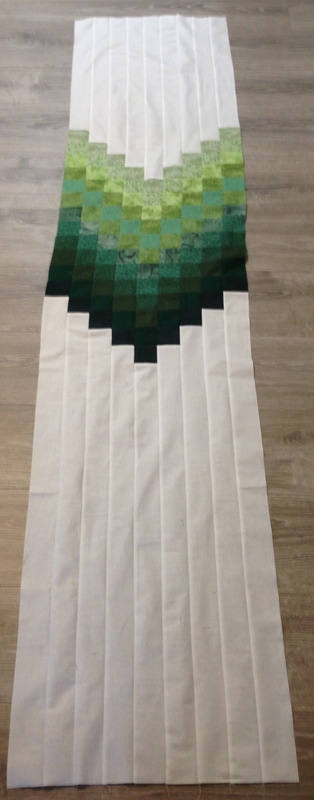
I auditioned background colours and wanted it modern so grey and white were my options for background. See photo of my strip sets auditioning it with white below:
Ombre strip sets auditioned with white fabric
I felt like the white made the colours pop! I tried grey and they looked dull in comparison.
EQ7 made designing this quilt so much easier than if I had to draw it on paper and colour it in. It is a wonderful design tool because you can decide on the size of your quilt and whether it needs sashing, blocks, colours, fabric, placement etc and just press buttons, drag and drop and voila your quilt is designed! 
Add sashing,blocks, borders, colours and settings with EQ7-Literally 100's of design elements
Most of my patterns and quilts these days are being designed on this wonderful software and I hope to use it much more into the future. There is a learning curve with it and I am learning on it every time I try to work with it.
I would be sugar coating it if I did not say there are challenges with it. It is a multifaceted program with lots to learn and there in lies the challenge! However, with so many design, block, sashing, border, fabric, colour and quilting options available, once you master the learning curve you have designs that you can "visually audition" and draw accurately with EQ7. 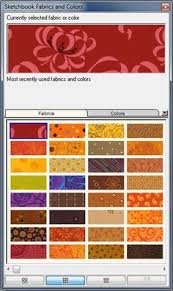
Choosing fabric colours with EQ7
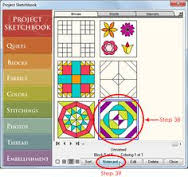
Choosing block styles with EQ7
Can you imagine your unique possibilities with this software?
Tune in next tuesday for my next instalment of this quilt... I'm hoping to get it done fast now that I have mastered the design process with EQ7! Happy Tuesday!
Falling in love with a colour is easy. Picking your favorite shade, on the other hand, can be difficult — which is why we love ombre! Or at least why I love it!! This hot color trend has a restful, happy affect on the eye. Colours are not busy, colours appear to glow and the colours appear modern!
Check out the picture of the room below- NOT a quilt however it could be! What a lovely way to decorate a room with an ombre affect and art work. This photo is by Melanie Acevedo, from the book "Undecorate." So beautiful and I believe it really looks modern. 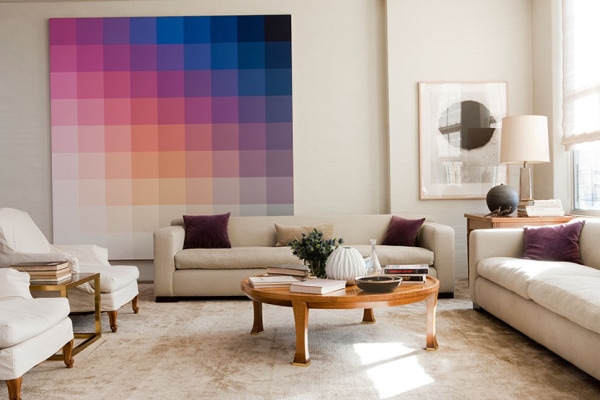
Photo by Melanie Acevedo from the book "Undecorate"
Check out my most recent yellow/gold ombre strip set below, I have 4 sewn together, one more next week and then I start working on modern project (s) with these strip sets. Stay tuned and check back to see what I will be working on. :)
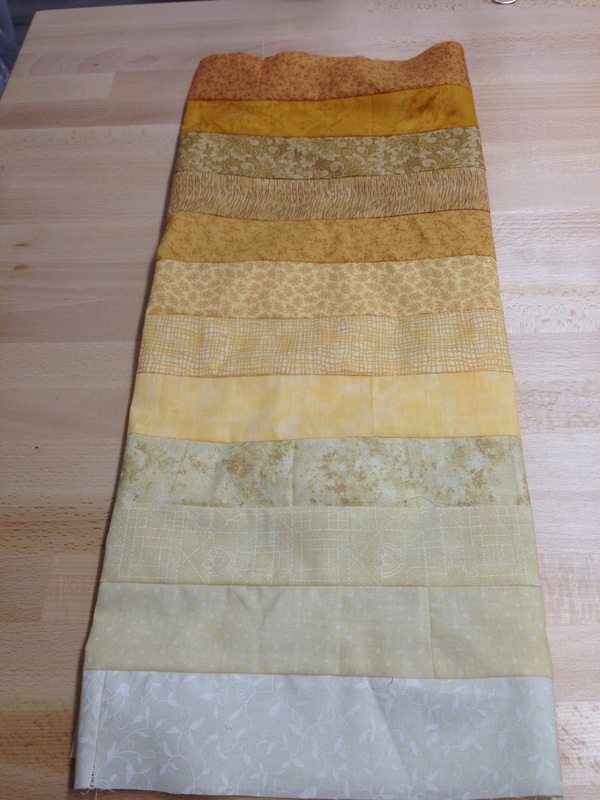
This weeks strip set in shades of yellow
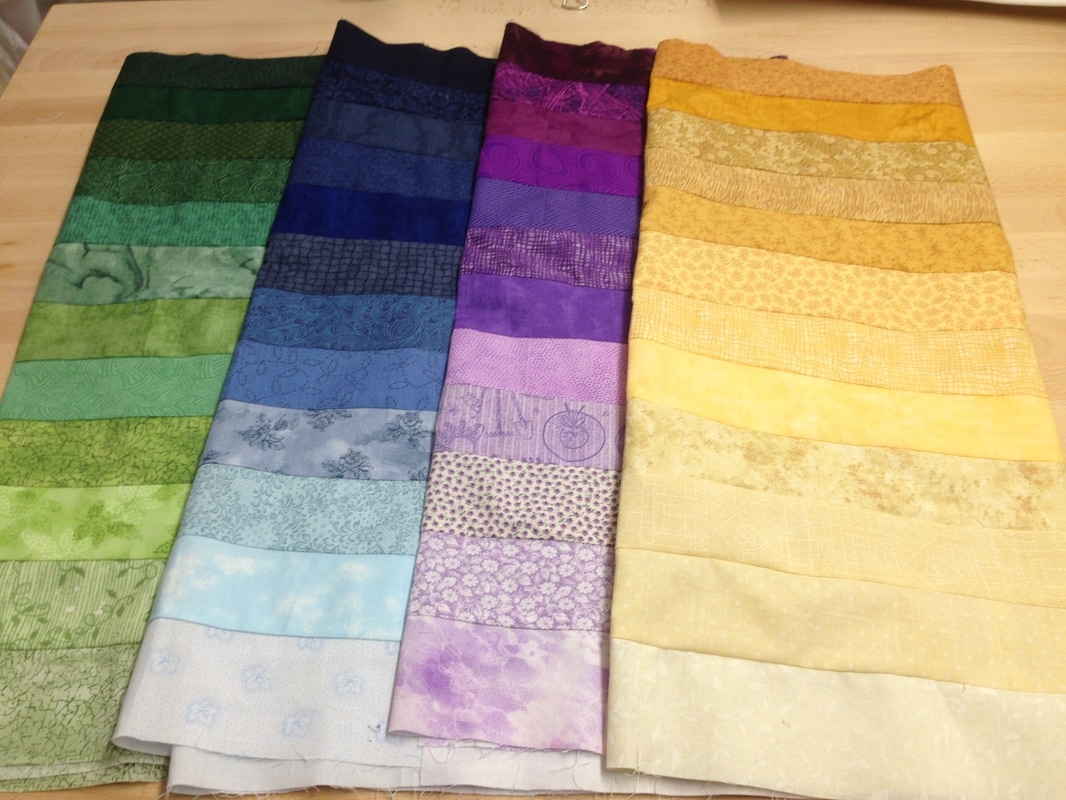
All 4 strip sets to date...They Glow!
Don't forget to use a colour tool if you try to ombre your stash and recommended is the 3-in-1 Color Tool by Joen Wolfrom available below.
An absolute necessity with the two green and red value finders included in this tool!
Get free ombre quilt patterns here !
Photo from craftsy.com/blog Click on the photo to get the free pattern!
Happy Tuesday! Use up your stash with Ombre strips!! ?
I have been very busy these days making of Roman Shades. Five of them to be exact. Two for a friend and 3 for my new quilting studio, I think I have now perfected roman shade making! I am also testing the Westalee Rulers (domestic free motion rulers) for a quilt shop in Barrie, making a sampler for them, doing custom long arm quilting, getting ready for upcoming trunk shows, teaching, some magazine work and more! Phew!! I have not forgotten my ombre project and completed another strip set for upcoming projects (which I will share I promise!!). See the purple ombre strip set below: 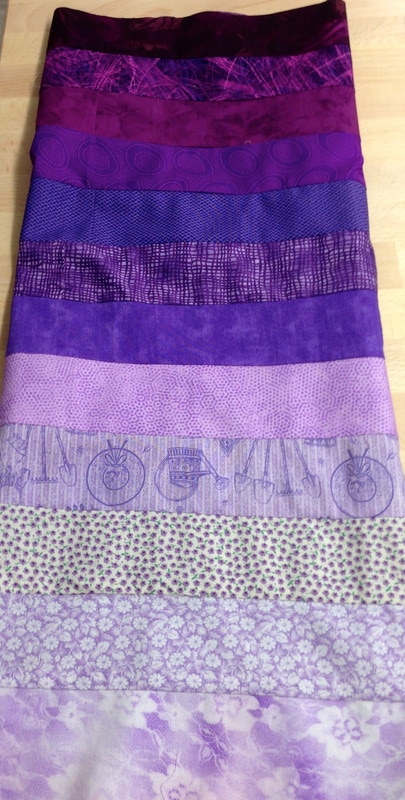  My blue and green ombre strip sets made last week While you are waiting for me to show you what I am doing with my Ombre fabric check out a great blog post about ombre quilting patterns called Ombré Quilt Patterns That’ll Never Go Out of Style. Click here to have a look at some great ideas Also, below is a quilt featured in the blog post on Craftsy from Castilleja Cotton. Isn't it gorgeous!! So one idea for ombre fabric use .... make it Bargello. Just some inspiration for a chilly Thursday in March! 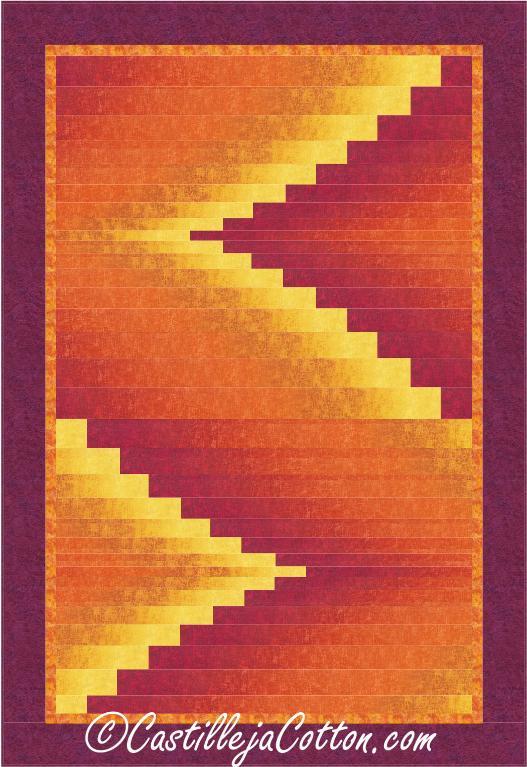 Sorry I am behind on my posting. I will be sure to make it up to my viewers in the coming weeks after my workload settles down!!
Happy Thursday and stay warm, spring will get here eventually 😍
Today I want to touch on the subject of Ombre placement of fabric.
I was inspired by a recent social painting class. I am no Picasso but it got me thinking about making an Ombre quilt and/or quilted project. I am thinking of this as yet another stash busting project. See my painting below: 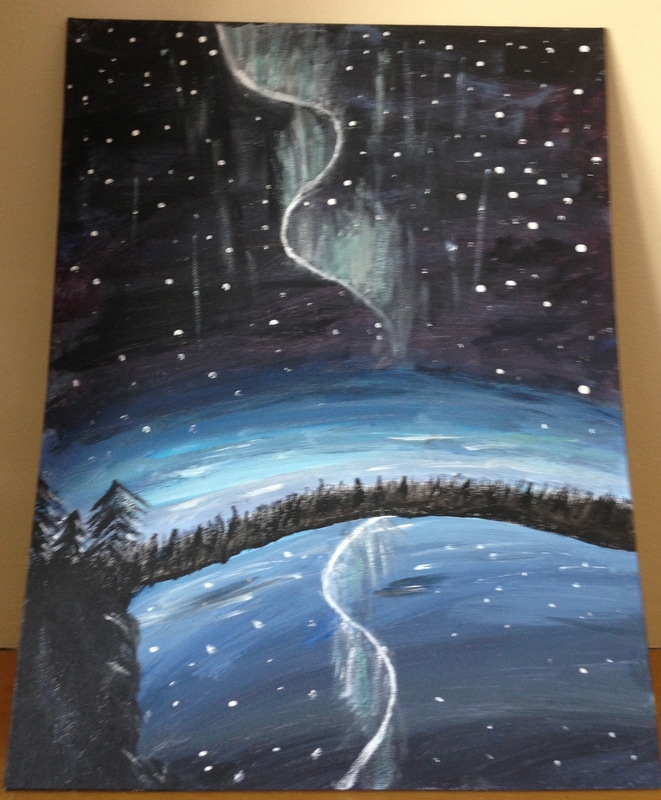
My Social Paint Night Painting "Borealis"
Part of the exercise in painting the above painting was shading the sky and the foreground from light to dark. The painting is very amateur but I enjoyed the process and it got me thinking about Ombre quilts. Ha! I am always thinking about quilting. I am betting you can relate?
Ombre apparently means shaded or shadow in French. In quilting and interior design, it is the art of shading with a graduated colour scheme from light to dark. There are some wonderful blog posts on the internet showing how you can paint an Ombre room and if you think about it every paint store has a visual of how to gradate colours with paint chips. See image below to see what I am talking about: 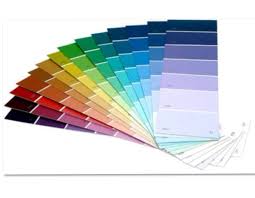

Check out this DIY post about "How to Paint an Ombre Accent Wall" from www.crafthubs.com
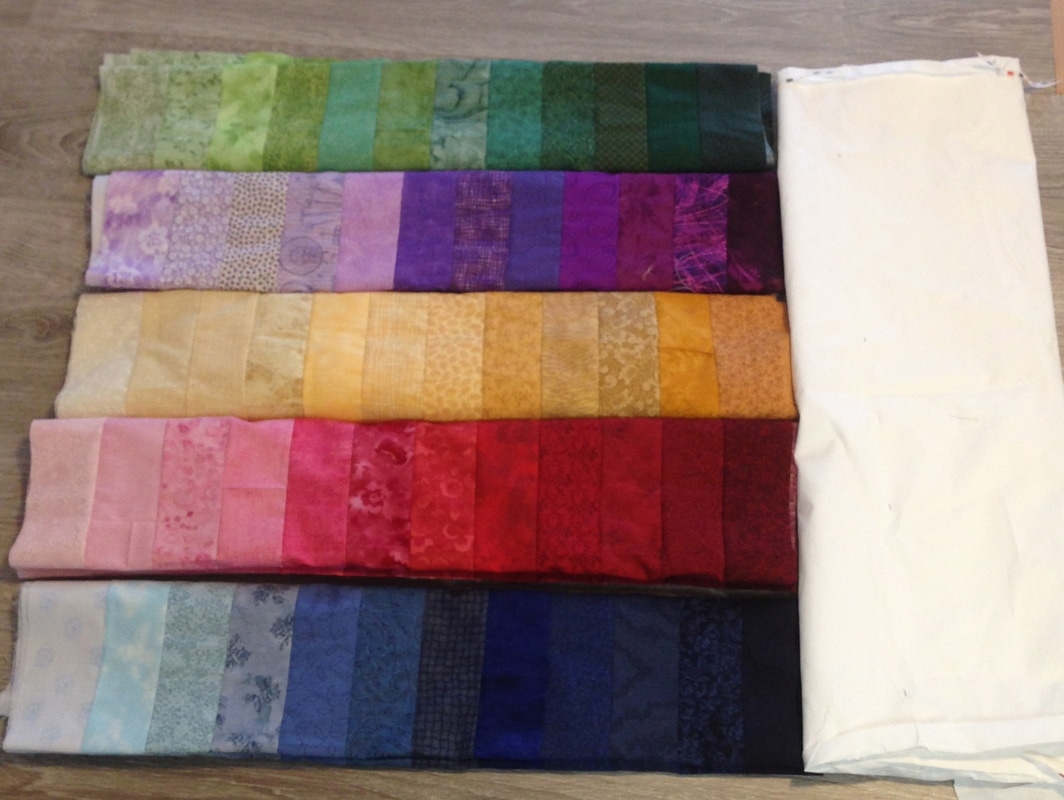
I started my project by laying out and "auditioning" some of my fabric stash below.
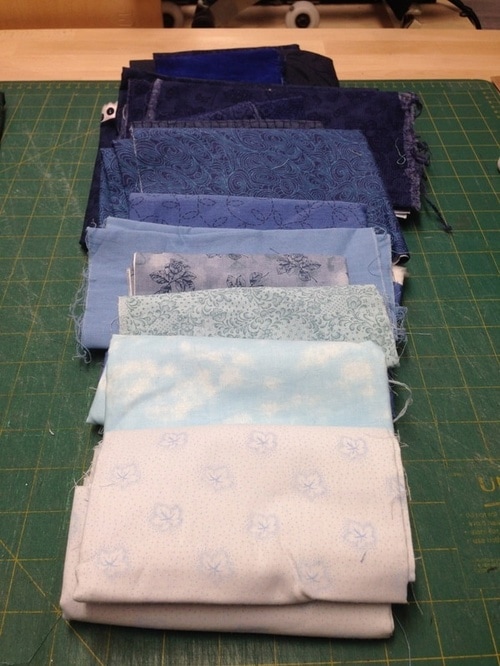
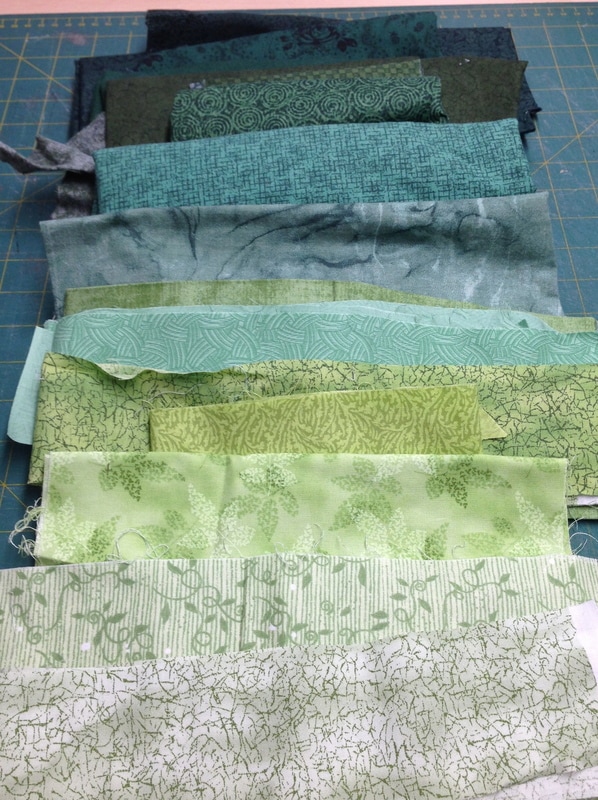
I rejected some and shuffled some and ended up with 12 -2 1/2" strips x width of fabric.
A most useful tool I used to shade my fabric is the 3- in -1 Colour Tool from Joen Wolfrom. It is useful because it has 24 colour cards with numbered swatches, 5 colour plans for each colour, 2 value finders in red and green. It shows the colour wheel and gives you important tips on utilizing colour. It comes in a very nice plastic case for portability so you can take it to your quilting classes. The red and green value finders are key to seeing ombre! 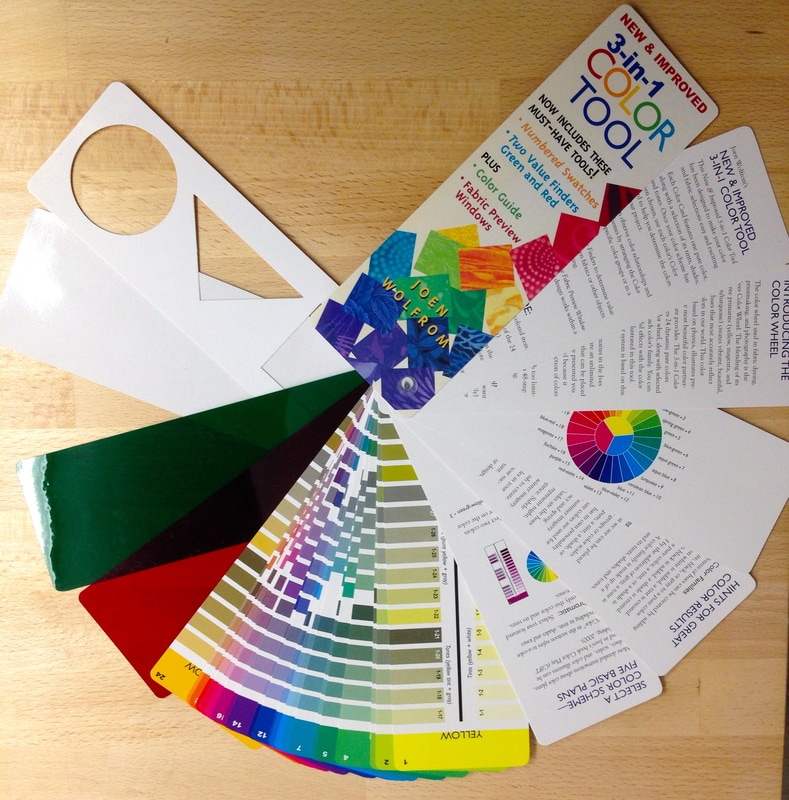
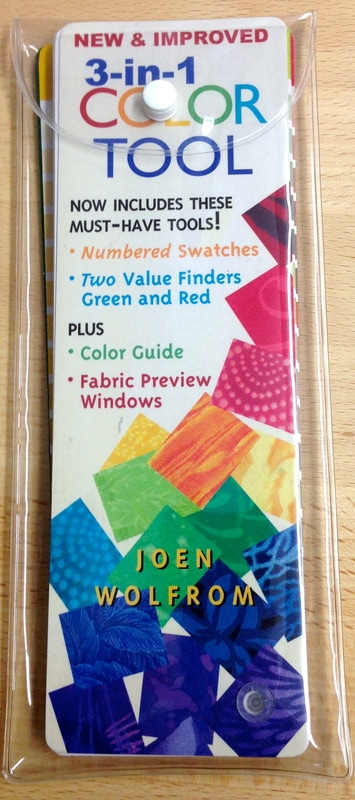
I recommend that you look at your fabrics through the red or green tools above to see the shades of the fabric from light to dark. This tool works amazingly! You can purchase it below:
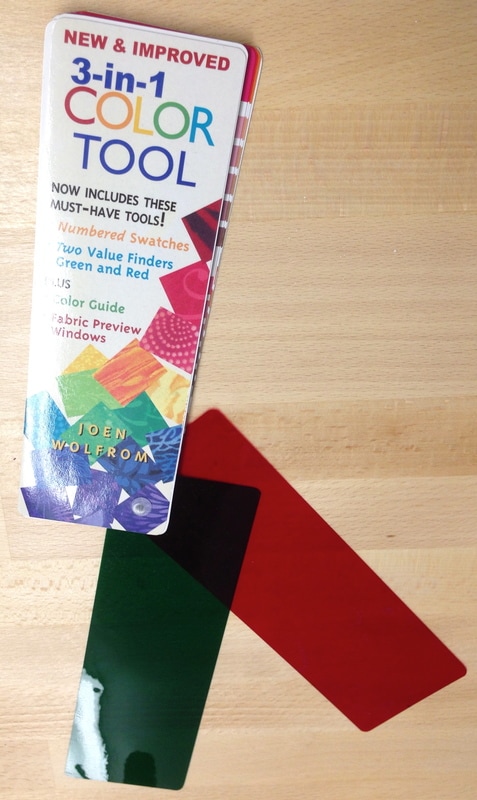
Today I made the below Ombre strip sets with the amazing Ultimate 3-in-1 Color Tool.
Why red and green? Red does not work on red fabrics and green does not work on green fabrics, thus, you need both colors. Overlap the tools and look through both of them to view your fabrics. This allows you to look at any color or any textured fabric and determine it's value. I could not have arranged my fabric without it! 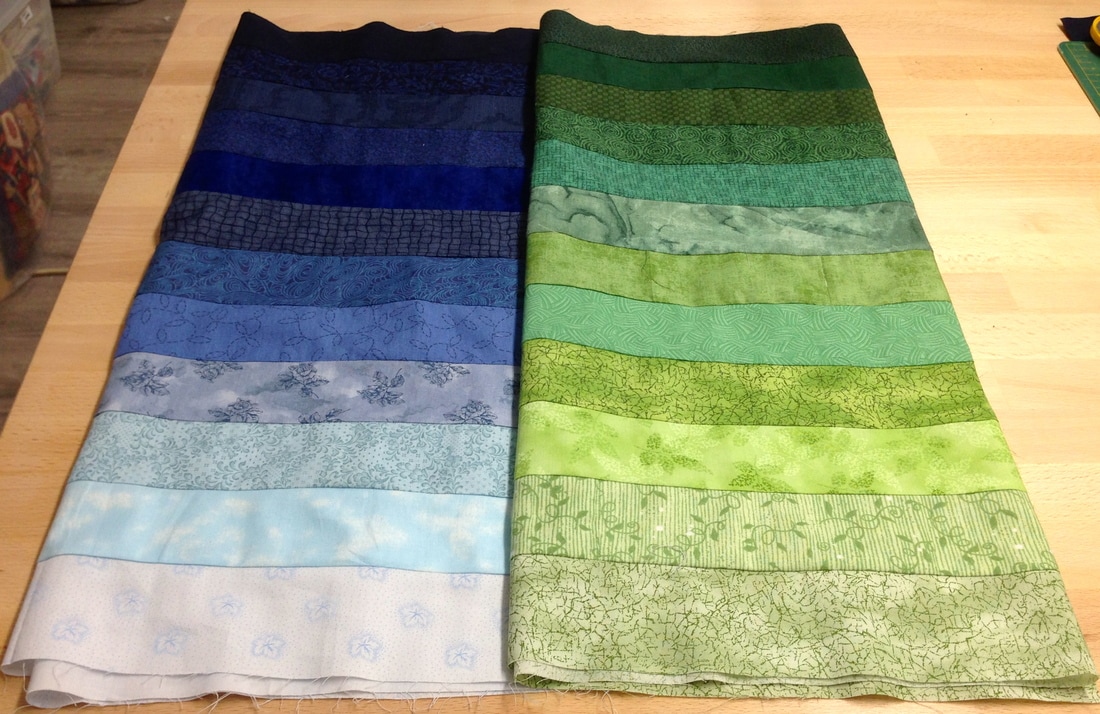
Are you curious to see what I will do with the strip sets above? Check back with us on Tuesdays over the next few weeks to see what I do with these strip sets and more. I am planning on some "modern" projects!
Also, in the meantime.... get your fabric out and lay it out in an ombre fashion and start stash busting! Have a great Tuesday!❤️ Want/need to know what to do with Fat Quarters? Read all about it and feast your eyes on 5 great,easy and inspiring projects here. Quilters are crazy about fat quarters! That is a fact!! There should be a National Fat Quarter Day! Yes, I am getting carried away! If you are reading this and don't know what a "FQ" is, they are 18 x 22" cuts of fabric- a wide 1/4 yard. As apposed to buying a 1/4 yard 9 x 45" piece of fabric. Now when you go to a quilt shop, you will shop "informed". Essentially, if you are piecing, fat quarters provide the perfect size for a variety of quilting and sewing patterns because you are getting a wider piece of gorgeous fabric! Quilters sometimes build their stash on fat quarters so that they can have a small and relatively inexpensive sampling of pretty awesome fabrics. If you are a FQ collector, you know they multiply like rabbits! 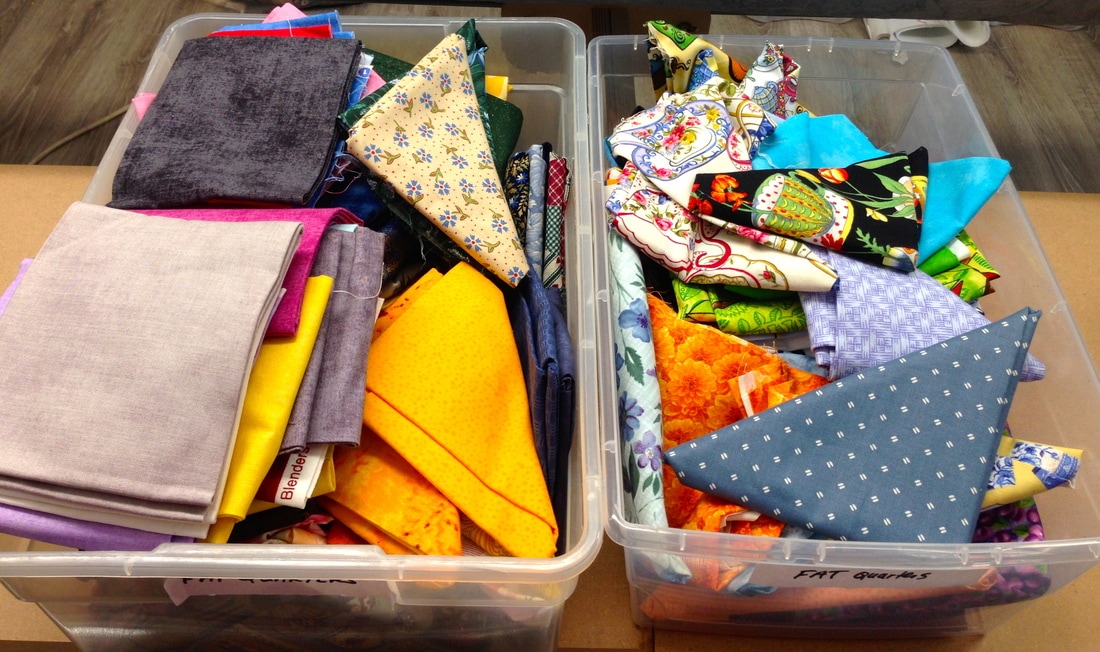 my personal overflowing stash of Fat Quarters- these are only the ones that are folded there are many more in my hoard! This is the time to put them to good use and bust your stash!! So what to do with FQ's? Hmmmmm ......... 1. Make tote bags, 18 x 22" is a great size for one side of a tote bag, use another FQ for the other side and some yardage for handles and lining and you have used up some great fabric! Who doesn't need more bags? or ....Check out this "Strip Happy Fat Quarter Tote" from Connecting Threads 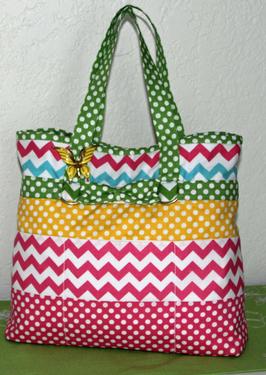 2. Make Aprons, they are useful, great gifts for young and old and you can personalize them with fabric that suits your cook! Craftsy.com has a whole bunch of cute and free pattern links here. 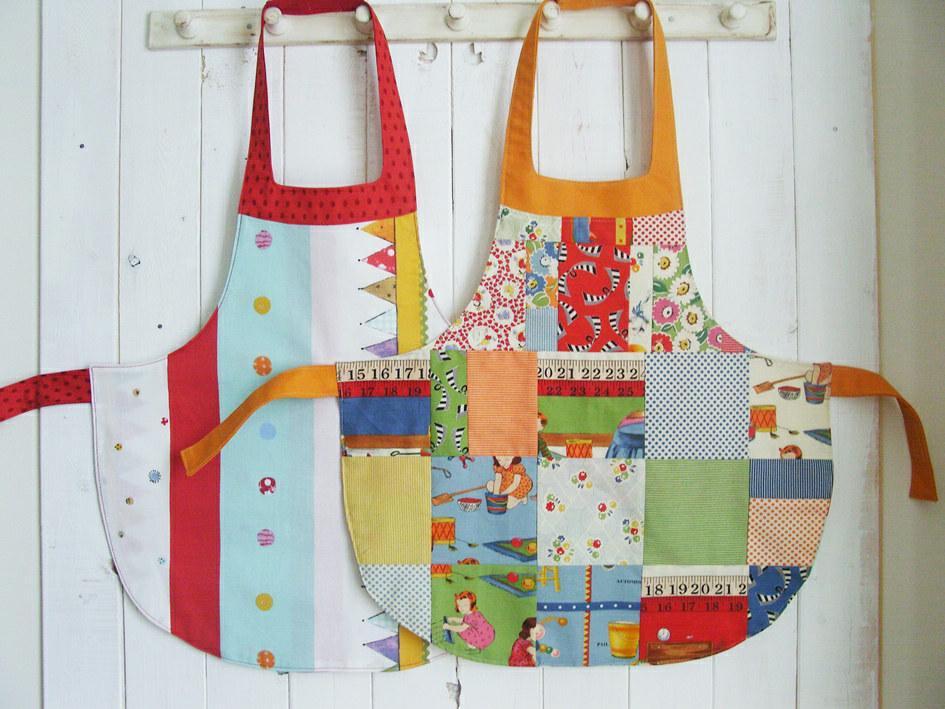 3. Make large quilts, yes many FQ's make light work of a large quilt! So if you purchased a variety of Fat Quarters from the same designer or similar colour way, they make beautiful quilts. See the pretty floral quilt below from www.allpeoplequilt.com and get the free pattern for "Flower Show" here 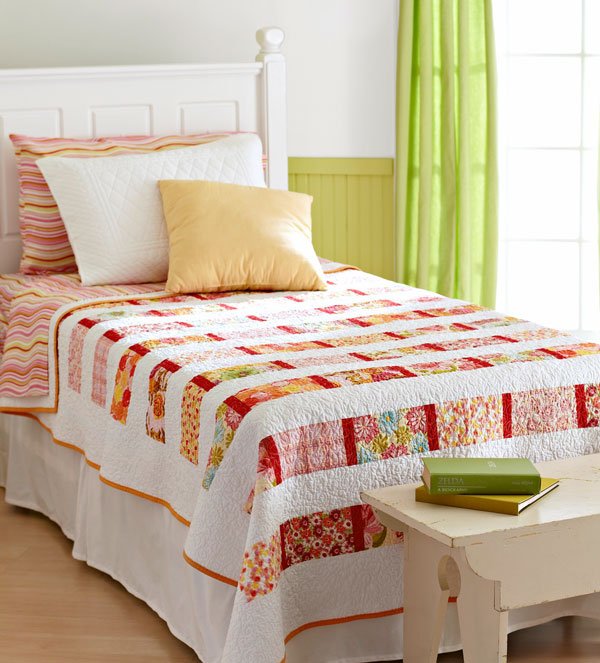 11 coordinating FQ's, 1/4yd of red accent and background fabric make this pretty quilt! 4. Make place mats, place mats are a great way to dress up your table, make it seasonally beautiful, create a warm atmosphere and use up those FQ's! You can make them reversible like the ones below, The FQ fabric is on the back and featured in the hexies on the front. The below place mats I made as class samples for a free motion quilting class that I taught at Simcoe Sew and Quilt in Barrie, Ontario (2015). There is a free download for the "Easy Piped Binding" that I sewed on them here or check out my shop page under free PDF patterns :) 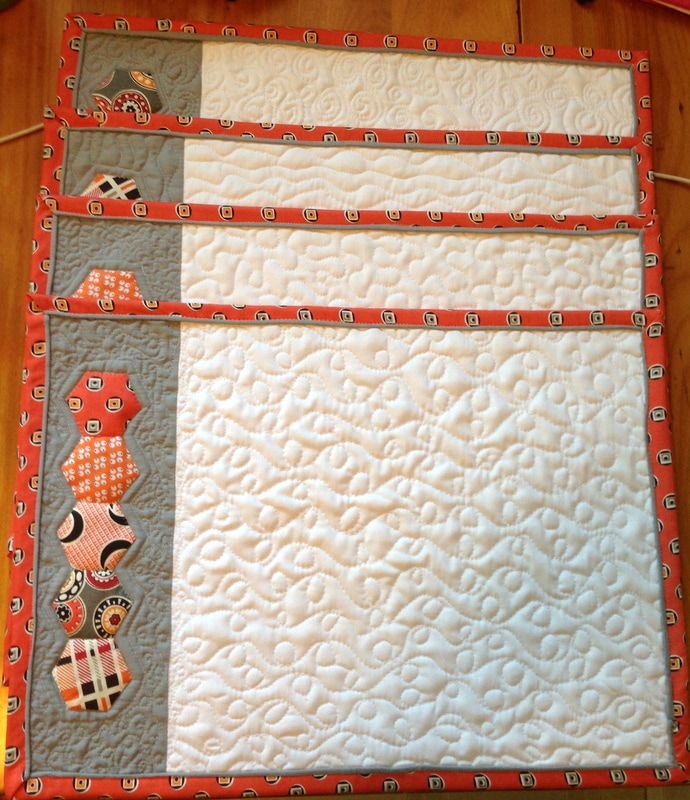 5. Make baby quilts, they require smaller pieces of fabric and can "feature" your fat quarters. I don't know about you but I love cute baby prints, farm animals, zoo animals, baby elephants, dump trucks, cute girly flowers etc. Drumroll please....... Introducing my Newest Pattern to feature baby FQ's...... It is called "Featuring Baby" My "Featuring Baby" Quilt Pattern features the use of just one FQ and shows you how to incorporate that one pretty baby FQ you have in your stash into a cute, modern and easy baby quilt! The pattern shows you how to make easy 4 patches, pinwheels and square in a square blocks and the measurements to use up all of one FQ! I have made the quilt samples up into 2 colour ways to inspire you. Look at your FQ stash of baby prints, pick out one FQ you love and download my "Featuring Baby" Quilt Pattern here 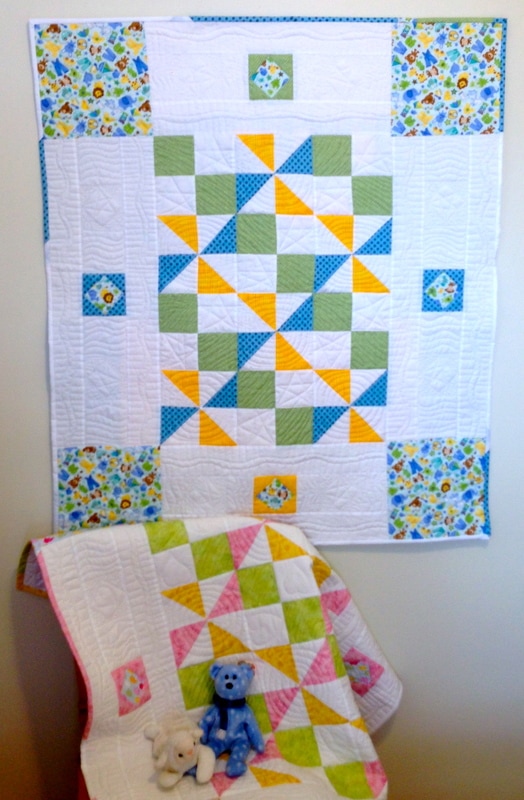 "Featuring Baby" Quilt Pattern in Blue 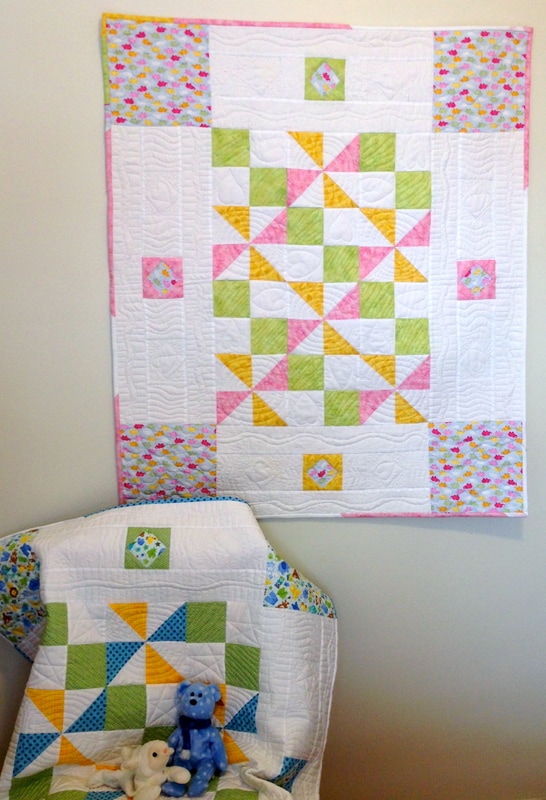 "Featuring Baby" Quilt Pattern in Pink I'm thinking you know what to do with FQ's, let your imagination do it's work and use up that fabric in 2017. Make room for more, there are so many great designers of fabric out there, creating and producing more of that luscious fabric. Almost as good as a box of chocolate covered caramels! Less calories that's for sure! FYI, more great news! I am now accepting payments through the below payment options for my customers at check out in the shop at the top on the menu above.   Have a great Wednesday! 😊
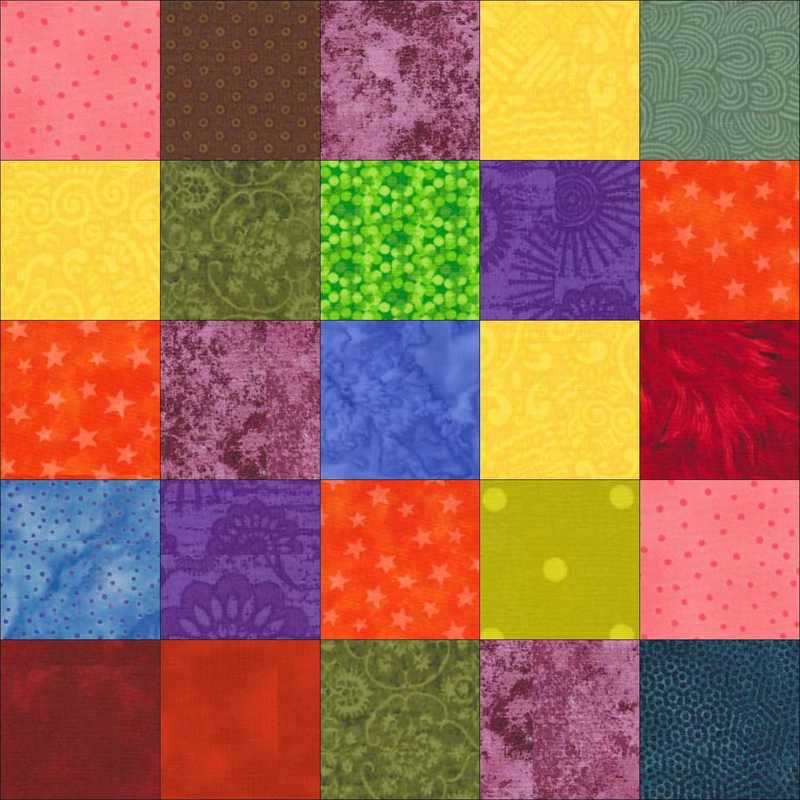
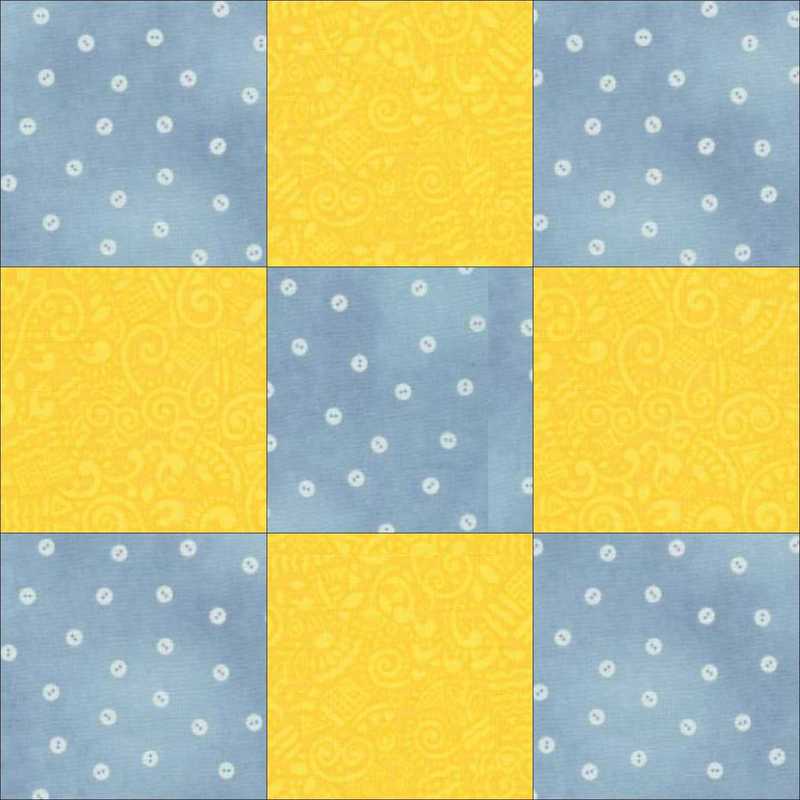
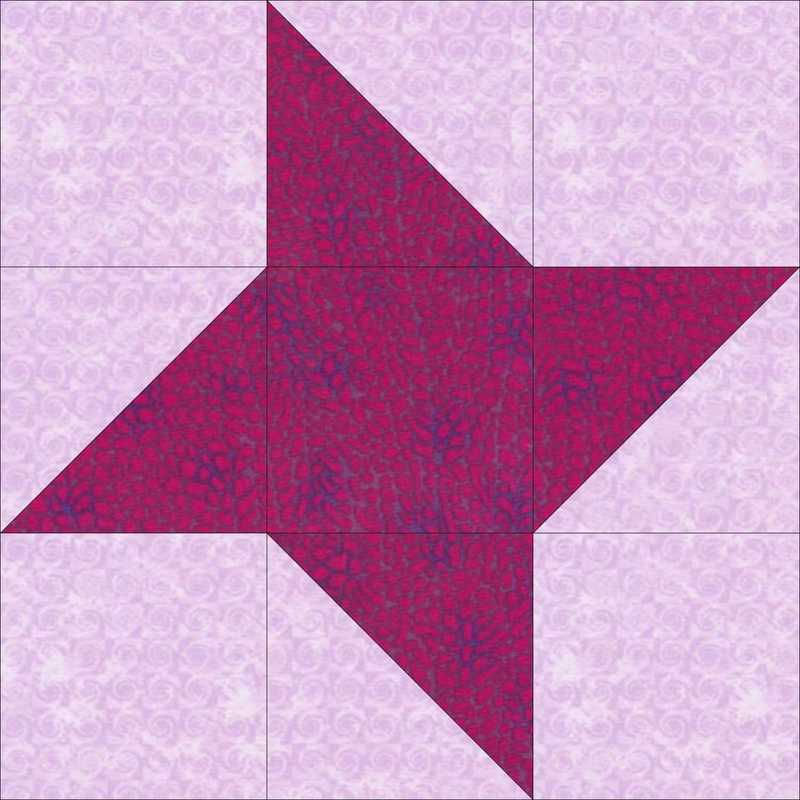
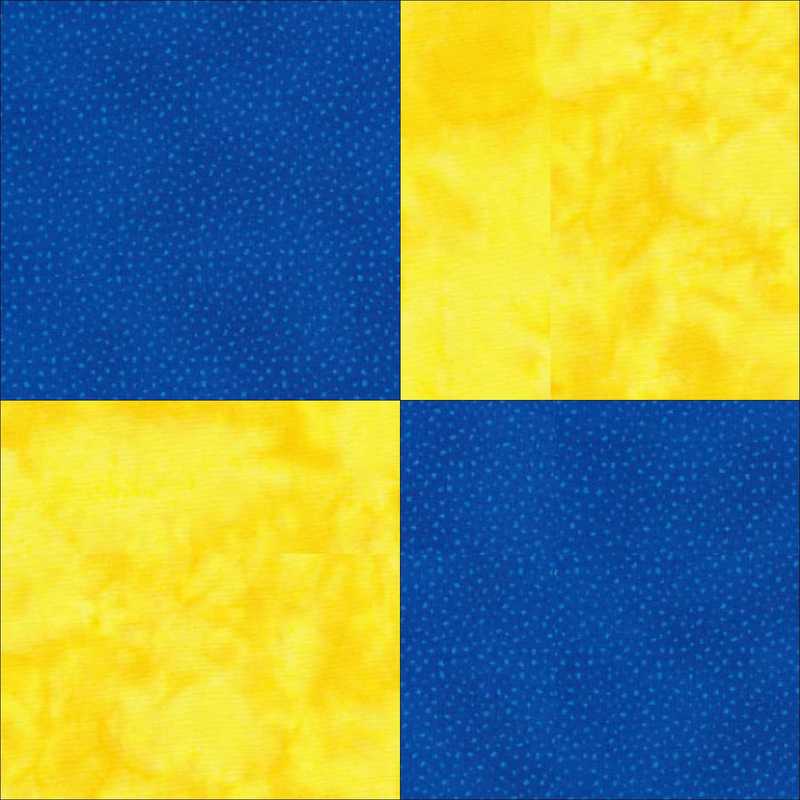
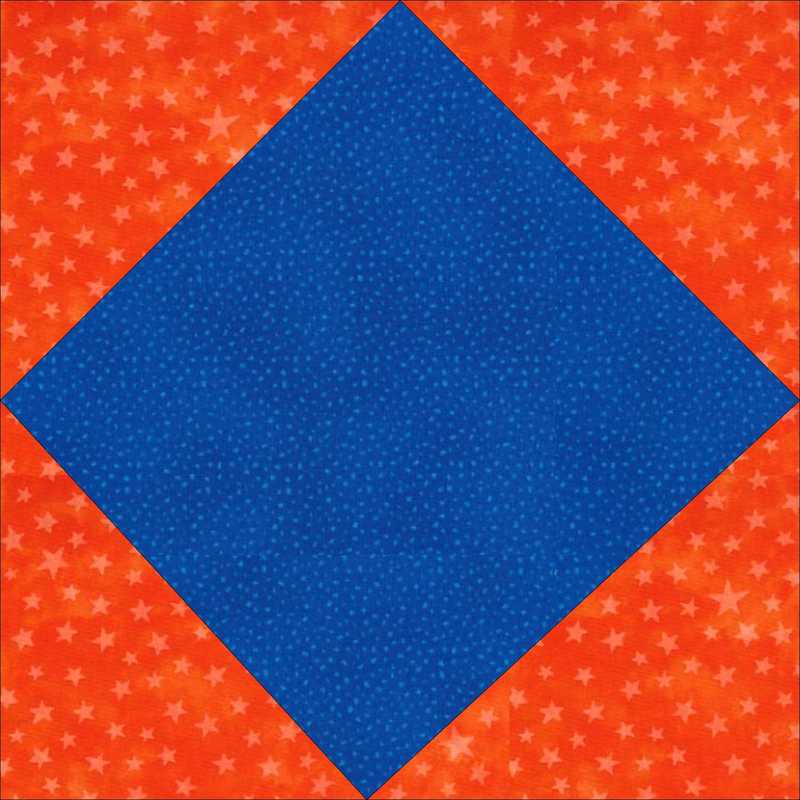
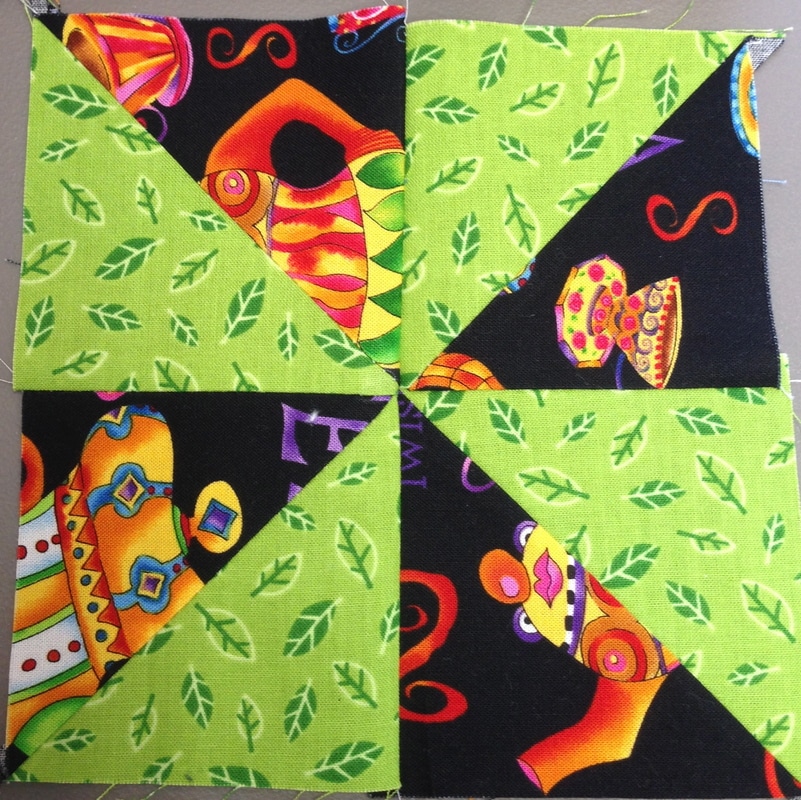
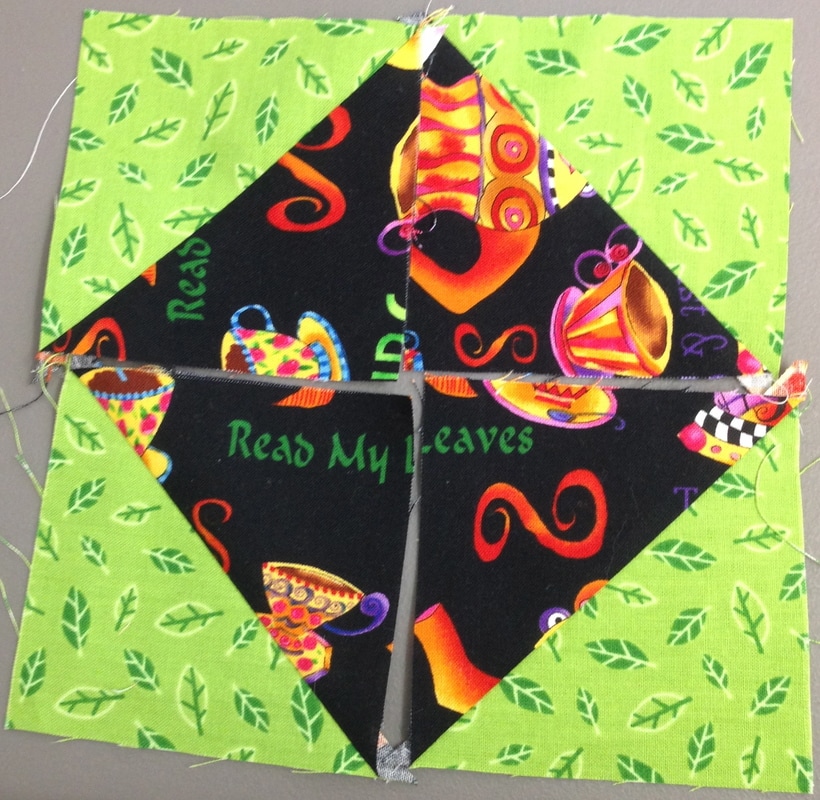
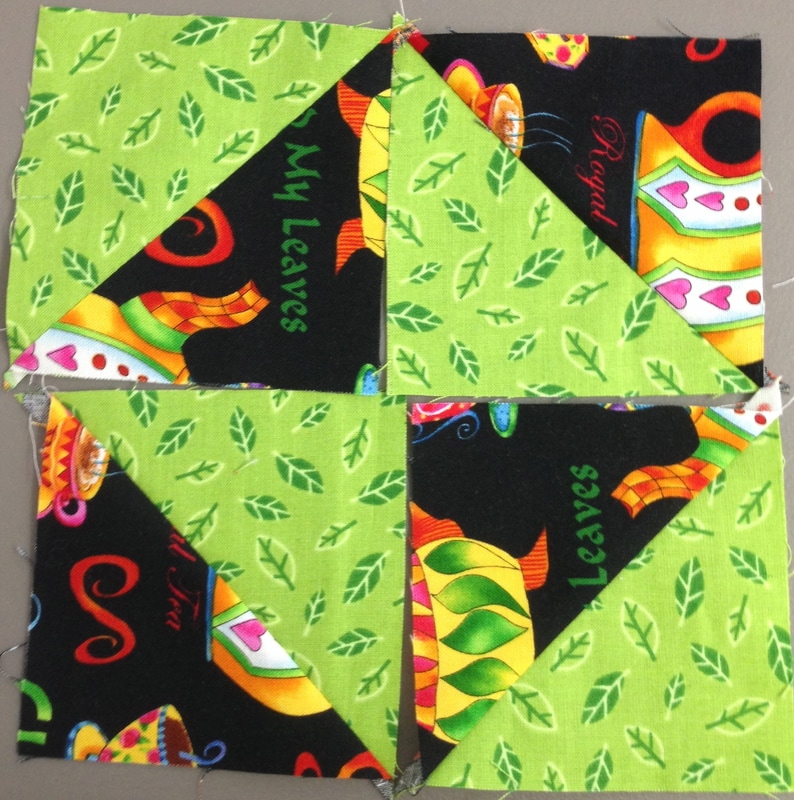
Scrappy One Patch, Nine Patch, Friendship Star, Four Patch, Pinwheel and Square in a SquareI was thinking recently about the best blocks to use to bust my over abundant stash. My thoughts were what are the fastest and easiest blocks to construct and still make interesting quilts? It brought me back to the origins of my quilting experience at the beginner phase of my career as a quilter. Sometimes it is excellent to revisit these times when there is so much social media enticing you to make quilts with the newest and hottest technique in quilting! Lots of the new modern styles still incorporate the above blocks with bigger proportions and innovative layouts. Can you think about how you can use these traditional blocks in a different way to be a little more contemporary with your design and still use up your stash? The Scrappy One Patch block shown above uses up many pieces of fabric, you could "super size it" just like fast food and make it quick with strip piecing. Or break it up into different parts. An innovative layout could look like the one below from Crafsy's "Inspiring Scrap Quilting Ideas" blog post: 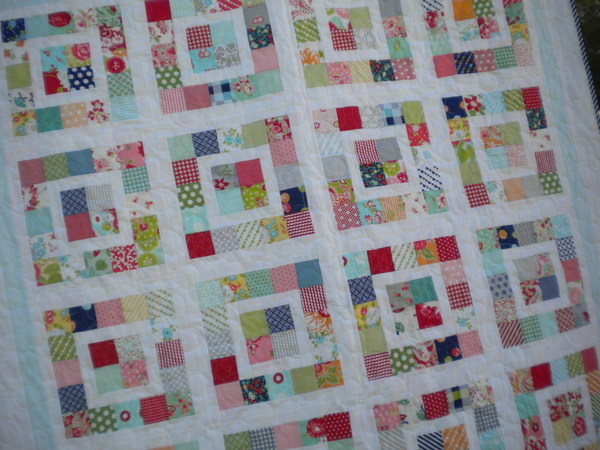 Look at the cute 4 patch blocks in the centre, combine 2 blocks in one The nine patch is classic and can be used creatively in an outside of the box manner. Check out the layout below from ReannaLily Designs  There is a free tutorial on how to make the above quilt here The friendship star combined with a 9 patch was a quilt I worked on many years ago as a donation to The Quilt Project for Breast Cancer and I learned to love this block. Of course I love stars and friends, so naturally I love this block! A beautiful layout below showing one block with friendship stars on the back of a quilt: 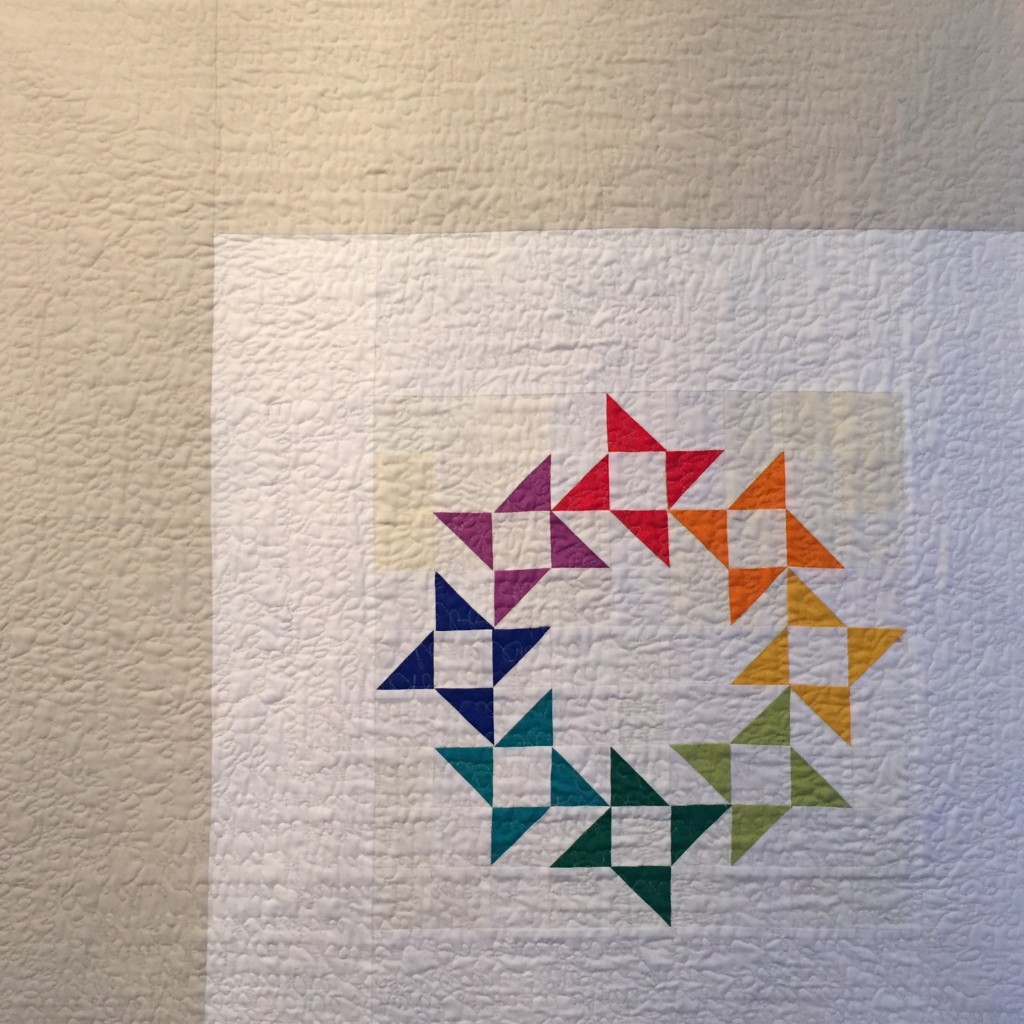 Read all about this artist Catherine Redford here. Isn't it great that this is a quilt back? It looks fantastic! Hmmm..... quilt backs are a great stash buster! The 4 patch block is a real cutie and the easiest of them all, made from 2 strips of fabric of equal width and length making it quick to sew up. It makes a great combination block with others as well. 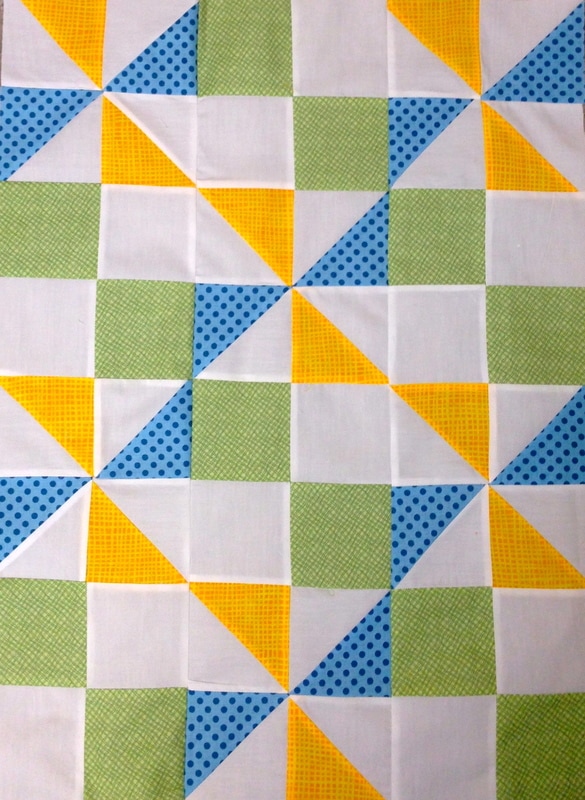 The above is some work I have done recently with a baby quilt design. It uses the 4 patch and the pin wheel block in combination, showing you secondary patterns. Stay tuned and follow this blog and I will be showing my newest pattern very soon!! The pinwheel shown above and below is also an extremely versatile block and quick to sew up, especially if you make the 1/2 square triangle blocks with "the magic 8 method". Check out "The Magic 8 Method" and a great tutorial here on Craftsy.com/blog This is what you can make with 4 large squares of fabric and 2 attempts at the magic 8 method--- not just pinwheels anymore! The above are not sewn up yet. My friend Linda came over for a sewing day and we were just messing around with the layout. 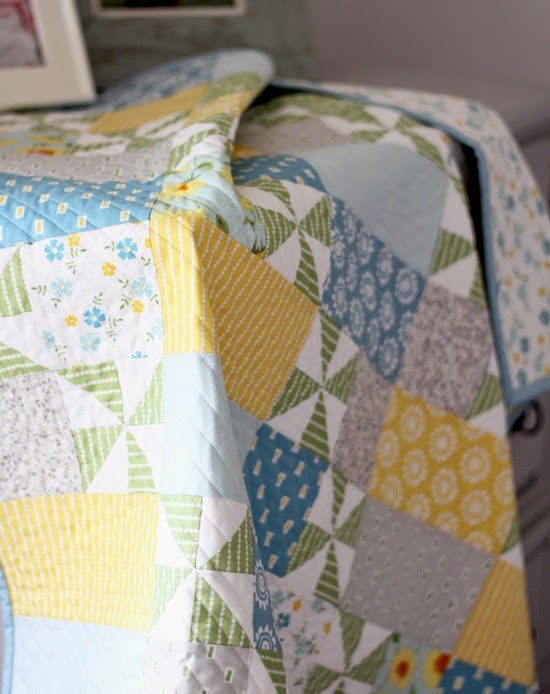 Pinwheels mixed with other blocks in this really pretty quilt above is from cluckclucksew.com - check it out here. So use up your pinwheels in combination with other larger pieces, such a beautiful way to showcase these very fresh looking blocks! The square in a square block is also a great block that you can make from one centre block and then a slightly larger set of 2 blocks cut on the diagonal to make the corner connecting triangles. These blocks also make great quilts! Look at the one below with sashing and corner stones between the blocks. What an amazingly simple but effective layout! 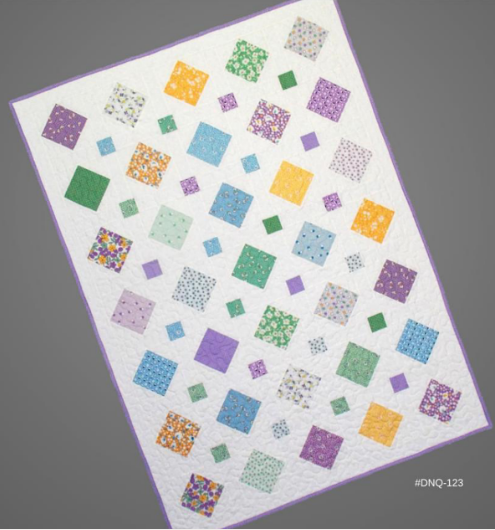 Check out the blog post featuring the above quilt---- 10 Modern Quilt Patterns & Tips for Beginners at Craftsy.com I hope you enjoyed this post and can see yourself using traditional blocks to bust your stash in a new way!
Happy Tuesday! 😊 |
Follow Me:
Welcome!Hi I'm Robin and I am a professional long arm quilter, pattern designer and teacher. I am passionate about all things quilty!  

Categories
All

Sponsors
This blog contains affiliate links. This means that we endorse products.
We do receive rewards for these endorsements and this helps to keep this site alive and well. We support products which we believe are the best quality and to inspire your creativity! |


 RSS Feed
