|
Today if the last day of the tutorial all about recovering a lampshade with Mont Marte fabric paints at www.quiltsocial.com. I'll be discussing how I outlined each of the designs on the lampshade with free motion stitching. The free motion stitching really makes the floral designs come to life. Check out the post and be sure to comment below & let me know what you think and/or leave me any questions you may have. Tomorrow, I am embellishing the easiest tote ever at QUILTsocial as well so check back often to see what I am up to with these amazing fabric paints. 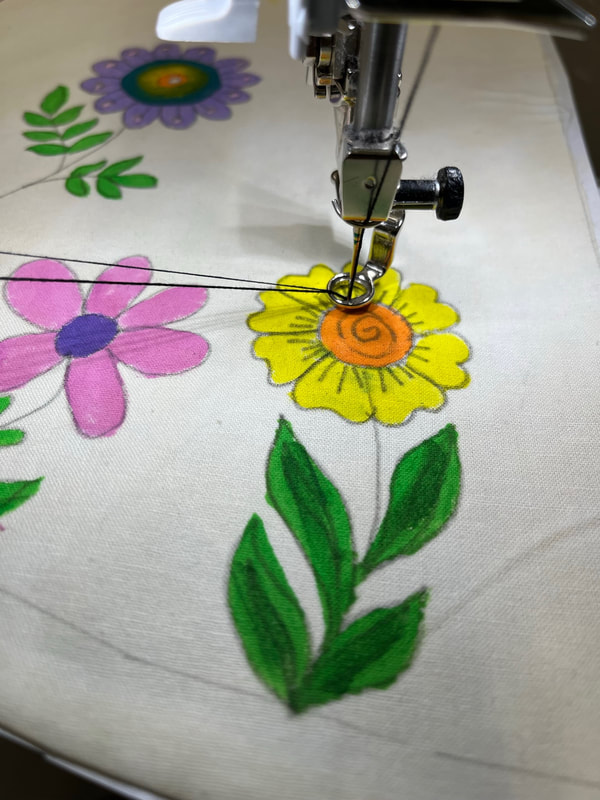 Starting the free motion stitching process 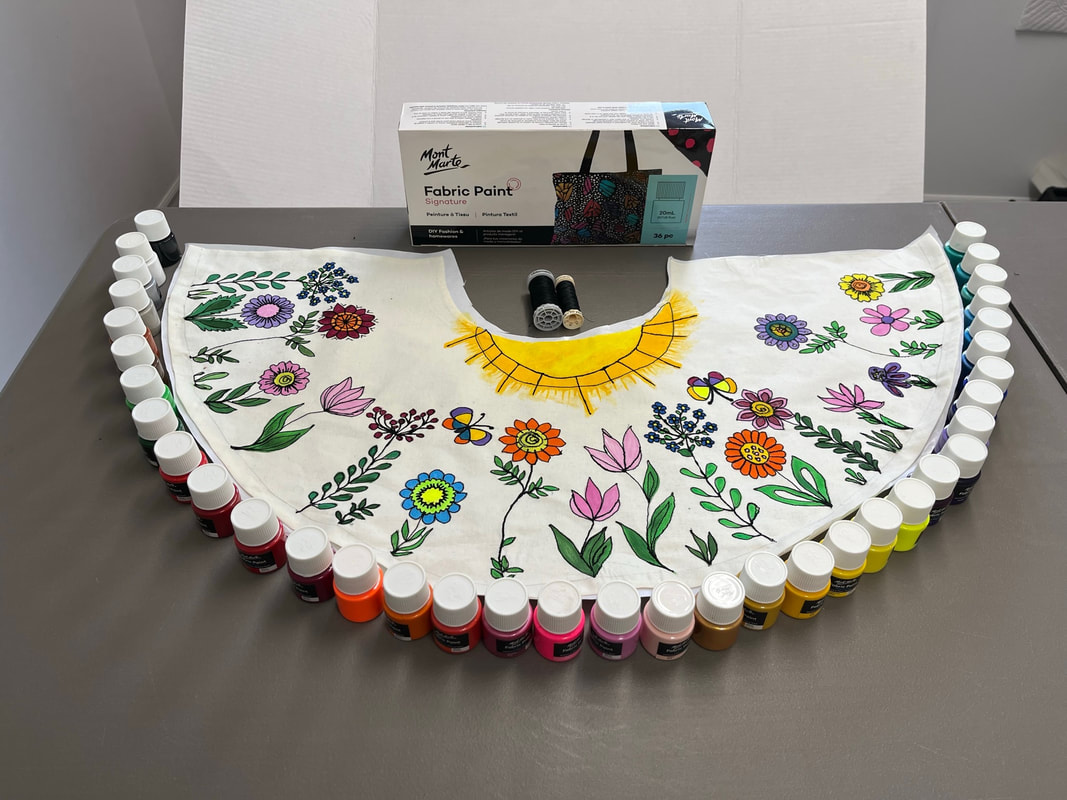 The outlines free motion stitches in black (Gütermann Thread) , really show off the designs & fabric paint Happy Wednesday!
0 Comments
This week at QUILTsocial , I am explaining how I used Mont Marte Fabric Paint and art supplies to recover a lampshade. The title is of the blog post is: Recovering a lampshade with Mont Mart art supplies- Part 1, Part 2 & 3 will take place on Tuesday and Wednesday. It is a technique I have never used before but the paint is really awesome and the recovering process worked! There is also a video tutorial showing you how to recover a lampshade with fabric included in this post. Be sure to watch so you can Reduce, Reuse Recycle. The post is here at www.quiltsocial.com 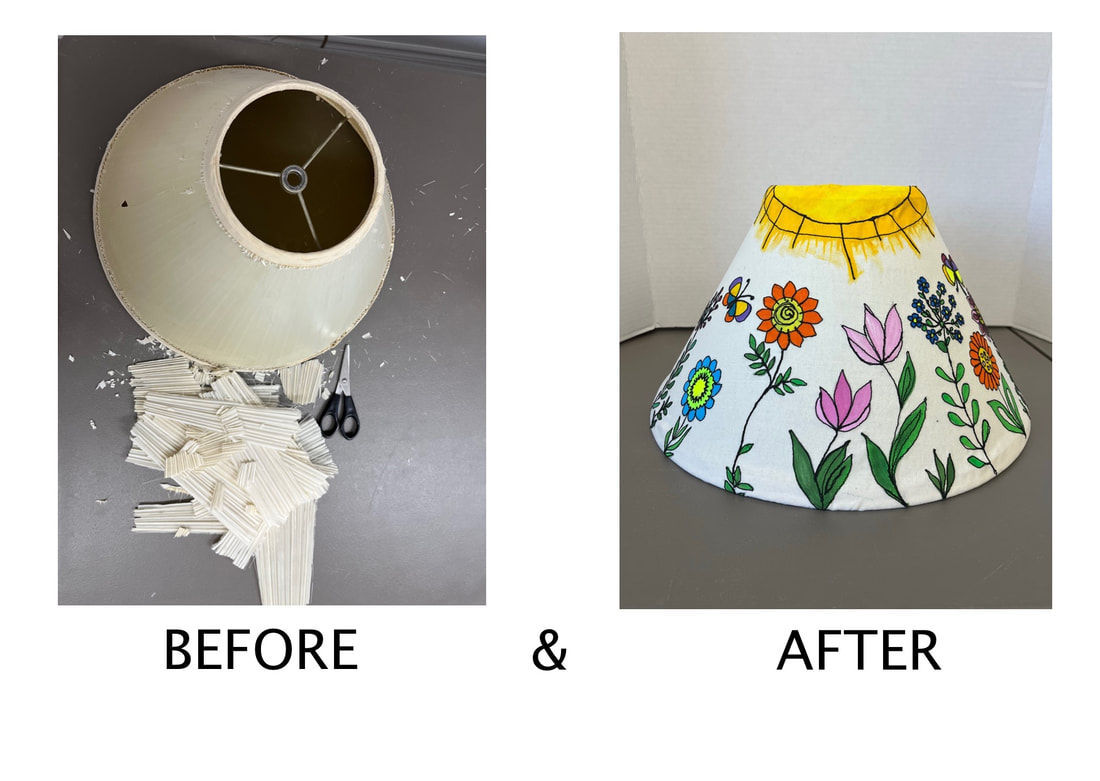 Happy Monday, Enjoy the blog post and I encourage you to comment or ask any questions you may have. 😊🌷
Just sharing the fact that I'm not a one dimensional crafter!!!! LOL I restored the table below, the legs were rusty, dirty, ugly and the glass top had crumbled into tiny pieces. (it was super boring in brown tiles) . Brown is not a colour in my colour wheel.!! I decided to sand it down, paint the legs and base with copper(ish) bronze (ish) paint (with mega help from my husband) and change the top to a quilty mosaic. So I am one dimensional!! Cannot get away from the quilt in me...... It was a fun diversion from all of my quilting. Just thought I'd share. So much better to restore and reuse than buy again. I'm super proud of how it turned out. I used Le Page Poly Fill Pre mixed grout found here. Mosaic glass tiles found here , Goop glue found here (to glue the tiles) It took about 3 days. How I did it?
 If you want to try this project and have any questions, drop me a line through the contact tab above ! I'll be having a tea cup or a glass of wine on that table shorly 😊
As promised I completed the pattern for my "Modern Ombré Quilt". I just loved making this queen sized bed quilt (or modern wall hanging) It is easy to construct and it's a great way to examine what colours and shades you have in your stash or your 5 favourite colours! Another reuse project for me this year. I am bent on using up my stash while still making nice things! To make mine, all the strips came from my stash except 2 in the pink to red section. I clearly love colour and I think this quilt is so bright and happy it was not only a pleasure to design and construct, but I also enjoyed the simplicity of the quilting. Check out this my pattern below, available as a PDF download here for only $5.00 Cdn or we are happy to ship it to you for $12.00 Cdn as well if you are interested in a journey to explore colours with ombré placement. 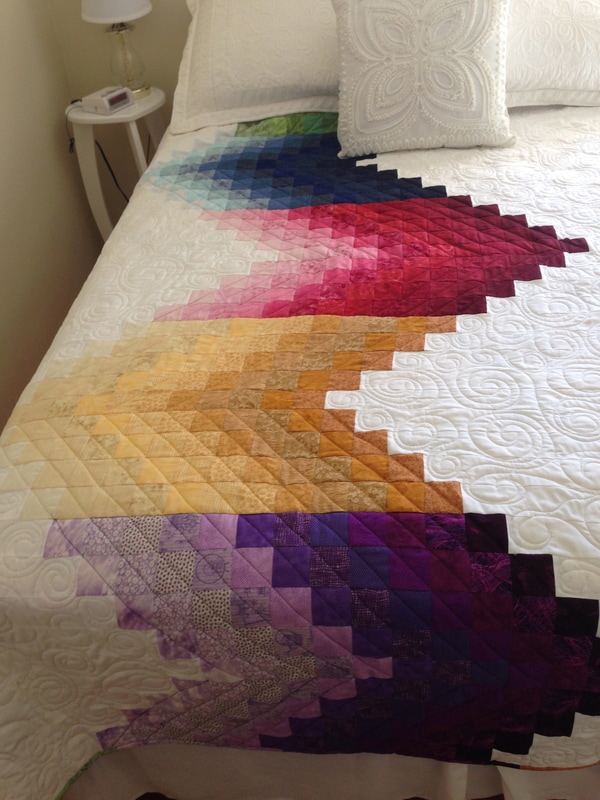  Modern Ombré Quilt 80.5 x 90.5" 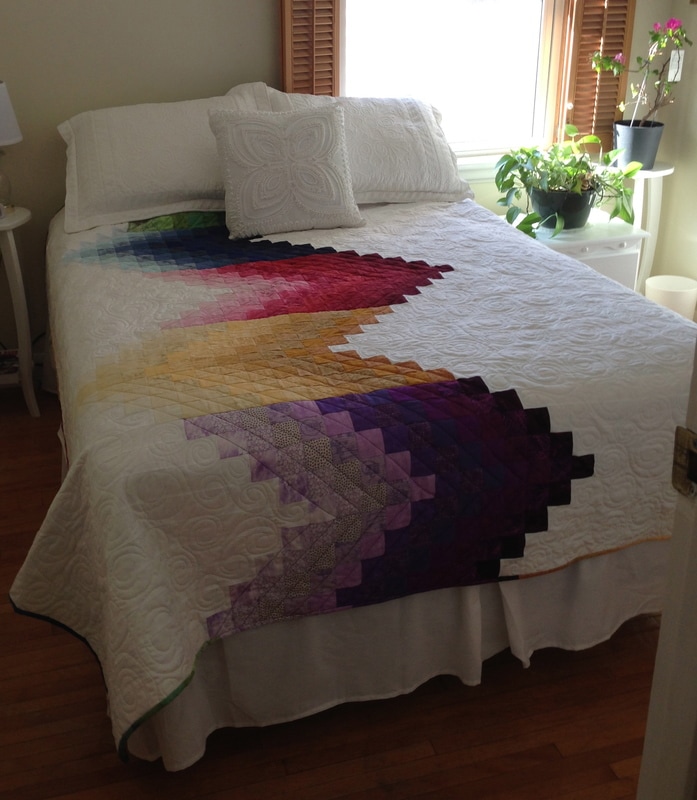 All of the math is done for you, the pattern contains clear and concise directions, a coloured layout diagram and quilting suggestions. Check out our shop page we accept most payment methods and ship anywhere in the US and Canada. Other countries, please contact us for shipping rates so that we may ship to you as well. Happy Tuesday! Happy Spring🌷☀️ This year I promised to talk about scrap busting and using up your/my over abundant stash of fabric. I am discussing this very important topic because we want to be able to get more fabric one day soon right? There is a lot of pretty fabric in my studio but I don't always buy with a "quilt" in mind because.... well, fabric is just so pretty and I buy so much of it because the designers are so talented! It is all their fault! LOL I end up with fabric that just sits and sits because it is so pretty and I don't want to cut into it. I need to get these pretty princesses off their throne!! Is this sounding familiar to you? So I will started with this fabric: 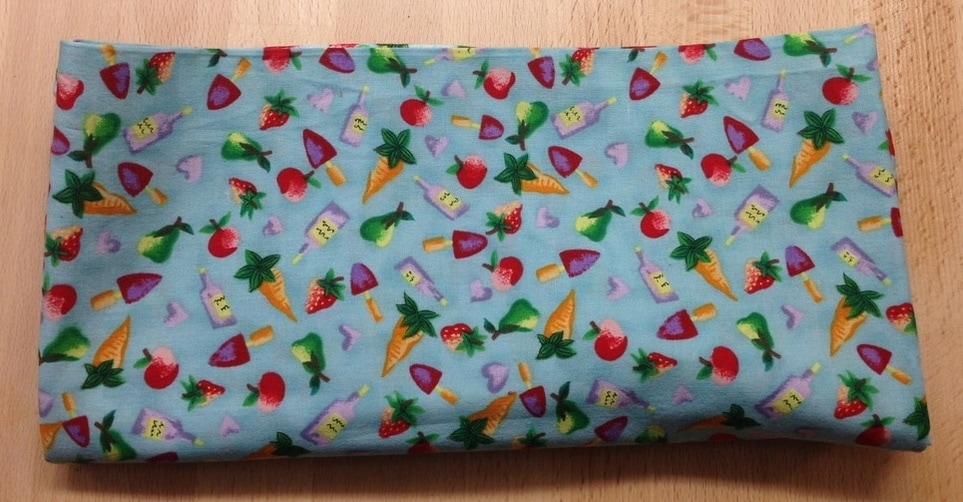 Pretty blue fabric with carrots, strawberries, some kind of bottle, apples, pears, hearts and a garden trowel on it. Cute, nice colours and detail but it will never go into a quilt because it seems to belong in a kitchen sewing project. I cannot tell you when, where or for what purpose I bought it? It is 42" (1.06m) of pretty fabric just lally gaggin' about on my shelf in my studio. So what to do with it? Hmmm....... Something for my kitchen but what?  The Question : What to do with 42" (1.06m) of fabric and use it all up? What would you do? The Answer: 1) First get this out 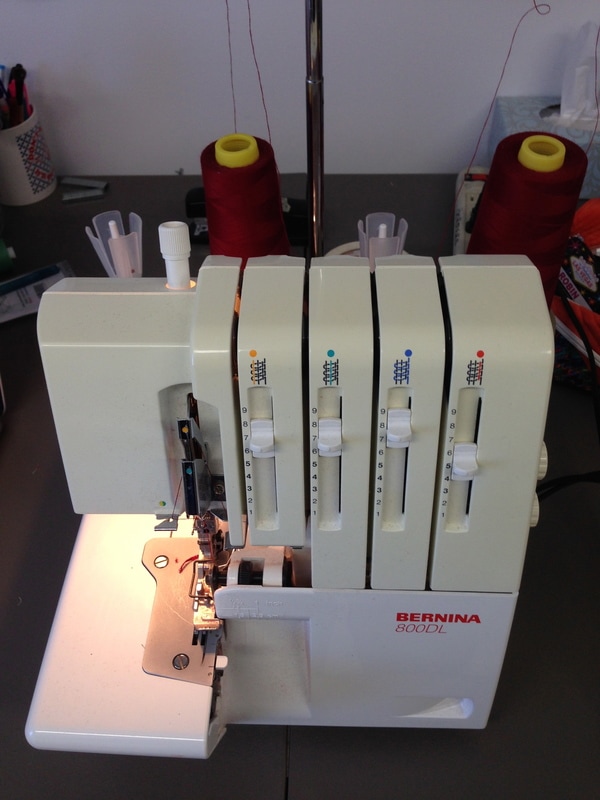 It has been a long time since I have seen this little lady, last used in September 2016 2) Put on 2 spools of red -ish thread or any colour to match your fabric 3) Put the settings on 2 thread rolled hem 4) Cut my fabric up into 8- 14 x 14" squares (to max out the least waste and largest size I can get out of my 42" wide fabric) 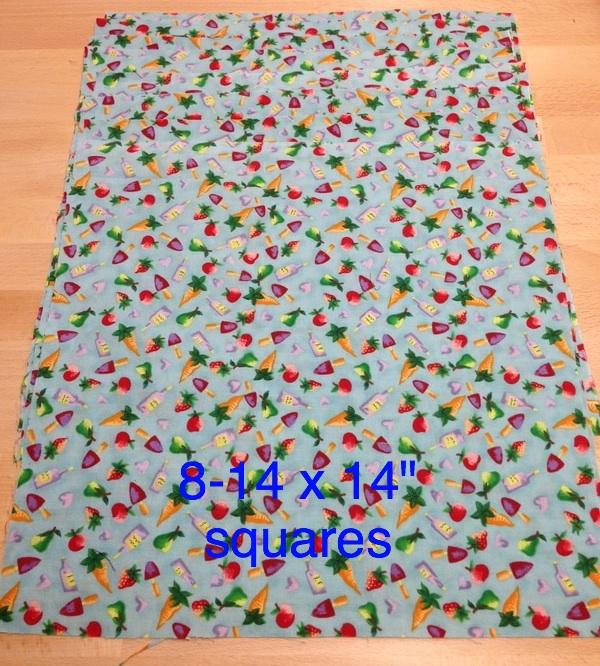 5) Serged all edges of the squares with a 2 thread rolled hem and folded them into NAPKINS The quickest and easiest way to use up fabric! 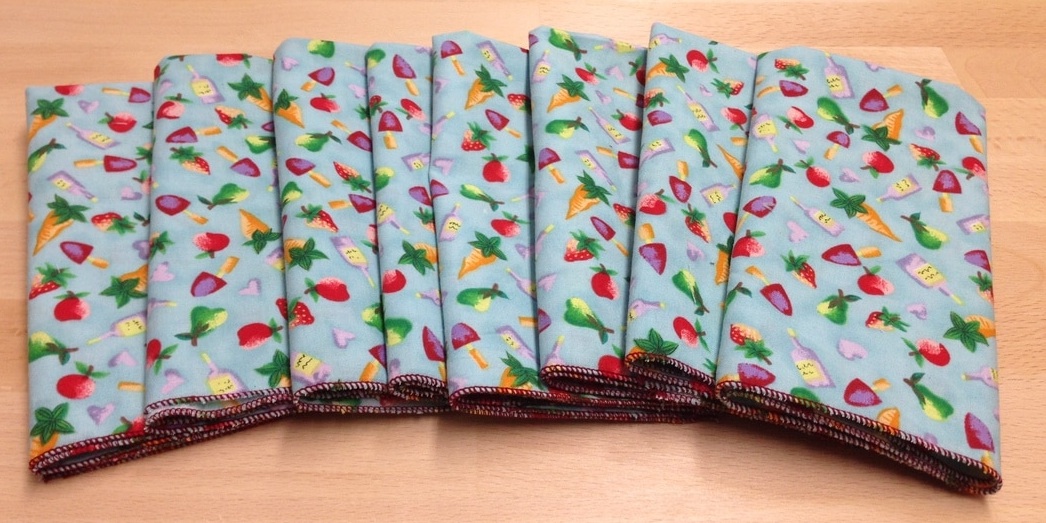 6)*Important Tip*---Once you are finished serging all edges it is important to FRAY CHECK the corners so that all of your serging does not come out and remains un frayed and intact. FRAY CHECK is a product that is also useful for applique, embroidery and for sewing applications where there is a fraying concern. You need just a droplet on the corners, a little goes a long way and it is simply wonderful! See photo of this recommended product below or purchase it here 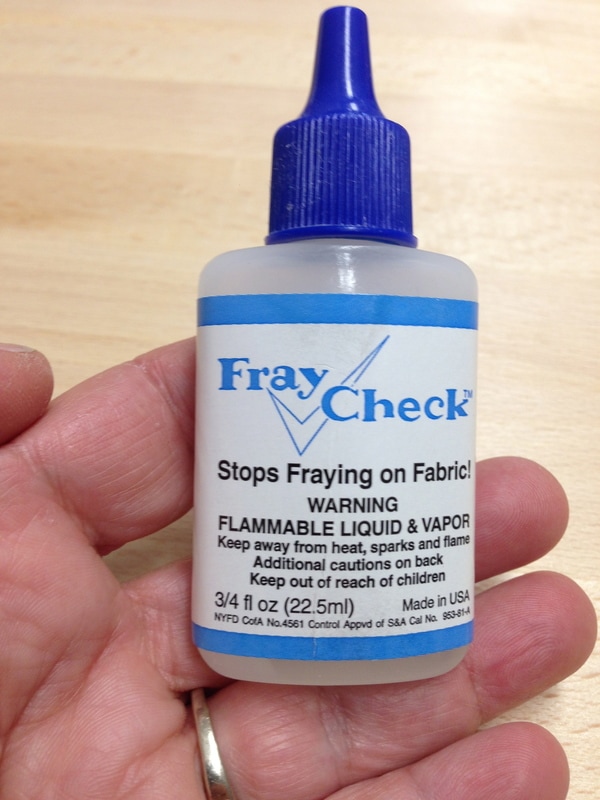 7) Set Your Table! 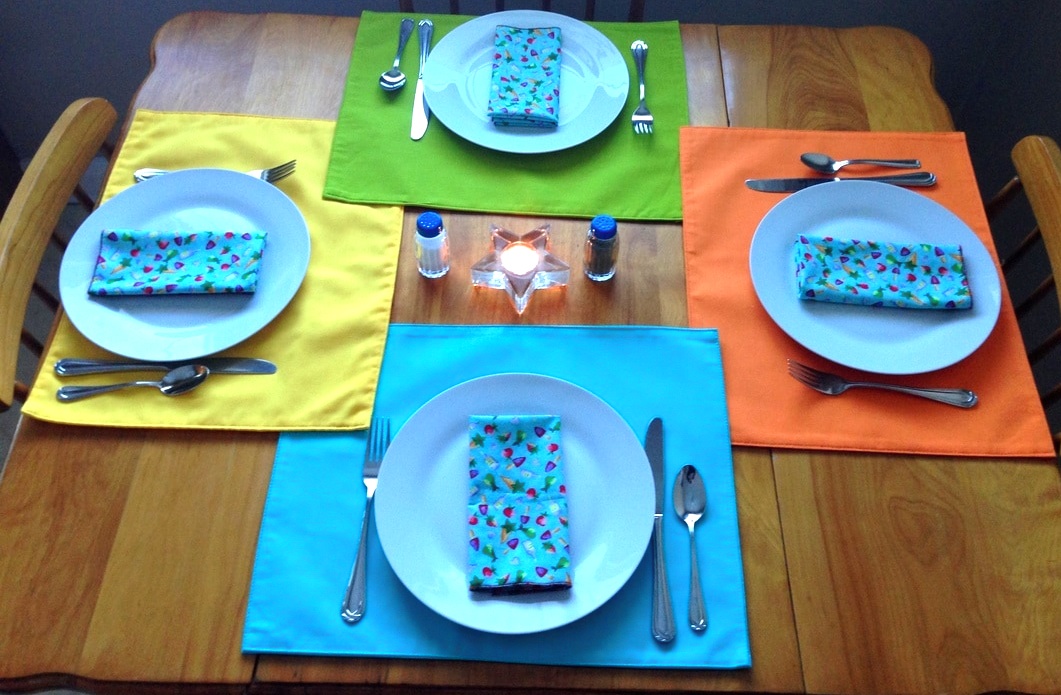 With Placemats I was given as a gift, they go very nicely! 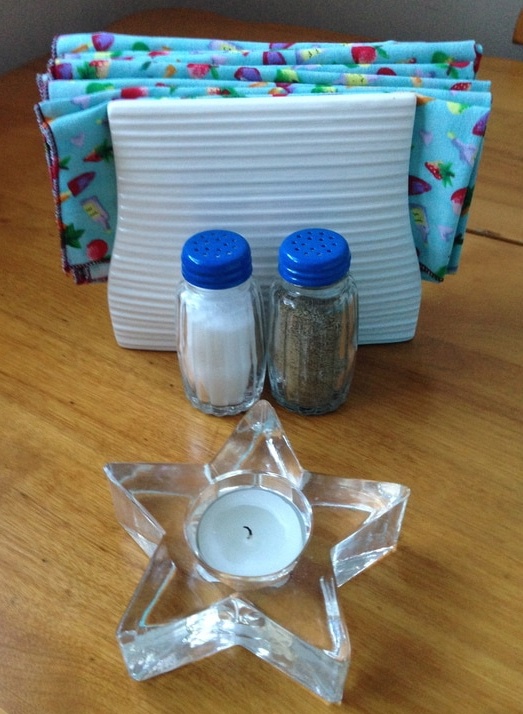 7) Be satisfied with the knowledge that paper napkins will not be necessary this year as these cotton ones can be washed and washed! They do not make for extra washing as they take up very little space in the weekly washing. You can make them for all seasons and change it up your dinner table. As they say variety is the spice of life! Making napkins is "Fat Quarter Friendly" Consider using up some of those beautiful fat quarters you have laying about that you bought because they were pretty and you had no project in mind for them. You will have a variety of pretty napkins! Don't have a serger? No Worries use your sewing machine straight stitches. Check out this great tutorial and link entitled DIY Dinner Napkins with Mitered Corners by Lindsay Conner 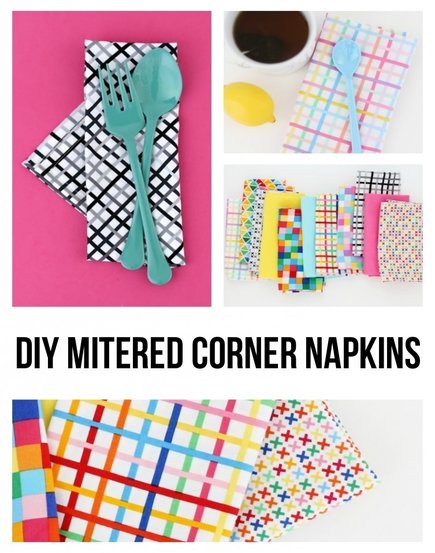 Have a party and make cloth napkins! In September we hosted a bridal shower for my daughter and she wanted a vintage inspired theme. We made napkins for each table and each table was set with one of the colour of napkins below: 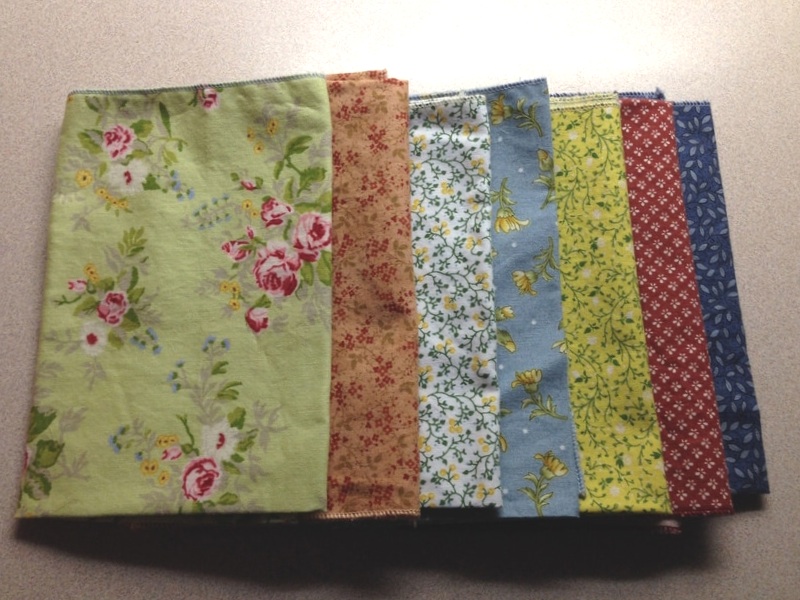 Katie's Bridal Shower Napkins We had to make 60 of these napkins and that's a lot on my own so my good friend Linda offered to help and we made it into an opportunity to socialize. So much fun! Can't you just imagine making a stash of napkins? Your next party can be colourful and environmentally conscious! Avoid the paper napkins in 2017, save trees, money and the environment by using up your pretty fabric stash and put some style on your table!
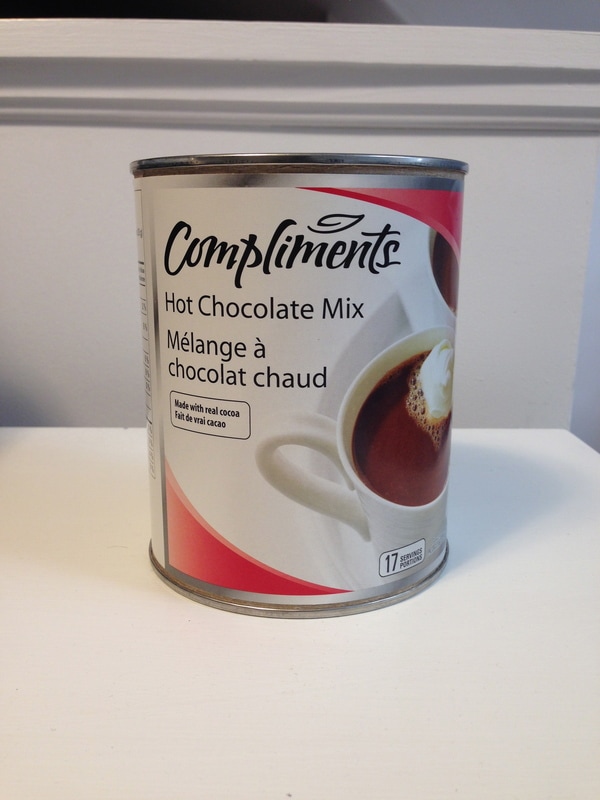
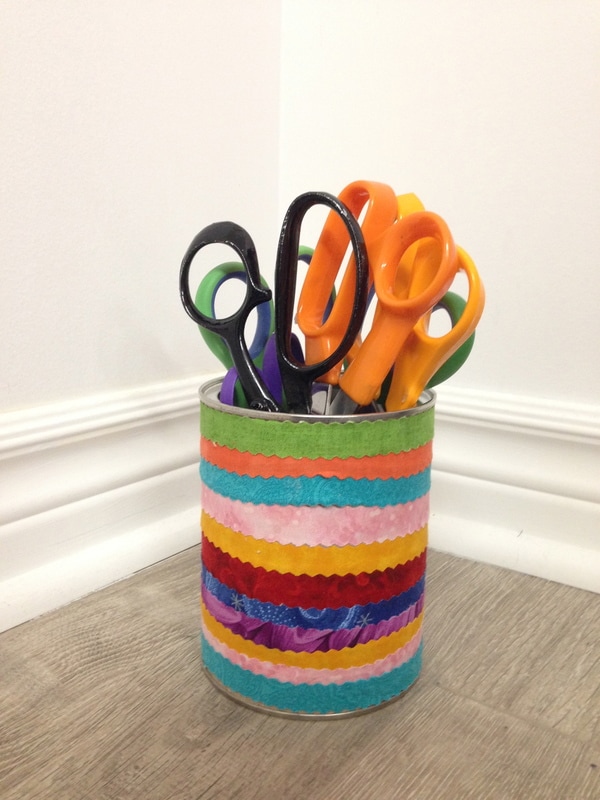
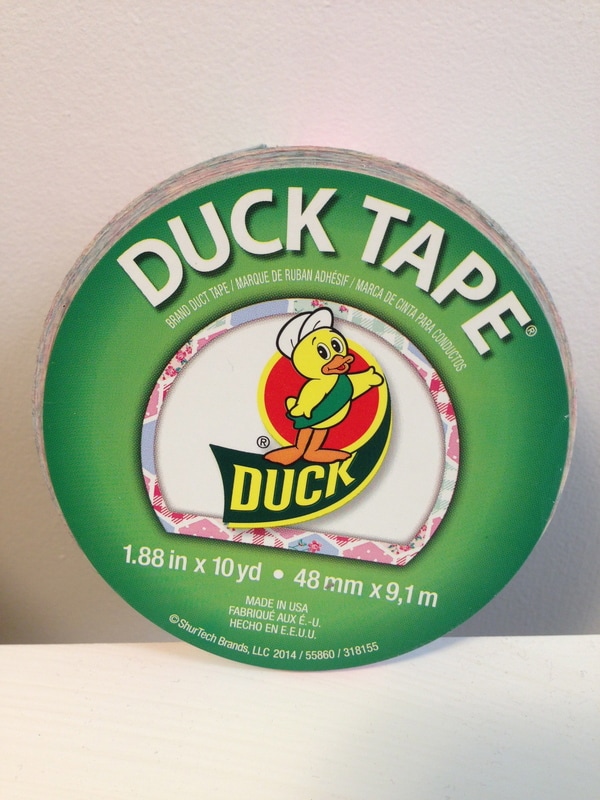
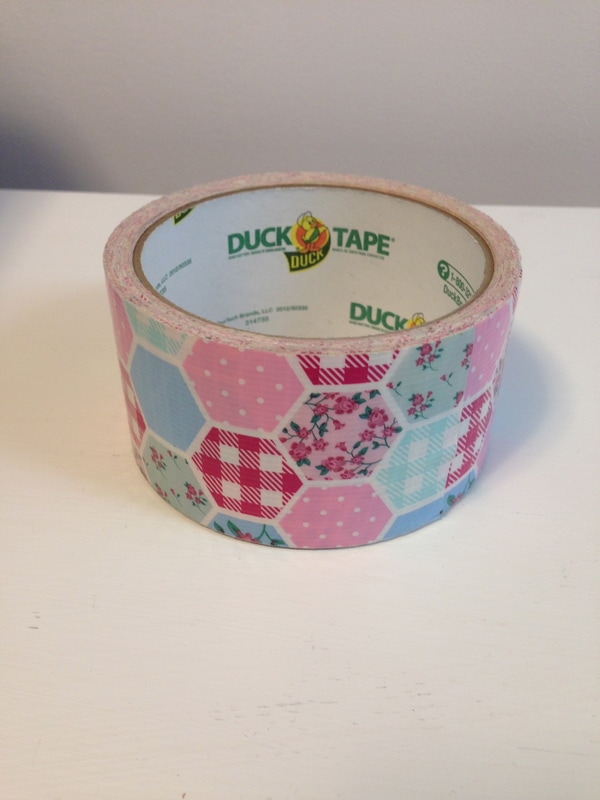
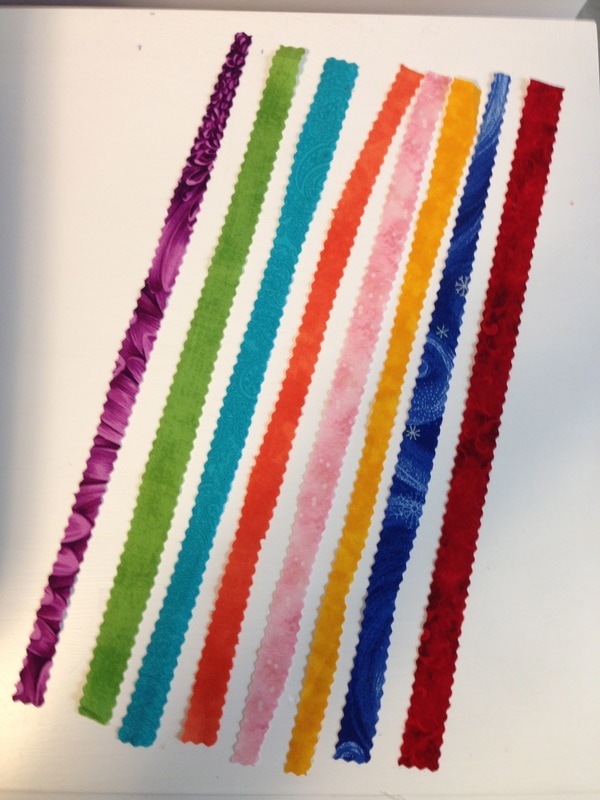
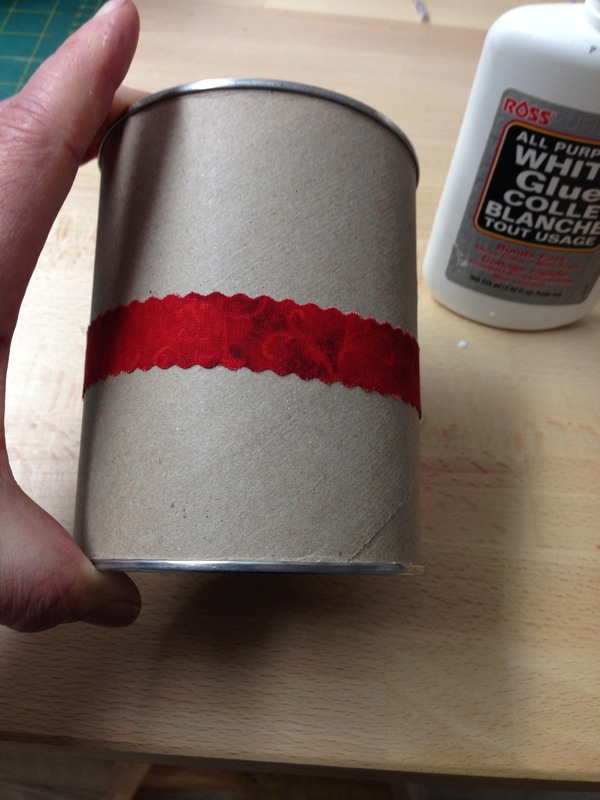
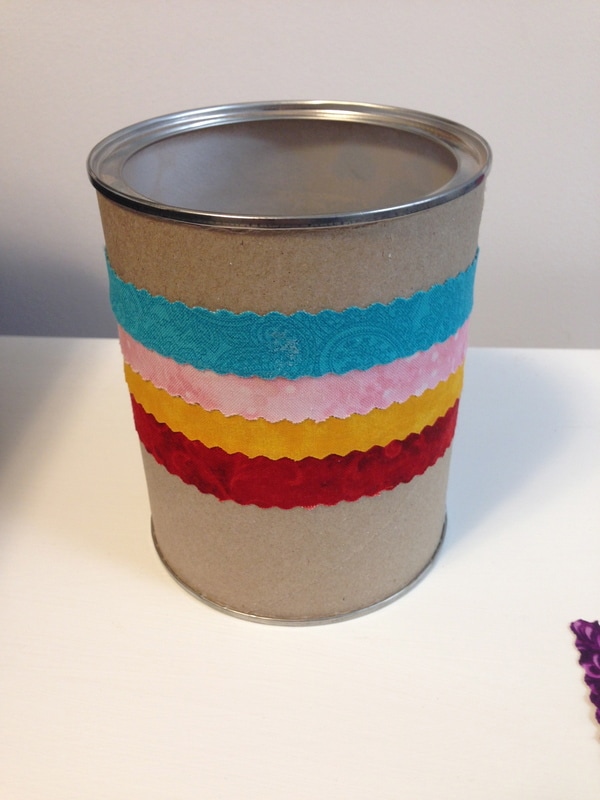
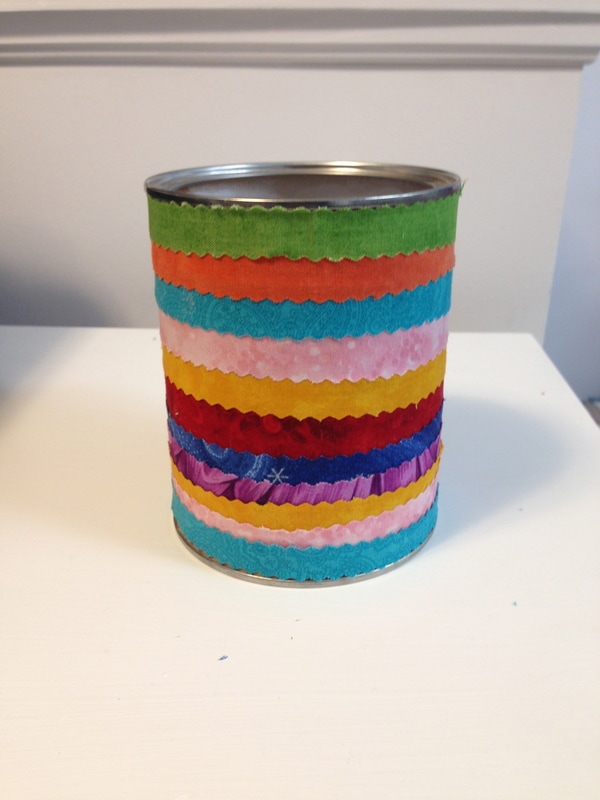
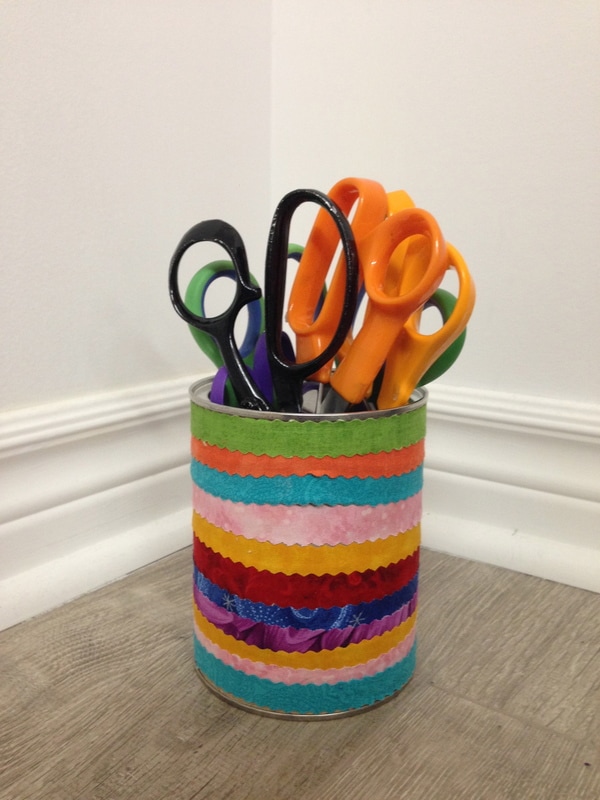
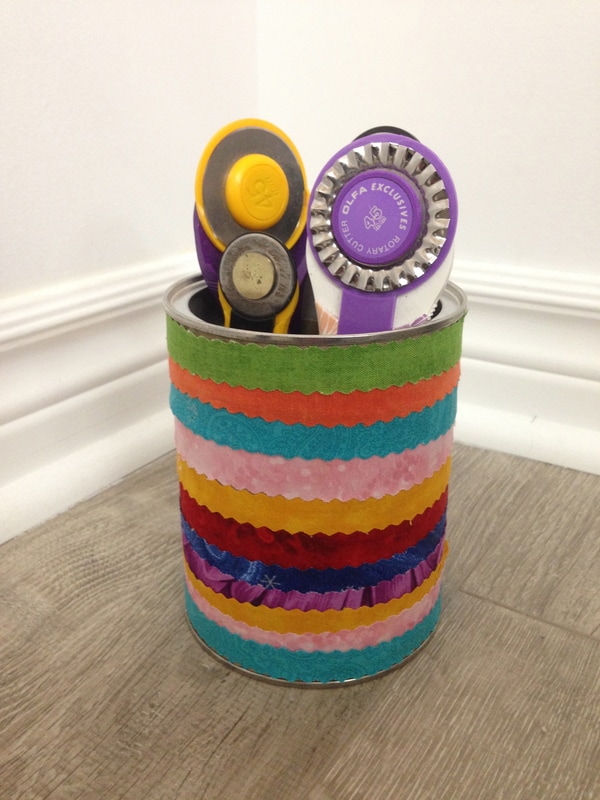
Happy Tuesday!👍 Starting my year off right with one of my resolutions....a reused/recycled project. This is a scissor/tool organizer from reused hot chocolate containers. Read more to see the versatility of this project. We are in the "thick" of hot chocolate season and there is no better beverage than a cup of steamy,sweet,delicious hot chocolate after all that snow shovelling! The City of Waterloo experienced the most snowfall in December 2016 compared to many years before. I now consider myself an authority on hot chocolate consumption! If you have kids or grandkids, you may even go through more hot chocolate than we do. This project is a way to start of the year gently with a project that is easy, very useful and involves reusing and recycling and there is no sewing required! This project is a no brainer and I can thank my sister Alison for the idea. Thanks Alison! Originally, Alison gave me the idea of making an eye glass organizer with these empty containers. If you are like us and at an age when we have multiple drug store glasses everywhere, then you would find this idea useful. See the picture below: 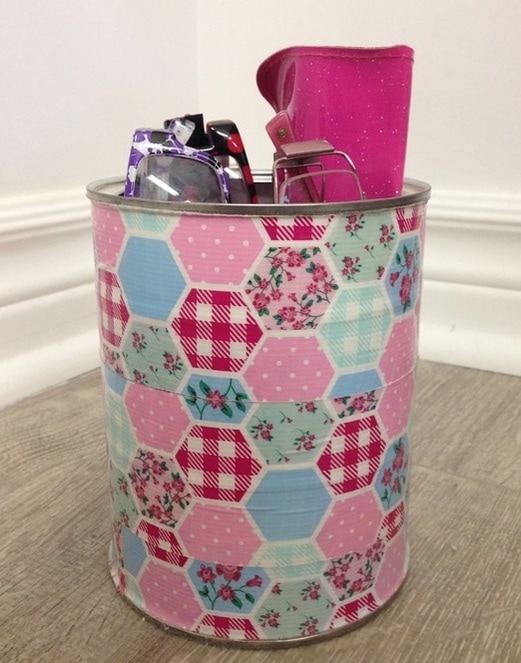 The above eye glass organizer is made with an empty hot chocolate container, 4 toilet paper rolls and decorative "Duck" brand tape. It sits on the desk in my kitchen at all times and I have found it to be a great go to spot to keep my many pairs of classes (I actually think I need one in every room in the house and I am working on it). There are some cool craft projects on the Duck brand website check it out here Don't you just love the above "quilty" pattern? I am truly obsessed! Sorry, I cannot find the source for this but I think I purchased it at Walmart? To make the striped scissor/tool organizer shown you will need: 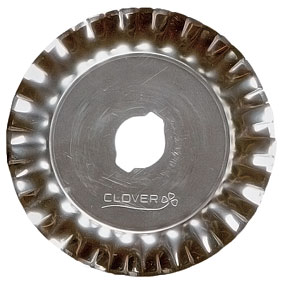 A hot chocolate container 12 1/2" (32 cm) diameter and 5" (13cm) tall, strips of fabric 14" long (cut with a pinking shear or wavy rotary blade), 4 toilet paper rolls and... 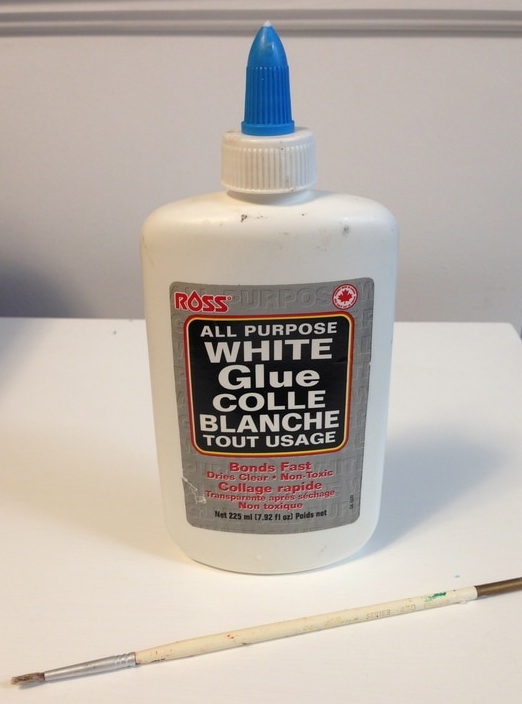 Cheap school glue and a paint brush to apply the glue. The inspiration for the colours in this hot chocolate container/organizer was fabric for roman shades I am making for my sewing studio see the fabric below: 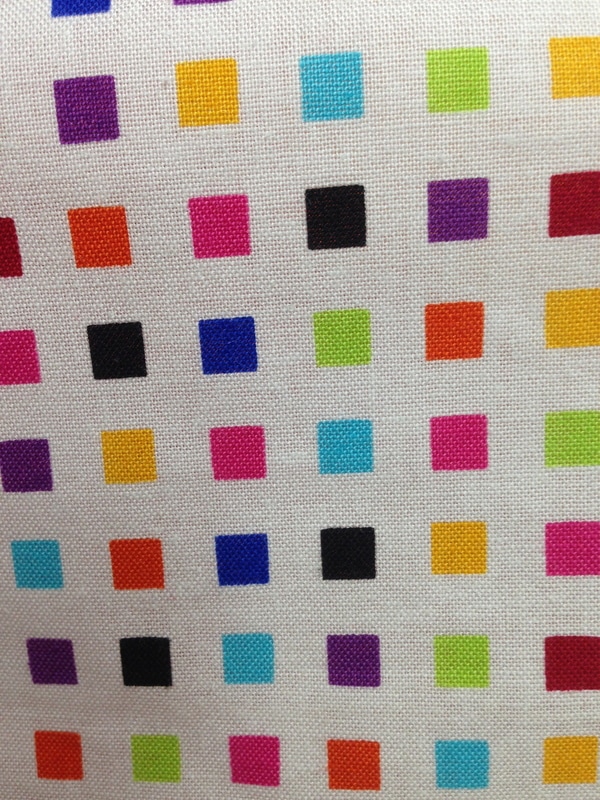 Isn't it pretty? Stay tuned for a show and tell of my roman shades in the very near future! How to make it: 1) Tear the label off your hot chocolate container and recycle the paper! If you cannot get the paper off thats ok as it will get covered. The fabric nd glue will just adhere better to the matte cardboard. 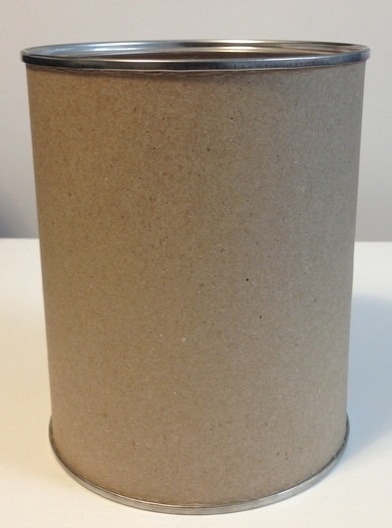 2) Start adding the strips by putting a dab of glue on the back center of your container and on the top of the strip and wrap it around over lapping it slightly, hold the fabric for a minute until it starts to feel like its holding. It is that simple! 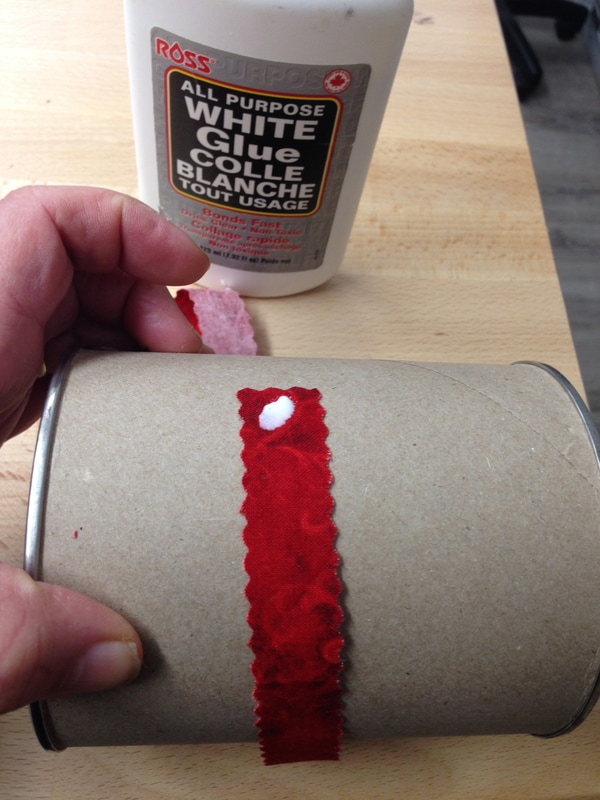 3) Keep adding strips until your container is covered with fabric 4) Insert 4 toilet rolls inside- they will fit tightly and may distort somewhat but thats ok, they are just there to support your tools and will not show once you have your container filled.  5) Fill it with tools such as scissors, rotary cutters, small rulers, pens, pencils, markers, craft supplies etc. (*What to do with the plastic lid? It makes a great round plastic template for a circular applique or cut it up into shapes as a piecing template* You have now recycled something, avoided the landfill and made a new purpose for it! Make this in colours to suit your sewing room. I hope you enjoy this quick and easy project. Happy Tuesday! 😊 This just in! (10:24 am Tuesday January 10th) Mabsy has sent me 2 pictures of recycle containers she made with dollar store sparkle gems! See below:  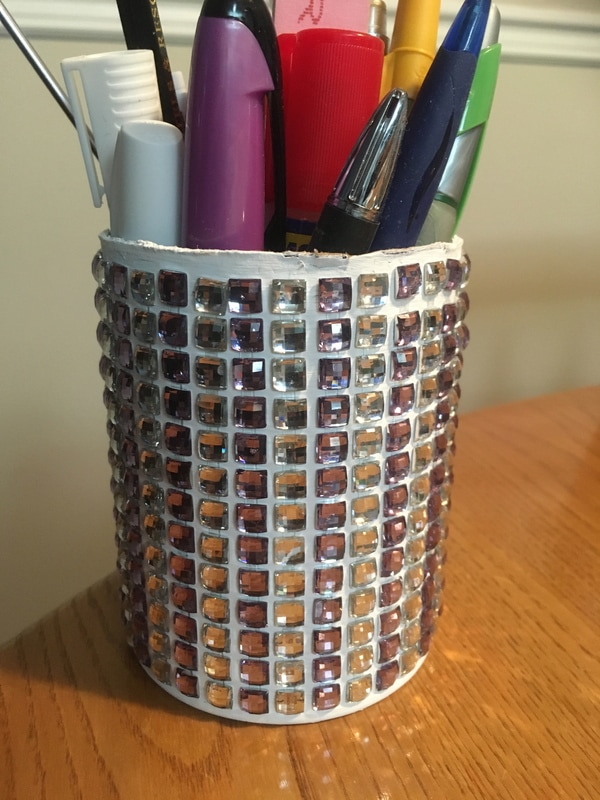 Way to go Mabsy! These are beautiful with the "bling" on them. Another unique way to look at this project. Thanks For Sharing!
|
Follow Me:
Welcome!Hi I'm Robin and I am a professional long arm quilter, pattern designer and teacher. I am passionate about all things quilty!  

Categories
All

Sponsors
This blog contains affiliate links. This means that we endorse products.
We do receive rewards for these endorsements and this helps to keep this site alive and well. We support products which we believe are the best quality and to inspire your creativity! |


 RSS Feed
