|
Recently, I attended my sorority Christmas dinner & it was lovely. We all (9 of us) decided to continue with the tradition of small consumable or practical gifts for each other. The key being small. When you have to buy gifts for8 individuals all at once you will want it to be affordable. I also think this gift idea would make an excellent hostess gift, so here is what I did in photo narrative: 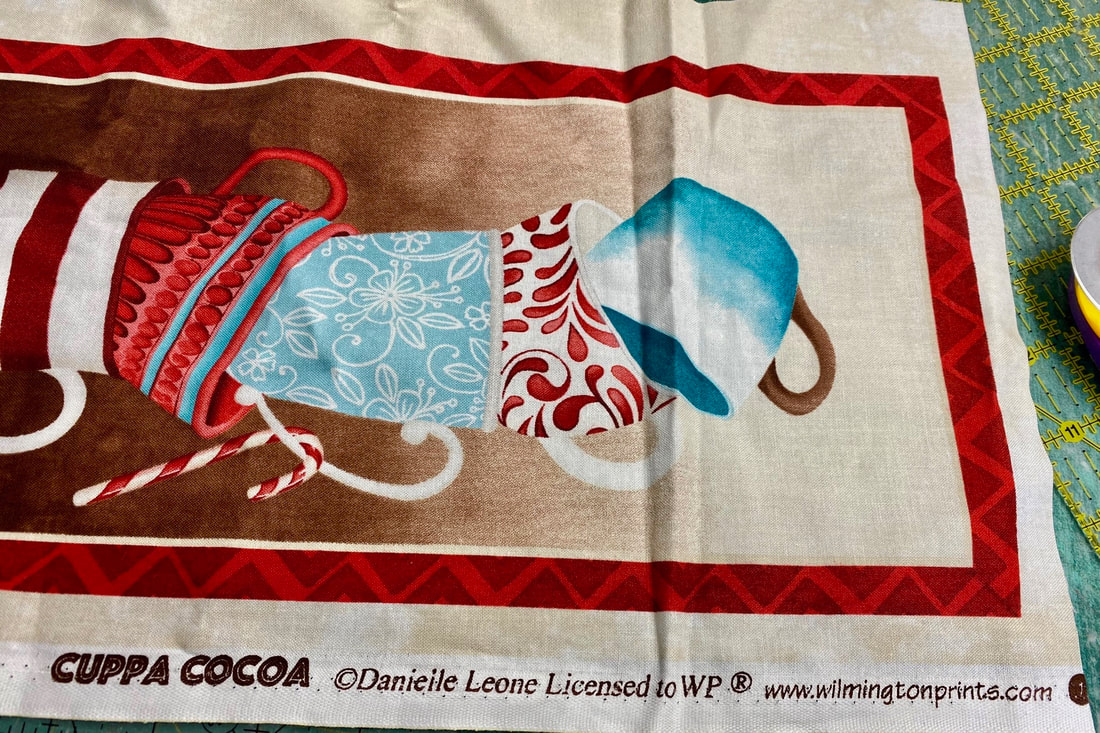 Used a Mug Rug Panel that I purchased about 2 years ago from Cuppa Cocoa by Dabielle Lenne wilmington prints My panel had rectangle & square mug rugs on it. I used only the 8" squares & made 8 of them into a mug rug as shown below: 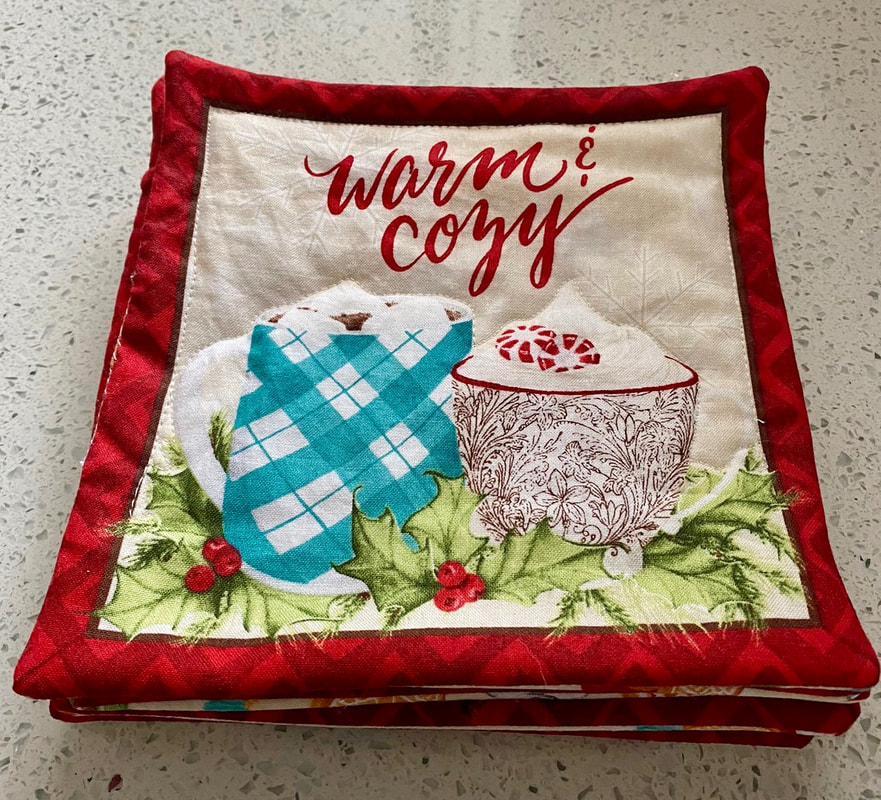 8 mug rugs layered with batting & backing sewn & turned to the right side & lightly quilted (mostly around the mug motifs) 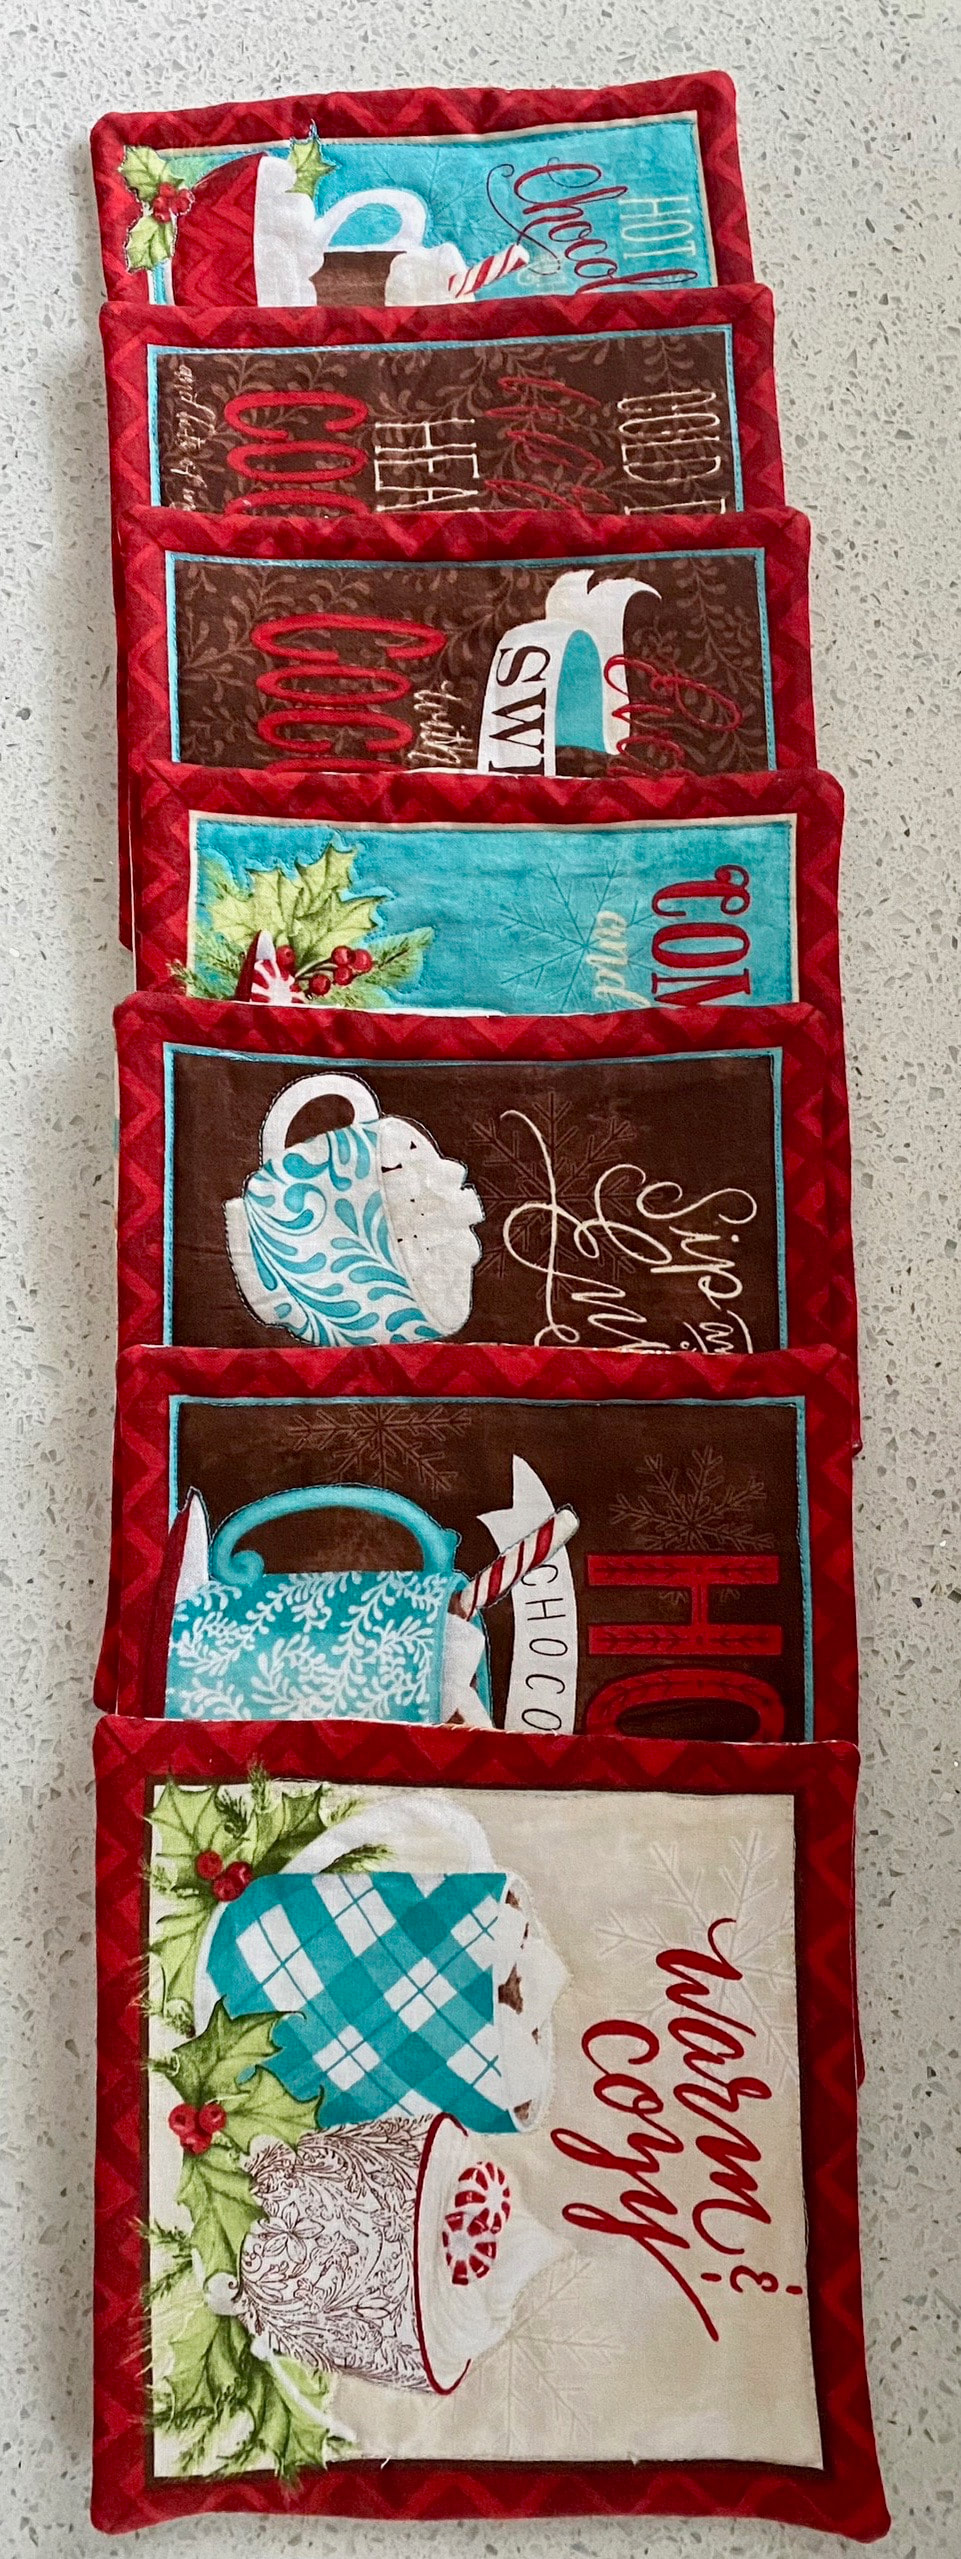 The mug rugs 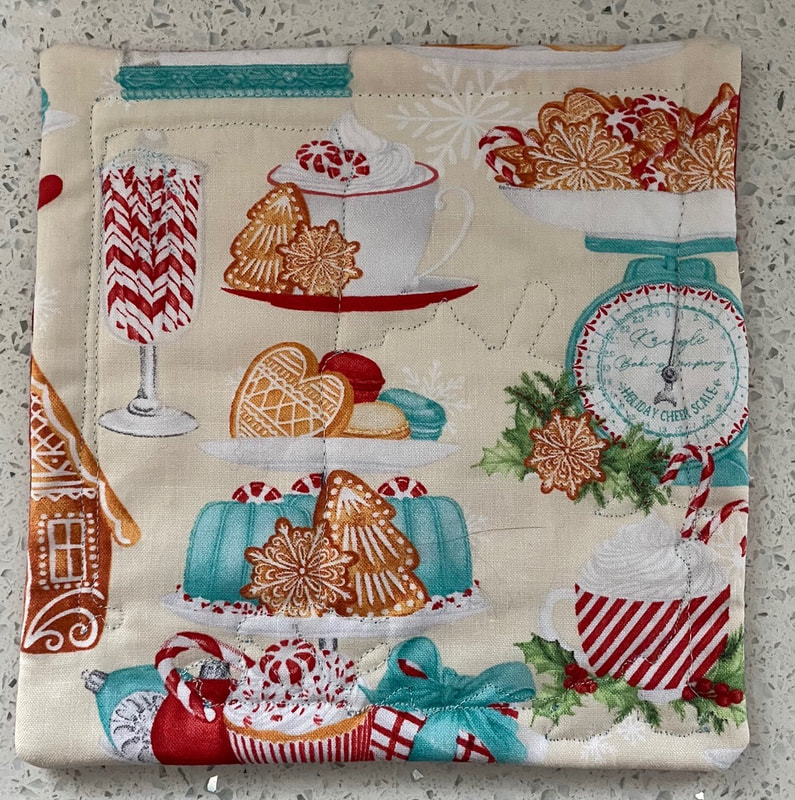 back fabric used for all mug rugs I packaged the mug rugs up into goodie bags with hot chocolate packets, hot chocolate bombs & marshmallows. 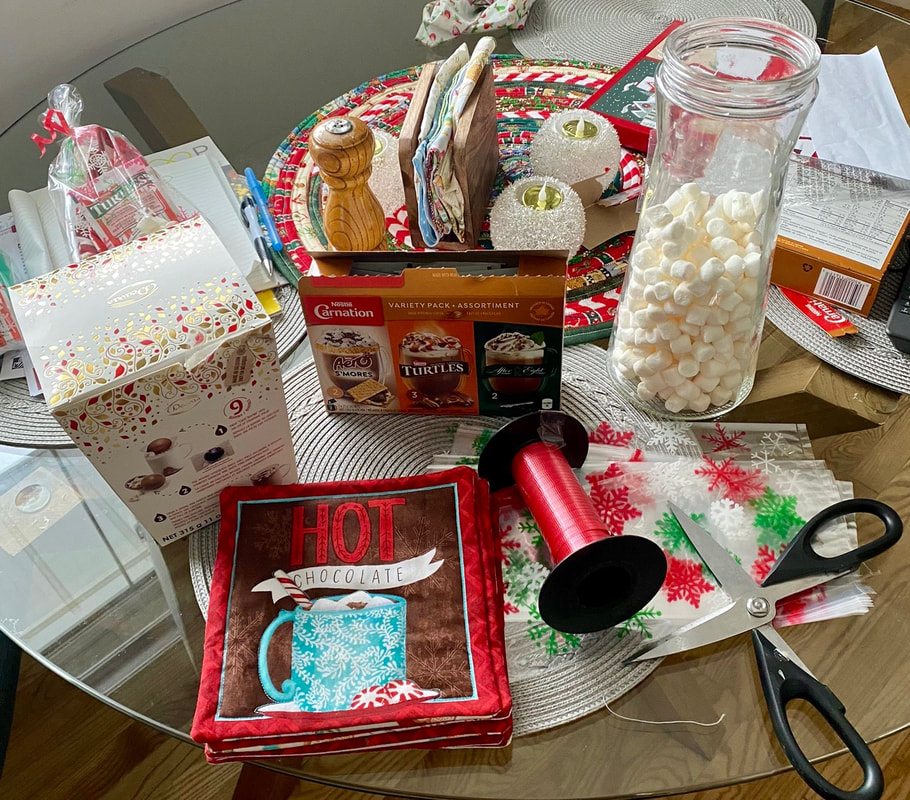 My Christmess of packaging up 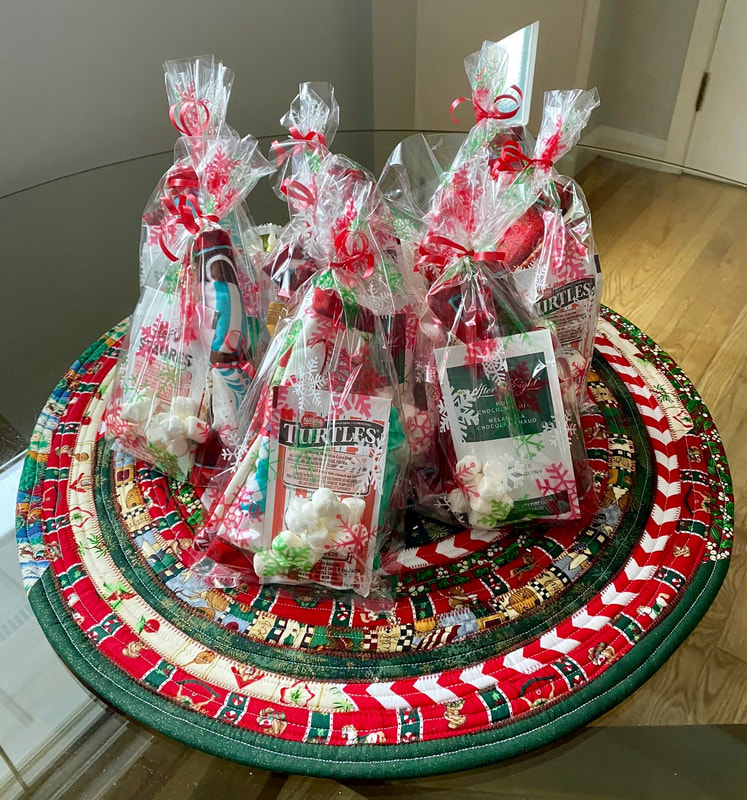 8 mug rugs, hot chocolate packets, hot chocolate bombs & marshmallows all packaged up Just an idea but it would make a great hostess gift too for <$5.00 per person. If you see these panels around on your quilt shop trips, don't overlook them. In my book all fabric is beautiful!
I hope you are enjoying the season of giving! 🎄
0 Comments
 We are here at Christmas Eve and almost closing the door on 2020. I'm sure most want to close that door tightly and with some effort! This year has brought many challenges to my business including a completely cancelled teaching / trunk show schedule and isolation at home with my husband who was also forced to work from home. I had to adjust my coffee break schedule! Lol My daughter and son-in-law to be had to completely cancel their May wedding and events scheduled around it, :( .... Sadly, we also lost my Mother-in- law this year as well. We are hoping for better days ahead, surely. I began mask making mostly to fill the time at the beginning and to help people in our community. I ended up donating over 300+ masks and asking a fleet of neighbours to help with 200+ more. I also sold many masks based on requests for custom orders. I continued to blog for QUILTsocial.com during the pandemic. My customers who had quilts to be completed also continued to bring them to me with contactless curb side delivery and pick up. Thank you to my wonderful customers, you saved my sanity! The COVID 19 Pandemic forced a lot of people to adjust, trust innovation and technology and slow down. It forced us to be antisocial! Not a human concept. Unfortunately, lives have been lost and people have been ill and this is a serious thing and therefore the precautions we took and are still taking are necessary ones. Thank you all for the sacrifices you are making and the business quiltingintheloft.com has benefited from this year. My hope is that you enjoy the holiday season, despite precautions and smaller gatherings. Merry Christmas to you all and a much Happier, Healthy New Year. Bring on 2021! Sincerely, Robin It's that time of the year again when I am finally finished with classes, long arm quilting, trunk shows and writing to attempt some of my own Christmas preparations. By no means am I complaining the "quilting" world has been excellent to me in 2019. Thanks to all who have booked me to teach or do trunk shows and to those with whom I have had the privilege to quilt their quilts. Also, Thanks to QUILTsocial who has hired me to write their blog posts x 4 weeks this year. I say it all the time, I love my job and it does not feel like a job. I just wanted to share what I have been up to for fun this time. It is not all quilting related but it is definitely crafty/cooking/quilting prep for the Christmas season. See my photos below: 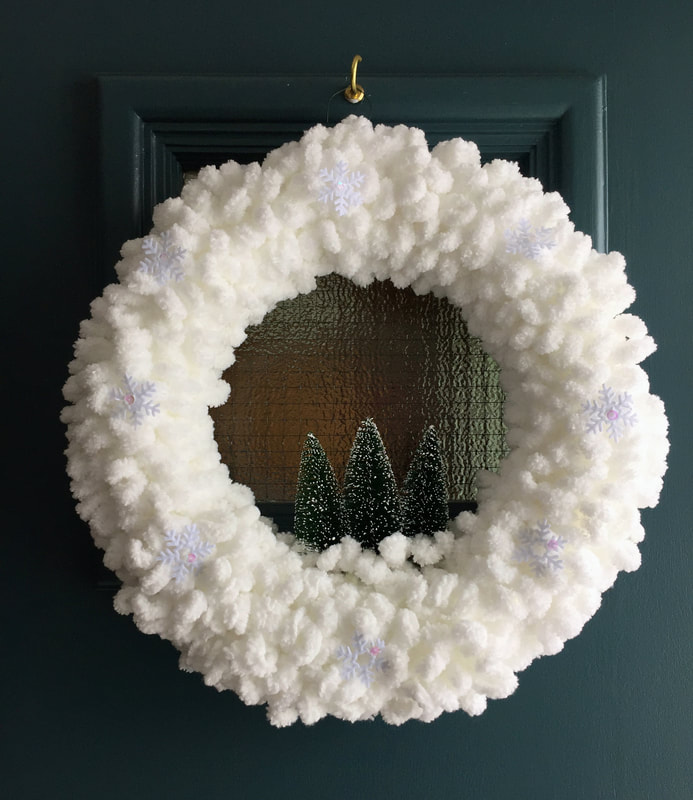 Made a new wreath for my front door I made the above wreath out of loop it yarn and $store brush trees, so easy! 5 minutes to make seriously, maybe I will post a tutorial later??? 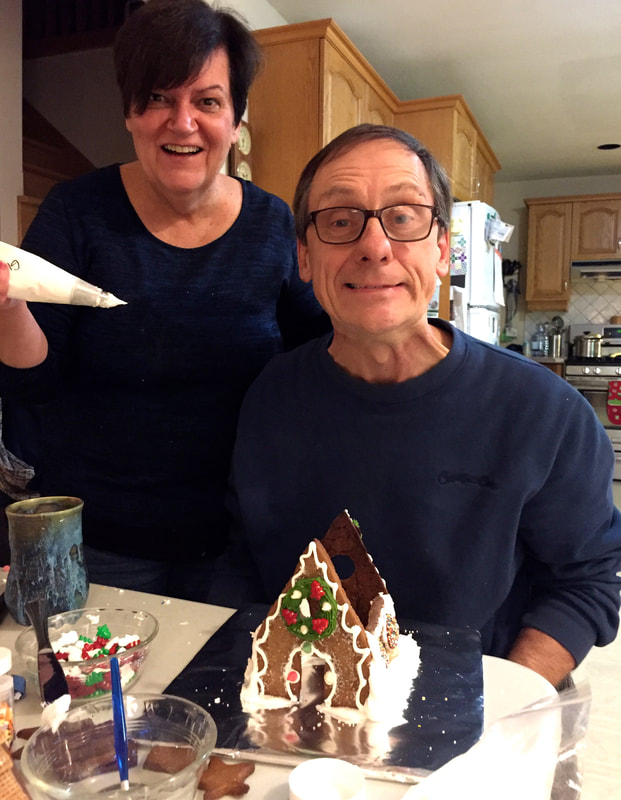 Made some gingerbread houses with my crazy husband, daughter and son and law to be.... so much fun! what a great family activity. We made some gingerbread houses for upcoming Christmas decor and just for fun. Can you tell by the look on my crazy husbands face and the smile on mine that this was an absolute hoot. Everybody else's gingerbread house stood up tall and mine is so crooked and goofy looking! I'd say it probably matches my personality. But never mind, we had so many laughs. 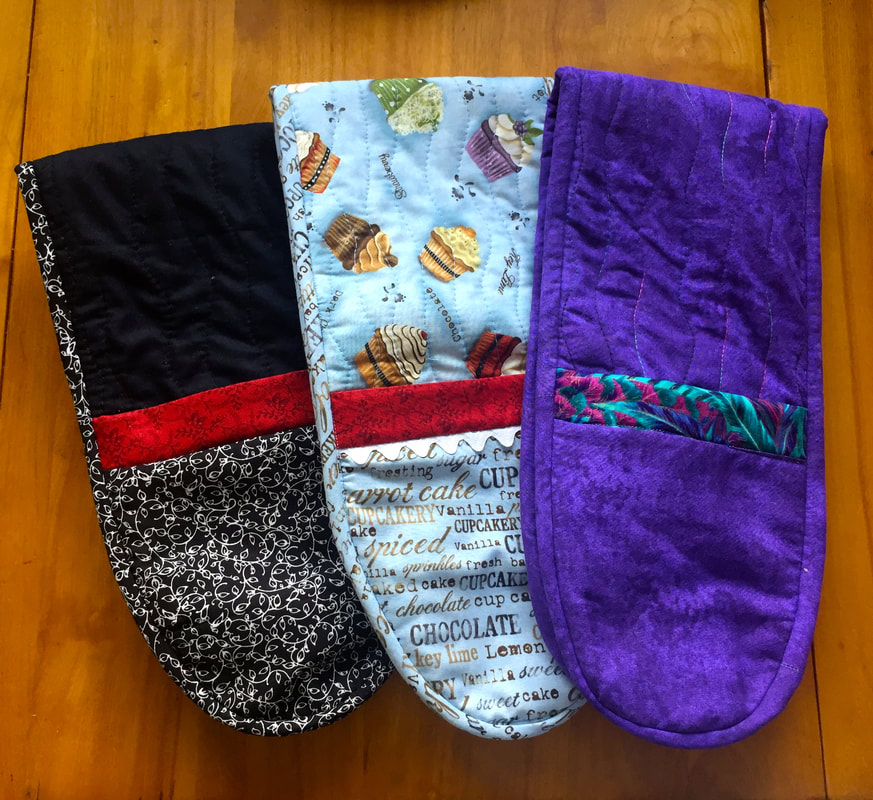 Double ended oven mitts made up quick to add on to some gifts. I have made 3 sets of the above double ended oven mitts for add ons to gifts as I absolutely love mine. The free download for the pattern is available here. 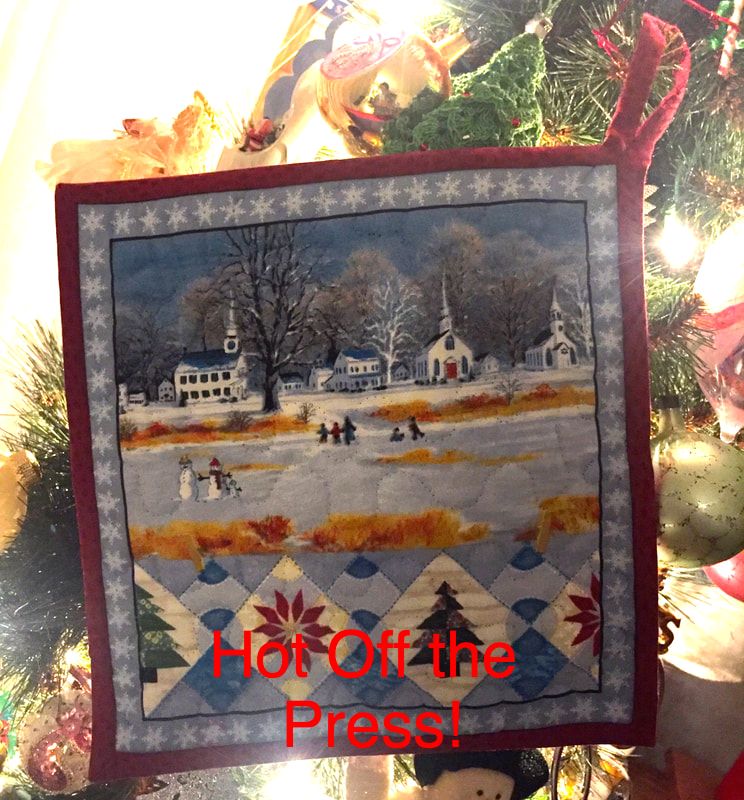 Just finished this pot holder as a gift for someone. There is a pocket on the backside where I will insert and share one of my favourite recipes. I always joke in my Free Motion Class that practise makes perfect and that students should be giving everyone a pot holder for Christmas so that they can practise their free motion stitches. I was not kidding :) the above is one of mine. Practising meandering/warming up my fingers. For the above pot holder as you can see I just used a 10 x 10 square from a gorgeous Christmas panel that I had.
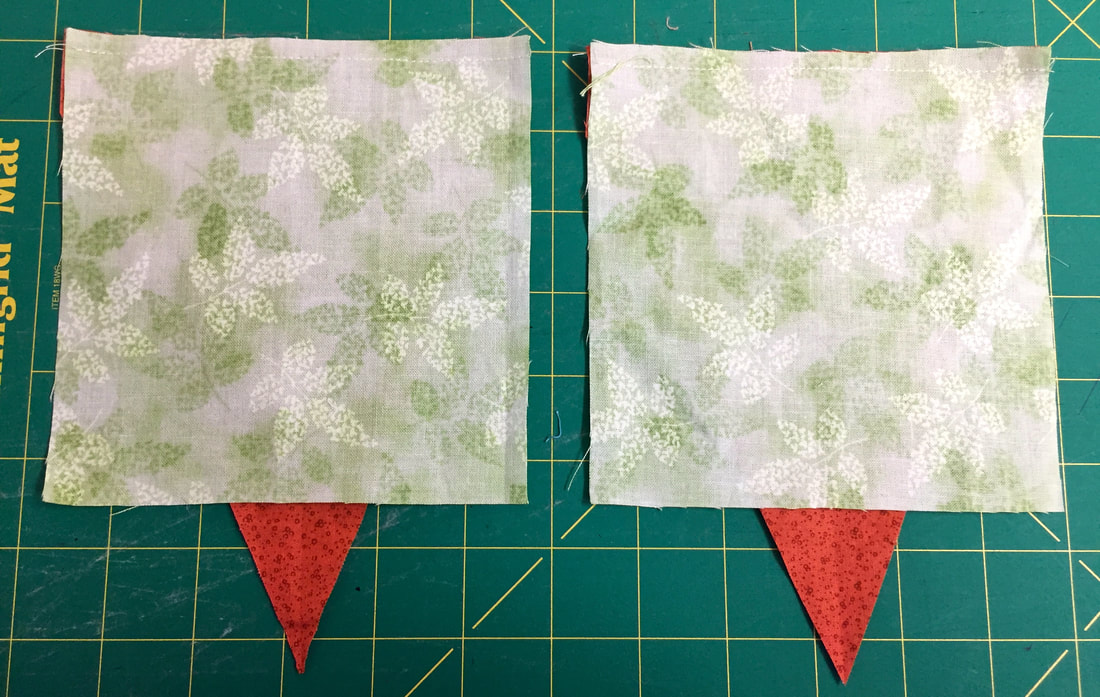
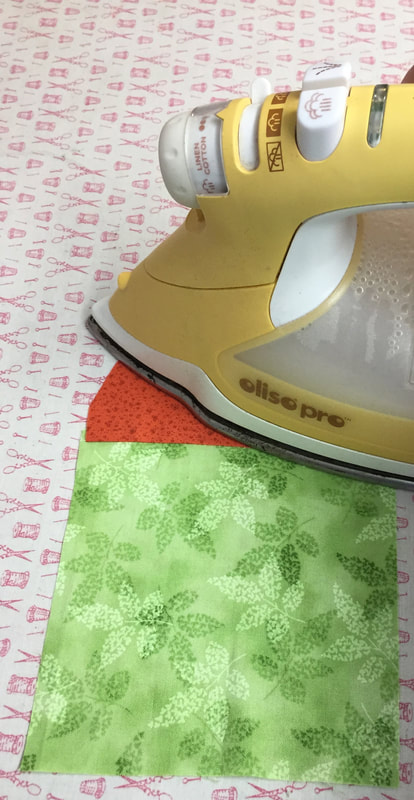
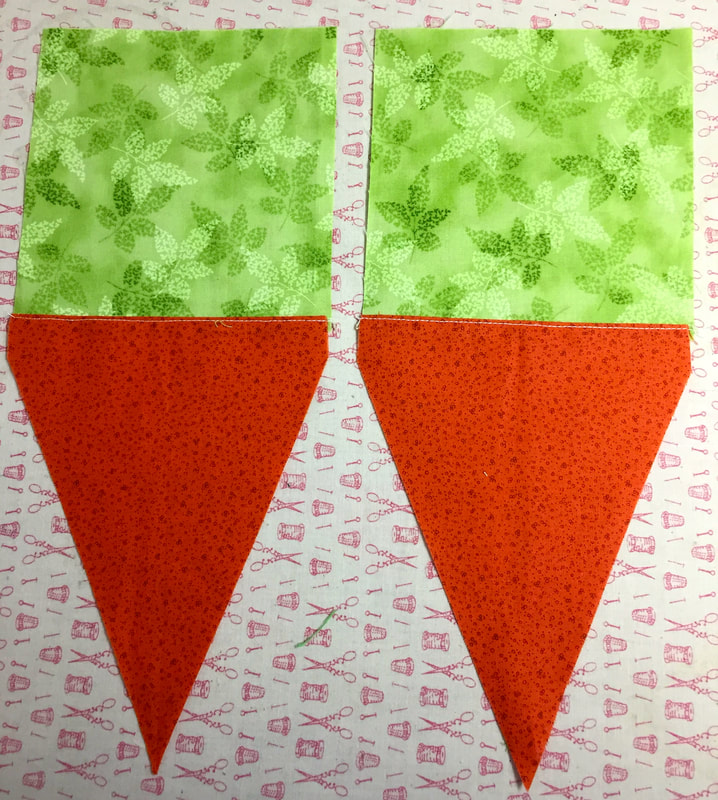
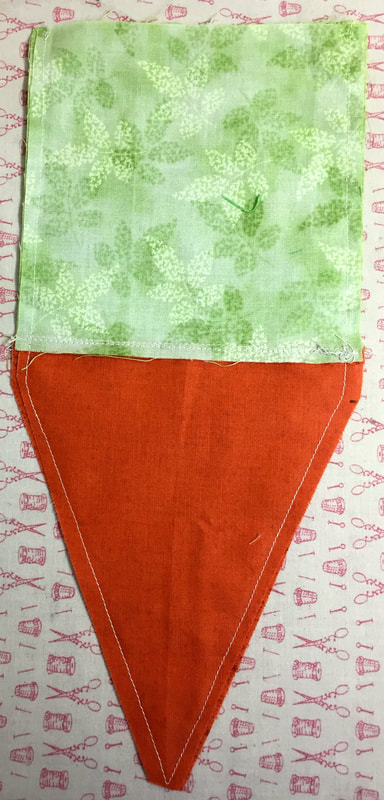
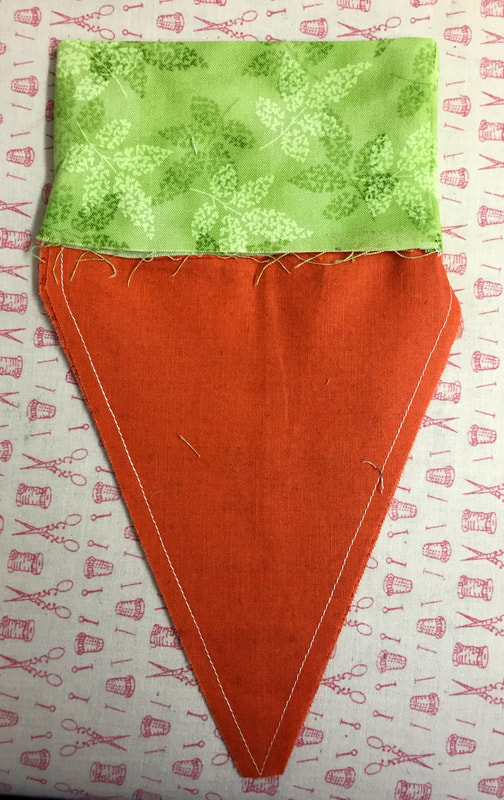
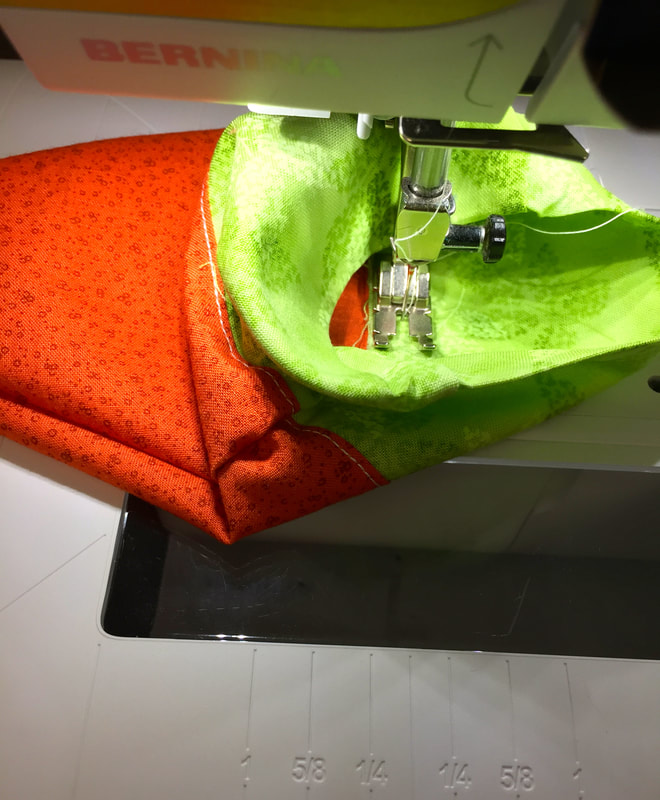
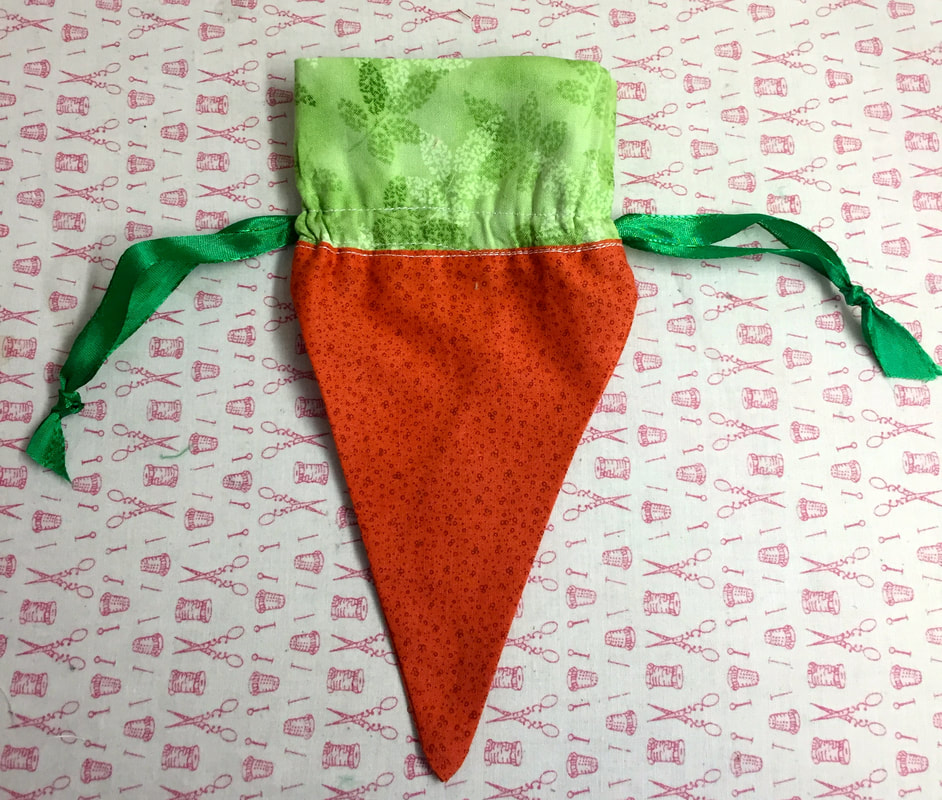
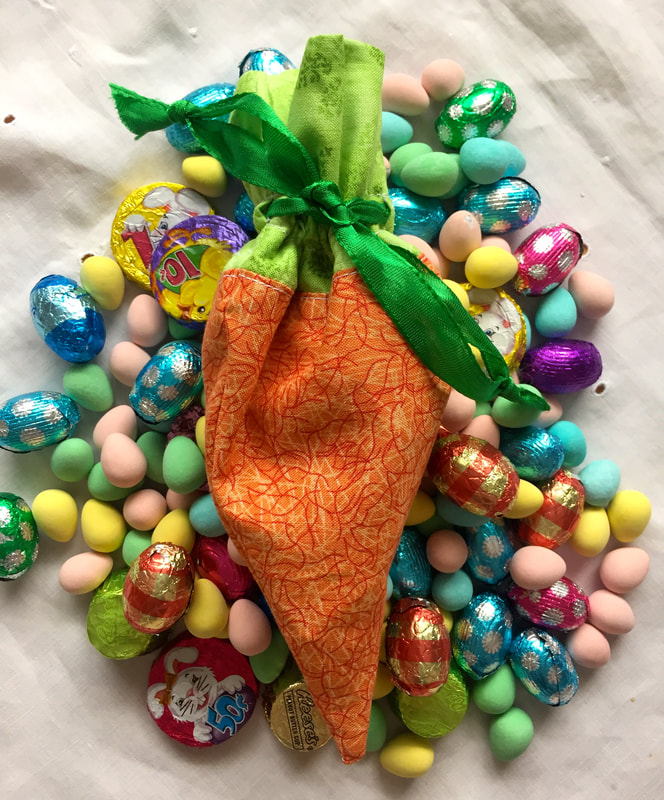
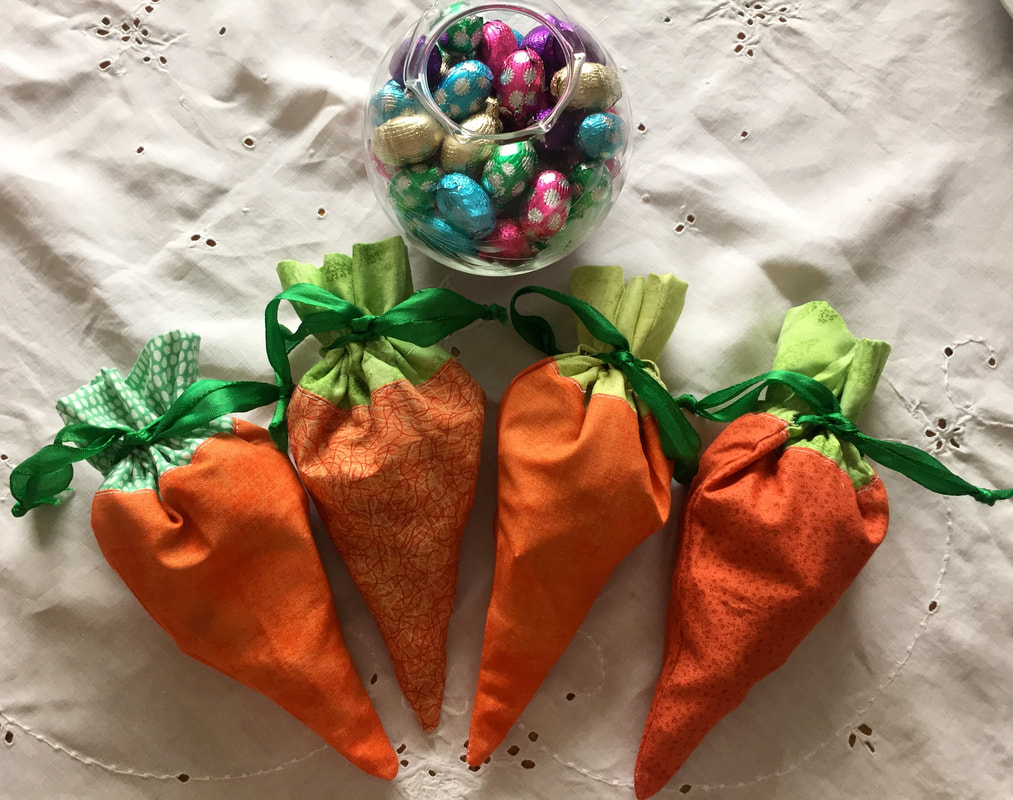
That's all for now I am sure I will be getting into more crafty trouble before Christmas get's here and will share ideas as time goes on. Until then, stop and listen to the music, enjoy the season and just breath. 🎄 I'm trying to get ahead of the holiday rush this year and share with you some ideas to DIY for Easter. Check back this week there will be more ideas anywhere from April 13 all the way up to Easter as I get my DIY"S done! The emphasis is of course easy DIY's given that Easter is only one week away. So here is the first one, I like to call a "Carrot Treat Party Tote", see all the photos and how to tutorial below: 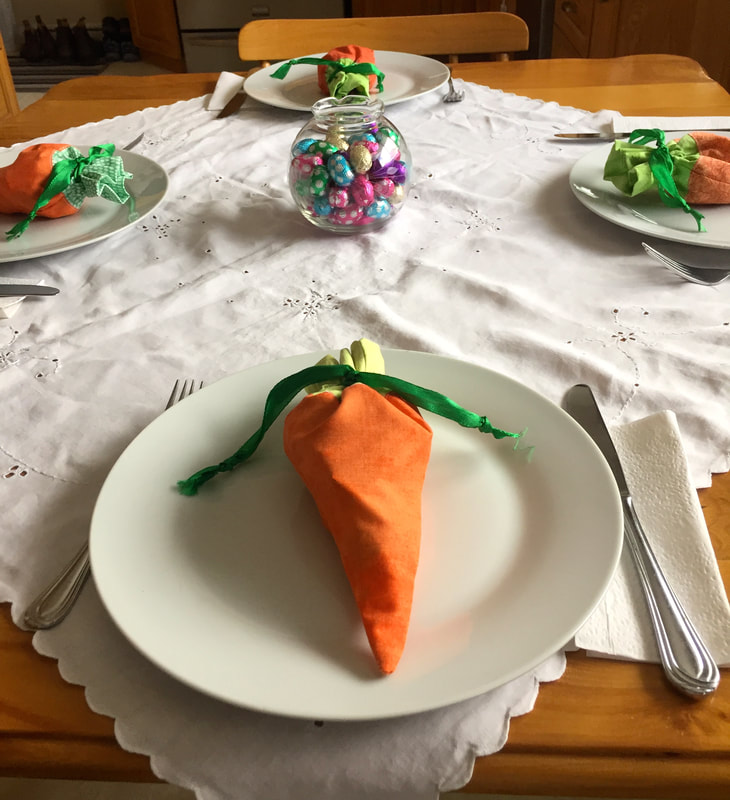 Carrot Treat Party Tote is filled with chocolates, a great take away, and conversation starter for an Easter party 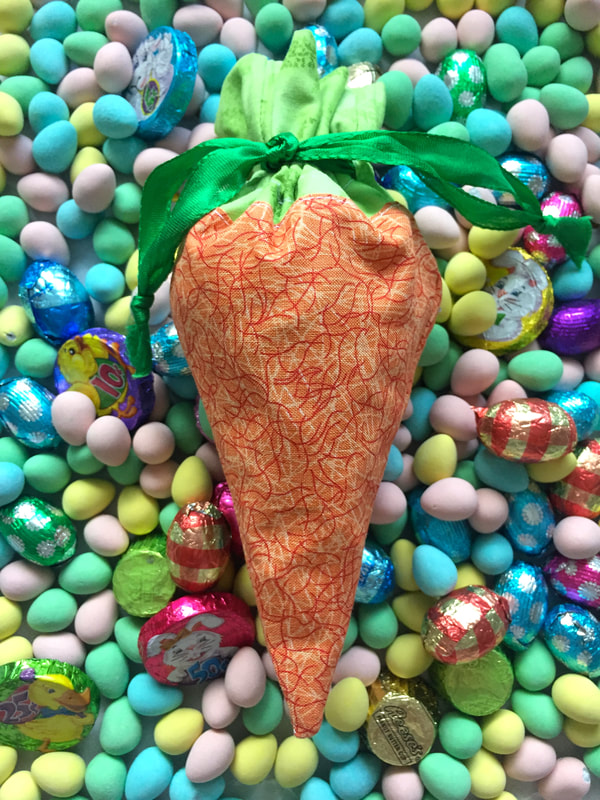 mmmmmm filled with chocolate! Supplies Needed to Make One Carrot Treat Party Tote:
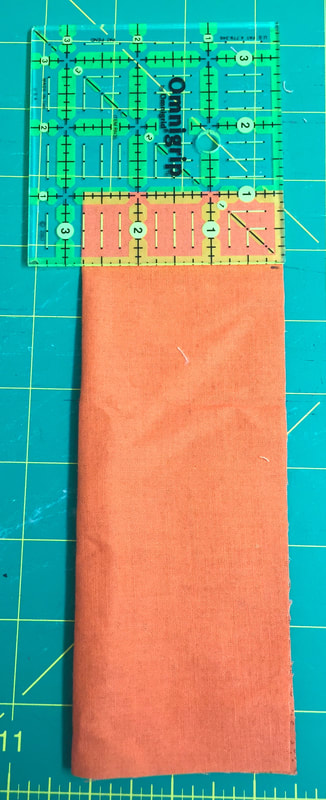
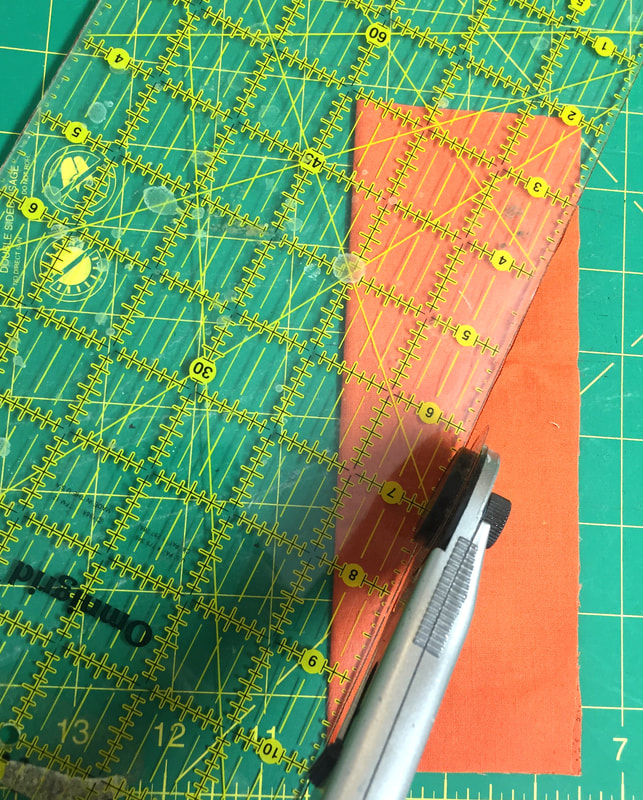 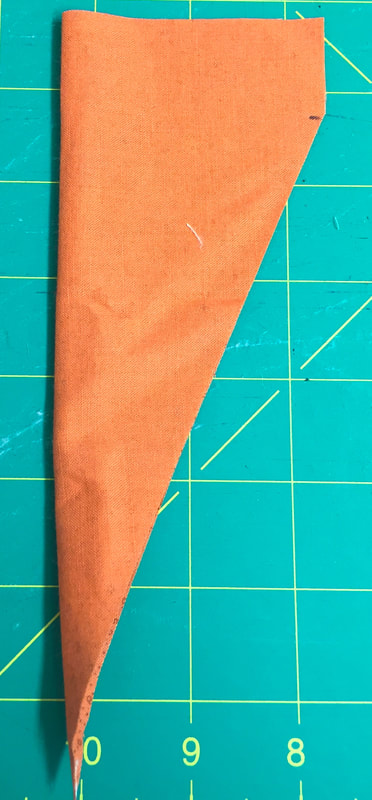  You will need 2 of these for each carrot

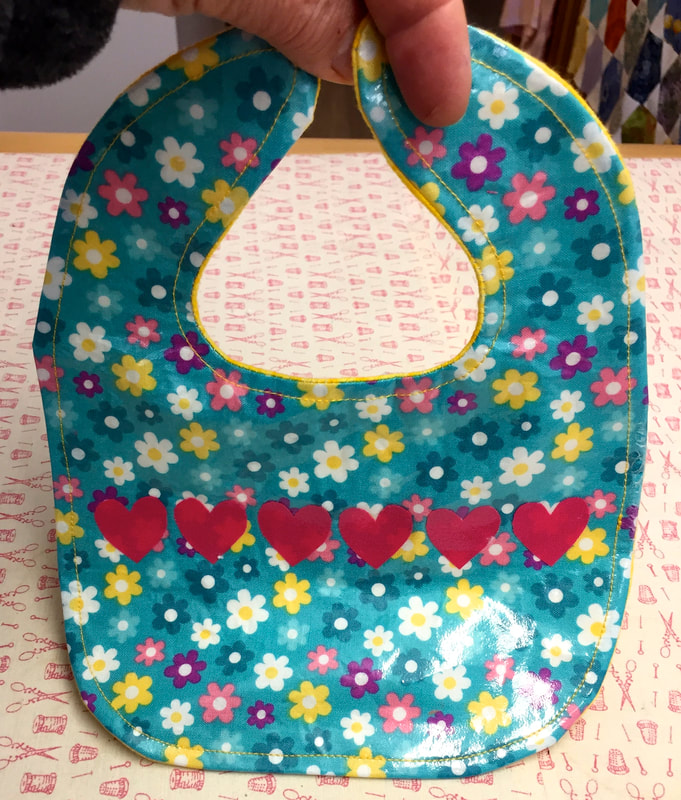
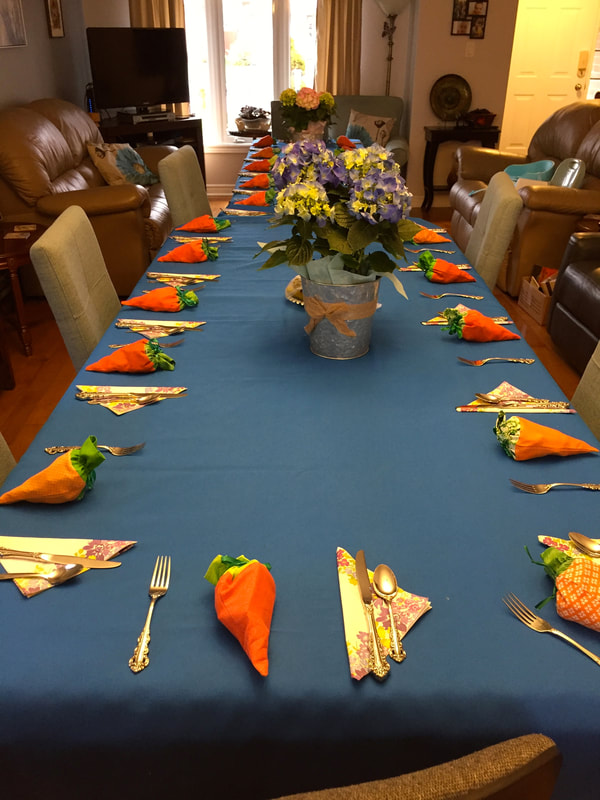 This just in ....23 at our Easter dinner and 23 Carrot Easter Treat Bags My final post as guest contributor this week at QUILTsocial.com is all about fusible vinyl from HeatnBond. You simply lay it down on your fabric and iron it. Lots of possibilities for your stash and I share some great project ideas. Check it out here.  Happy Friday, check back tomorrow, I am going to get started with some Easter DIY's and Have a Great Weekend!
|
Follow Me:
Welcome!Hi I'm Robin and I am a professional long arm quilter, pattern designer and teacher. I am passionate about all things quilty!  

Categories
All

Sponsors
This blog contains affiliate links. This means that we endorse products.
We do receive rewards for these endorsements and this helps to keep this site alive and well. We support products which we believe are the best quality and to inspire your creativity! |
 RSS Feed
