|
Up already on the BERNINA International Blog is my tutorial on how to make a small notions tote (3 at a time!) Made with decorative stitches and my BERNINA 790 PRO- but you could use the decorative stitches on your individual machine. I am simply trying to get to know the vast number of stitches on the 790PRO. This little project is both practical for storage and a great gift giving idea. Check out the blog post and the free pattern/project tutorial here  BERNINA 790 Pro with decorative stitch menu selected  Decorative Stitched Notions Tote - free tutorial available @ www.blog.bernina.com/en
0 Comments
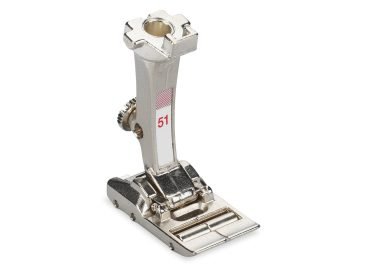
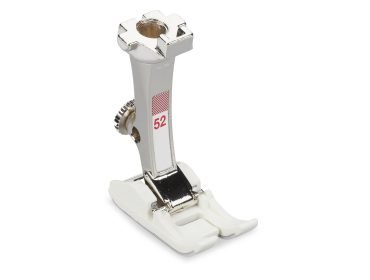
Finish some gorgeous seams with BERNINA Feet #'s 70 & 71 Lap Seam Feet on sale for July 1-31 or until supplies last - check them out at your local quilt shop.  Hi there and Happy 4th of July for all my American friends & relatives! Below is a sneak peak picture of an article I have written on the BERNINA International Blog & that will be posted July 14, 2024 on www.blog.bernina.com/en A few hints : it's a free project tutorial, using decorative stitches with my BERNINA 790 PRO. I will leave you in suspense for the rest, check out the blog post, more info to come!  The amazing 790 PRO  Decorative Stitches done with my BERNINA 790 PRo This week I am guest authoring for www.quiltsocial.com and discussing an easy method to paper piece with no tearing of paper! Yes it's true, you neeeeed to read the blog post here to understand this unique method. Article today is called :"Kaleidoscope quilt blocks | Paper piecing made easy" . There are also free original pattern downloads for 2 Kaleidoscope blocks and layouts to be discussed by the end of the blog post week. This will change your paper piecing game and should make it so much easier. Follow along with me ❤️ Happy Monday! 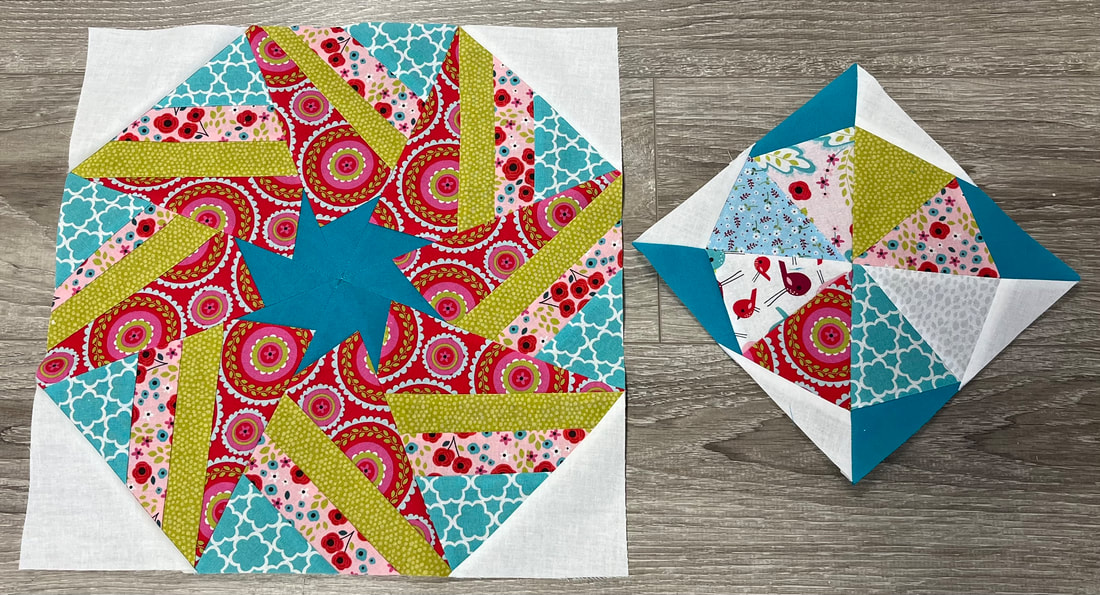 2 Free Original Kaleidoscope Patterns and blog article at www.quiltsocial.com TONIGHT, I'm the guest presenter for Paul Léger Quilts ( A fellow BERNINA Brand Ambassador & Friend) . I'll be discussing "Tips To Sew with Vinyl and a DIY Project Bag". The above BERNINA Sewing Machine Presser feet will be discussed and just how great they are!
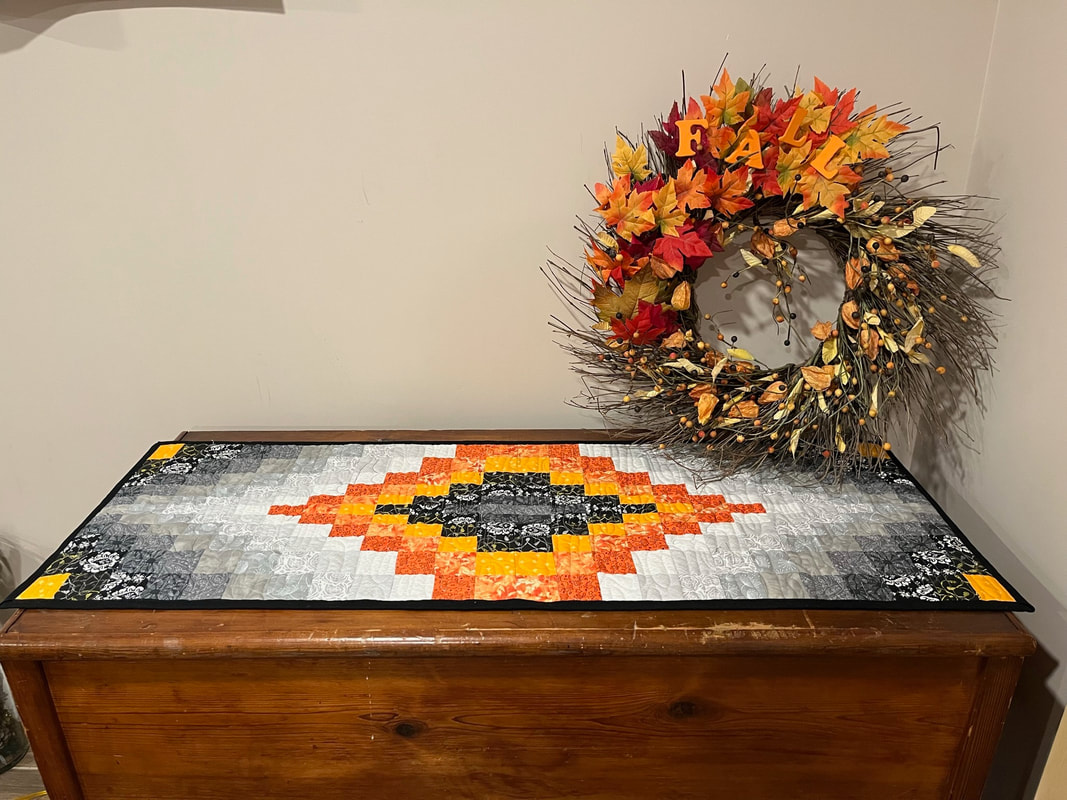
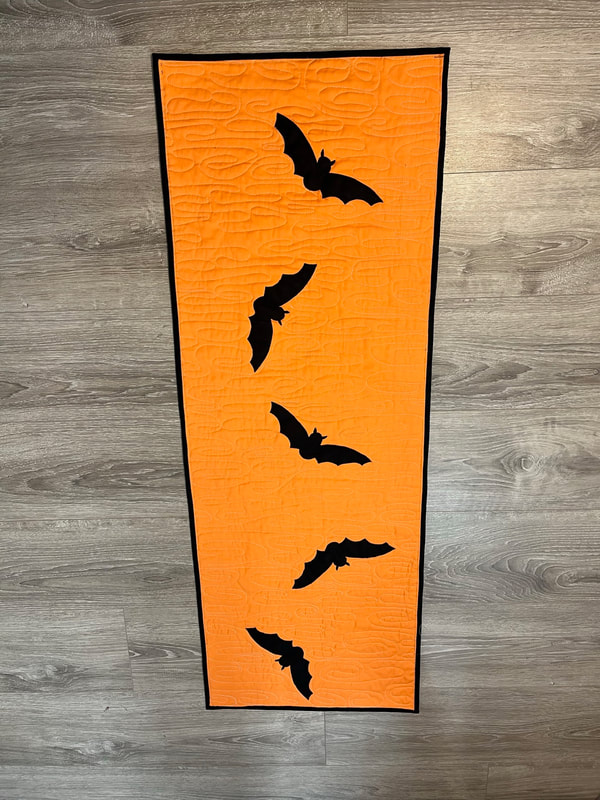
Paul is the host and he will give over the reigns to me to present. If you would like an invitation to this zoom even at 7 pm tonight. Please use the contact tab above and give me your email to join in 7-8 max so not a big time commitment. I think everyone will learn something new and I'll share some project ideas. Hope to see you there! ❤️ Today at www.quiltsocial.com I'm finishing up my Batty for Bargello reversible table runner with HeatnBond Lite, sandwiching & quilting and done! Have a look & grab the free Bat appliqué pattern. 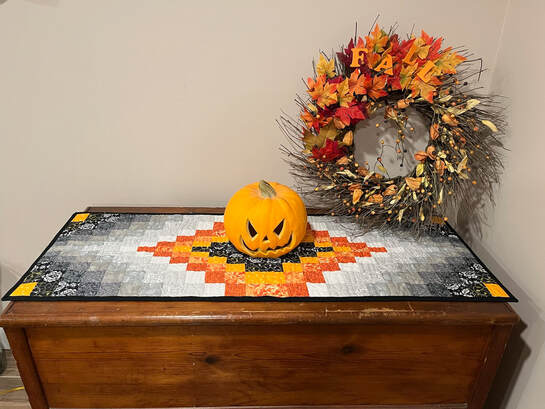 I hope you have enjoyed this Fall /Halloween Table Runner sew along this week at www.quiltsocial.com. Have a great weekend 🍁🎃
Tuesday Sept 12, 2023. tips for fabric selection, ironing & notions make for easy Bargello piecing at www.quiltsocial.com all this week Sept 11-15 in a 5 part series. You can also make a quilt , follow along all week to see how. 🤓 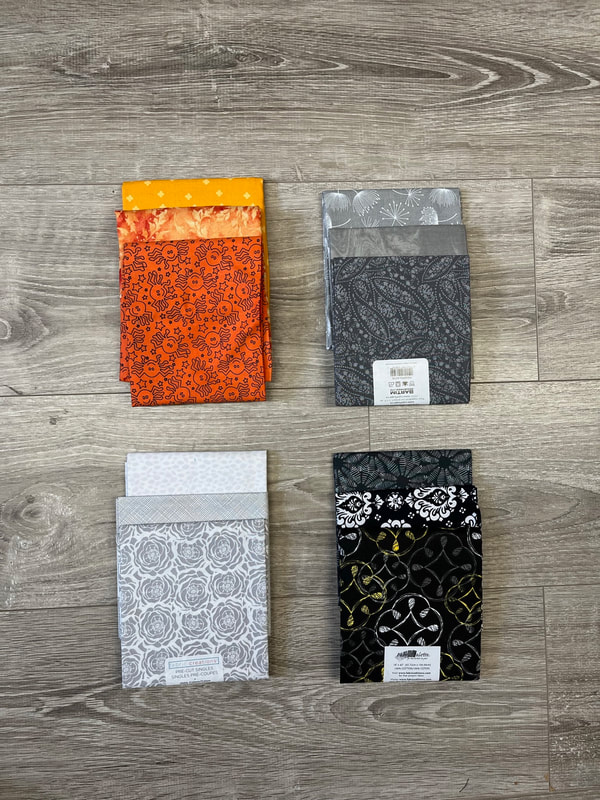 Tips about colour selection + 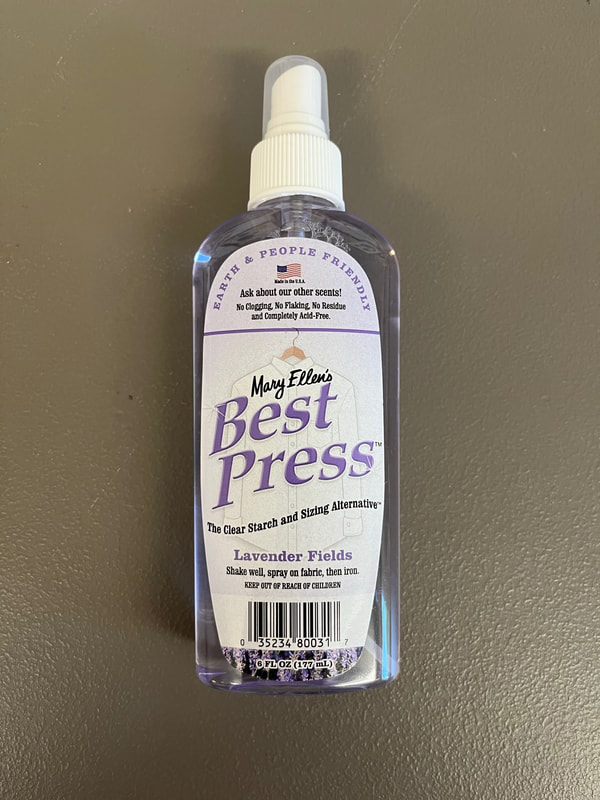 Great notions = 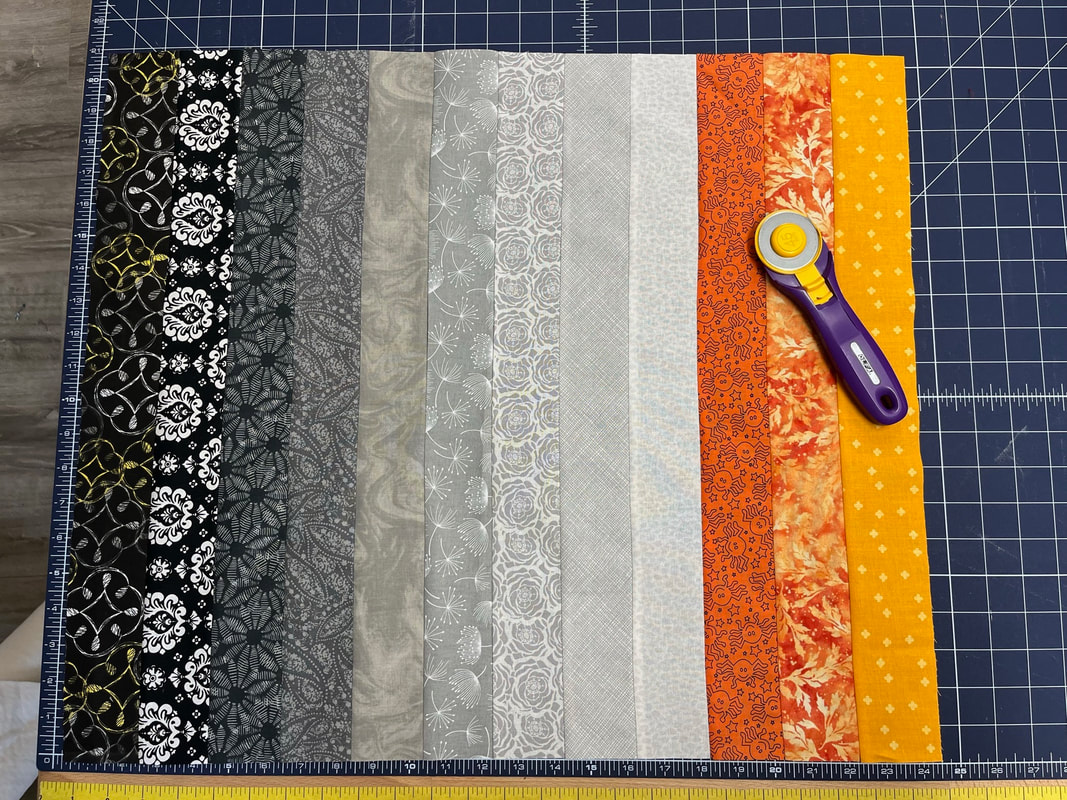 Great stratta (strip pieced sets) ready for Bargello Piecing Happy Tuesday!
 Join me this week on www.quiltsocial.com when I talk all about the composition for a Bargello Table Runner with Fabric Creations Cotton, Gütermann Thread, Best Press, HeatnBond and more! It's reversible with bat appliques on the back. There is a free Bat applique pattern for download. I'll talk all about fabric selection and how to use this technique to design a quilt as well all week Sept 11-15th on Quiltsocial. A free tutorial for you to get ready for Halloween. 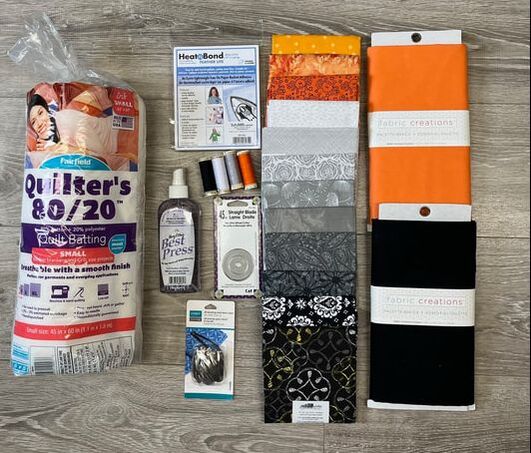 Have a great week and follow along!
Have you Baked Someone Happy lately? To me baking means sharing, caring & it has the added bonus of bringing happiness to my friends & family. How about this slogan on a cute apron? Join me today at www.quiltsocial.com when I discuss how to place the "Bake Someone Happy" design on an apron with Mont Marte Paint Sticks & art supplies. The pattern is a free download, check out Painting on fabric is fun with Monte Marte paint sticks blog post to get the free pattern designed right here in my studio. 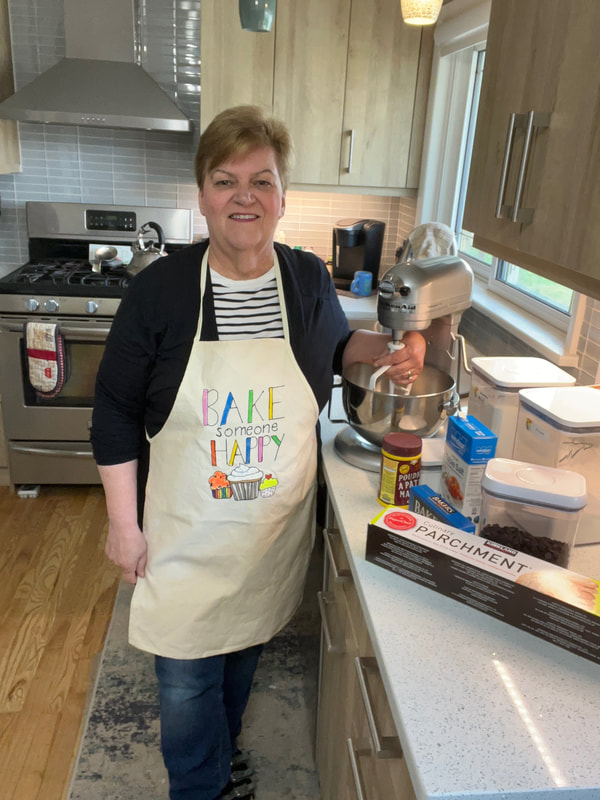 Robin wearing her Bake someone Happy apron Thanks for following along all week with my posts as guest blogger at www.quiltsocial.com . Have a great weekend & Bake Someone Happy!😊❤️🍰
Today at www.quiltsocial.com, I'll show you how to embellish a cute pre- made beach tote with the Mont Marte Fabric Art Set . The canvas tote is included in the set making this project so easy! Check out the free tutorial here. 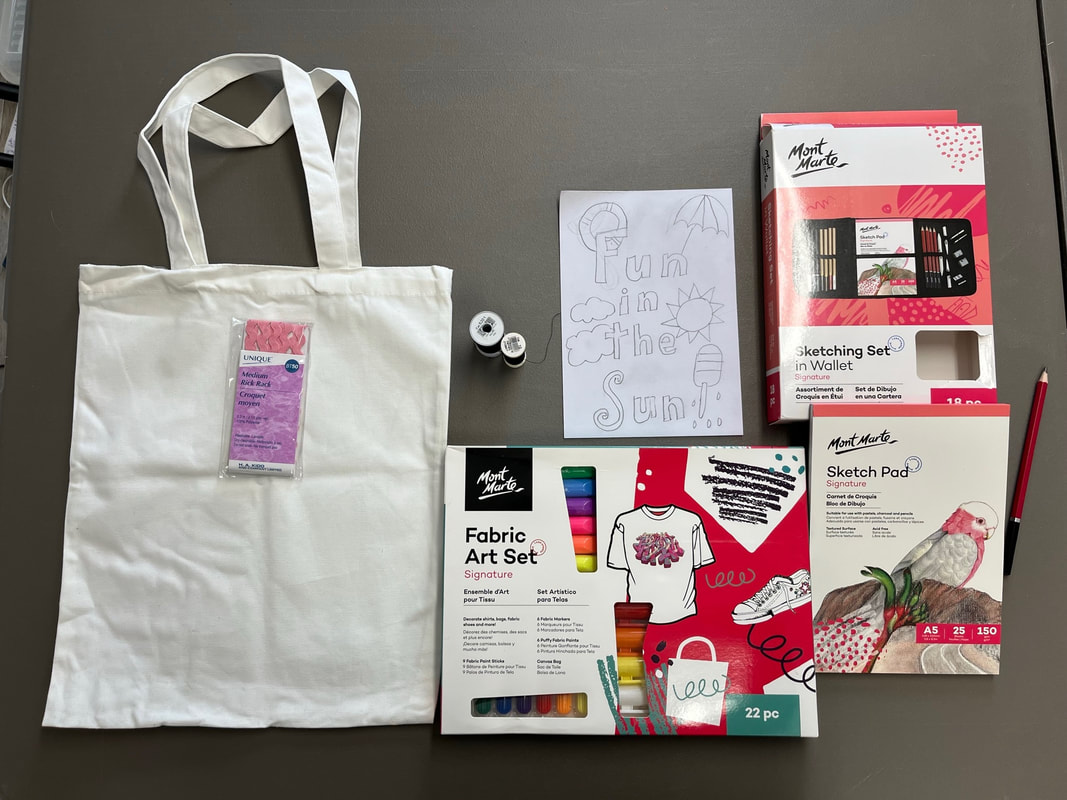 Getting the supplies lined up ready set go! 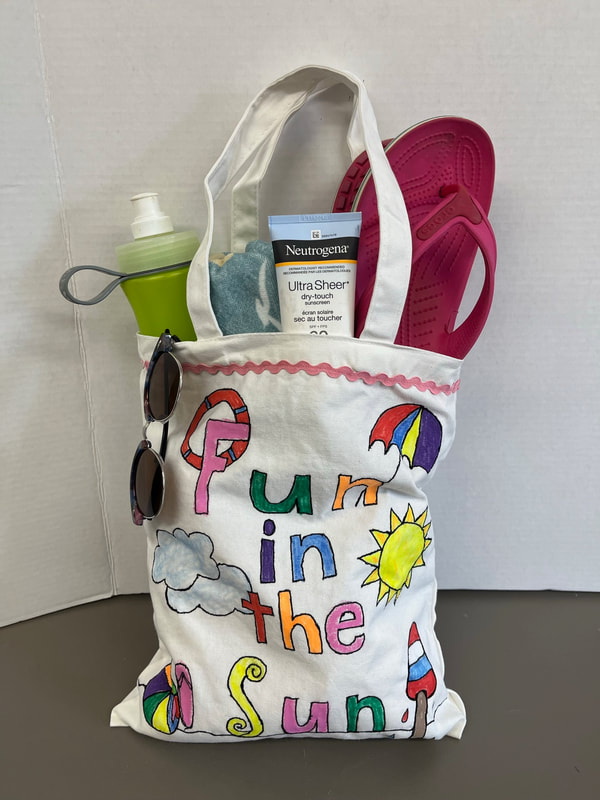 The beach tote, I hope there's lots of fun in the sun this summer! |
Follow Me:
Welcome!Hi I'm Robin and I am a professional long arm quilter, pattern designer and teacher. I am passionate about all things quilty!  

Categories
All

Sponsors
This blog contains affiliate links. This means that we endorse products.
We do receive rewards for these endorsements and this helps to keep this site alive and well. We support products which we believe are the best quality and to inspire your creativity! |


 RSS Feed
