|
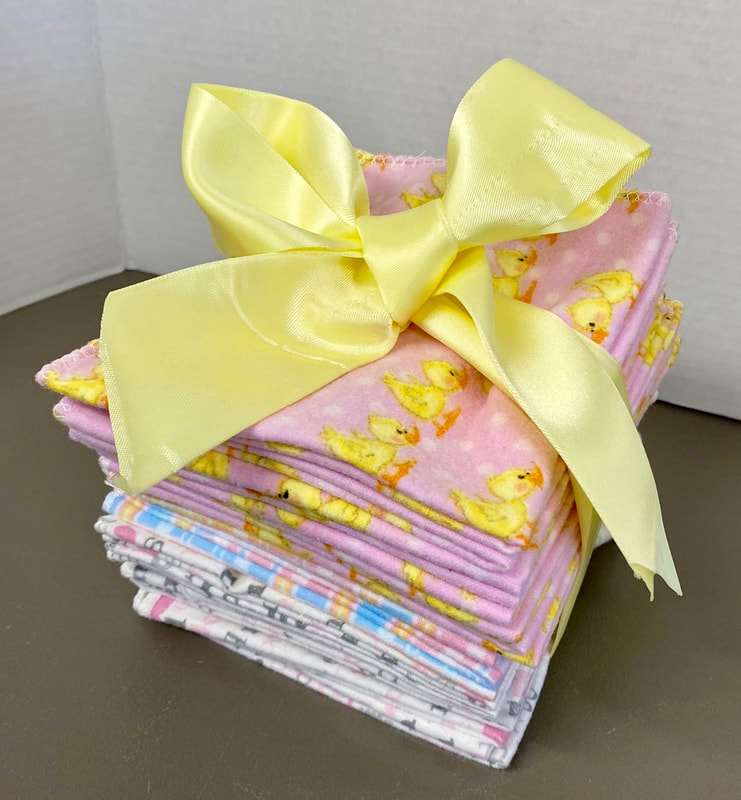
If you need a quick and easy gift for baby, don't leave the littles left out! I have just posted on the BERNINA International Blog , full front baby bibs, embroidered or not and they are so easy to make. Check out the picture below and the free tutorial is here There is also a FREE pattern to download, so easy and so practical, I promise if you have a baby these bibs will be so handy for messy babies (what baby isn't messy?) 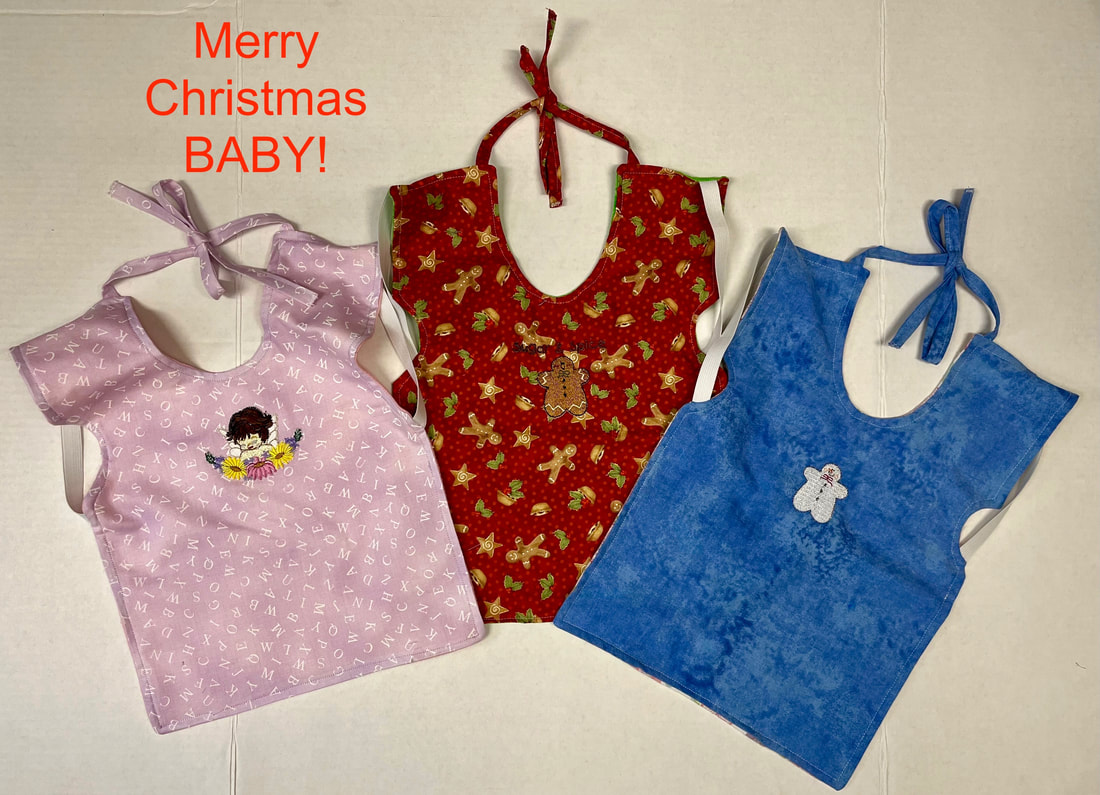 I sincerely hope all of your Holiday prep is going well and that you are enjoying the season, Have a lovely weekend🎄
0 Comments
For those of you who know me, my youngest daughter was due for a baby girl to arrive for a due date of Jan 13, 2023. Baby Olivia Rosemary decided she wanted to arrive in 2022 (girl after my heart she loves even numbers already lol). Olivia arrived Dec 31 2022 in the wee hours of the morning. She is beautiful and yes I am very biased. I am so proud of my daughter Mallory & son in law Mike for bringing this little beauty into the world for all of us to share & love on. She is a blessing. I have spent the last few weeks with Olivia & her parents & just love this little sweetie already! Below are pictures of the baby & proud parents Mike & Mal and of course the crib quilt/wallhanging I made for her arrival. 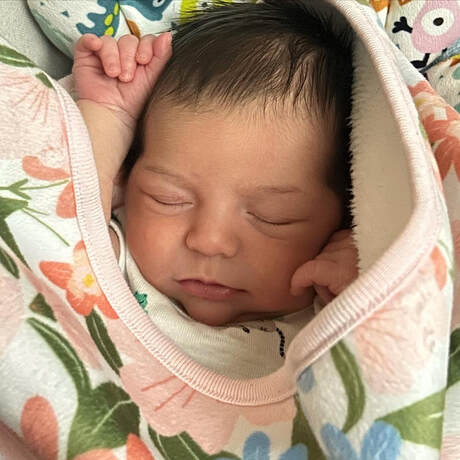 Olivia Rosemary 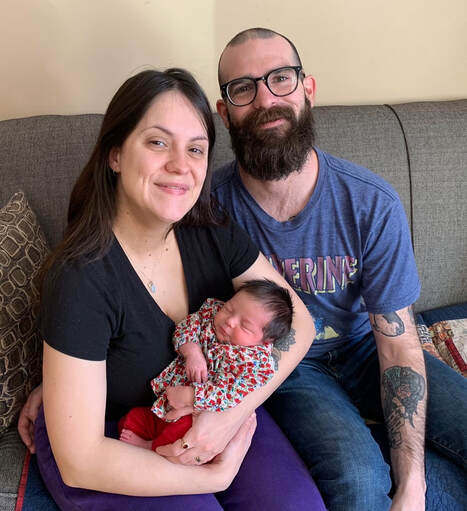 Mallory, Mike & Olivia 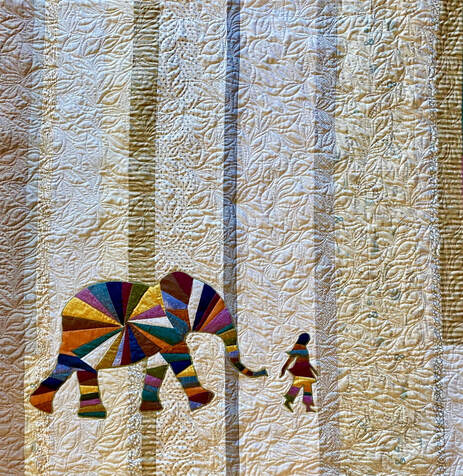 Elephant & I Quilt - Pattern by Jennifer Sampou Simple strip piecing, appliqued & quilted with an all-over leaf pattern I can't wait to sew, craft & quilt for my newest little grandchild! What a great way to bring in the new year!
I have written my article for the BERNINA Blog and it's all about last minute gifts for a mom to be in your life. If you need a baby gift or last minute Christmas gift that is easy, affordable & practical for a mom to be have a look at the blog post here. If you need more ideas for easy gifts for mom or baby, have a look here as well. Happy Holidays!🎄
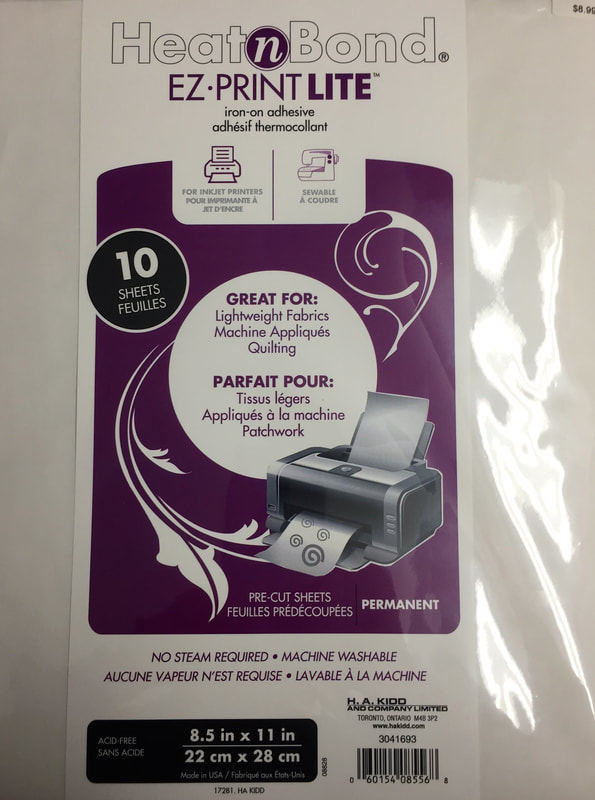
Hi everyone, I am discussing printer friendly fusible web today at QUILTsocial.com. Such an exciting way to design and it makes it so that the computer does all the design work for you. Imagine the possibilities! You can download any design and print it onto a fusible web sheet. How exciting is that? How to use it and a project idea is just a click away here today! Have a great Tuesday!
Today at QUILTsocial.com I am explaining how to fuse and execute an easy applique with HeatnBond Feather Lite and how to protect your iron with HeatnBond's Pressing Papers. Both of these products are simple to use and very effective.
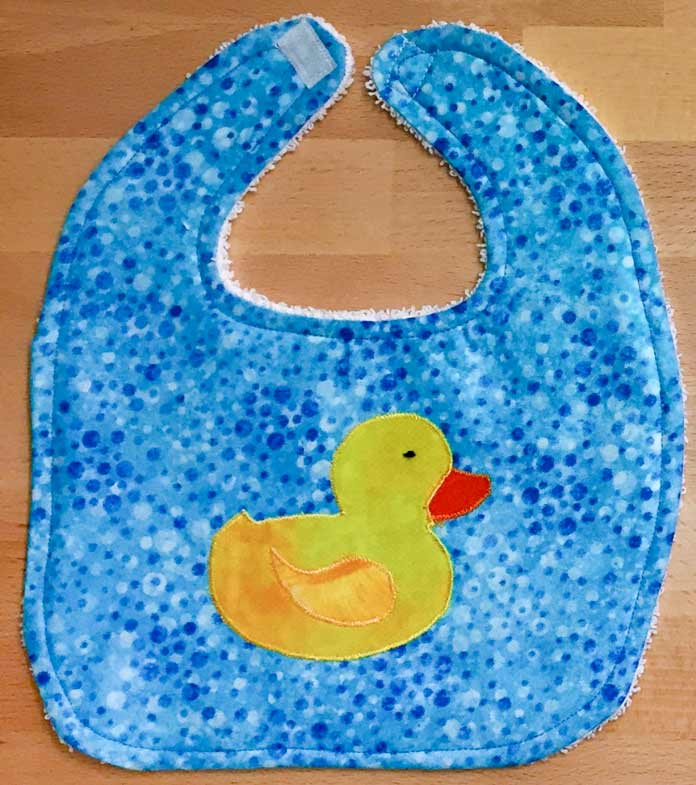
Also, if you need an easy gift for Easter these cute bibs might just be a great idea for your little ones. Click here for more info on how to and a free applique pattern download. 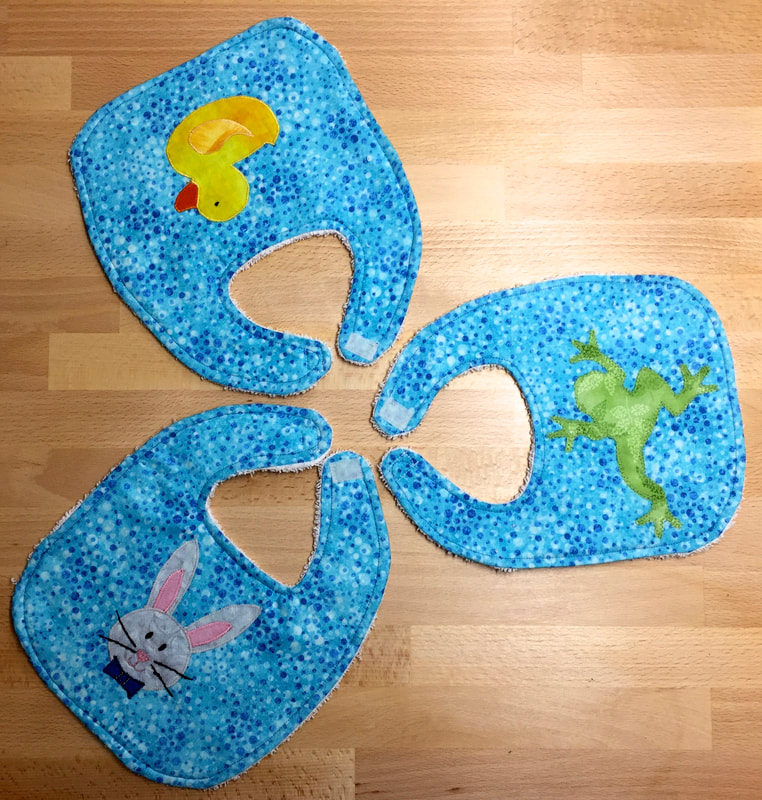
Happy Monday :)
I have completed my 2018 series "Sew Easy Baby Gifts" with the items I have made recently. I just though I should add another 2 great baby quilt ideas! I would be remiss if I did not mention my two baby quilt patterns Pick Lots of Daisies and "Featuring" Baby Quilt Patterns. These patterns are "sew" easy as well. The Pick Lots Of Daisies looks a little more girly but the "Featuring" Baby Quilt Pattern is very unisex. Pick Lots of Daisies uses solid fabrics so it could be very affordable and the "Featuring" Baby Pattern was designed to help use up baby fabric fat quarters as the "feature" fabric. See pictures of my completed pattern samples below: 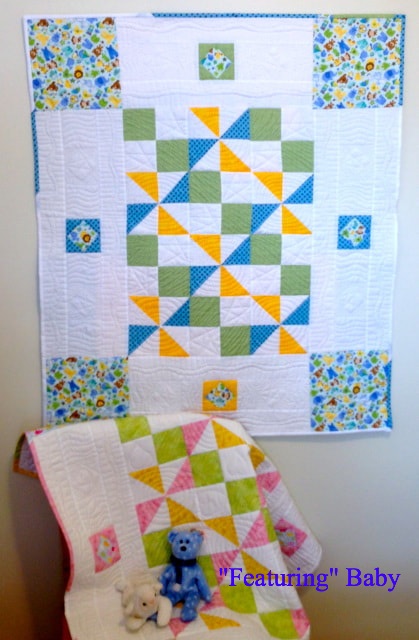 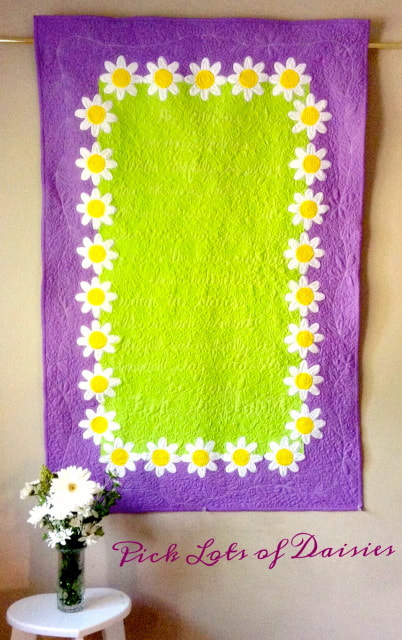 Pick Lots of Daisies is a "Sew" easy appliqué quilt pattern which includes full instructions and a poem to free motion quilt or use as wording on a label. "Featuring" Baby involves simple piecing and use of an entire fat quarter along with just 3 accent colours and a background. To purchase these patterns click here or on the shop tab above. 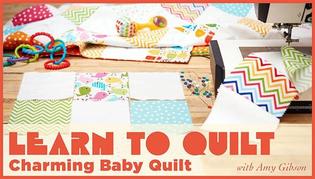 Craftsy also has an abundance of baby quilt resources! The best gifts are those you make by hand. Craftsy has the patterns, inspiration and tutorials you need to deliver a baby quilt that will be cherished for years. There are also a lot of Free or affordable resources! Check it out here Happy Wednesday! 😊
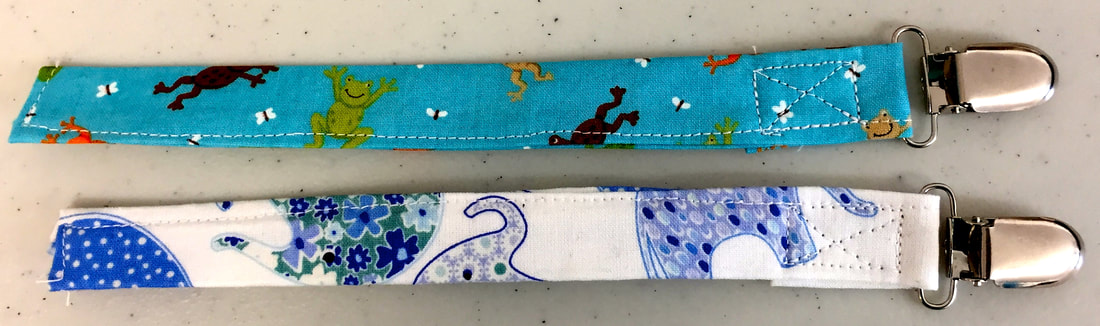
Last week Wednesday, I promised I would share my pattern for pacifier clips to hold baby's pacifier to clothing or a diaper bag so that mom/dad/caregiver can find it quickly. A pacifier sure comes in handy when baby is very upset. Knowing where the pacifier is located, is critical for mommy and daddy's sanity! The idea is the snap connects to babies clothing and the loop end connects to the pacifier with a snap closure. I used size 16 pearl snaps from Snap Setter and pacifier clips that I purchase on Amazon- see resources near the end of this post.
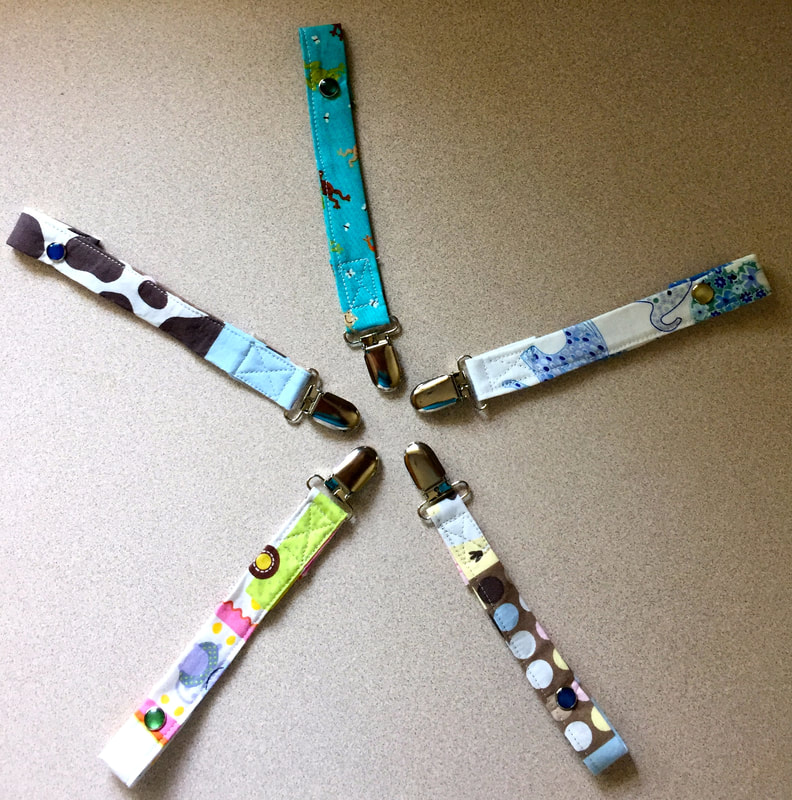
5 of my pacifier clips
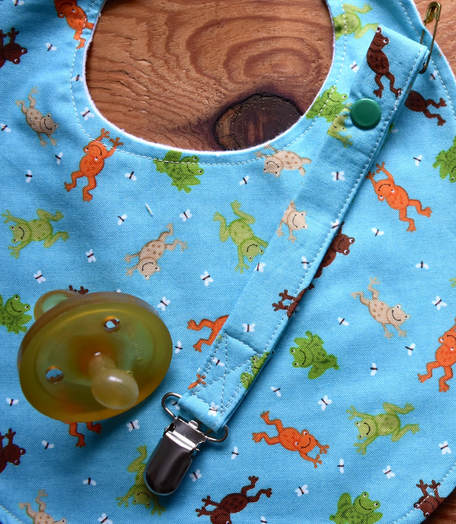
Last weeks blog post about the classic bib. Make it to match with the pacifier clip.
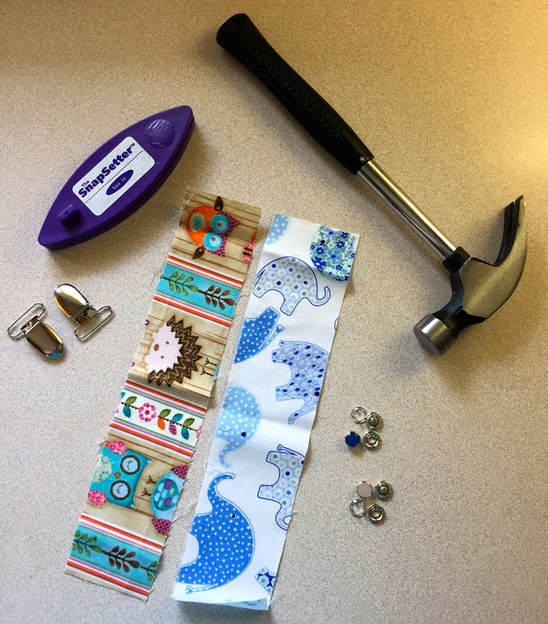
What you will need to make your pacifier clip:
How to Make A Pacifier Clip:
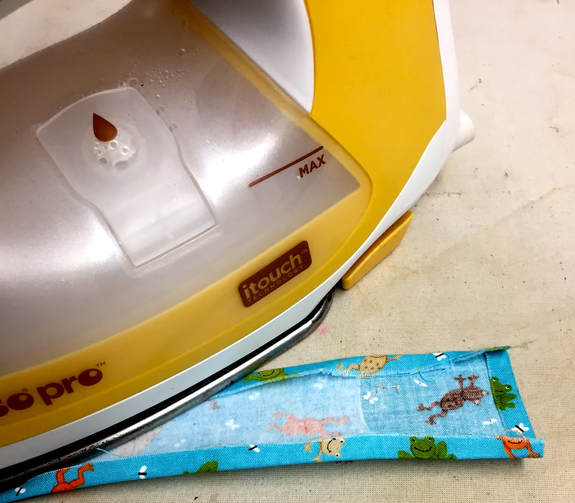
3. Press the long sides 1/4" in after the short ends have been pressed
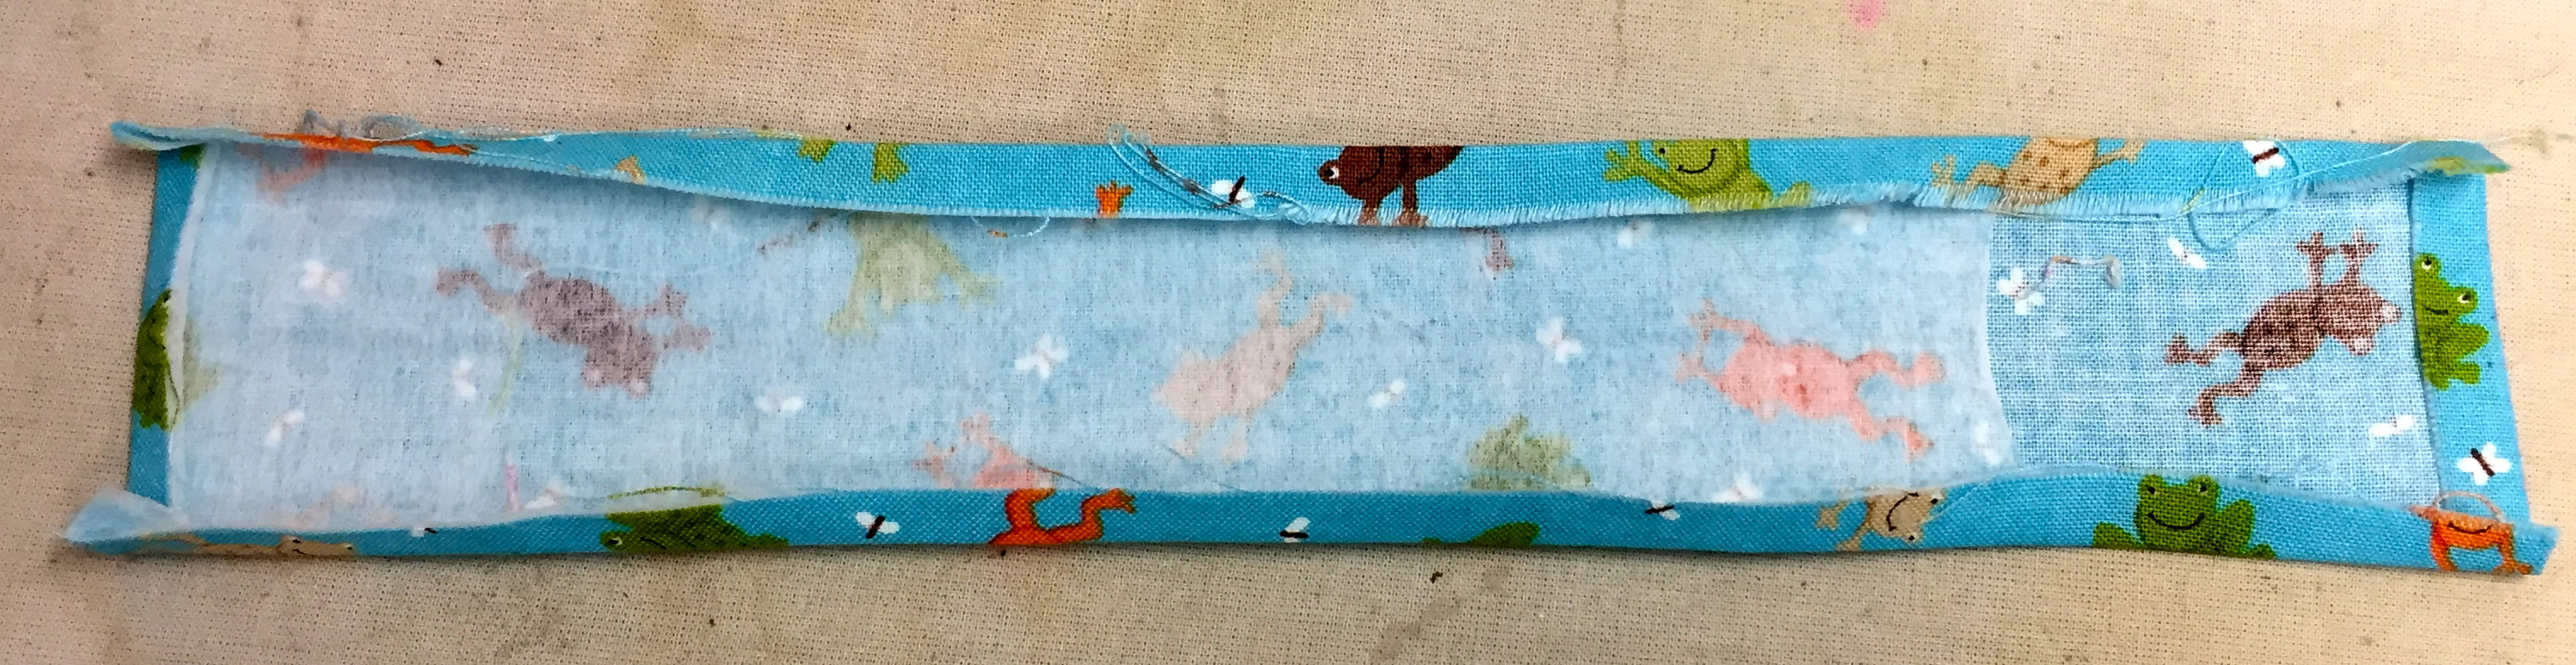
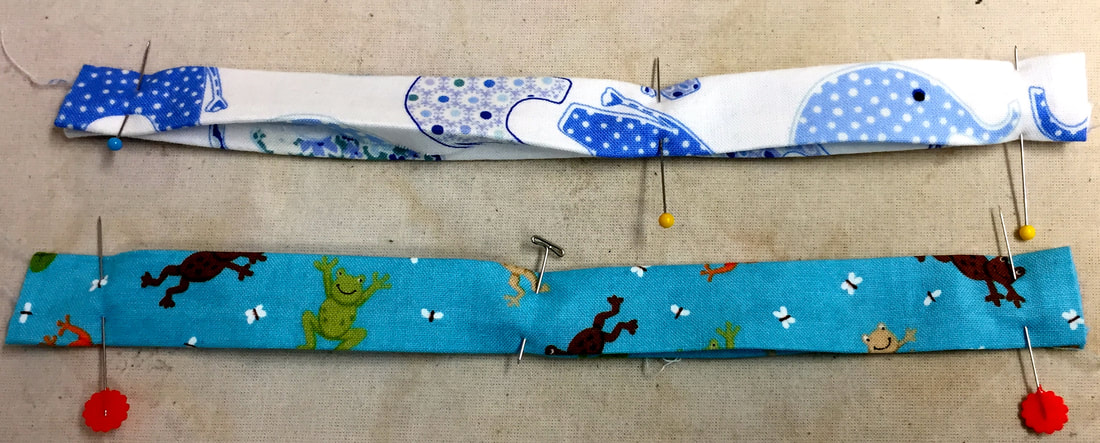
4. Fold in 1/2 , press well along the length and pin
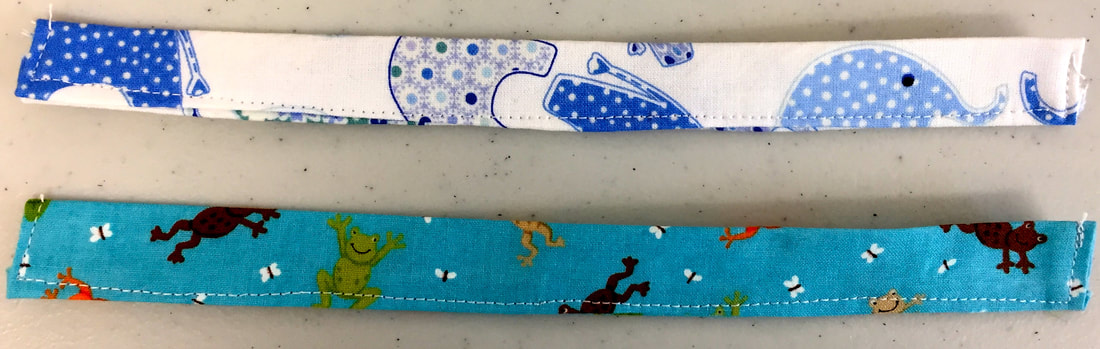
5. Top stitch with matching thread a scant 1/8" from all edges all the way around your fabric
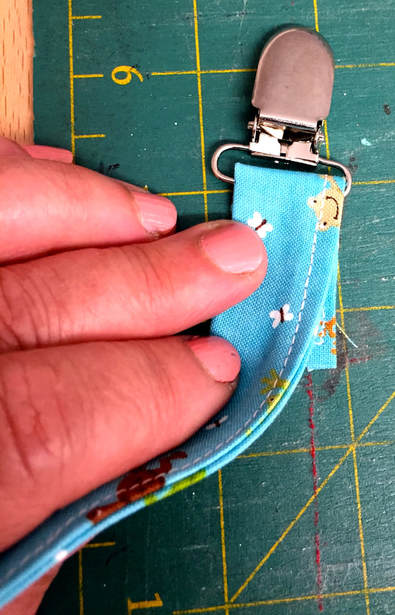
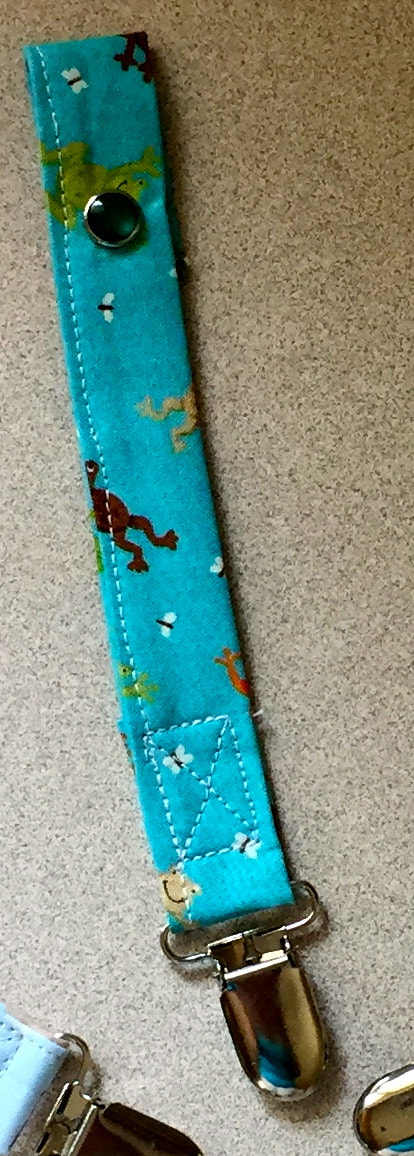
6. Grab your clip and insert your fabric strip through the bottom of the clip as shown below , pulling about 1.5" of excess fabric to the back.
7. Top stitch a rectangle with an X through it as shown below to support the clip. Start sewing about 1/4" down from the clip
8. Loop the opposite end down about 1.75" and add a snap closure to the other end as per the instructions of the snap manufacturer - see below
Where to find the pacifier clips and snaps?
Click on the links below for these supplies
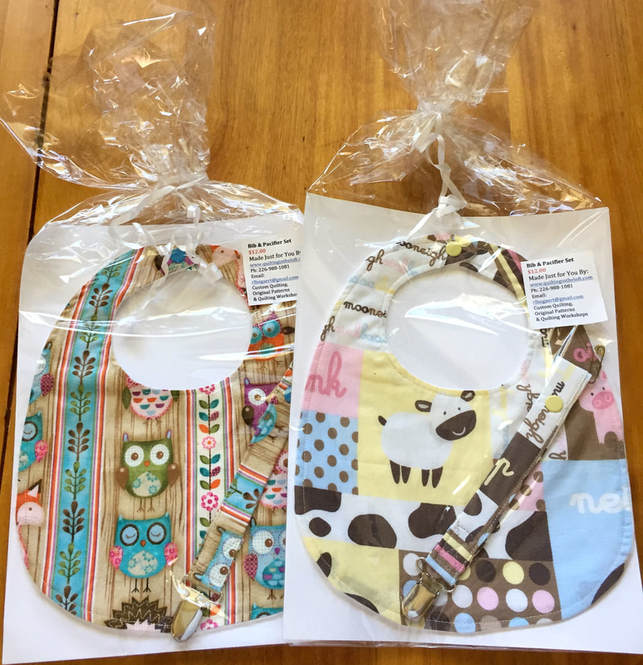
Don't forget to "package it up" and make our classic bib (free pattern download here) and matching pacifier clip! See below: 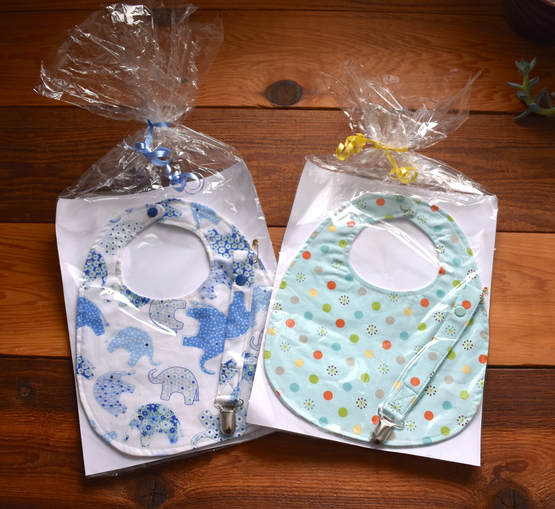
I hope this tutorial is useful for your baby gift giving!
Happy Wednesday!? 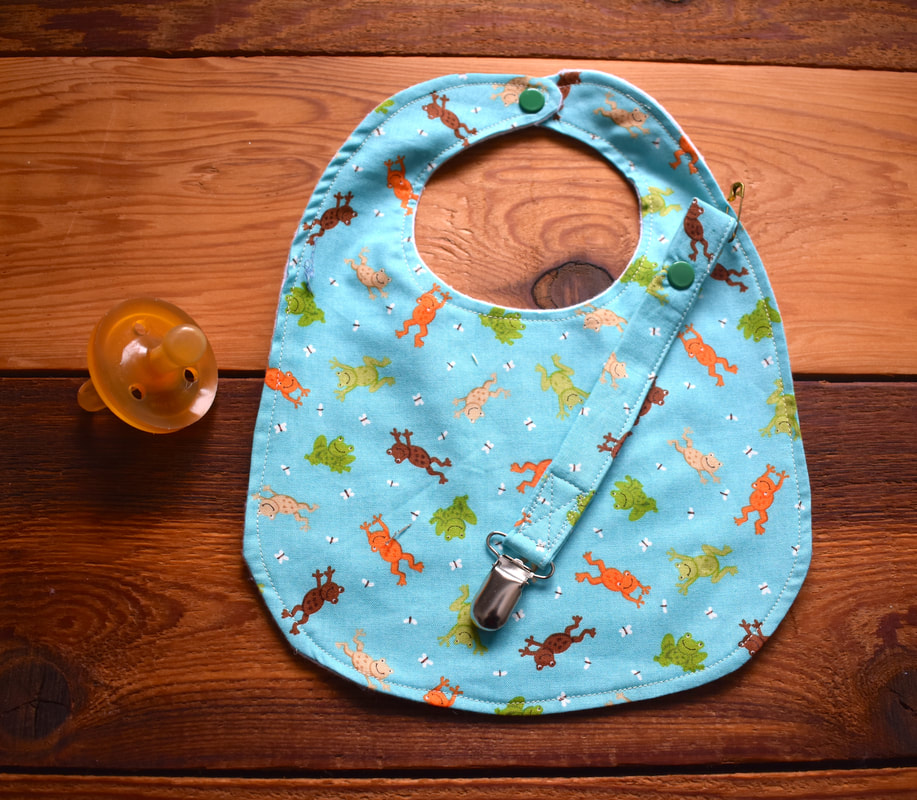
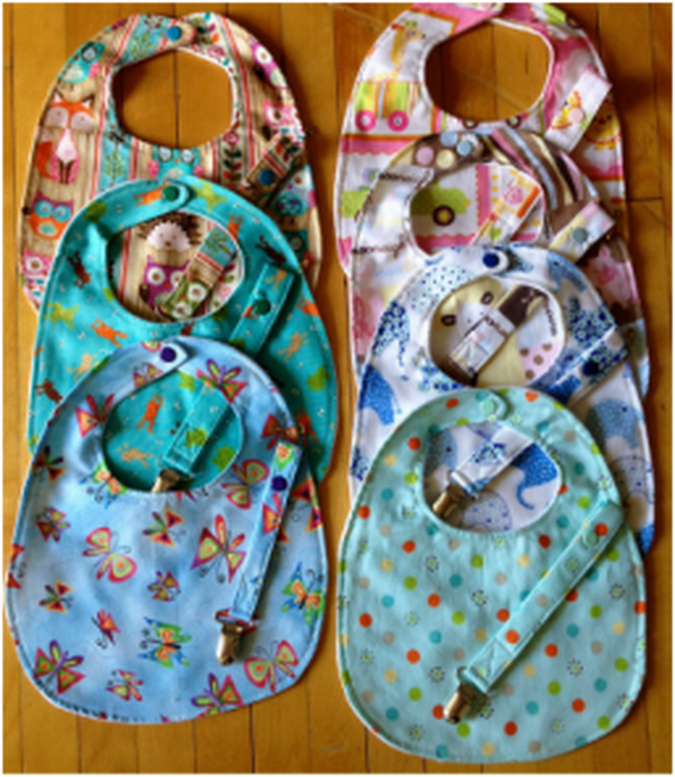
Last week I talked about the cool and trendy kerchief bibs. Some new moms also like the classic bibs that actually come down further on the babies chest, they are especially great as your child gets bigger and longer in the torso. So today, I am sharing this free pattern download. See some pictures below of the bibs I have made and made ready packaged for gift giving:

I have made matching pacifier clips and will share this pattern next Wednesday, so please check back with us. The bib and the pacifier clip make a great customized combo gift. Not like anything you can purchase in a store and much better quality if you purchase great quality cotton and lining materials.
How to Make the Classic Baby Bib
Look at your snap options below, sew many ideas:
   
Bright Idea! Add rick rack for a girls bib- see this blog post here 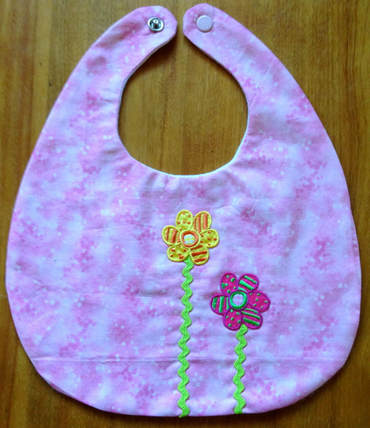
I hope you have a great Wednesday!
Kerchief bibs are sew easy! They take 5 minutes to cut up, 5 minutes to sew and 5 minutes to place a snap or closure. That's only 15 minutes for the entire thing! Straight sewing only needed and very little fabric.
You can add fancy snaps as I did but if you don't have a snap setter, add some velcro, it's readily available and easy to sew in. These bibs are trending right now as new mom's like how different they look than a traditional bib. 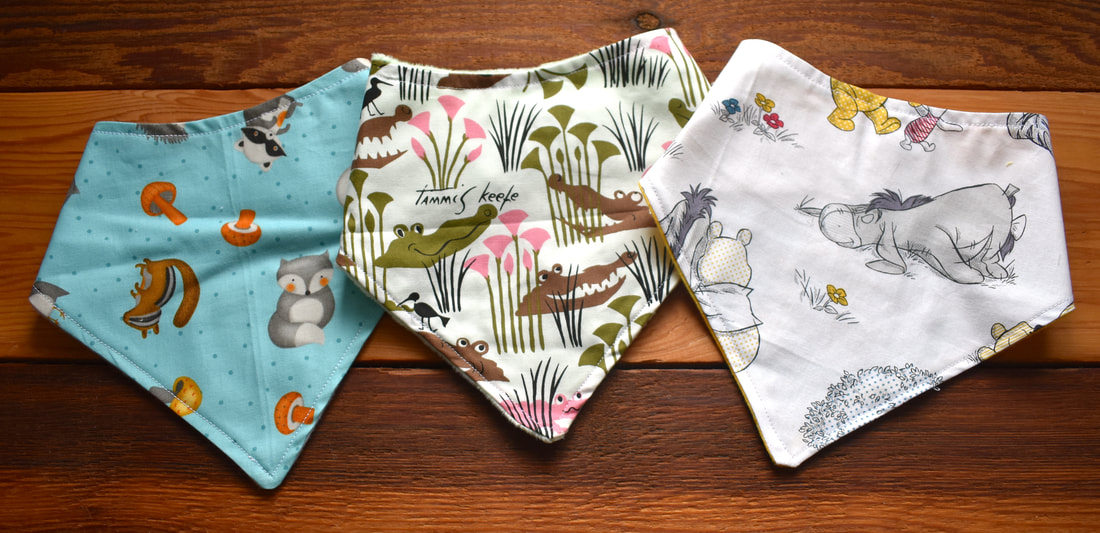
Bibs made ready for gift giving
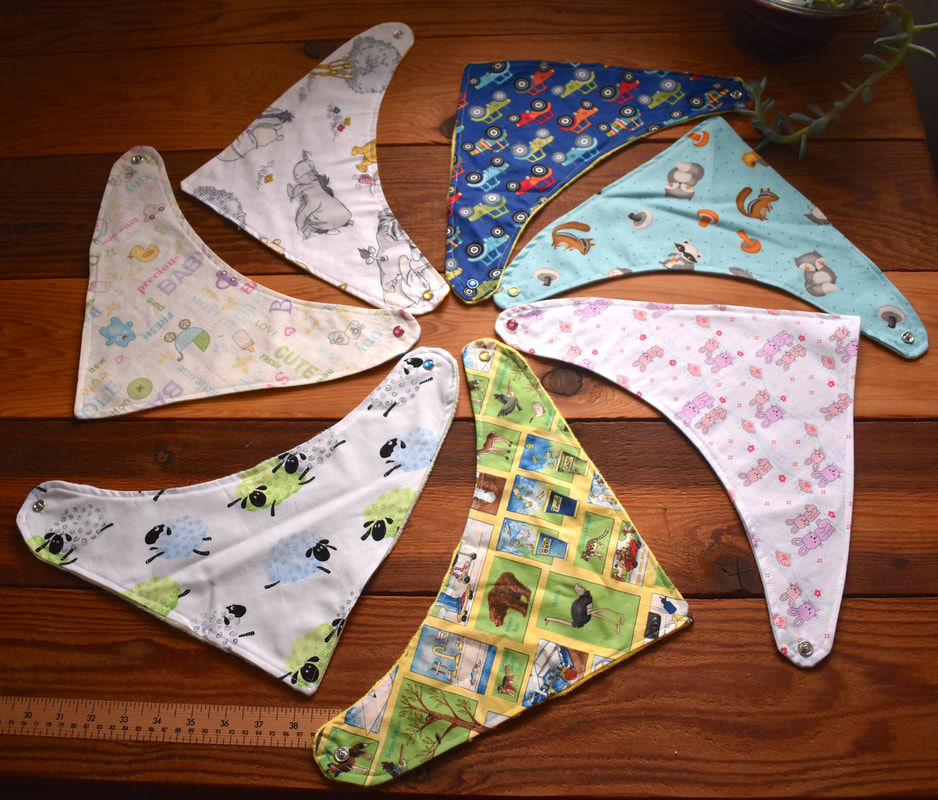
I have made lots of them!
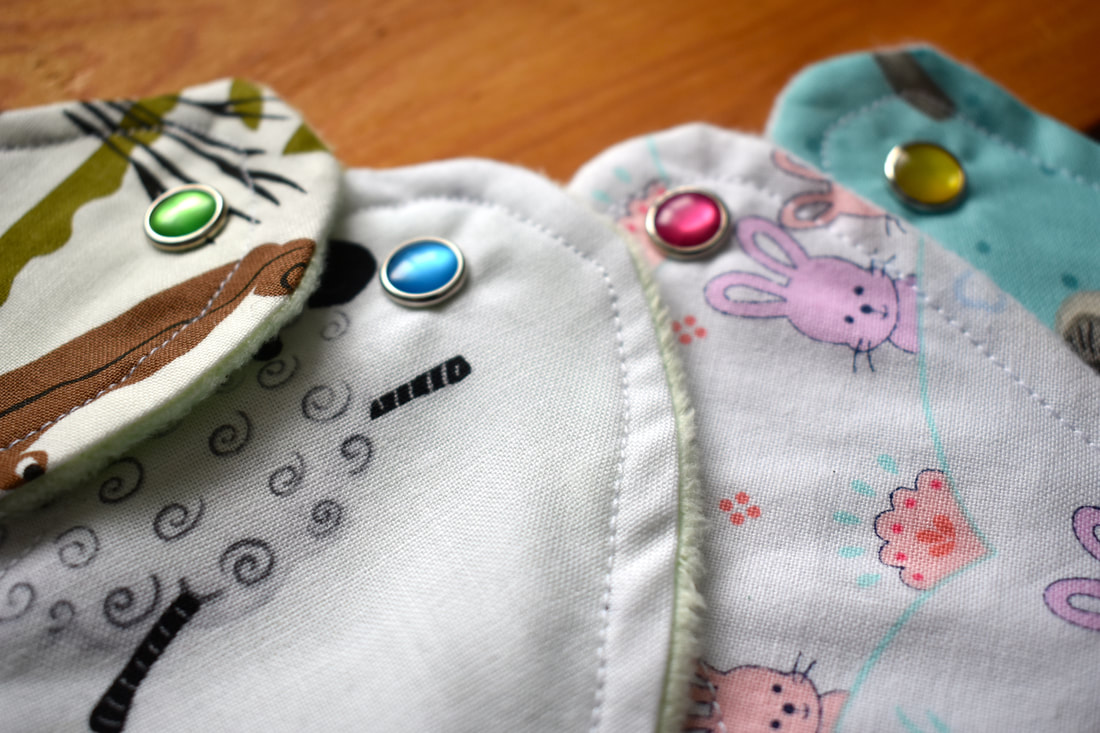
Pretty pearlized snaps help to add colour and easy closures to these bibs. The Snap Setter www.snapsource.com/snaps/snap-sets/pearl-snap-sets/ is my go to tool for putting on snaps for all of my projects, I highly recommend it. This makes it easy to add snaps to your project with just a small "ladies" hammer.
What you will need to make your kerchief bib:
Kerchief Bib for Babies- Free Pattern Download click here or click on the shop tab above and free patterns A Fat quarter or less of 100% cotton fabric A small piece of flannel or minky for a soft lining against the baby snaps or velcro thread to match How to make the kerchief bib: Cut out the pattern from the free pattern download Cut one of outside cotton Cut one of lining Sew 1/4" from the edge with both fabrics right side together, leave a 2" gap for turning Clip curves and turn to the right side Use a turning tool to smooth edges and press Slip stitch gap closed by hand recommended Top stitch 3/8" from the edge of the bib Use velcro or snaps for closure at marked neck area Make more... they take no time at all and admire your efforts. Stack a few up and wrap them for a very useful gift. 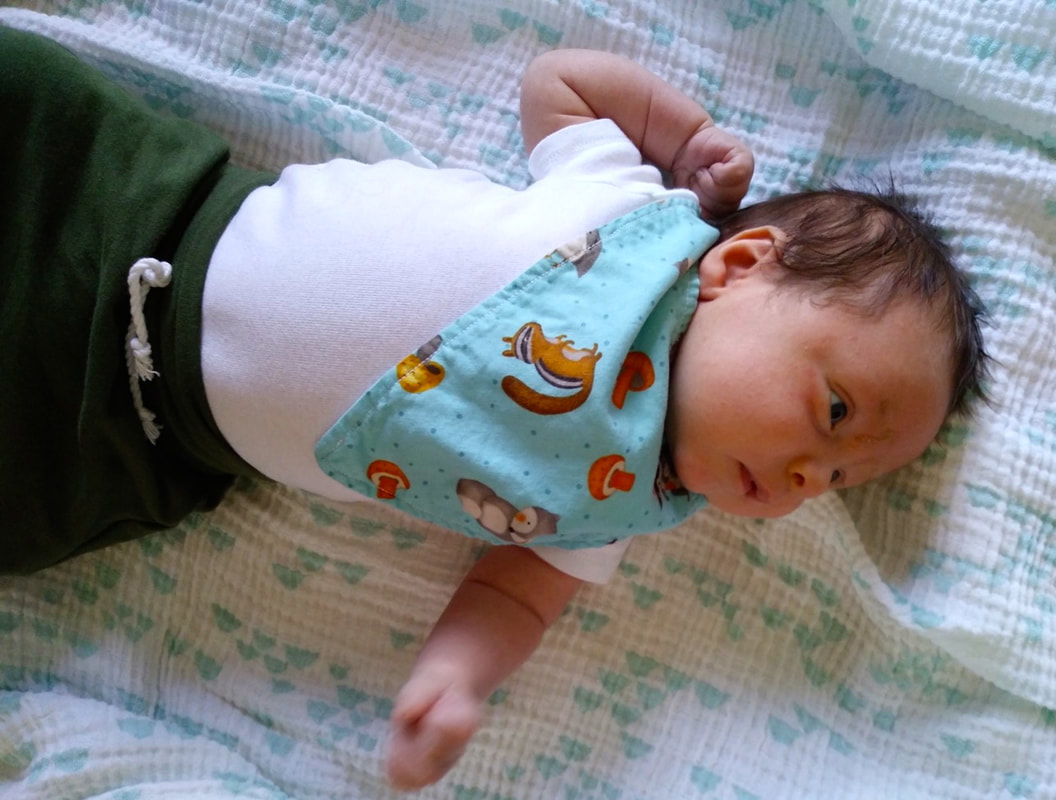
My sweet grandson Eli with one of his bibs!
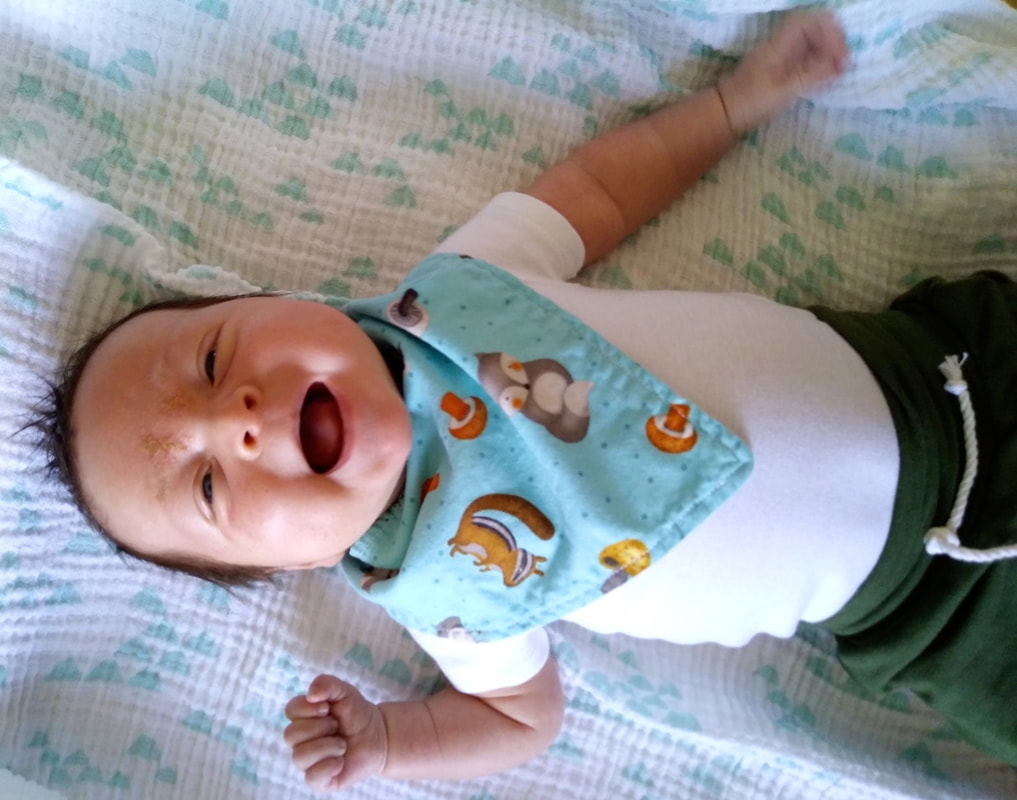
I think Eli likes his kerchief bib!
Happy Wednesday!?
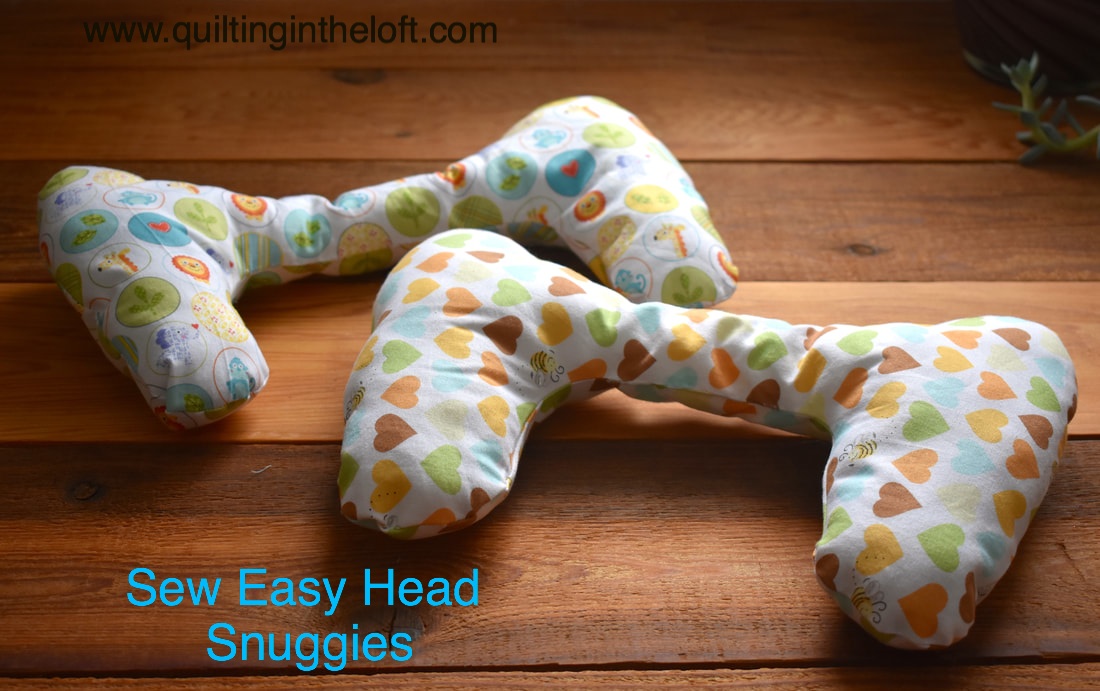 I have to credit this idea to my cousin Tiffany who had one of these infant head supports for her little girl Cora. I have decided that it is to be called a head Snuggie as it snugs up great to support little noggins! See a pic of the lovely Cora below with her Snuggie: 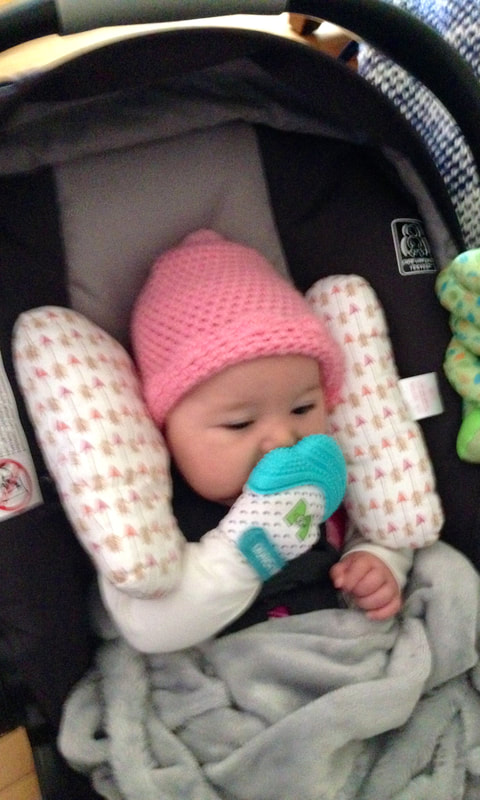 When I took a look at it, I knew that I could make it easily. I am pleased to report that this snuggie was a hit as a gift for my grandson! It works also as a head support while changing baby, as well as in the car seat. I chose gender neutral prints as we did not know until my grandchild arrived that he was a boy. My daughter and her husband wanted to wait on the gender reveal and it made a wonderful surprise. The below picture shows the head snuggie lined up on the changing table with a serged and environmentally friendly bottom wipe, See that blog post here. We are ready to change baby below: 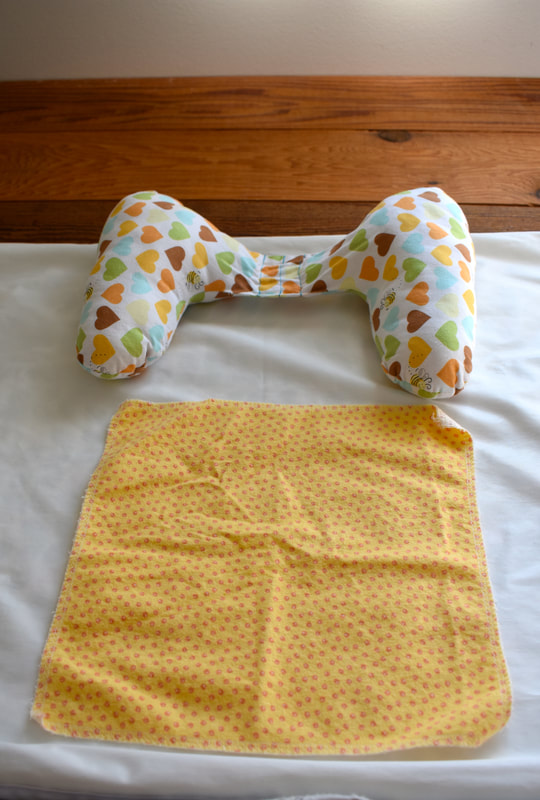 As you can see there was a design modification for the head snuggie that took place in BC while I was out visiting. The light stuffing in the centre was removed and a triple line of stitching was added to allow for babies neck contour. The snuggies look like butterflies and they are very effective at supporting babies head. See picture of my adorable grandson Eli with his head snuggie below: 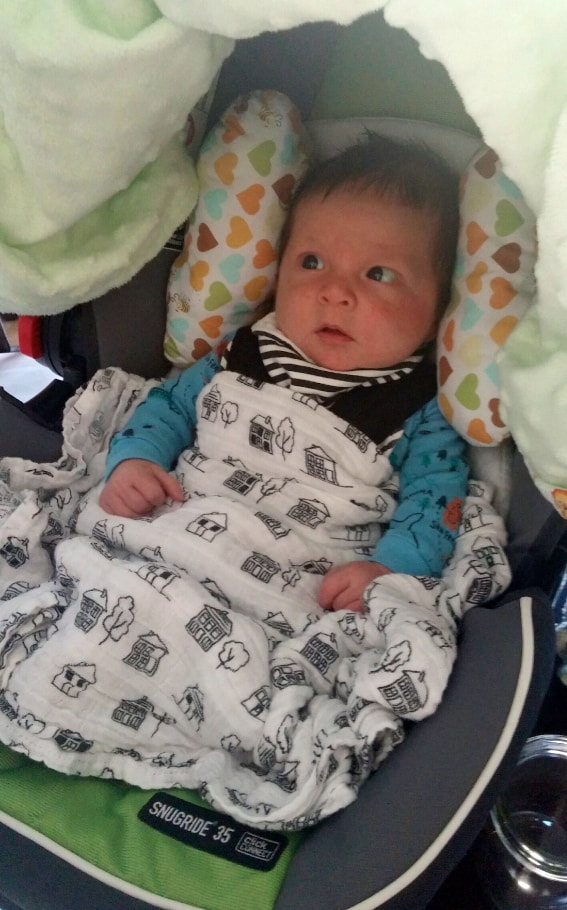 How to Make the Head Snuggie What you will need:
Free Pattern Download Here A piece of cotton fabric (cotton breathes) (pre-washed so it will not shrink too much when it is washed) Fiber fill stuffing Thread to match A sewing machine Normal sewing notions Hand sewing needle How to make your head snuggie: Download the Free Pattern Here Using the pattern, Cut 2 from fabric Sew right sides together leaving a 3" gap on one side of the neck area to turn to the right side Clip curves Turn snuggie to the right side Stuff moderately dense with fiber fill on the "wing" ends only, leaving the centre neck area free of stuffing, Sew the gap in the neck area closed by hand with a slip stitch Sew 3 top stitch lines of sewing in the neck area about 1/2" apart, see above picture. And you are done. 20 minutes of work and several months of use. A win, win! I hope you enjoyed this tutorial and will try your hand at making this very easy gift! Happy Wednesday!😊 |
Follow Me:
Welcome!Hi I'm Robin and I am a professional long arm quilter, pattern designer and teacher. I am passionate about all things quilty!  

Categories
All

Sponsors
This blog contains affiliate links. This means that we endorse products.
We do receive rewards for these endorsements and this helps to keep this site alive and well. We support products which we believe are the best quality and to inspire your creativity! |
 RSS Feed
