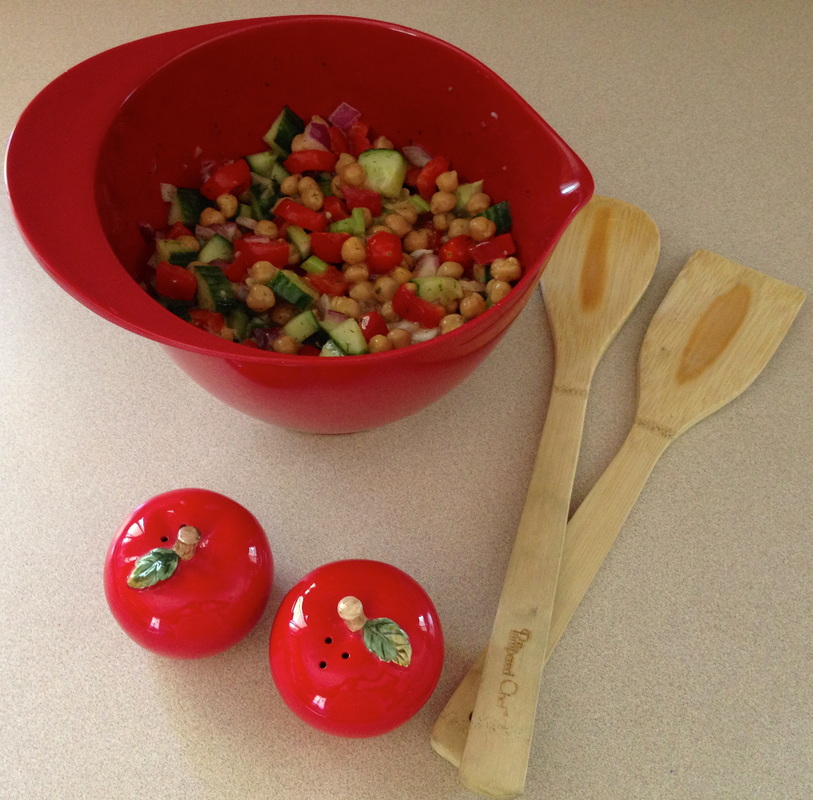
 Fresh Chickpea and Veggie Salad, Healthy and Fresh! BBQ and family gathering season is in full swing! I love chickpeas and have adopted them as a great protein source. I love to add them to a lettuce salad and even better make them without lettuce in this recipe. This is also a great recipe to make the day before a potluck or BBQ and let it marinate overnight. What you will need: Serves 4-6 (you can double this recipe if you like) 540ml can or 2 cups of chickpeas (approximately) 1/2 of an cucumber, chopped 1/2 of a red pepper, chopped a handful of cherry tomatoes, chopped a stock of celery, chopped 1/4 cup of red onion chopped 1 tsp of dried dill (or seasoning of your choice) 1/2 tsp of salt and 1/2 tsp pepper 1 tsp of lemon juice 3/4 cup of Italian salad dressing (store bought or homemade) How to make it: Chop all veggies, drain and rinse your chickpeas. Combine veggies, chickpeas, seasoning and salad dressing and marinate overnight in the refrigerator. Stir it up a couple of times. Gluten free, dairy free and tasty! Bring it to your BBQ, potluck or in a container for a healthy and satisfying at work lunch. Fresh, crunchy and delicious! 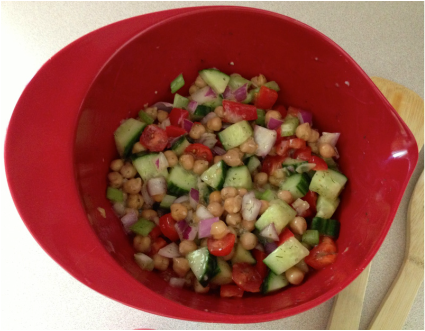 I hope you are enjoying a wonderful Sunday!🍁
0 Comments
 Last weekend it was rather cold in Waterloo for May in fact we had snow! Yikes
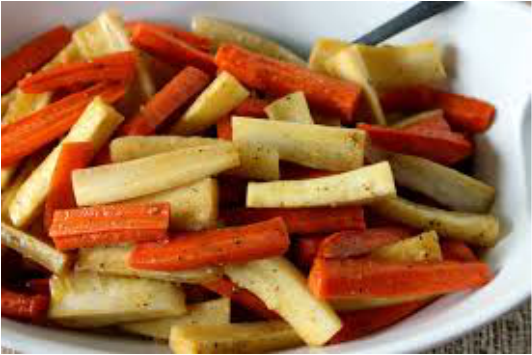
I decided to roast some things in the oven because it felt like the beginning of fall rather than spring and so I made roasted carrots and parsnips (purchased at the St Jacobs Market). The recipe is as follows: 4 carrots 4 parsnips 2-3 tablespoons of olive oil 1 teaspoon of sea salt 1/2 tsp fresh ground pepper 1 tablespoon of finely chopped fresh dill Chop the carrots and parsnips and mix with all the other ingredients and roast for about 1 hour at 375 degrees (depending on your oven). When fork tender and caramelized it's ready to serve. A Tasty Side Dish! Enjoy and I hope you are having a great weekend!☀️☀️ These are yummy, easy "bake free" and can be made gluten free and dairy free if necessary  What you will need:
3 cups quick oats (Certified gluten free if necessary) 1 cup shredded coconut 2 cups sugar 1/2 cup cocoa powder 1/2 cup butter, margarine or coconut oil (for dairy free) 1/2 cup milk (or non dairy substitute) How to make them:
These also freeze well Happy Sunday!😊❤️ 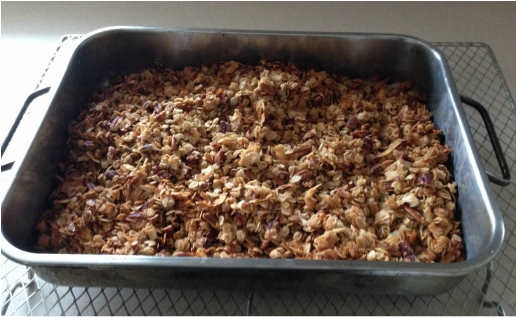 I hope everyone is enjoying a wonderful weekend with some sunny weather! I just wanted to share this super easy granola recipe with you, it is so easy that there is no reason to buy granola and so tasty that you will have snackers attacking it right out of the oven! It is one of my treasured family recipes, no kidding it's in my "book" and if it is there it's good, but you will have to try it to see if it makes the cut for you and I believe it will! 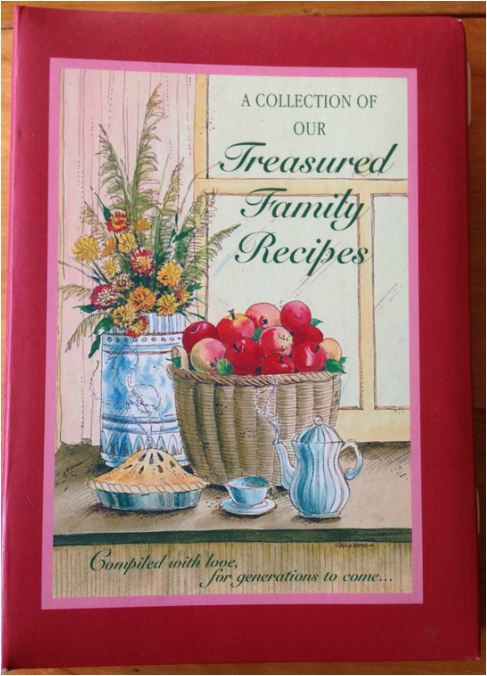 my special recipe book where I put all my favourites You will need:
How to make it: Pre heat your oven to 350 degrees Mix all ingredients together well and pour into a 13 x 18" pan and stir occasionally while it is cooking for about 35-45 minutes. It should be golden brown. Allow to cool, stir occasionally and store in an air tight container. It is so simple to make, makes a large quantity all at once and has all natural ingredients. You never know what is in granola that is purchased at the store. Preservatives? 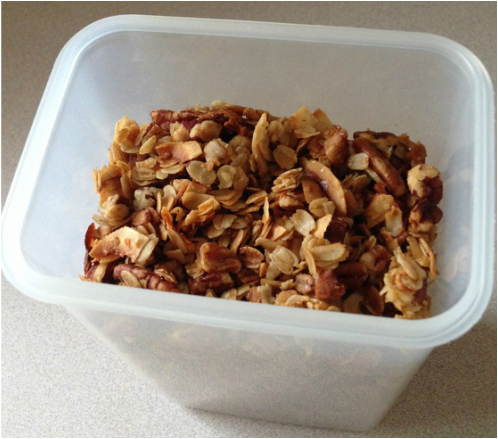 Simple goodness and great with cereal, fruit or yogurt. 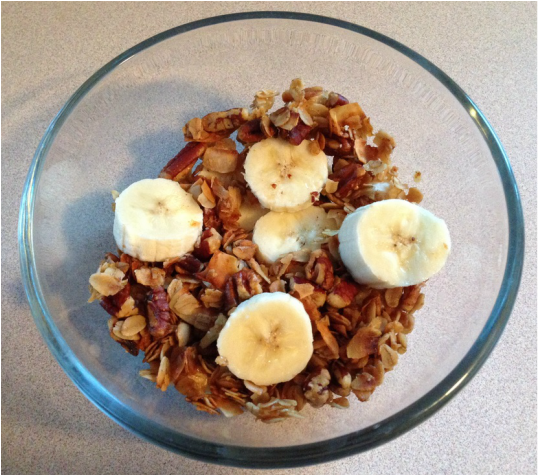 Happy Sunday!☀️😊
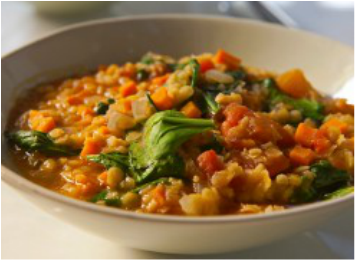 I spent the last couple of days at my sisters and teaching my "Simply Colours" class at a business near her and she made this wonderful soup for me! It was delicious.
If you are interested in learning tips on proper methods of canning and preserving as well as money saving advice and ideas check out her website at www.preserveforlife.com On to the recipe! You will need: 5-6 cups of chicken stock ( Vegan =vegetable stock) or more as needed- see #4 below 1 1/4 cup red lentils 1 large garlic clove 1/2 large onion, minced 1 tsp salt 1 tsp pepper 1 large bell pepper diced 2 large carrots, peeled and diced 2 ribs of celery diced 1 cup of chopped tomatoes 4 oz of mushrooms, chopped 1 cup of chopped green beans 1/2 bunch fresh spinach 1 Tbsp dried parsley 1 Tbsp tomato paste 1 Tbsp dried oregano 1 Tbsp dried basil 2 cups of rice (cooked) 1/4 cup of cilantro (optional) How to make it: 1. Combine stock, lentils, garlic, onion, salt and pepper in a large pot and bring to a boil. 2. Chop your vegetables and add to pot as they are ready along with tomato paste and seasonings 3. Once to a boil, reduce to a simmer and stir every 10-20 minutes until lentils have broken down(at about 60-90 minutes). 4. This is a thick soup , but 1/2" of liquid should cover the vegetables at all times, so add additional stock if needed. When lentils are soft it is ready to eat. 5. Garnish with a scoop of rice and sprinkle with fresh cilantro 6. It's even better the next day!! This was so savoury and warming on a cold winter day!❄️⛄️ Recipe courtesy of www.preserveforlife.com Happy Sunday!! 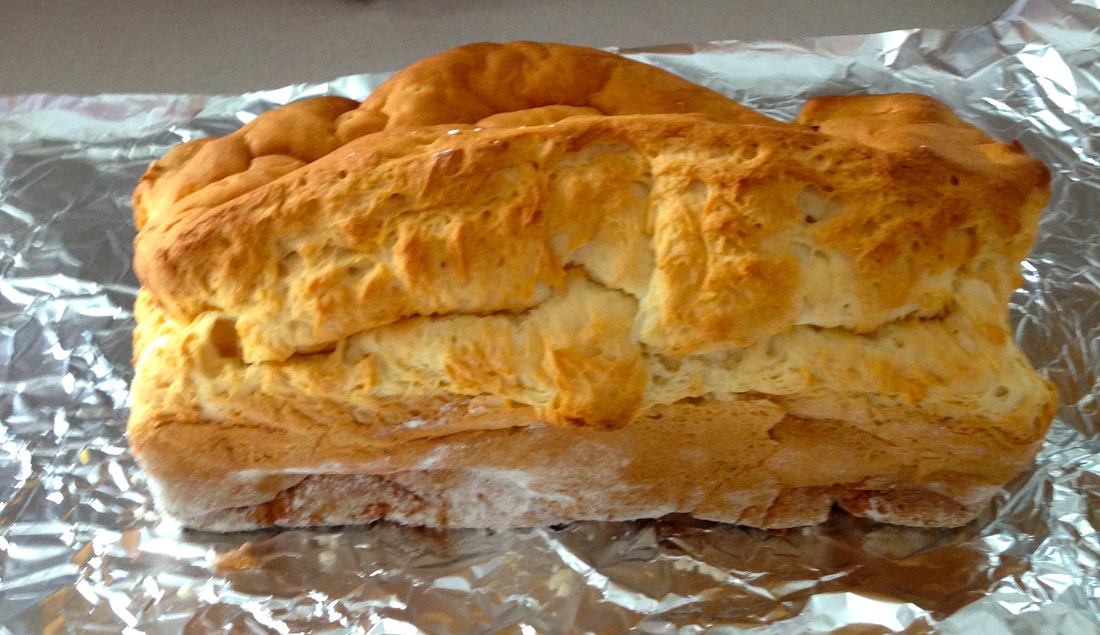 I have been gluten free now for about one and a half years and have been purchasing over priced small sliced, gluten free bread that I don't even like! Enough is enough!
I decided to try this recipe and I feel like I have found gold!! I know it looks a little lumpy, but the taste and texture is wonderful and the slice size is normal! I just had to share and I hope that others enjoy it as much as I do. What you will need: YEAST MIX:
How to make it: (follow directions exactly for best results)
I would love to hear what you think of this bread, please comment below if you make some. Happy Sunday! 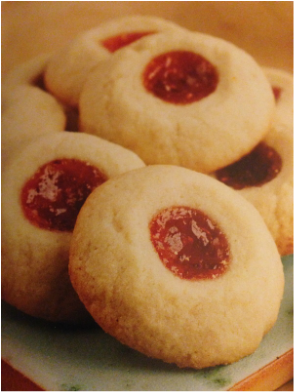 Recently I shared a full dairy and wheat version of this classic and here is a recipe for the gluten free, dairy free version that I made and it is excellent. I had to stop myself from eating them rapid fire! They freeze well and are great with tea!!
Ingredients: 1 cup plus 2 1/2 tablespoons of rice flour 1/3 cup plus 2 1/4 teaspoons of potato starch 3 tablespoons plus 3/4 tsp tapioca flour 1/2 tsp xanthan gum (can use ground flax seed or chia seed as alternative) 1/2 tsp baking powder 1/2 tsp salt 1/4 cup plus 3 tablespoons hazel nut flour (made from ground hazelnuts) (Could use almonds as well) 12 tablespoons coconut oil 2/3 cup sugar 1 large egg 1 teaspoon pure vanilla extract 1/4 cup rasberry jam Sift all dry ingredients together except sugar, stir in hazelnut flour. Set aside. Combine coconut oil and sugar and mix on high until light and fluffy. Add egg and vanilla and beat until just combined. Add dry ingredients and mix until just incorporated. Chill for 2 hours Preheat oven to 350 degrees, Using a small scoop, drop by 1" balls onto a greased cookie sheet, make indents in centre and fill with jam. Bake 12-14 minutes or until edges are slightly golden. Yum, You will not be disappointed! Happy Sunday! I hope you have most of your Christmas Baking Done! This is self explanatory if you look at the photo below, but I recently brought this to a potluck and thought I would share. Enjoy! 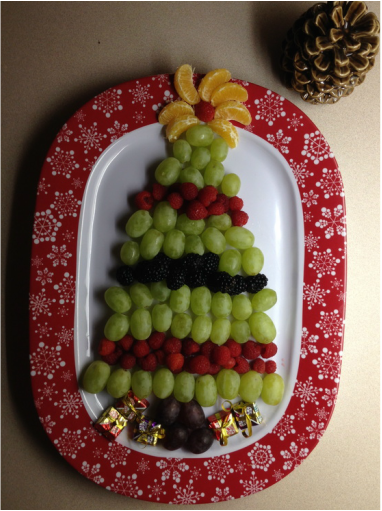 The presents at the bottom of the "tree" are Moriz icy squares wrapped in gold ribbon from the Bulk Barn Happy Friday, I hope you are enjoying the Holiday Season!!
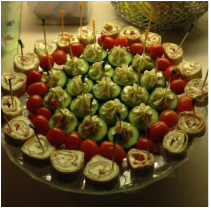 Appetizers brought to a neighbourhood Christmas party Appetizers brought to a neighbourhood Christmas party Hi everyone, as you can see I have not posted since last wednesday as I was busy with the activities of the season! I was attending a neighbourhood Christmas party, Christmas shopping, attending the Christkindl Market in Kitchener and baking of course. Check out the Christkindl Market at http://www.christkindl.ca a wonderful activity for the whole family in Kitchener, Ontario Canada- try to attend it next year! This market had hand made baked goods, quality handcrafts, wonderful food and music and was a nice way to launch my husband and I into the Christmas spirit.  Musicians performing German Christmas Music and a Craft Hut at the Market  My Christmas Cookies- Recipe for Thumbprint Cookies Below As for baking, I thought I would share with you my favourite cookie recipe and a recipe you can use all year. It's not dairy or gluten free (so I cannot eat it) but tasty and my family loves it. It's all about family isn't it?
Classic Thumbprint Cookies (this can be doubled) Ingredients:
Preheat oven to 300 degrees and grease a cookie sheet. Cream sugar with butter, mix in add egg and vanilla. Sift flour and salt in a separate bowl. Mix dry ingredients with wet. Form into balls about 1" in diameter. place 2" apart on cookie sheet and press with your thumb to make an indent in the centre of each cookie, add raspberry jam and bake for approximately 13 minutes or until edges of cookies look like they are golden brown. Makes about 24 small cookies. Delicate, delicious and crispy with the bright taste of raspberry jam - yum! Enjoy and Happy Monday! 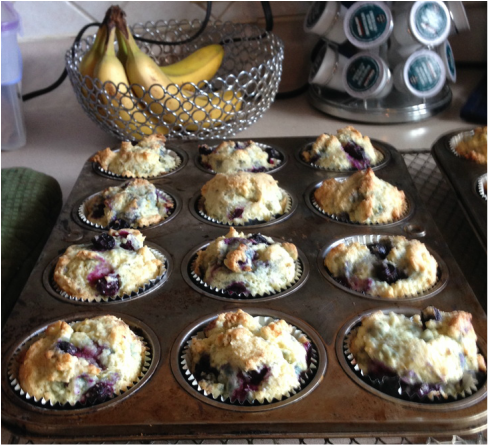 This is a really good dense muffin, perfect for reheating and breakfast mmmmmmmm! Enjoy Ingredients
|
Follow Me:
Welcome!Hi I'm Robin and I am a professional long arm quilter, pattern designer and teacher. I am passionate about all things quilty!  

Categories
All

Sponsors
This blog contains affiliate links. This means that we endorse products.
We do receive rewards for these endorsements and this helps to keep this site alive and well. We support products which we believe are the best quality and to inspire your creativity! |
 RSS Feed
