|
Brought to you by quiltingintheloft.com
Today I want to touch on the subject of Ombre placement of fabric.
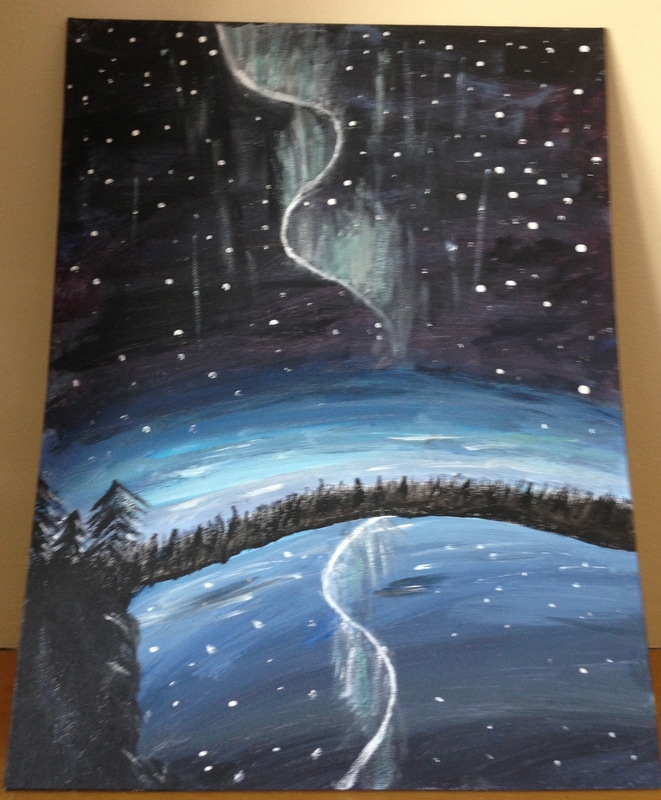
I was inspired by a recent social painting class. I am no Picasso but it got me thinking about making an Ombre quilt and/or quilted project. I am thinking of this as yet another stash busting project. See my painting below:
Part of the exercise in painting the above painting was shading the sky and the foreground from light to dark. The painting is very amateur but I enjoyed the process and it got me thinking about Ombre quilts. Ha! I am always thinking about quilting. I am betting you can relate?
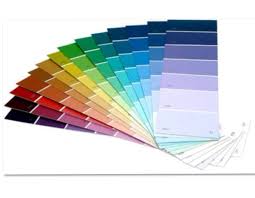
Ombre apparently means shaded or shadow in French. In quilting and interior design, it is the art of shading with a graduated colour scheme from light to dark. There are some wonderful blog posts on the internet showing how you can paint an Ombre room and if you think about it every paint store has a visual of how to gradate colours with paint chips. See image below to see what I am talking about: 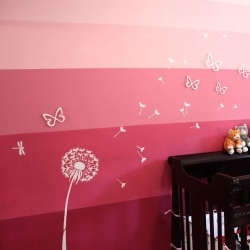
Check out this DIY post about "How to Paint an Ombre Accent Wall" from www.crafthubs.com
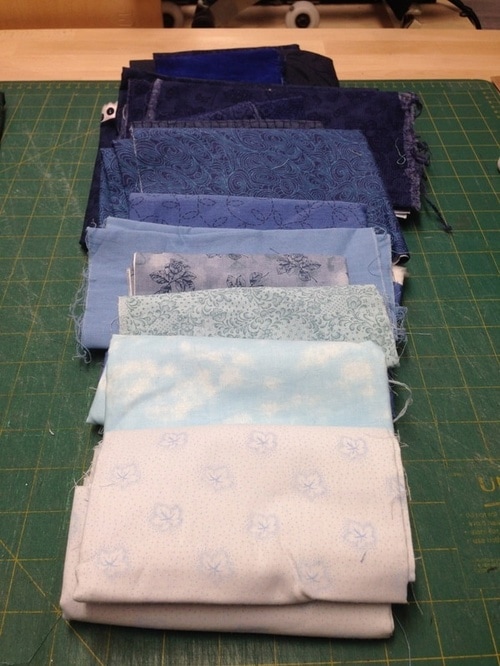
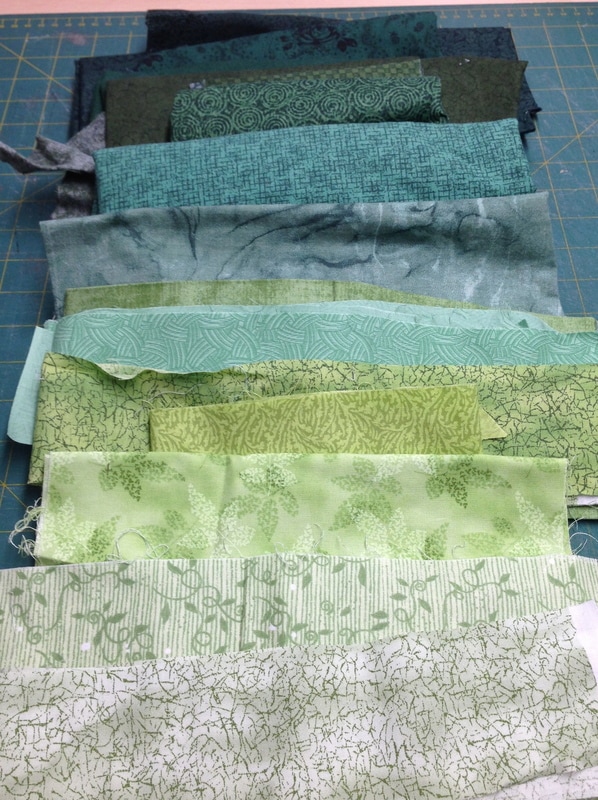
I started my project by laying out and "auditioning" some of my fabric stash below.
I rejected some and shuffled some and ended up with 12 -2 1/2" strips x width of fabric.
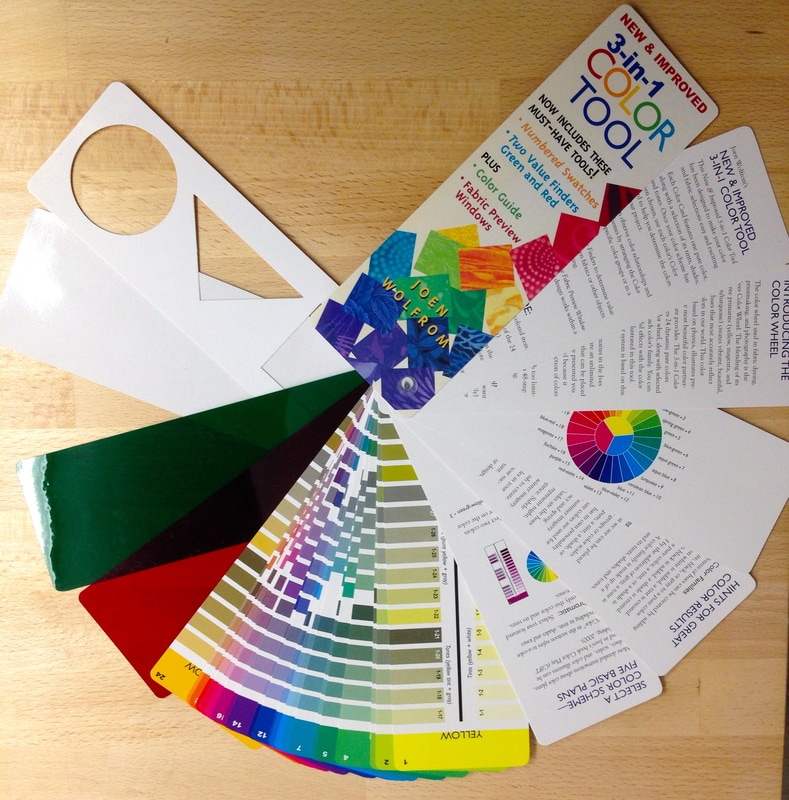
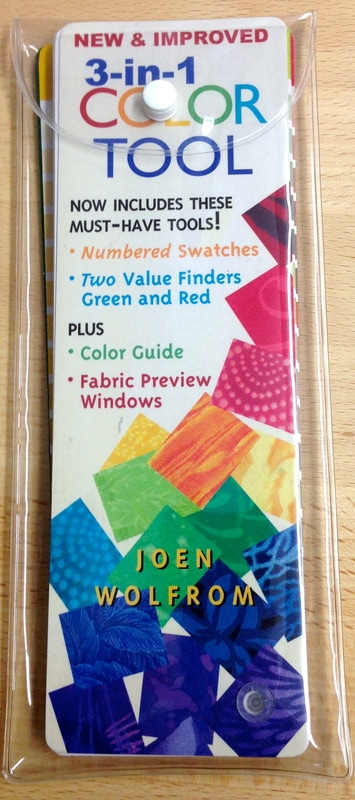
A most useful tool I used to shade my fabric is the 3- in -1 Colour Tool from Joen Wolfrom. It is useful because it has 24 colour cards with numbered swatches, 5 colour plans for each colour, 2 value finders in red and green. It shows the colour wheel and gives you important tips on utilizing colour. It comes in a very nice plastic case for portability so you can take it to your quilting classes. The red and green value finders are key to seeing ombre!
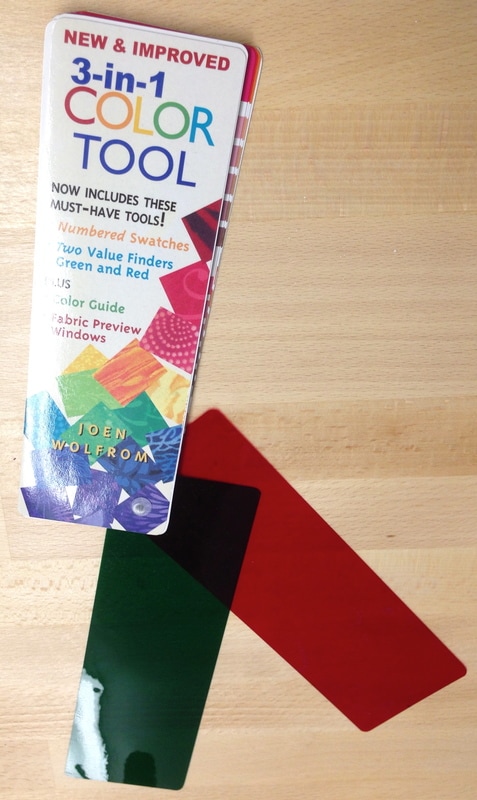
I recommend that you look at your fabrics through the red or green tools above to see the shades of the fabric from light to dark. This tool works amazingly! You can purchase it below:
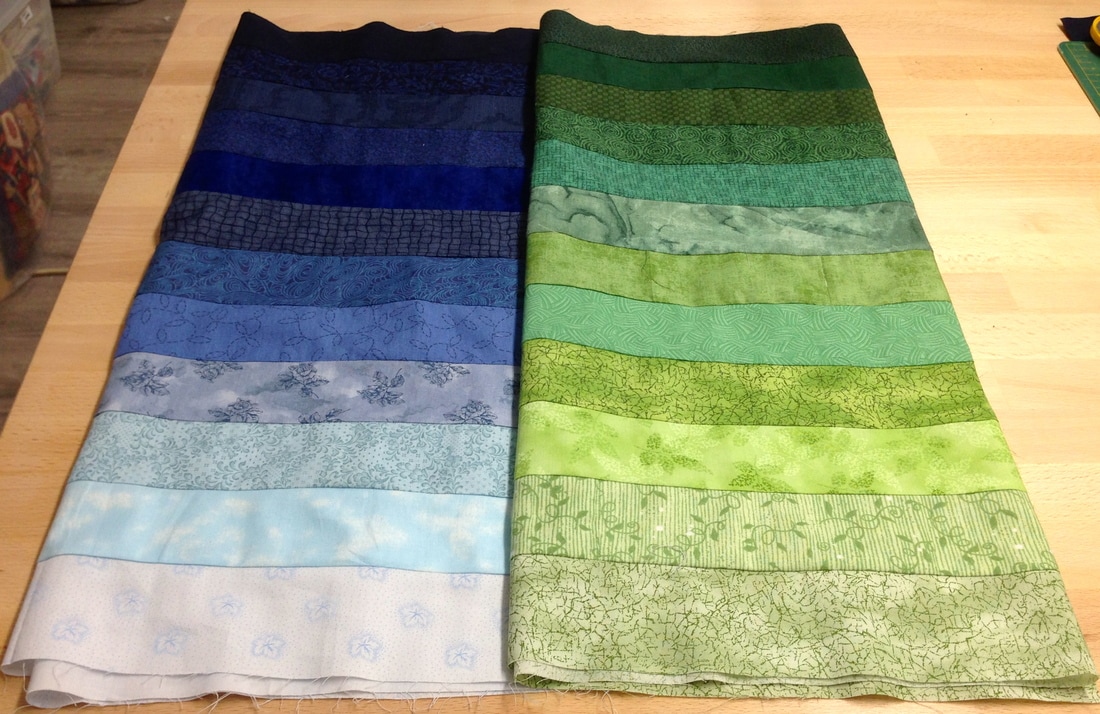
Today I made the below Ombre strip sets with the amazing Ultimate 3-in-1 Color Tool.
Why red and green? Red does not work on red fabrics and green does not work on green fabrics, thus, you need both colors. Overlap the tools and look through both of them to view your fabrics. This allows you to look at any color or any textured fabric and determine it's value. I could not have arranged my fabric without it!
Are you curious to see what I will do with the strip sets above? Check back with us on Tuesdays over the next few weeks to see what I do with these strip sets and more. I am planning on some "modern" projects!
Also, in the meantime.... get your fabric out and lay it out in an ombre fashion and start stash busting! Have a great Tuesday!❤️
0 Comments
Leave a Reply. |
Follow Me:Welcome!Hi I'm Robin and I am a professional long arm quilter, pattern designer and teacher. I am passionate about all things quilty! Categories
All
Sponsors
This blog contains affiliate links. This means that we endorse products.
We do receive rewards for these endorsements and this helps to keep this site alive and well. We support products which we believe are the best quality and to inspire your creativity! |

 RSS Feed

