|
Brought to you by quiltingintheloft.com
On the Wednesday before Fathers Day, my youngest daughter and I decided we would embark on a project for my husband who is an avid gardener and claims the garden for him is the best place on earth. We decided to make these stepping stones as a Fathers Day gift. I read a lot of tutorials and decided on a method. The picture tutorial below explains what we did.  Traced a circle with a cake pan onto contact paper/sticky drawer liner (the cake pan is the mold for the stepping stones) 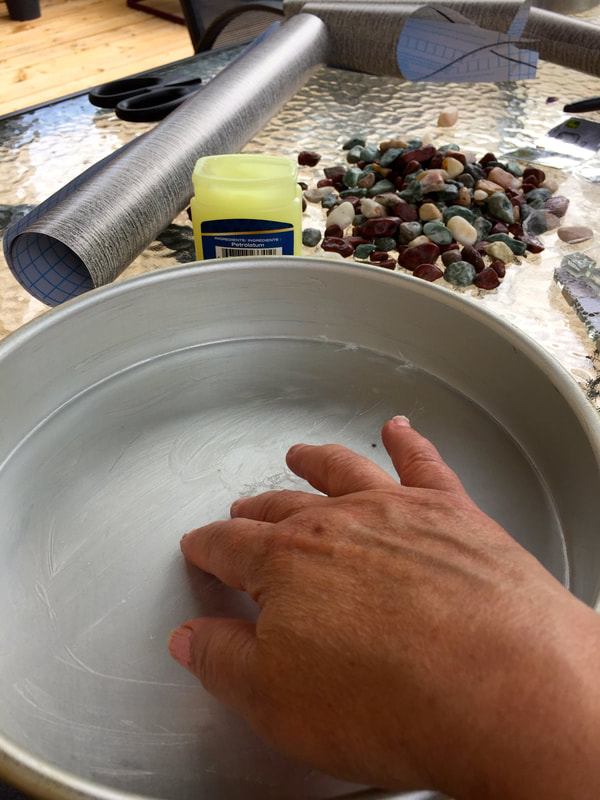 Greased the pans very liberally with vaseline 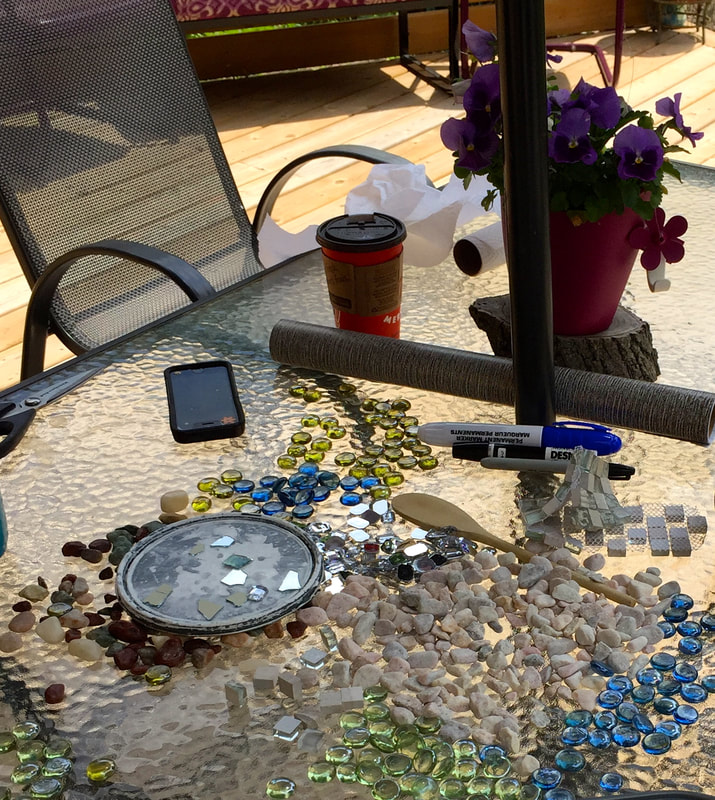 Gathered a bunch of glass beads, stones and broken mirror pieces (all from the $ store) (you could use broken dishes)  Place contact paper sticky side up (facing you) in the vaseline greased cake pan and start placing pebbles, glass pieces etc. -This is an abstract moon and stars 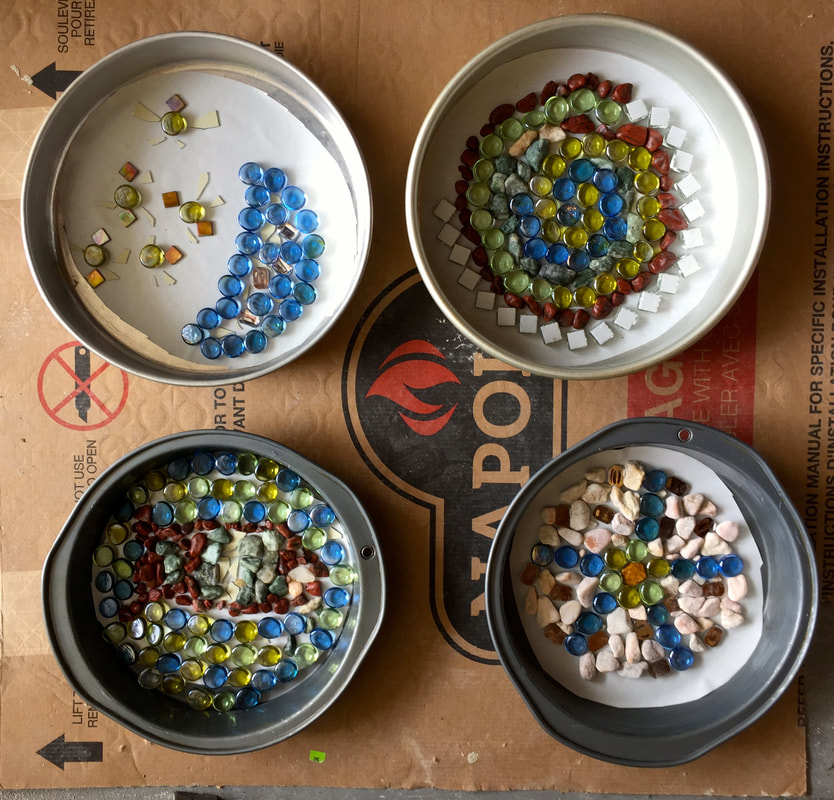 Our stepping stone designs from right to left moon and stars, a spiral, a fish in water and a flower star. We have placed the moulds (cake pans) on cardboard to get ready for the cement pour 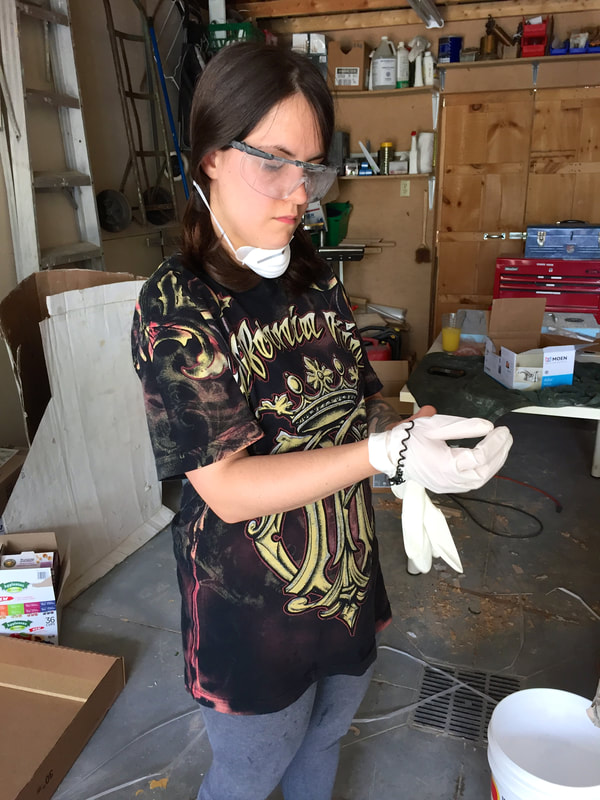 Mallory prepping for the cement pour- safety first! Gloves, safety glasses, dust mask, water near by, a stirring instrument and a pail are a must. We mixed the cement in a pail, poured in water from a large watering can and mixed with a shovel. The consistency is like wet porridge 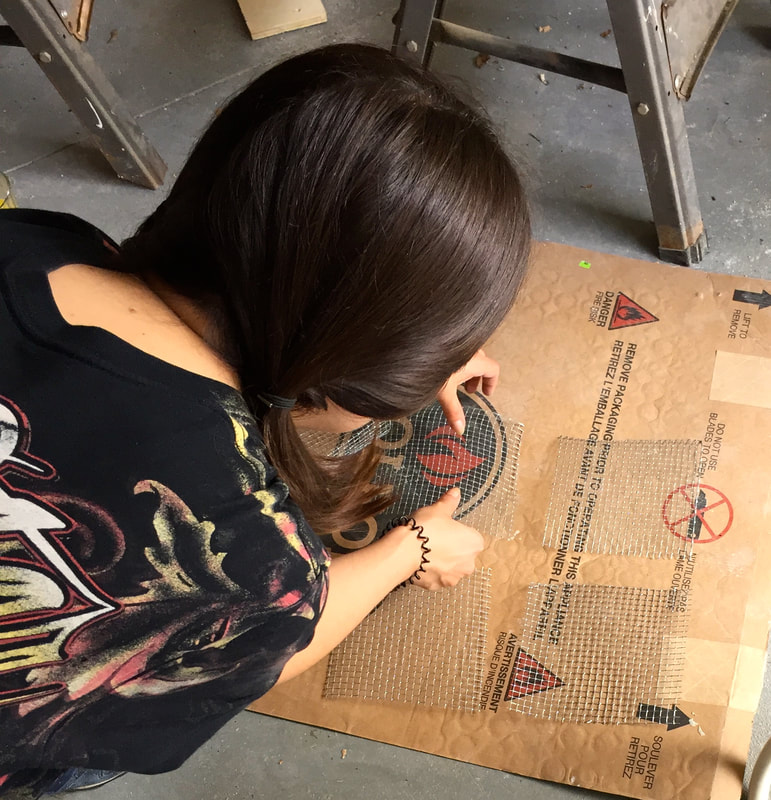 we also cut and flattened wire screen (purchased by the foot at home hardware) for the pour of cement. Wire must fit inside your mold 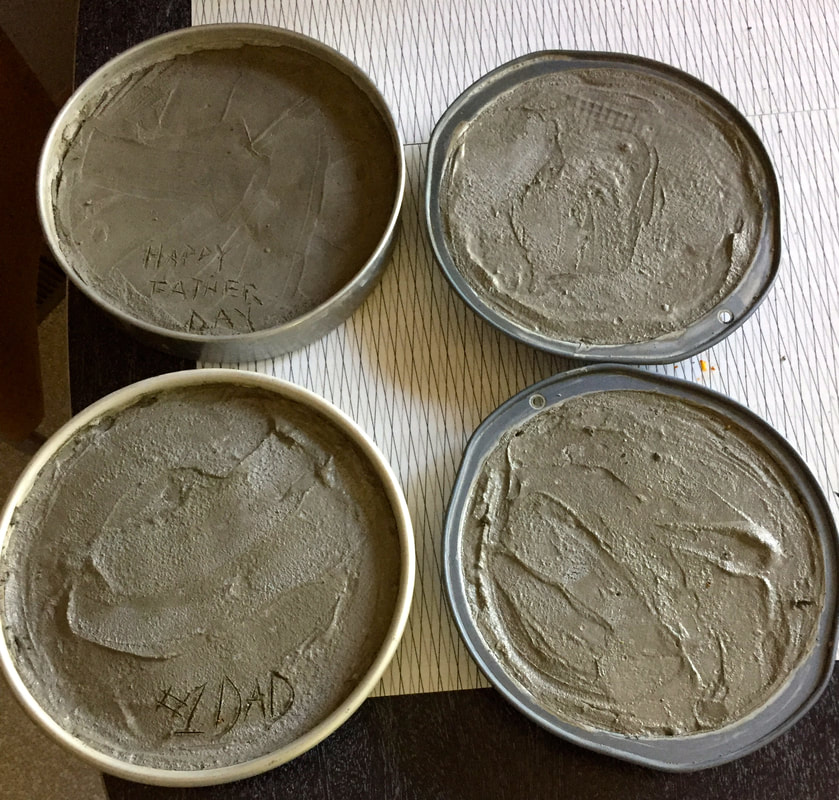 We poured quick dry cement the consistency of wet porridge about 1 1/2" inch on top of the pebbles and then placed the wire mesh in the concrete and then poured the remaining concrete to about 1/4" from the top of the cake pan moulds 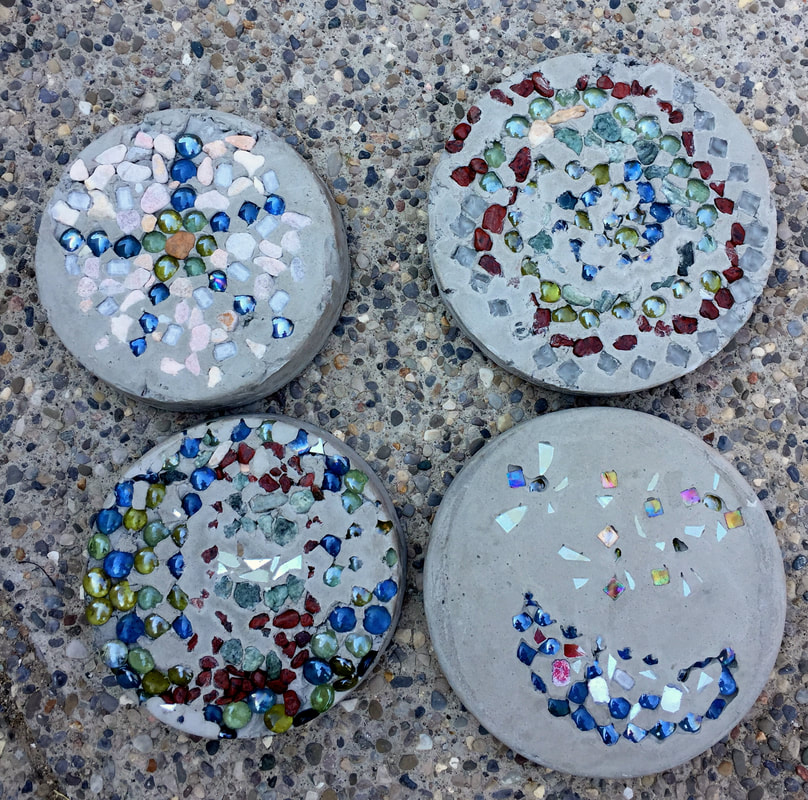 The result of our first DIY stepping stones?
Not perfect by any stretch of the imagination but my hubbs loved them ( I think just because we made them lol) The first pour was the best, the star flower and the moon and stars, the second pour was a bit too thick resulting in the pebbles moving and therefore the designs are not as distinct. We are not deterred though! Next time we are going to try and pour the cement first, place wire, second pour of cement and then pebbles on top and see if that works better. It will added some sun reflection and sparkle to our garden. Stay tuned! We will perfect this! If at first we do not succeed...... try and try again!! Happy Fathers Day to all those daddy's out there ❤️❤️
1 Comment
6/20/2018 08:04:26 pm
These stepping stones will surely be appreciated because these were done with love and effort from the people he loves the most. It's really cute and done in a creative way, that's why I have to commend you for coming up with this idea. Actually, you can just buy gifts and try to eat dinner with him, but you choose to exert more effort because that's what you believe that will make him happy. How I wish my sisters were as thoughtful as you! Leave a Reply. |
Follow Me:
Welcome!Hi I'm Robin and I am a professional long arm quilter, pattern designer and teacher. I am passionate about all things quilty!  

Categories
All

Sponsors
This blog contains affiliate links. This means that we endorse products.
We do receive rewards for these endorsements and this helps to keep this site alive and well. We support products which we believe are the best quality and to inspire your creativity! |
 RSS Feed
