|
Brought to you by quiltingintheloft.com
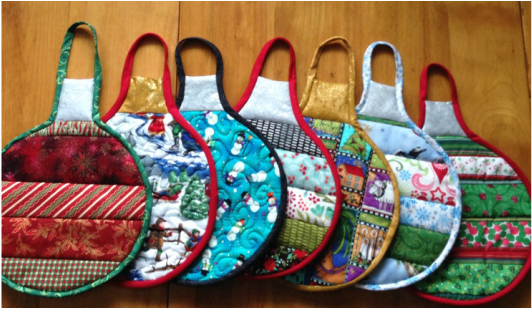
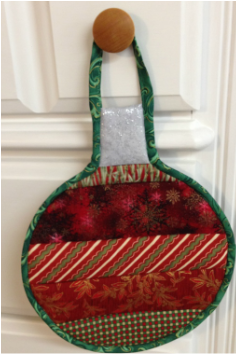
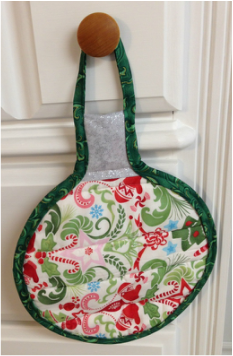
This super easy "ornament" shaped hot pad makes an affordable gift for all the cooks on your list this Christmas! 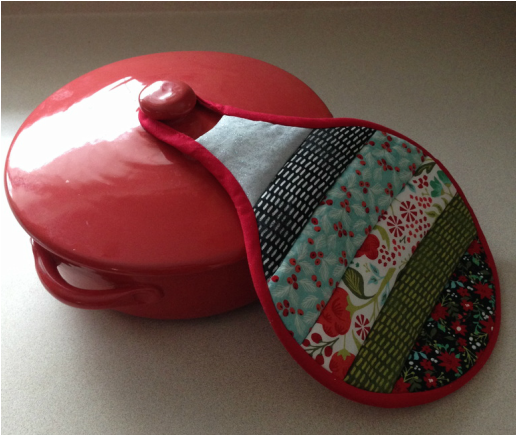 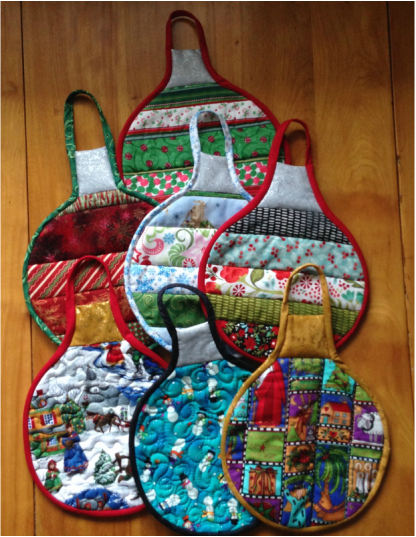 I got a little carried away making these because they are quick and easy to finish in time for last minute gift giving At this time of the year we all have the Christmas parties to go to, last minute gifts to give to hostesses, teachers, neighbours, hair stylest etc. This project is perfect because: 1) It takes very little time to make 2) It takes very little fabric 3) It provides immediate gratification 4) It is reversible 5) It is very practical and ..... 6) It is a holiday oriented project by virtue of the fact that it looks like a Christmas ornament. If you are an experienced sewist, this is a half hour project. If you are a beginner and have an hour to spare, that's all the time it will take to finish one! The more you make, the faster you get it done!! 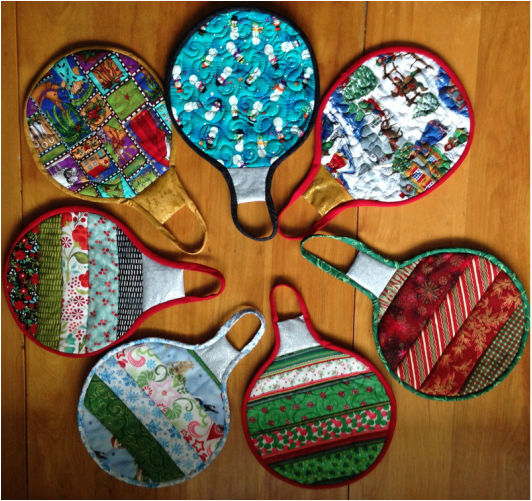 Front of the "ornament hot pads" 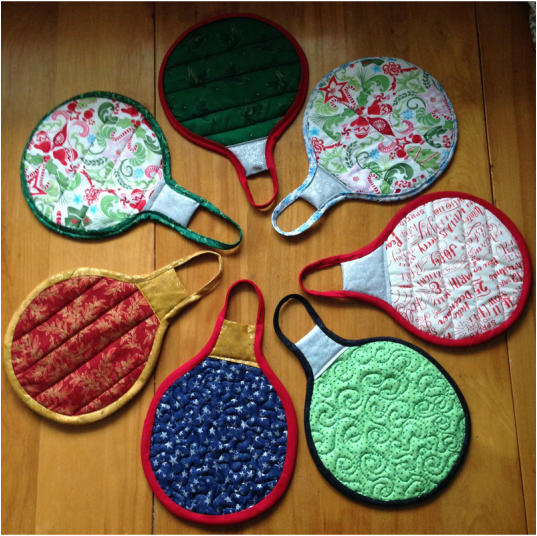 Reverse Side! How to Make a Christmas Ornament Hot Pad: You will need:
1) Sandwich your backing wrong side up with the batting and insulbright on top facing towards you (you can baste this sandwich with pins or 505 basting spray if you wish) 2) Press layers together with an iron 3) If adding strips audition your layout  auditioning 4) Lay #1 strip 2" down from the top edge of your quilt sandwich right side facing up, lay #2 strip on top of #1 right sides together with top edge matching, quilt through all layers 1/4" . (For experienced sewists- you are strip quilting as you go the entire 10 x 11" piece leaving a 2" space at one end) 5) Press # 2 strip up and away from #1, continue with the rest of the strips until the rest of the 11" length is filled with strips of fabric *** You can also use just an entire piece of Christmas fabric that is 10 x 11" if you do not want a striped ornament*** 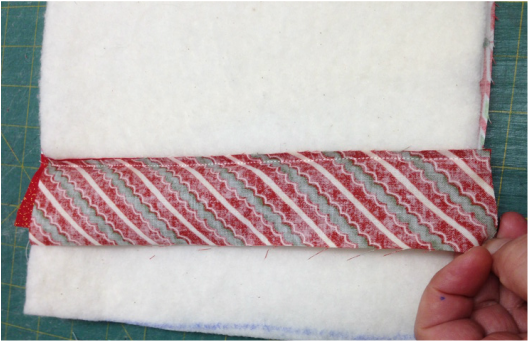 Lay strips on top of each other, quilt through all layers 1/4" from the top as described in 4) above 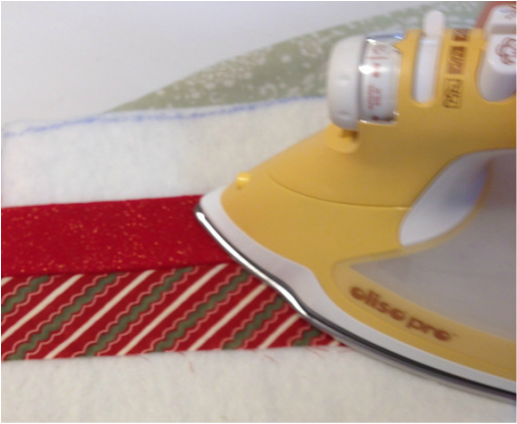 Press away from the previous strip as described in 5) 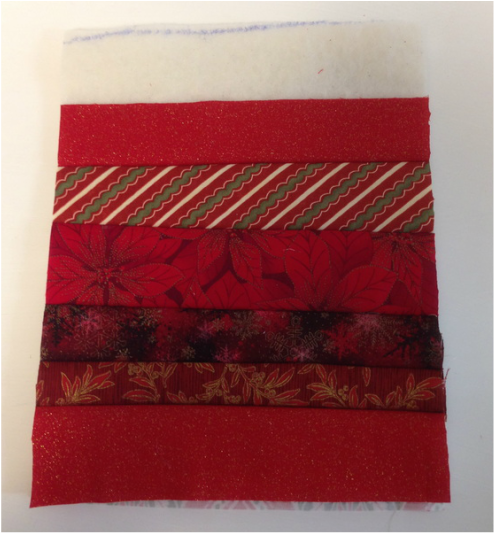 Your striped ornament quilt as you go fabric should look like this 6) Add the silver or gold ornament hanger fabric by first ironing one 3 1/2" edge under towards the wrong side 1/4". Lay the raw edge of the non ironed side flush with the top strip right sides together and sew with a 1/4" seam allowance through all layers as you did all the other coloured strips. 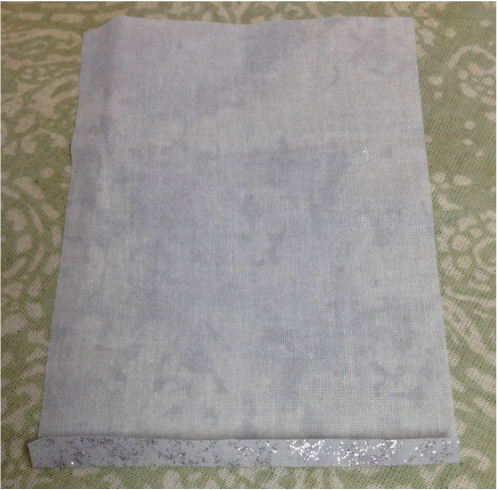 one short edge pressed 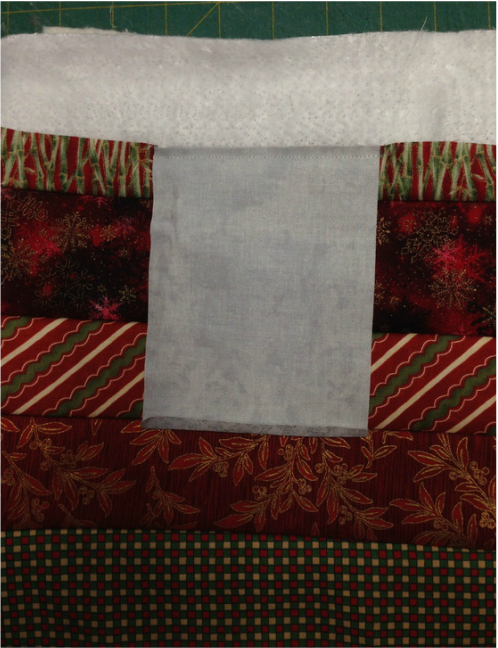 Sew through all layers with a 1/4" seam allowance and centred on the top strip flush with the edge 7) Press towards the top and away from all the other strips 8) Fold this silver/gold fabric over the remaining batting and tug on the fabric so that the folded edge lays beyond the sewing line on the back that you created in 6). Pin along the pressed edge to hold in place and sew through all layers, stitch in the ditch from the front seam on the silver/gold fabric seam you just created. (you should catch the pressed edge all the way along to secure) 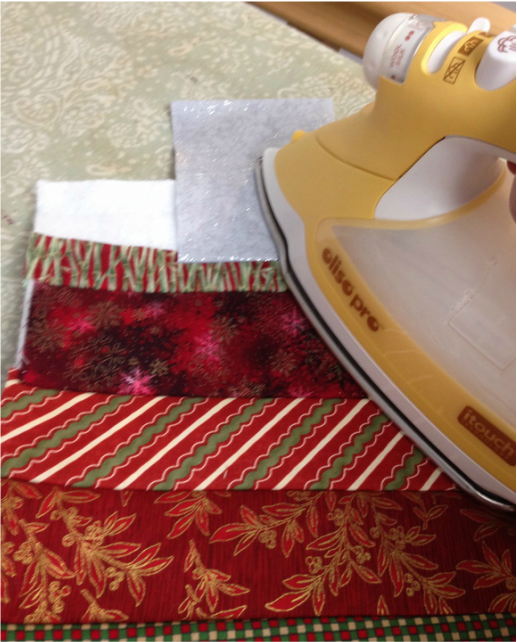 Press away from your stops and wrap around the batting to the back of your project as described in 8) 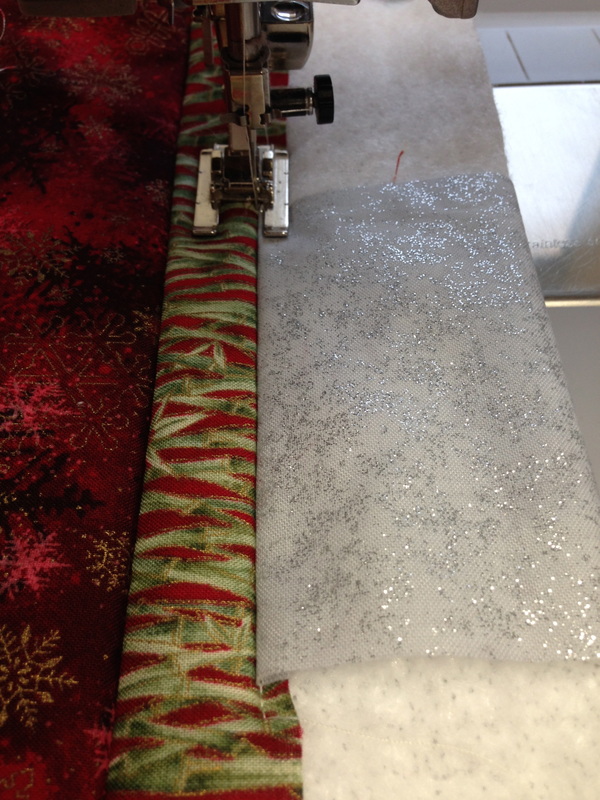 Stitch in the ditch catching the pressed fabric on the back  The back of your project should look like this 9) Using the free pattern PDF pattern download found here (also found in the Free PDF pattern download section of the "SHOP" tab above) Trace out your ornament shape using a frixion or erasible fabric pen and start cutting it out thoough all layers  This is what it should look like now! 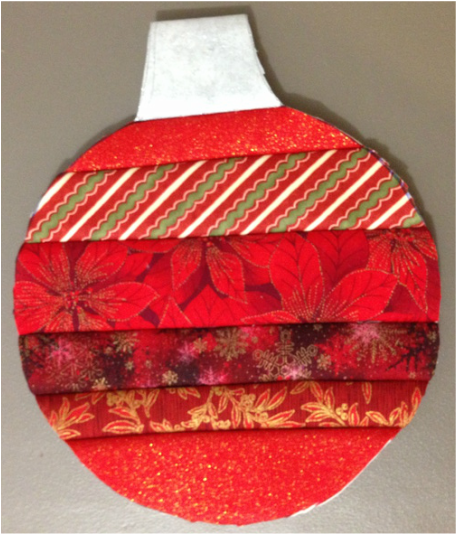 10) It is time to bind your project now. Bind as you would a quilt starting with the bias binding sewn to the right side of your bulb and sew slowly to allow for the curve and a 1/4" seam allowance, sewing and stopping at the top of your silver fabric. Tack a few stitches back and forth. 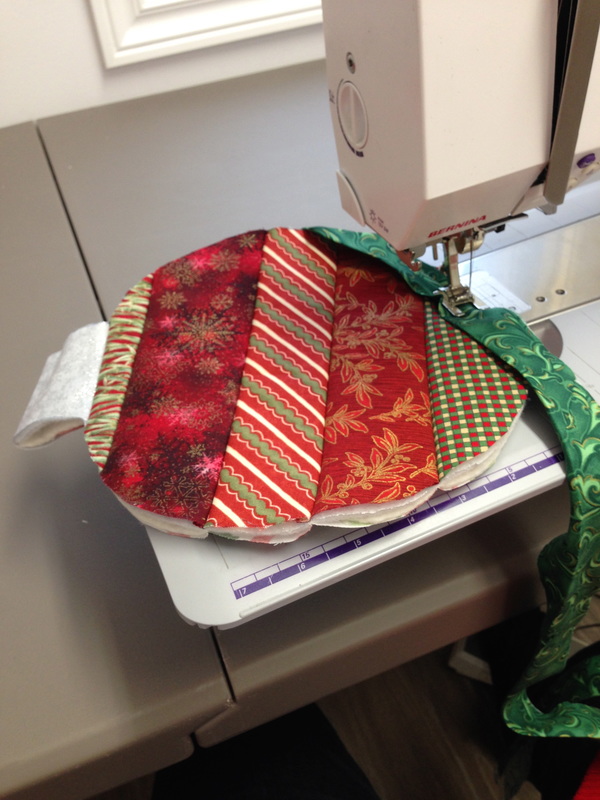 starting to sew on the binding 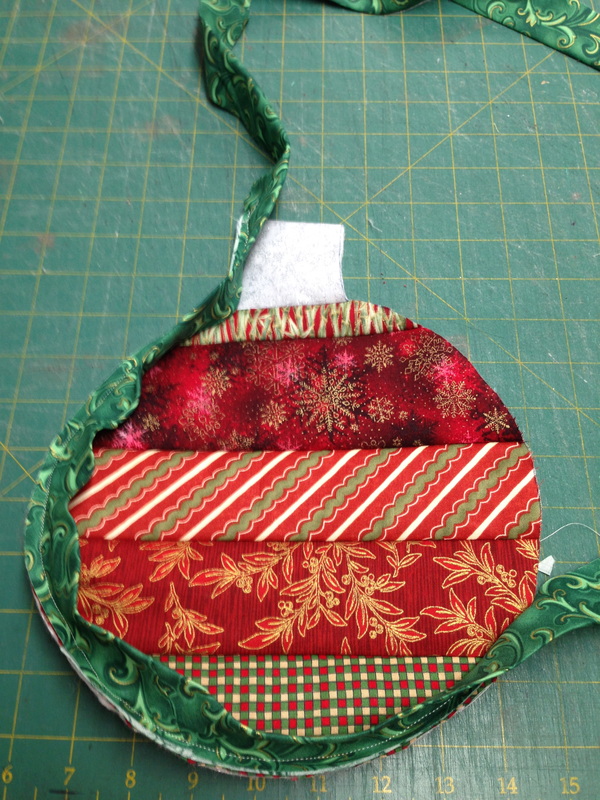 stop at the top of the silver fabric and tack stitch back and forth 11) You now need to make a 6" loop for the top of your ornament (also useful to hang on a nob or hook in your kitchen) To make this loop with your right side of your project facing you and the binding folded edge tucked towards the back of your fabric, you will fold the raw edge of the binding toward the center of the binding for 6" beyond the top of the grey fabric and press. See photo below. 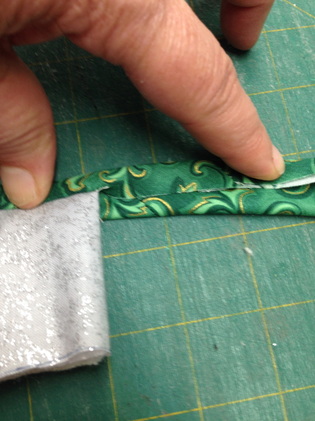 First fold of the loop 12. Fold again to create a finished edge that looks like the photo below, fold and press for 6" 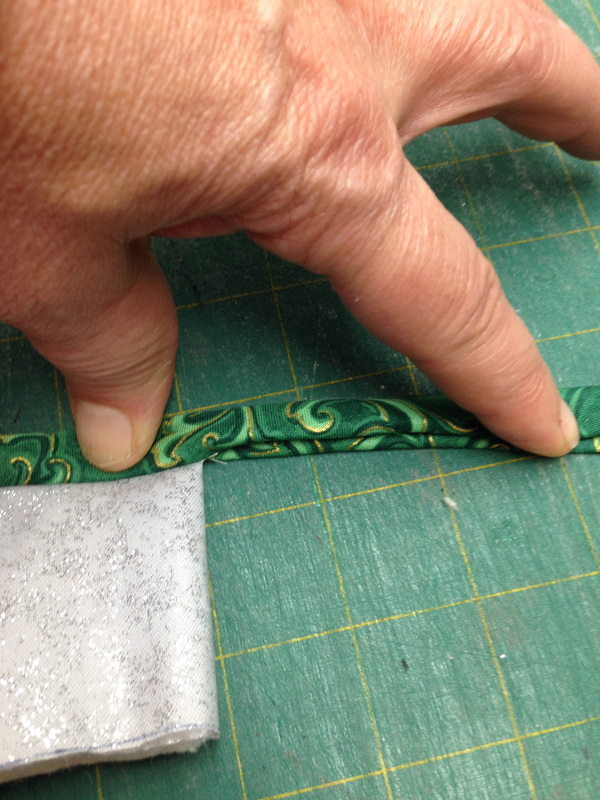 Second fold of the loop 13) Pin and top stitch the loop close to the edge with matching thread, stopping at the 6" mark 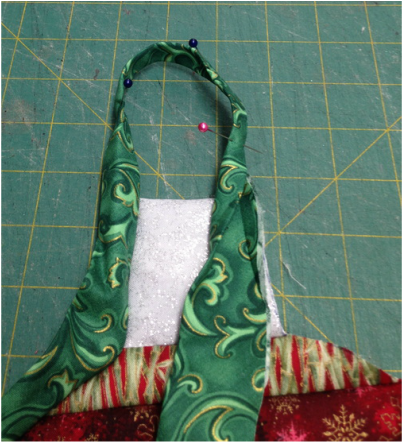 Pinning the loop after it's pressed 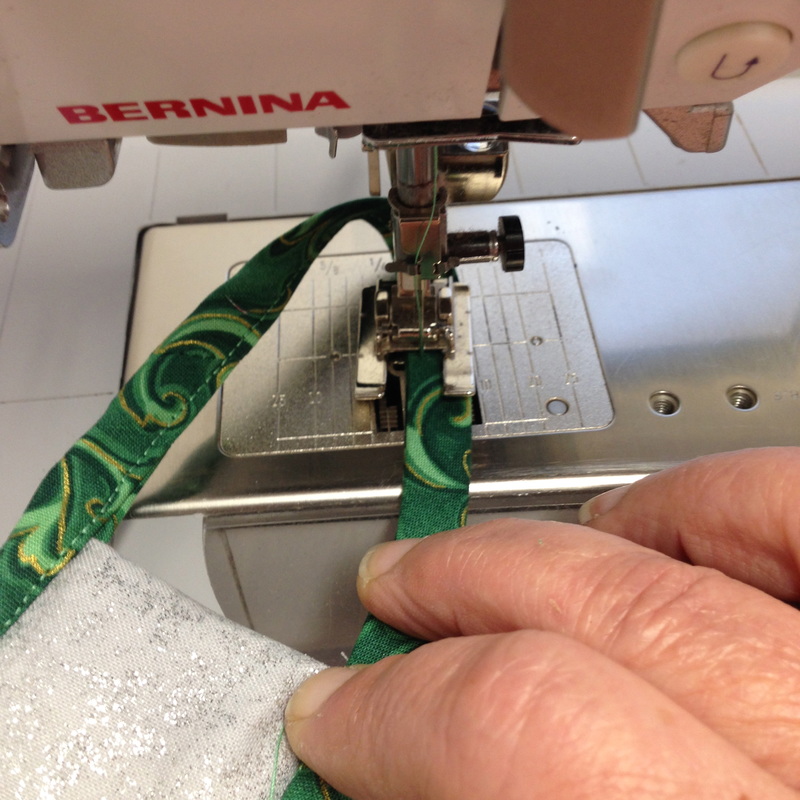 Top stitching the loop 14) Resume the sewing of your binding onto the other side of your silver section making sure the fabric is not twisted and laying the raw edge of the binding against the right side edge of your project. Finish of your binding as you would on a quilt. 15) Wrap the folded edge of your binding to the back and sew by hand or machine as you wish to complete your binding and......TA DA! Admire your efforts!
 Make lots of them! 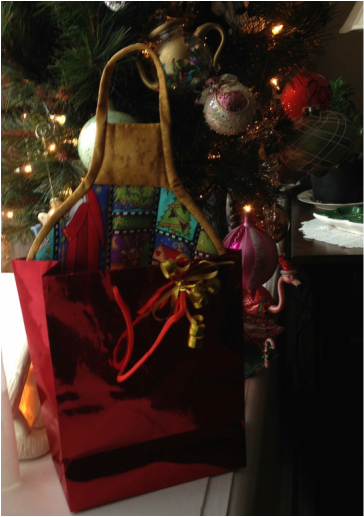 So pretty under the tree. Add some homemade goodies and you have a very nice, inexpensive gift! Happy Tuesday, Happy Christmas Sewing!🌲🌲🌲
0 Comments
Leave a Reply. |
Follow Me:
Welcome!Hi I'm Robin and I am a professional long arm quilter, pattern designer and teacher. I am passionate about all things quilty!  

Categories
All

Sponsors
This blog contains affiliate links. This means that we endorse products.
We do receive rewards for these endorsements and this helps to keep this site alive and well. We support products which we believe are the best quality and to inspire your creativity! |
 RSS Feed
