|
Brought to you by quiltingintheloft.com
I recently attended a sewing and quilting event and saw the below amazing IRON ON Transfer Pens being demonstrated and decided I "NEED" them!
LOL, yes I definitely can use them. Wow I am so excited about what I can do with them. Check out a picture of them below: 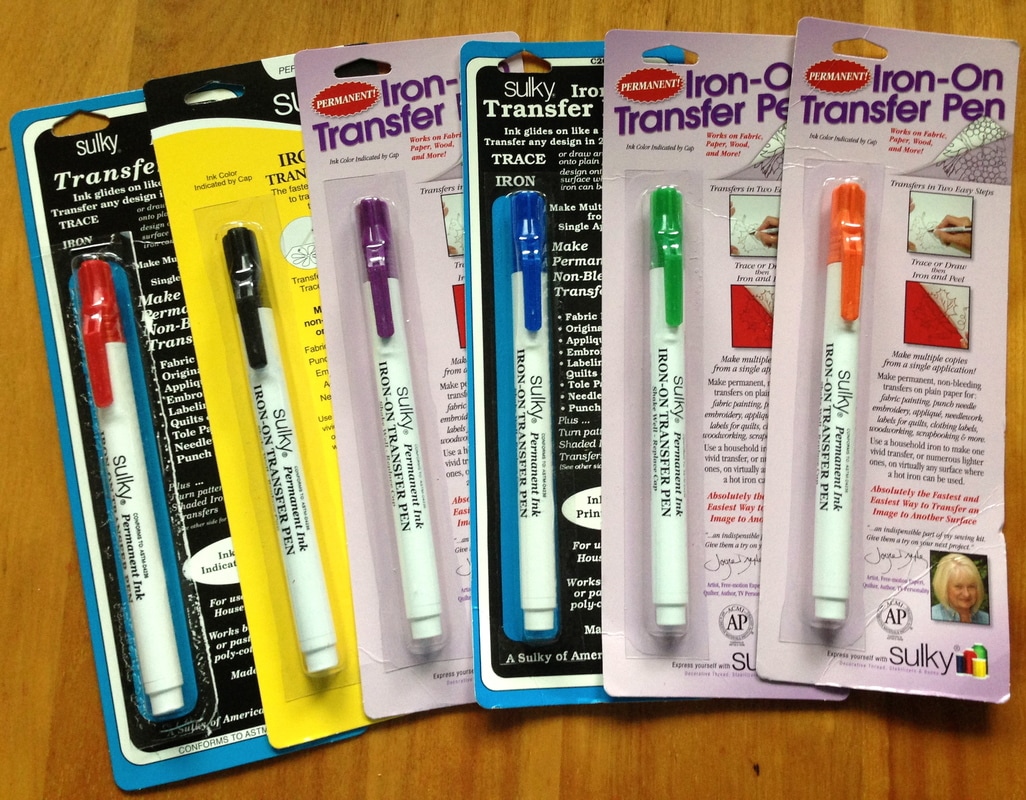
The above are pens I purchased, yes in all different packages because I wanted all of the colours the store had and therefore I had to settle for new and old packaging but they are by Sulky. (All are working great even older packaging).
Now you are wondering .... What to do with these??
I will show you below how they work first and in future posts, what I will be doing with them.
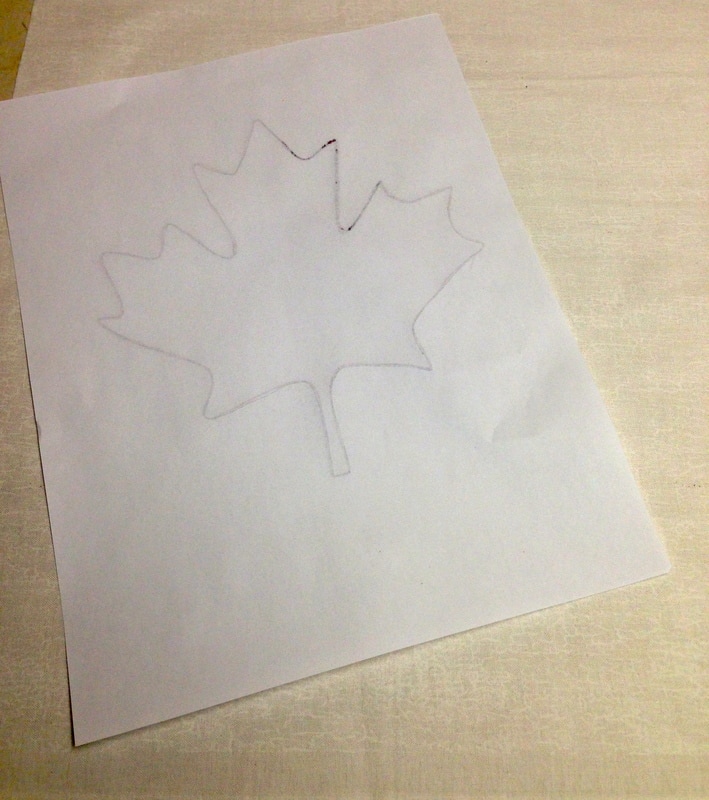
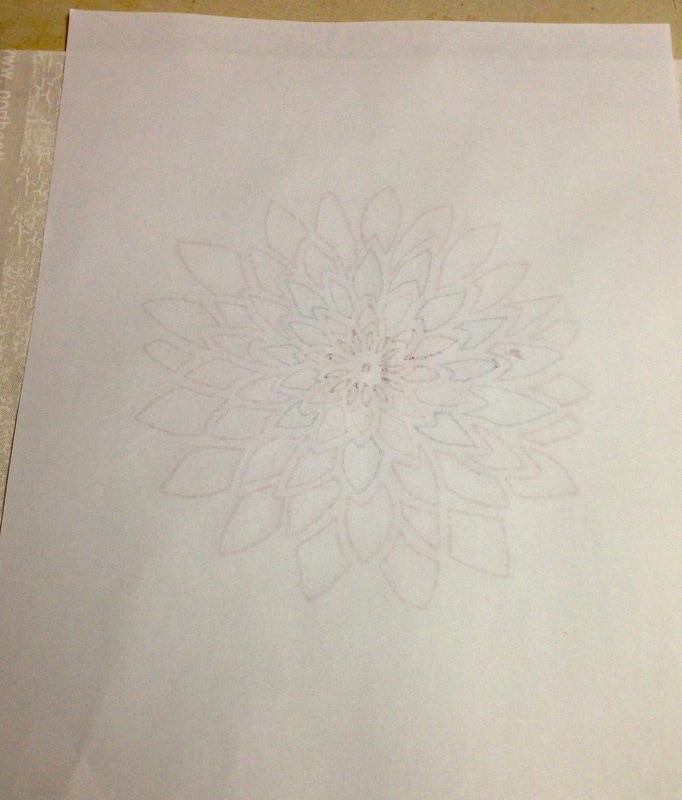
1. Draw out a black line design. There is a free PDF download of a maple leaf in the Shop/ Free PDF Patterns section of this website here. This is the design I am using first. You could use any design or stencil you already have as well. I have a project planned for the maple leaf so this is why I am using it. See below traced out black line design:
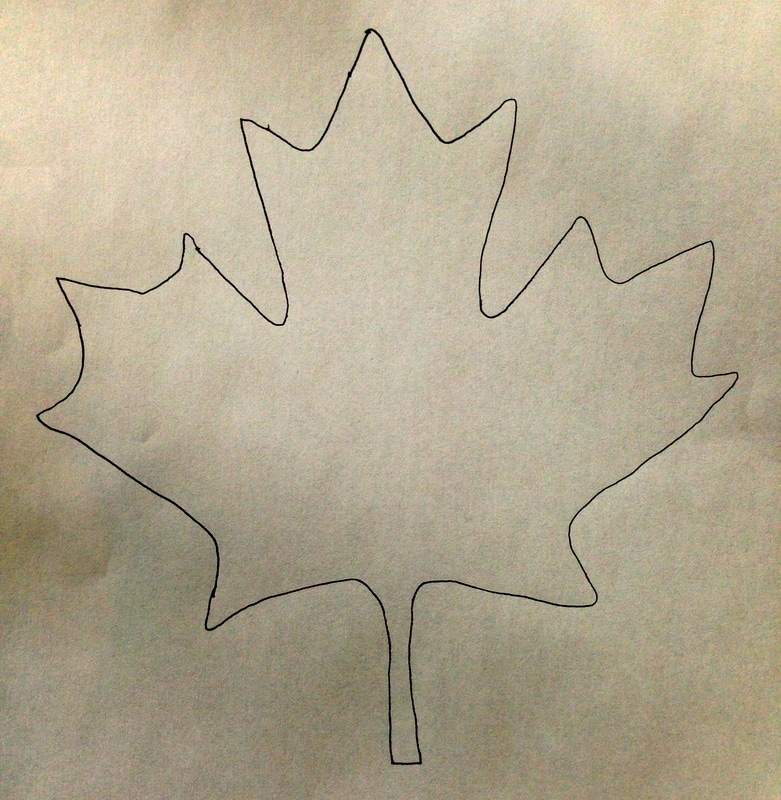
Maple Leaf Pattern Traced out on white paper with a black sharpie marker
2. Cut out a piece of fabric you would like to transfer your design to. I am just going to use a piece of white fabric because I will later insert it into a project. See below:
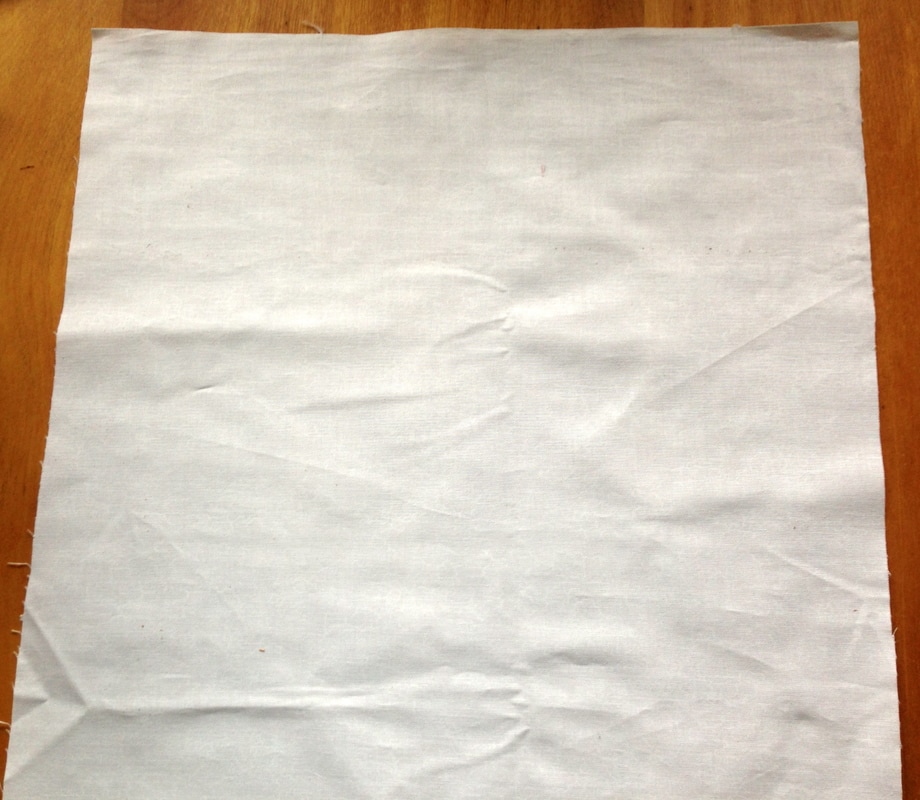
14 x 14 cut square of fabric (bigger than what I need so I can play!)
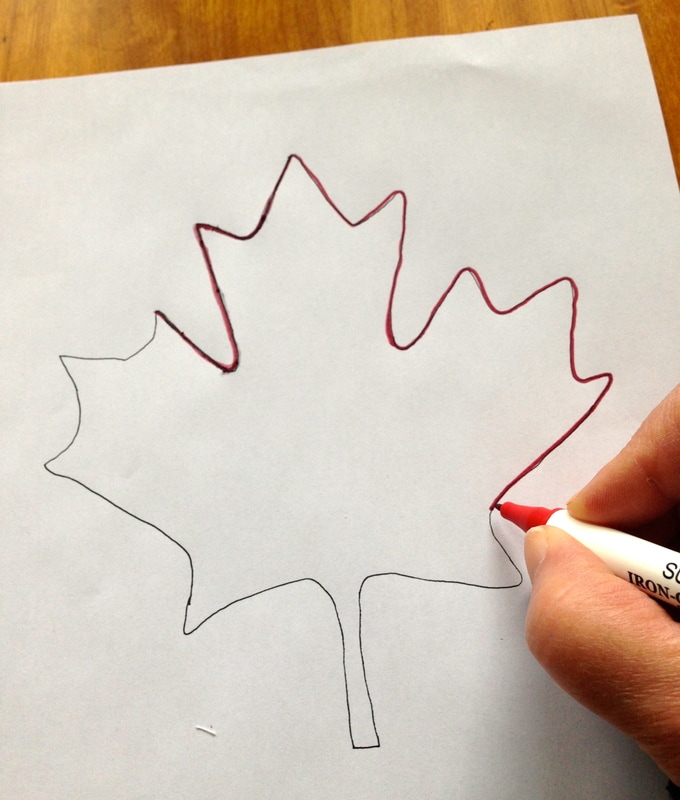
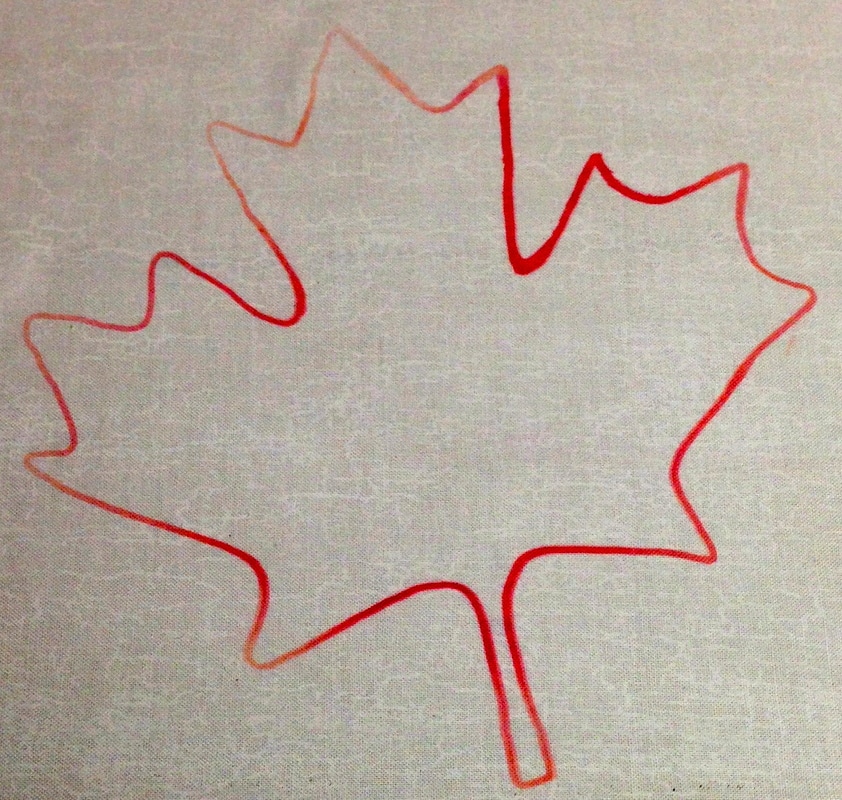
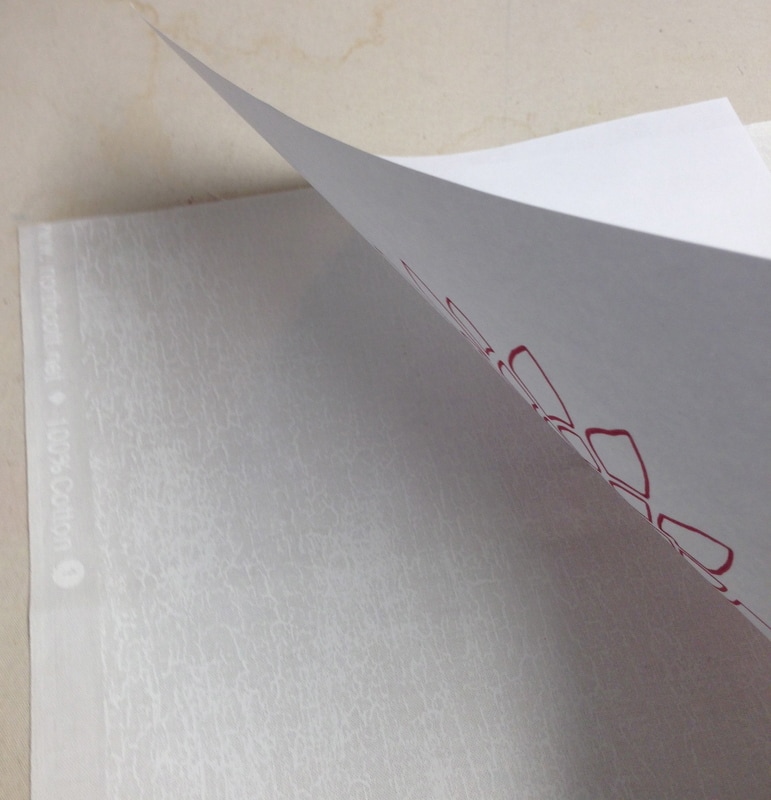
3. Shake up your pen and draw over your black line design with a sulky iron-on transfer pen ( I used red for the first maple leaf).
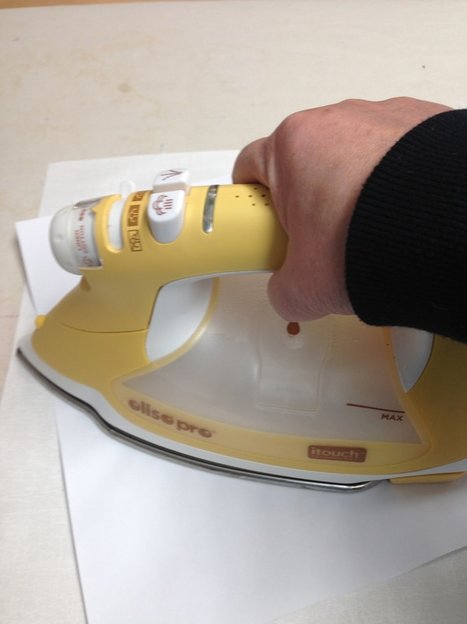
4. Heat set your fabric with an iron. Simply iron over it to warm it up to prepare it to take the ink.
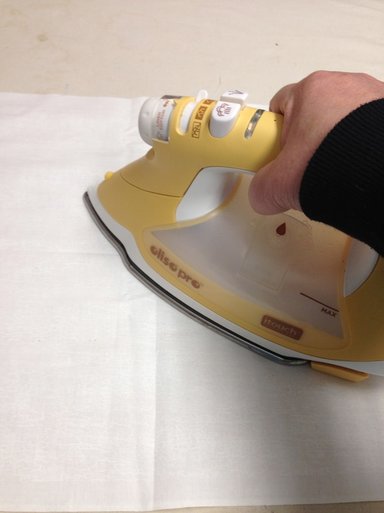
5. Press your image ink side down to right side of your fabric and press. Do not slide your image or iron, press in all areas of the design with a cotton heat setting (if using cotton). Works best with cotton and cotton/poly fabrics per instructions on package
6. Check it out below! The ink is vivid and red and lovely, I am really impressed.
7. So I pressed 2 more with the same inked image (inked only once!). The instructions states you can use the inked image 3-4 times.
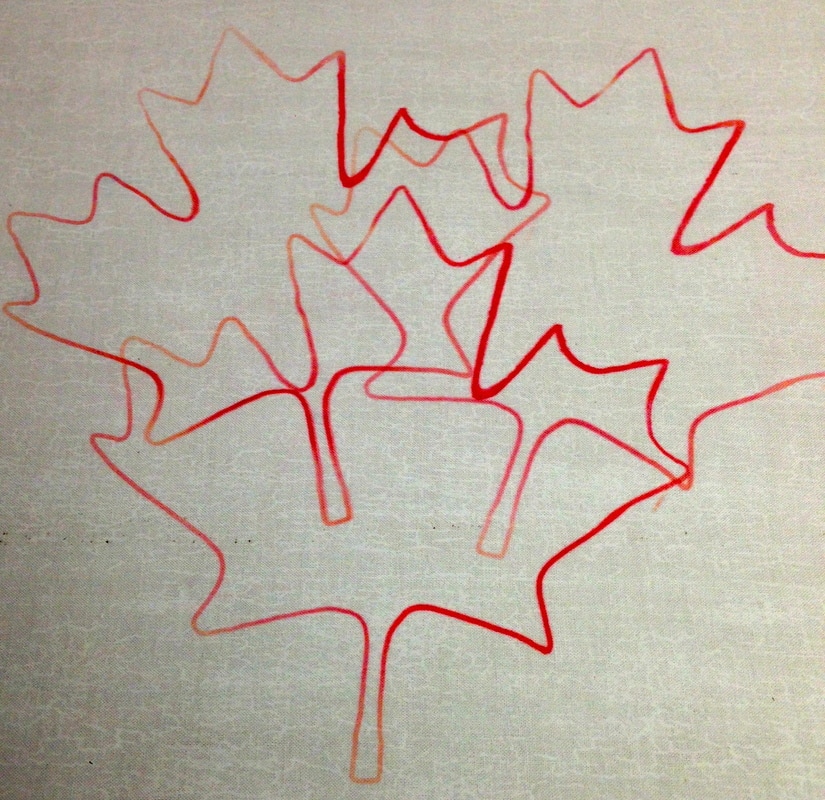
8. I decided to use the pens as a marking tool only with this project. See how I satin stitched these leafs below:
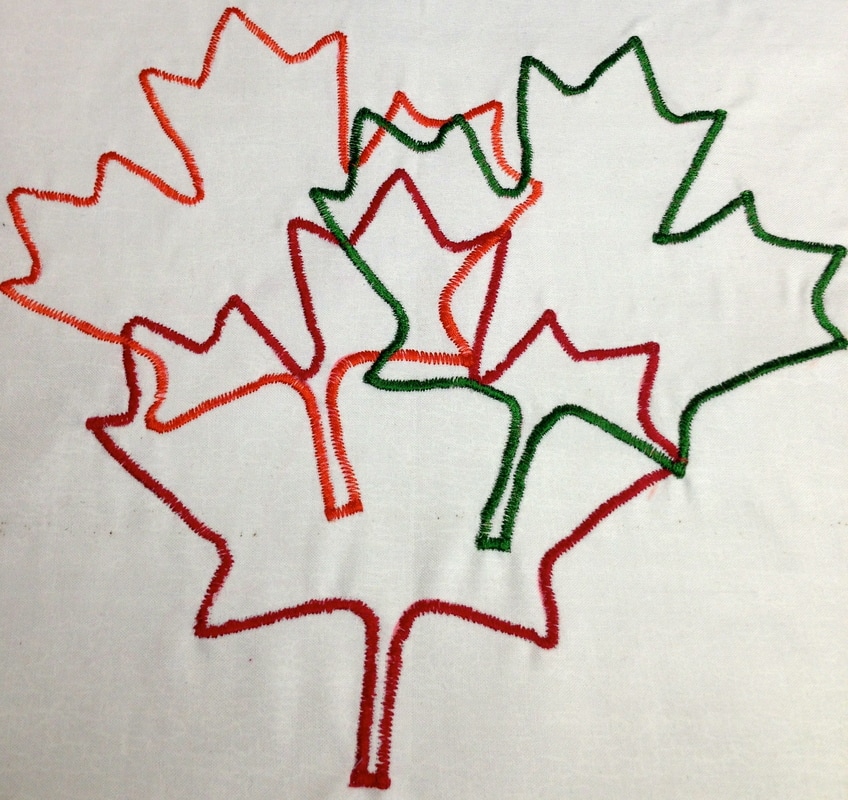
Maple leaves drawn with Sulky Iron-on Permanent Ink Transfer pens and then satin stitched.
Another wee project idea... use your quilting/scrap booking/craft stencils, ink the design directly onto paper (no black line drawing needed as the stencil is your guide) and then transfer to fabric. See below photos where I am using the ink purposely to make it be the design element. Its easy as 1, 2, 3
#1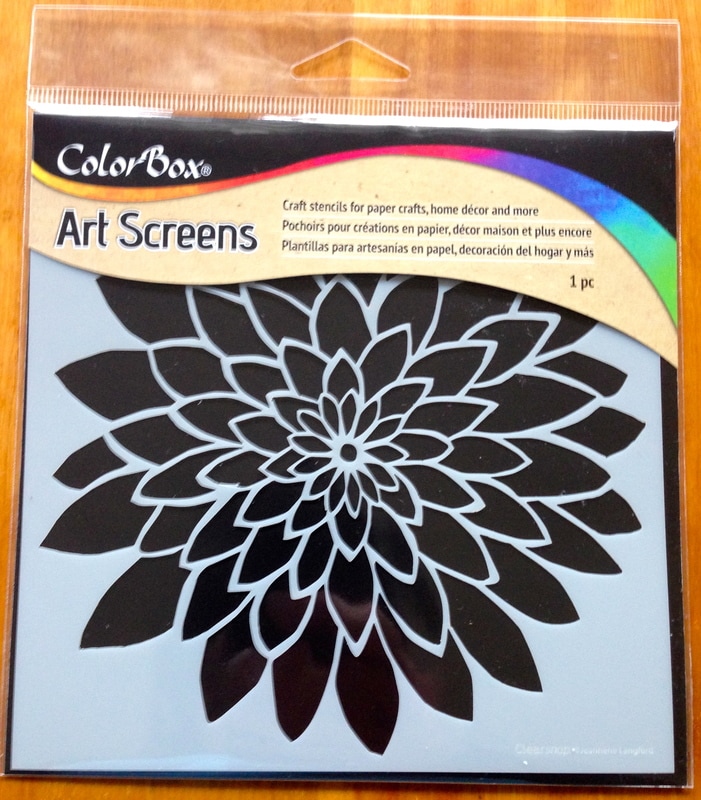
choose a stencil
#2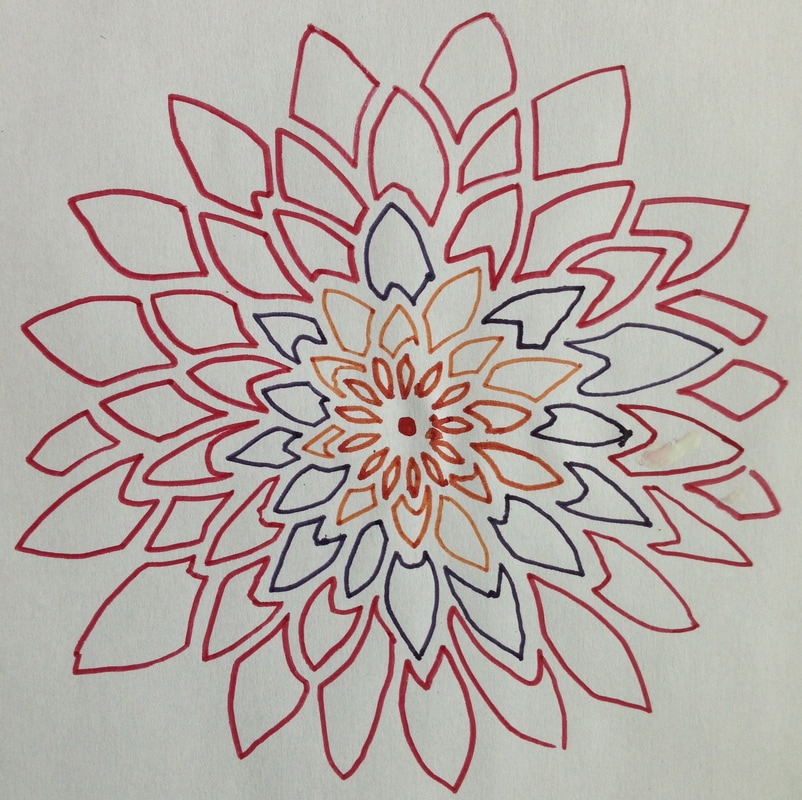
Trace out the stencil with your transfer ink onto paper
#3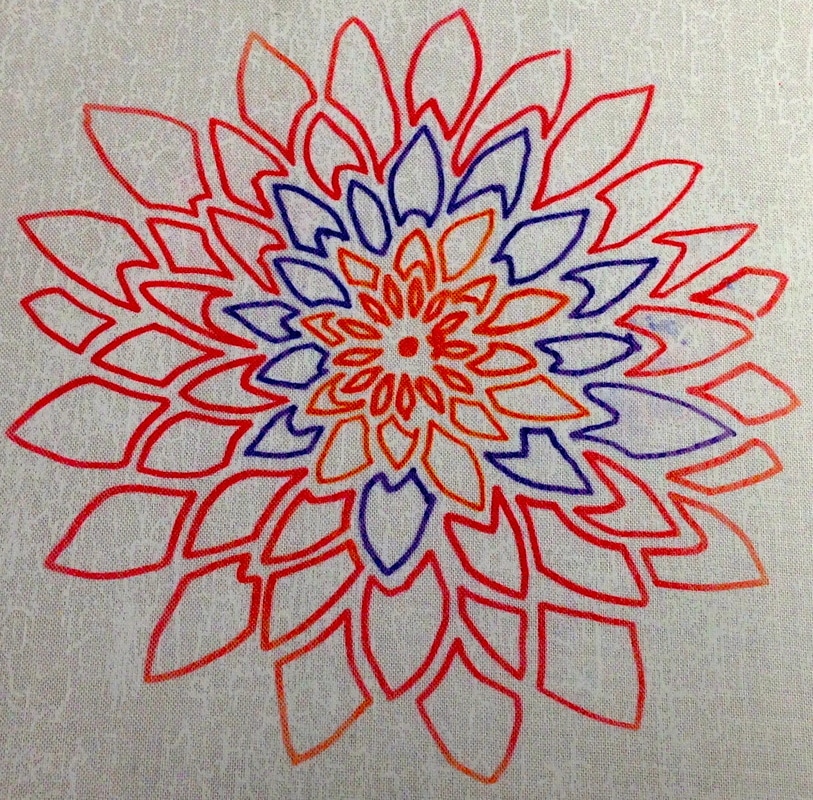
Heat set blossom design with an iron and transfer ink onto fabric
There are many possibilities with both of the leaf and blossom image, I could use them as quilt blocks, embellish something with them ... a pocket, a bag front, pillows, make quilt labels, home dec etc. The sky is the limit!
The important thing is these Sulky Iron-on Transfer Pens allow you to transfer images with ease and no printer required unless you want to search for images on line and use them. They are awesome! 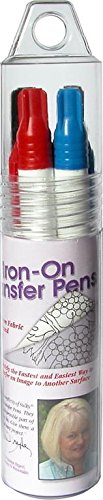
You can purchase them as one colour or as sets
Check back over the next few weeks to see what I do with the above images.
I hope I have inspired you today in some way! Happy Tuesday ☀️Hoping for sun!
3 Comments
12/24/2020 08:46:18 am
Thank you Jerry, always happy to share about great tools for the sewing industry. Leave a Reply. |
Follow Me:
Welcome!Hi I'm Robin and I am a professional long arm quilter, pattern designer and teacher. I am passionate about all things quilty!  

Categories
All

Sponsors
This blog contains affiliate links. This means that we endorse products.
We do receive rewards for these endorsements and this helps to keep this site alive and well. We support products which we believe are the best quality and to inspire your creativity! |
 RSS Feed
