|
Brought to you by quiltingintheloft.com
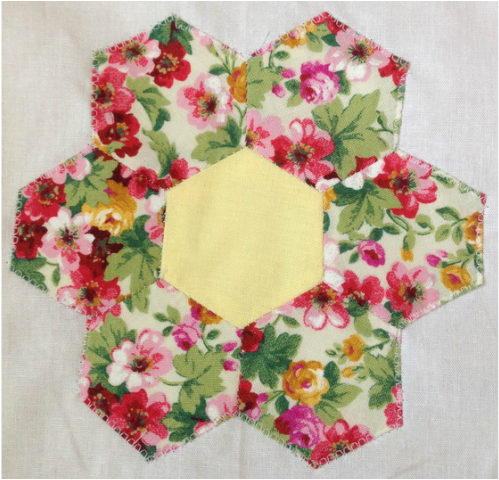
Classic "grandmothers flower" english paper pieced quilt block
As my blog followers know, I do a feature every wednesday on work with English Paper Piecing and I had someone ask me recently how to do it.
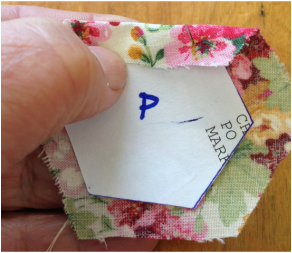
I assumed wrongly that everyone knows how to do it! So today I am sharing how to do EPP (english paper piecing) and sharing with you some resources that are very helpful to make these effectively. I hope if you try it, you become as addicted to making EPP pieces as much as I am!!! I know at least one person in my life who claims that I am the one at fault for their EPP addiction. Yeah! it's a good thing. It's a fantastic past time and it makes you feel productive while sitting for long car rides, watching TV, waiting at appointments, watching children's activities etc. My sister also claims that doing EPP stops her from thinking about snacking as well and I am sure we could all benefit from this "side effect". It's also a great small scrap buster! I am sure I have made hundreds of EPP pieces and I hope you will too❤️ How to start: 1) Assemble some card stock or the subscription cards out of magazines as shown below (they are the perfect weight for hexi papers): 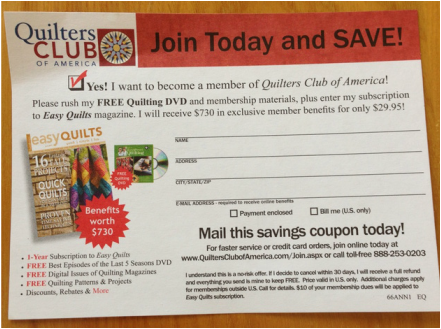
reuse and recycle these subscription cards
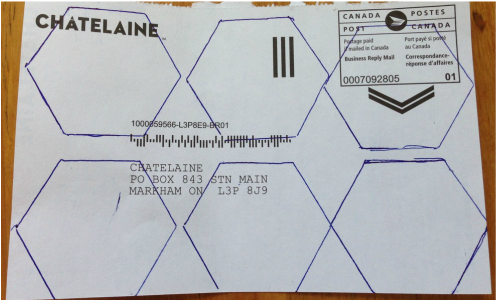
2) Print off hexi shapes from "images" in google of "free english paper piecing hexagon templates" or from free sites on the internet that provide EPP shapes or get them from a book. Trace the shape onto the back of your card stock (I cut out one shape to trace it). To make a "grandmothers flower" you will need 7 hexagons (any sized as long as all 7 are equal sized to make your flower, large or small). Draw them out accurately using a thin line pen or architectural pencil
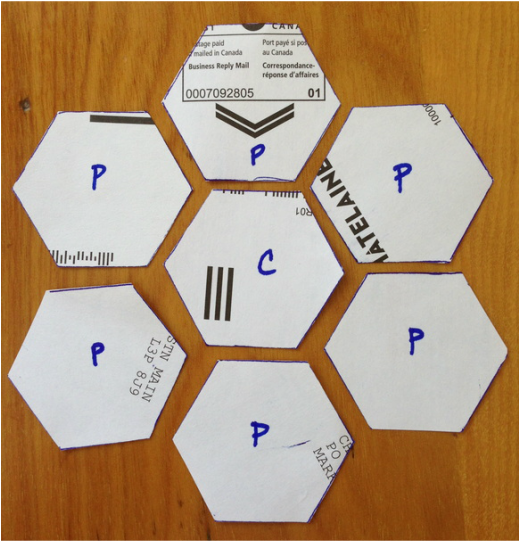
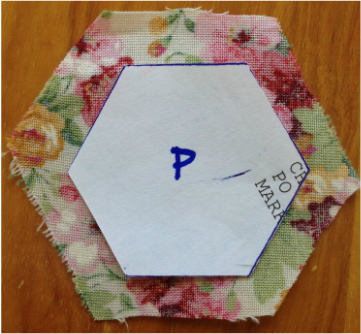
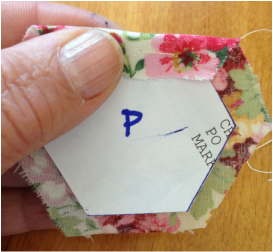
3) Cut out your hexi papers accurately, mark your centre with a "C" and your petal with a "P" especially if the centre and the petals are a different colour.
4) Cut out fabric 1/4" all the way around bigger than each hexi paper shape
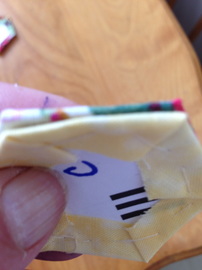
5) Wrong side facing you, use a household (basic sewing) needle & generic, neutral coloured sewing thread and fold the fabric tight against the edge and baste all edges. (be careful to keep 1/4" seam allowance all the way around as you fold and baste). Fold down at corners as you go, use a large basting stitch - these basting stitches will be removed later. Tie a knot and cut off the thread when you are finished. You are basically sculpting the fabric to fit the shape of the hexi fabric
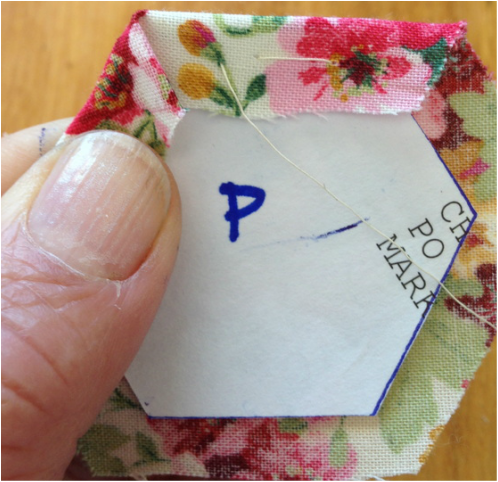
fold the next edge and corner
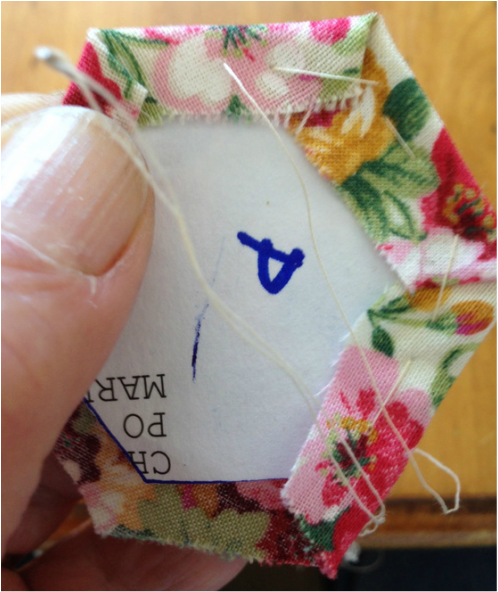
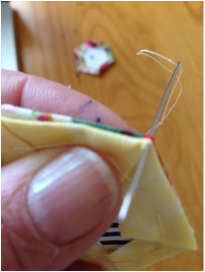
Baste along the edge and over the corner fold, it helps to keep your corners snug and sharp
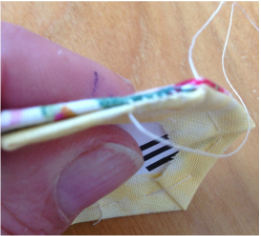
keep basting until it looks like this on the wrong side
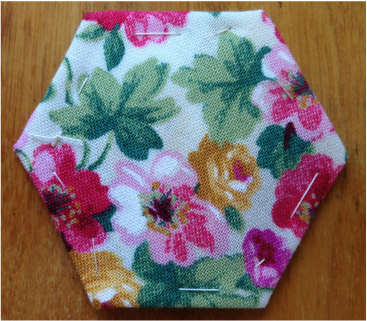
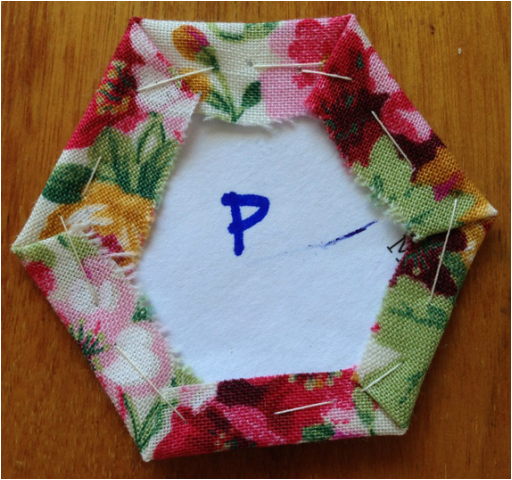
and it looks like this on the right side
6) Make 5 more petals and one centre ( I like to see the centre a different colour)
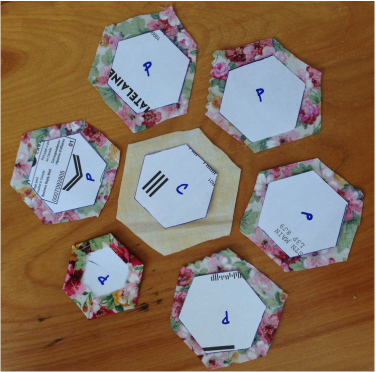
paper and fabric all prepared for basting
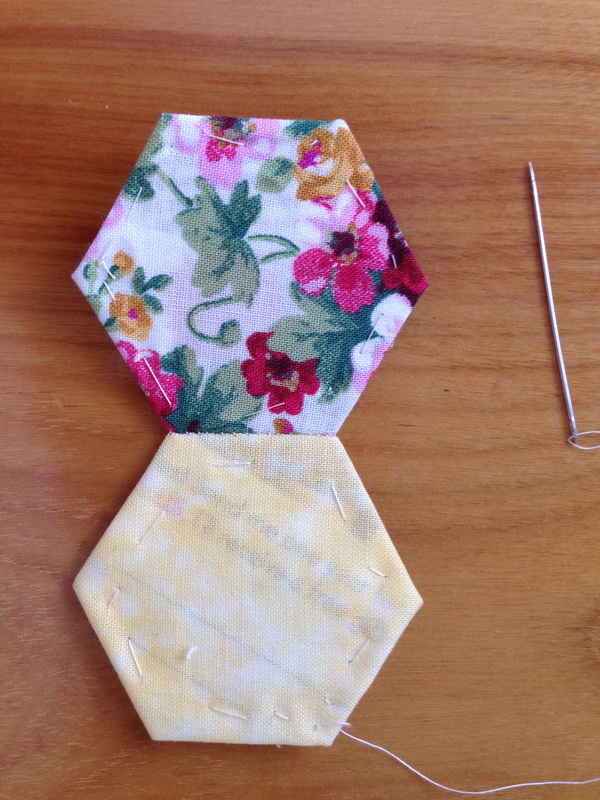
7) You will now be slip stitching your petals to your centre right sides together
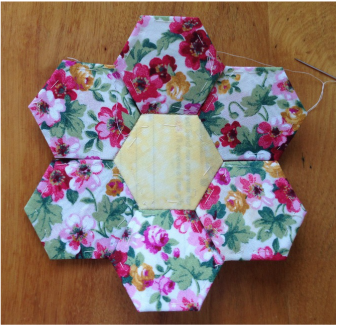
8) slip stitch a petal to each side of the center right sides together until it looks like this:
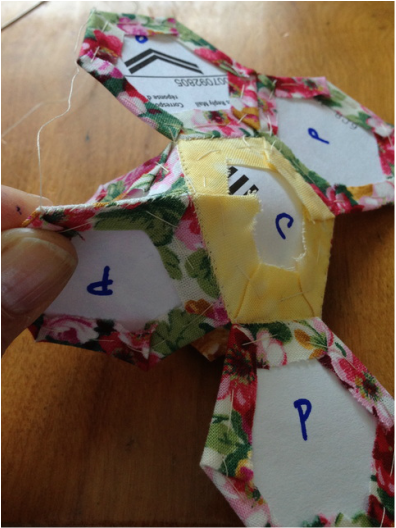
9) Hold sides of each petal right sides with the one next to it and slip stitch
10) Once all petals are slip stitched, it will look like this:
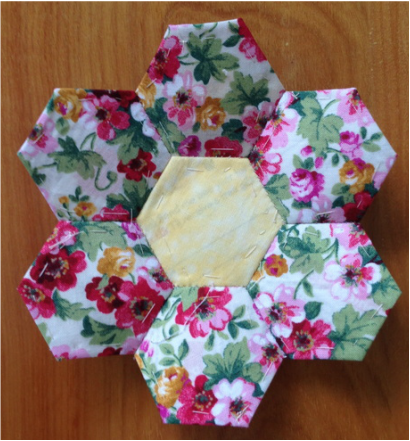
Front Side
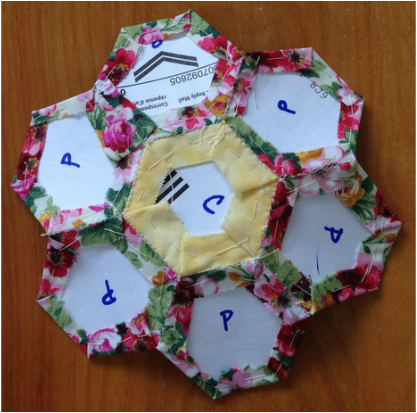
Back side
11) Press your flower and decide if you are joining it with more EPP or appliquéing it onto a background
NOTE: a) If appliquéing it onto a background, press flat with a hot iron, remove basting stitches (NOT THE SLIP STITCHING) and pop out the papers and press again it is now ready to appliqué. b) If piecing with more EPP, do not remove basting stitches until all pieces are joined with another. Never remove slip stitching as this is what holds your piecing together. This tutorial is just to get you thinking about EPP. I recommend a wonderful book with all EPP shapes is "All Points Patchwork" by Dianne Gilleland, this I would personally consider a bible of EPP. It contains many shapes beyond hexagon with print outs available for 11 different geometric shapes, lots of small projects, wonderful modern ideas for EPP, how to piece together EPP shapes and fantastic illustrated instruction. If you want to get serious about EPP, I highly recommend this book. This is what is looks like: 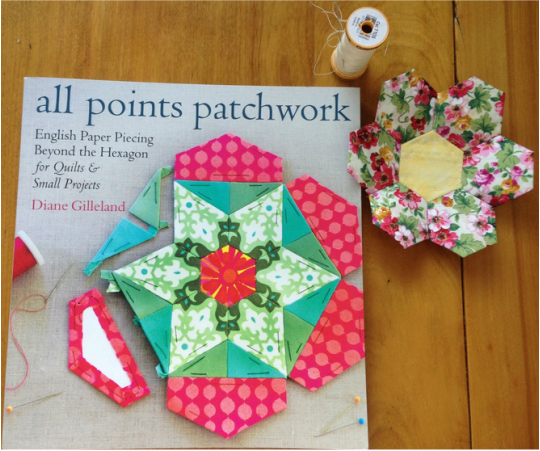
You can get it if you like by clicking here
or click on the amazon link below:
Happy Tuesday Everyone, I hope you enjoyed this tutorial and that you will attempt this technique. Please send us your pictures when you try it!
2 Comments
11/16/2017 11:47:29 pm
Заработок в интернете это просто!
Заработок в интернете это просто!
11/24/2017 08:43:45 am
Ad1Game файловая и игровая партнёрка проверенная годами. profit. Leave a Reply. |
Follow Me:
Welcome!Hi I'm Robin and I am a professional long arm quilter, pattern designer and teacher. I am passionate about all things quilty!  

Categories
All

Sponsors
This blog contains affiliate links. This means that we endorse products.
We do receive rewards for these endorsements and this helps to keep this site alive and well. We support products which we believe are the best quality and to inspire your creativity! |
 RSS Feed
