|
Brought to you by quiltingintheloft.com
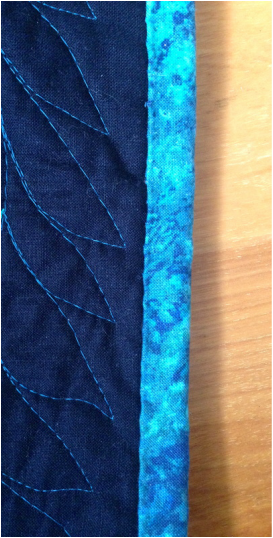 A tutorial for class binding! Yesterday I was teaching my "Simply Colours" workshop in Barrie, Ontario and I had some students in the class who have never done quilt binding before and so I promised to send them a tutorial. I am sharing it below to my blog followers and you can also download it here or go to the "Shop" at the top menue and "free PDF Patterns". Binding Tutorial from www.quiltingintheloft.com When you have finished quilting your project, use a ruler, cutting mat and rotary cutter to trim your edges as square as possible on all sides to it’s finished size. I prefer to use a double folded 2 ½” wide strip of fabric to bind my quilts. Measure your quilt perimeter (add all lengths and widths) and add 8” (for joining slack) to figure out the number of the binding strips needed using an approximate 45” width of fabric. Divide 45 into the perimeter number you have come up with this will give you the number of strips you need. Cut the strips 2 ½” x WOF (Width of fabric) To join your strips:
 2. Trim the seam allowance to ¼”. Press the seam allowances open. Add the remaining strips in the same way to make one long strip. 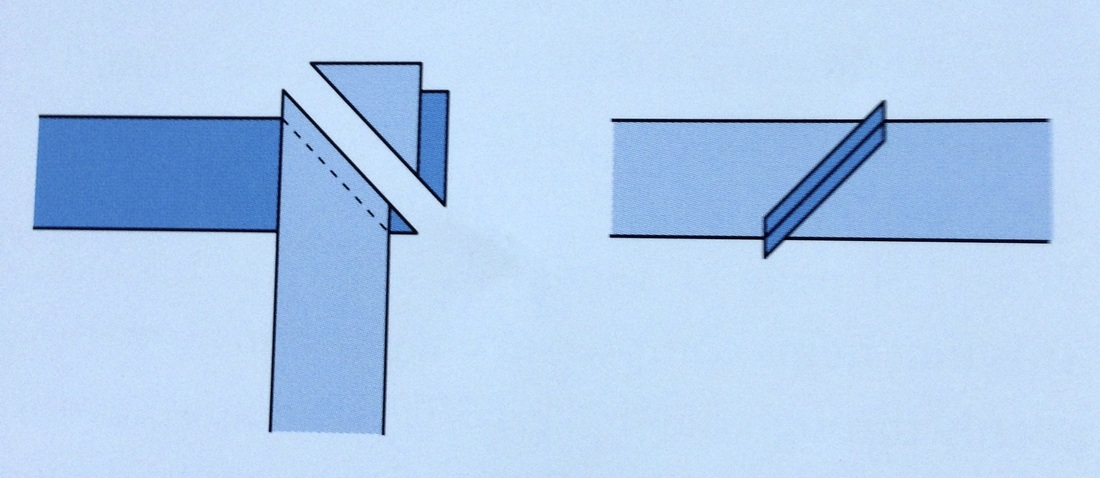 3. Once all of the strips have been joined, cut one end at a 45-degree angle. This will be the beginning of the strip. Fold the 45 degree angle edge under ¼” towards the wrong side. Press the strip in half lengthwise, wrong sides together. 4. Beginning at the 45-degree angle end, place the binding strip along one edge of the front of the quilt top. Start away from a corner; sew 8 “ away from the angled edge, ¼” from the raw edge of the quilt top and binding. When you get near the corner, stop ¼” from the corner and sew off the corner on a 45 degree angle or backstitch up to the ¼” spot. 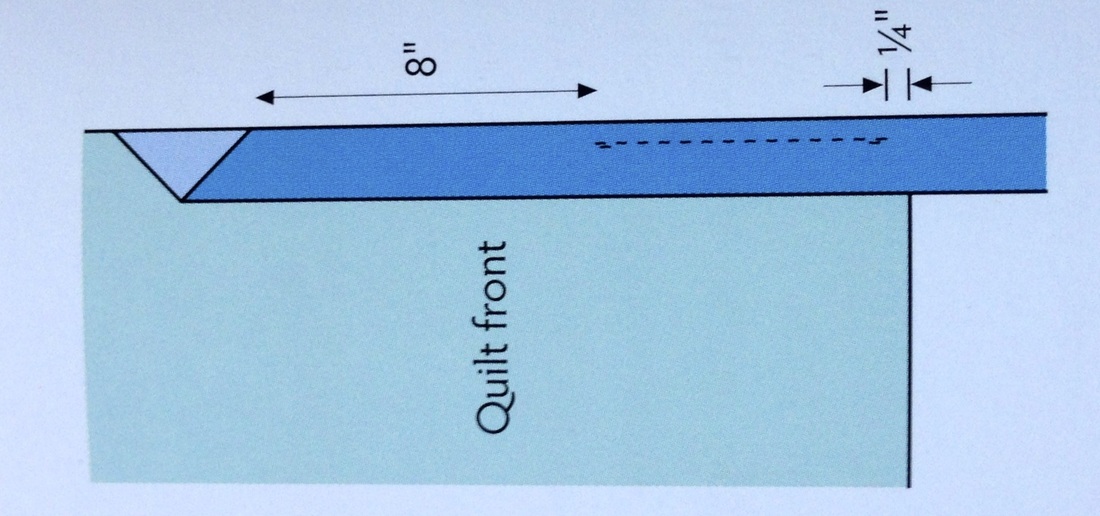 5. Remove the quilt from the sewing machine and trim threads. Turn the quilt so you are ready to sew the binding to the next side. Fold the binding straight up, away from the quilt, to create a 45-degree angle fold. Fold the binding back down onto itself, even with the edge of the quilt top, to create an angled pleat in the corner. Beginning at the edge, stitch the binding to the quilt stopping ¼” from the next corner. Repeat the process on the remaining corners of the quilt. 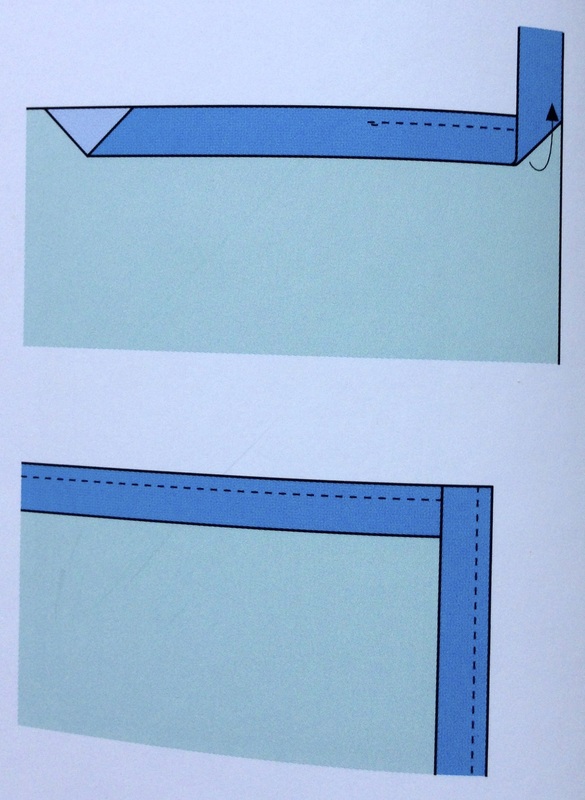 6. Tuck approximately 1-2” of the end of the binding into the folded, 45- degree angle edge so that the binding remains flat (you will need to cut any excess binding). Pinning will be required. Finish stitching the binding to the quilt top. 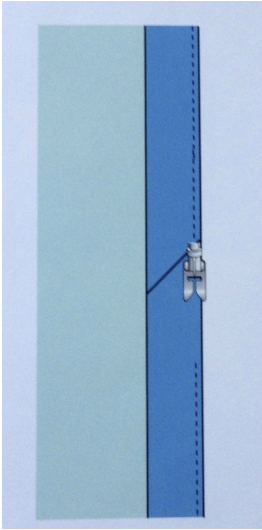 7. Fold the binding to the back of the quilt. Using matching thread and making sure the machine stitching line is covered, hand stitch the folded edge to the backing. Use a backstitch or invisible applique stitch. Fold the binding to form a miter at the corner.  I hope you can understand and use of this tutorial, we are always striving to make quilting easier for our followers!
Happy Monday, Have a Great Week and Stay Warm!
4 Comments
|
Follow Me:
Welcome!Hi I'm Robin and I am a professional long arm quilter, pattern designer and teacher. I am passionate about all things quilty!  

Categories
All

Sponsors
This blog contains affiliate links. This means that we endorse products.
We do receive rewards for these endorsements and this helps to keep this site alive and well. We support products which we believe are the best quality and to inspire your creativity! |
 RSS Feed
