|
Brought to you by quiltingintheloft.com
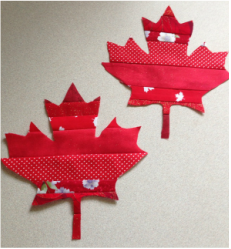 Canada Day is coming up fast and furious on July 1, 2016 and I will be vacationing at that time in a few Eastern Provinces. I cannot think of a better way to celebrate than by travelling and seeing other parts of our beautiful country. I made the placemats below to use at home and to pay homage to this special holiday. Canada Day has always been significant to me, not only from a historic perspective but also because my Wedding Anniversary is June 28th and many moons ago.... my husband and I celebrated Canada Day on our honeymoon. So it holds nostalgia and positive memories for me! I'm sharing with you a tutorial for some Canada Day placemats below 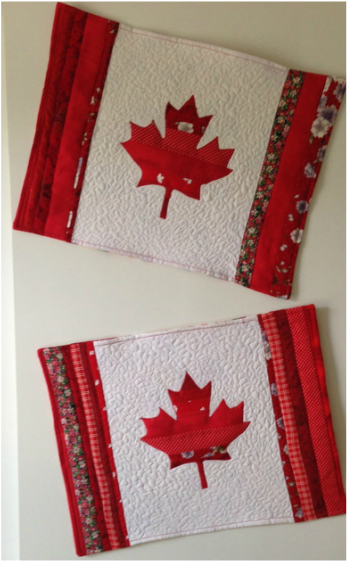 Strata constucted Canada Day Place Mats -Finished Size 14 x18" What you will need for 2 placemats: Strips of fabric to make a "strata" of red" fabric about 26 x 15" of fabric 2 -White fabric 11 x 14" 2-Backing fabric 14 x 18" 2-Batting 14 x 18" White thread to quilt around maple leaf Red thread for piecing and appliqué Fusible Web Parchment Paper Freezer Paper A sharpie permanent marker A "purple thang" or turning tool Pattern for Maple Leaf- Download it for free here How to make the placemats: 1. Sew together various strips of red/burgundy fabric in various widths ( 1", 1 3/4", 2", 1.25" etc ) they should all be at least 15" in length. Sew until you have approximately 26 x 15", use scraps for this with various patterns. 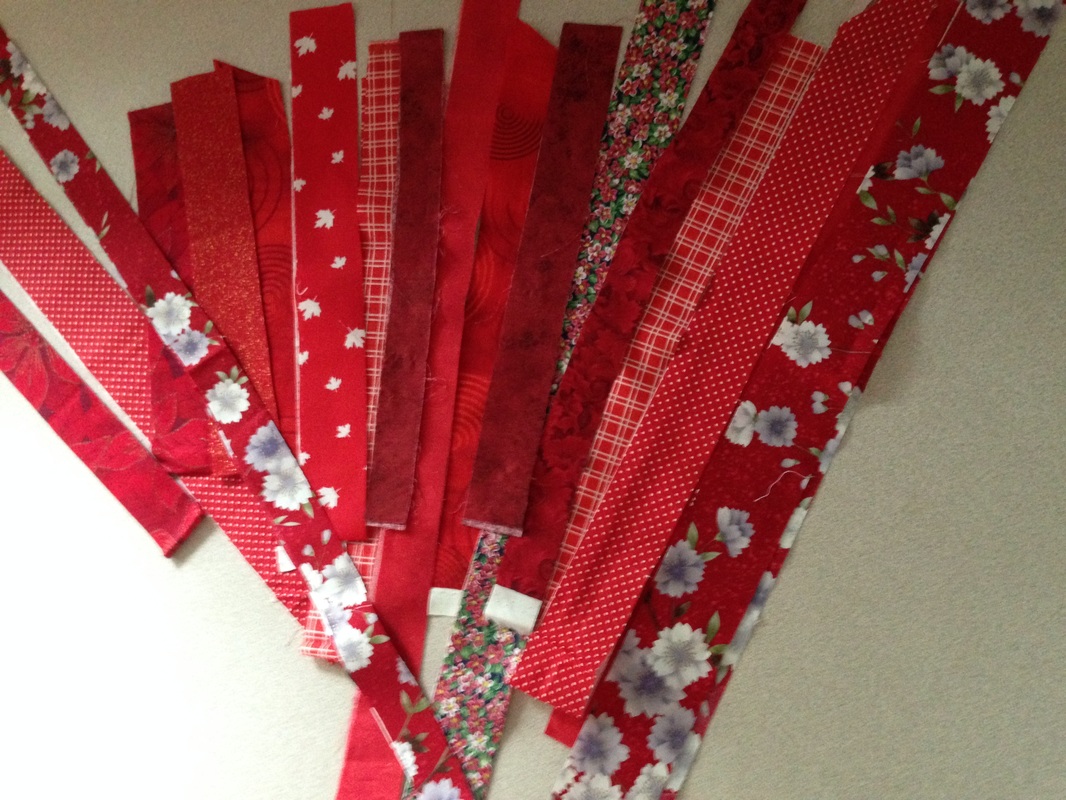 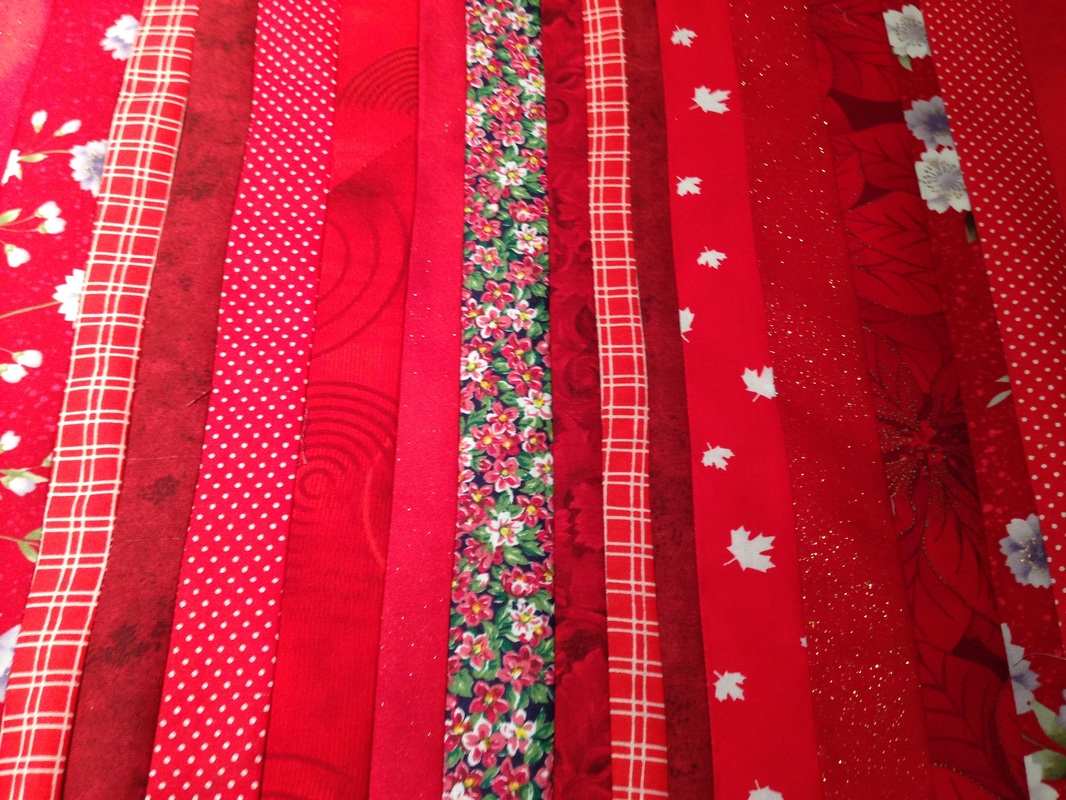 2. Square up your "strata" fabric and cut 4- 4" x 14" pieces and set them aside for the placemat borders. 3. Cut 2 pieces of fabric for the centre from white 11 x 14". 4. Sew 2 of the 4 x 14" strips to the sides of the white centre fabric. You should have enough fabric left to cut your leafs out. 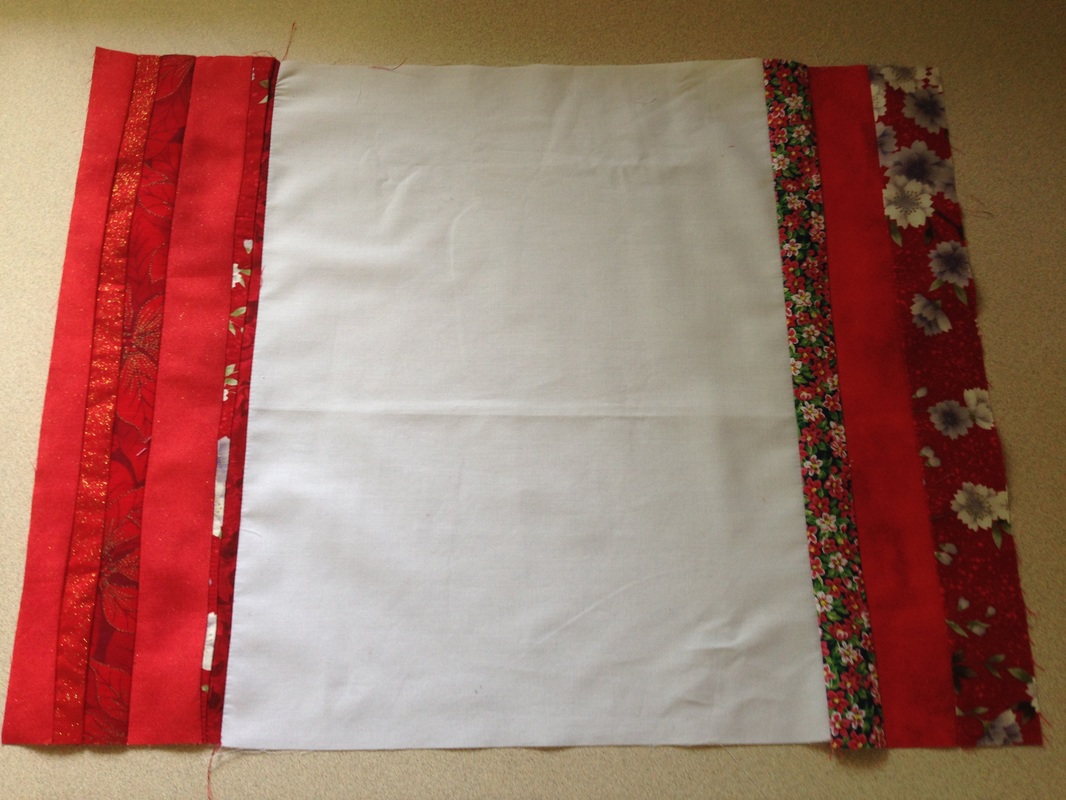 5. Using the pattern provided in the shop and free patterns section of this website, trace it onto the matte side of freezer paper with a sharpie marker. Cut it out roughly. 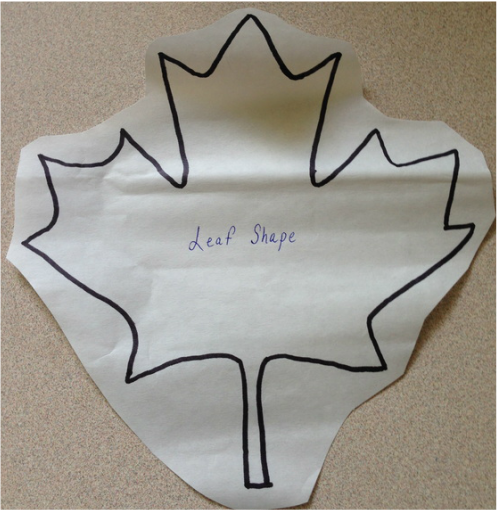 6. Iron the shiny side of the freezer paper to the right side of the strata fabric with the fabric widthwise on the leaf shape. 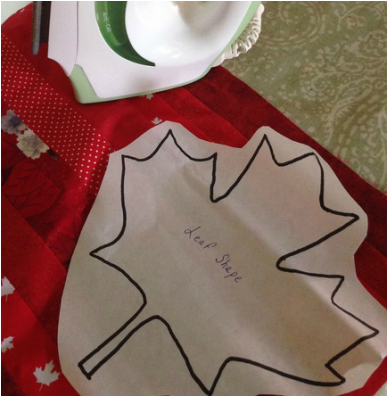 7. Cut your leaf out using the freezer paper as your guide. 8. Lay your leaf shape wrong side down to the glue side of fusible web, place parchment paper over the shape and iron the fusible web to the wrong side of your leaf 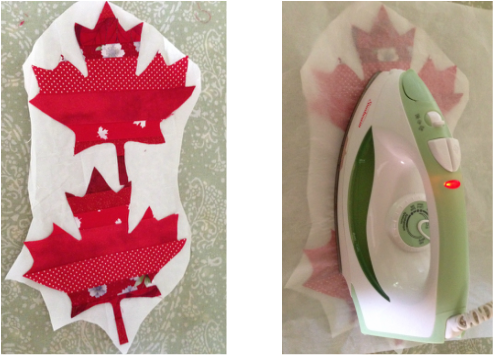 Fusible web on the wrong side of the leaves and parchment paper on the top to protect your iron 9. Find the centre of your placemats by measuring or folding your placemat centres and iron the leaves wrong side down to the right side of your white fabric. 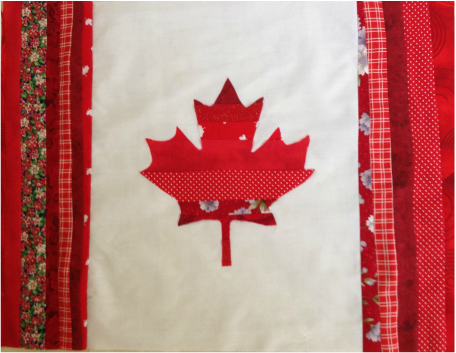 10. Lay your maple leaf placemat and backing fabric right sides together on top of your batting and sew 1/4 around the perimeter leaving a 3" gap for turning. Note: if you wish to bind your placemats, you would simply sandwich them as if they are quilts at this point, quilt and bind. 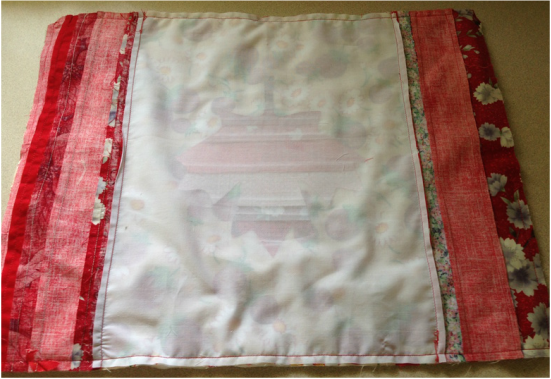 11. Clip your corners and turn the placemat to the right side (use a purple thang or turning tool to push out corners) and top stitch 1/4" around the perimeter. Satin stitch or zig zag your maple leaf through all layers and quilt as desired. 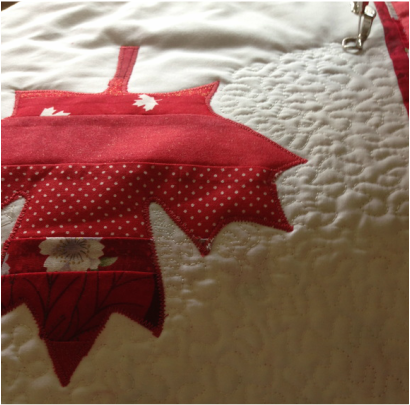 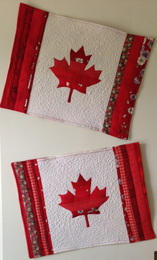 Your placemats are now ready for a Canada Day Celebrations. Enjoy!
Watch upcoming blog posts to see where these placemats travel to......🍁🍁
0 Comments
Leave a Reply. |
Follow Me:
Welcome!Hi I'm Robin and I am a professional long arm quilter, pattern designer and teacher. I am passionate about all things quilty!  

Categories
All

Sponsors
This blog contains affiliate links. This means that we endorse products.
We do receive rewards for these endorsements and this helps to keep this site alive and well. We support products which we believe are the best quality and to inspire your creativity! |
 RSS Feed
