|
Brought to you by quiltingintheloft.com
Facing a quilt means taking fabric from the front (or back) and turning it to the opposite side so that you don't have to bind it, but it looks finished. It is ideal for small or art quilt projects. Front to back facing gives you the neatest finished look, however back to front facing may also work for a quirkier/artsy quilt. Last week Tuesday, you may have seen my blog post about "Radiating Blossoms" using a fabric centre for inspiration and practising free motion quilting out onto the border area. This little quilt ended up being faced as I am going to use it as an art quilt to hang on my bathroom wall. How to Face a Quilt: 1) When you finish a quilt add 1.5" width all the way around on the length wise and width wise borders 2) Press the outside edge under 1/4" towards the wrong side of your quilt all the way around the perimeter. 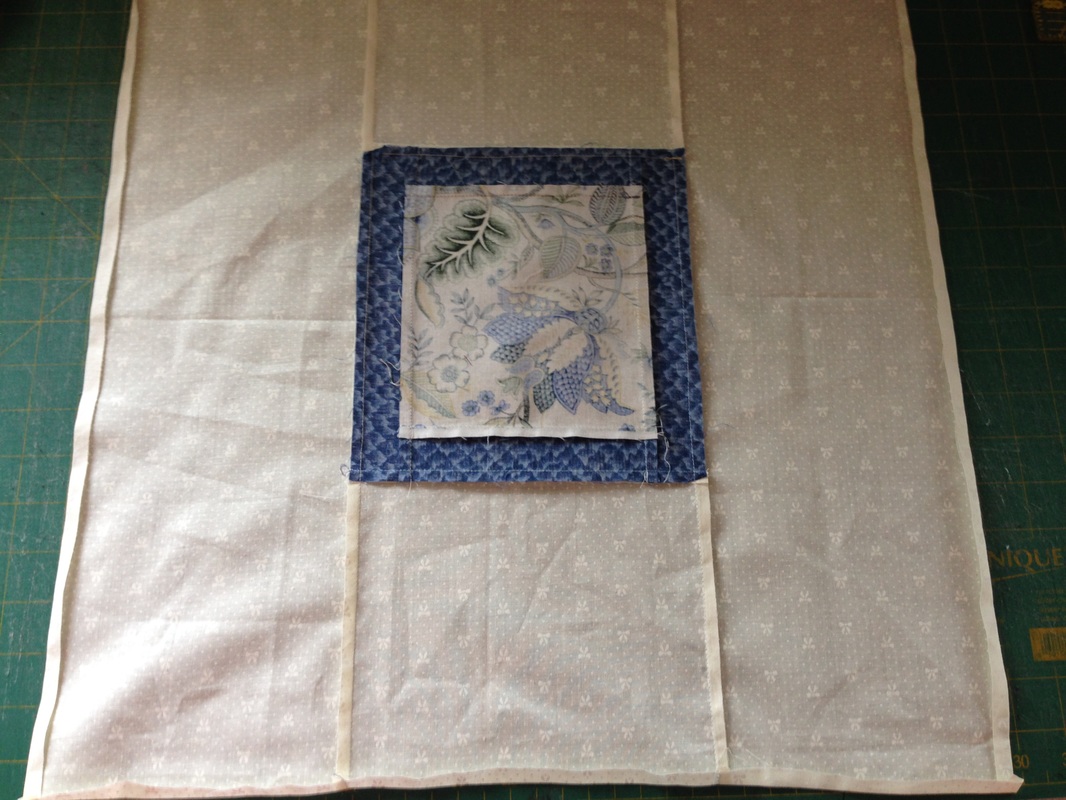 Edges are pressed under 1/4" 3) Draw a line with your Frixion pen on both horizontals and verticals 1.25" in from the edge all the way around. 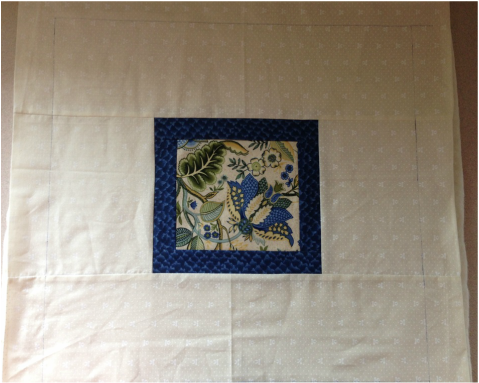 The 1.25" line drawn around the quilt top 4) Allow your batting to be a little bit bigger than your finished quilt top to allow for sprawl of the batting as you quilt and the same for the backing (you can trim this after the quilting). Sandwich and baste your quilt. 5) Quilt your quilt but do not go beyond the frixion markings 6) Sew on the Frixion marking 7) Trim both your backing and batting fabric very close to the line you just stitched but do not cut into the top fabric of your quilt 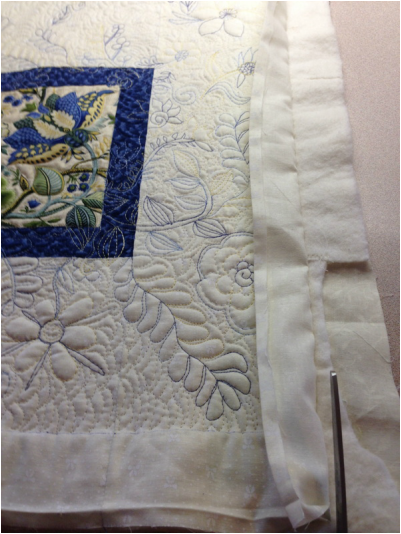 Cutting away the batting and backing close to the Frixion/stitch line 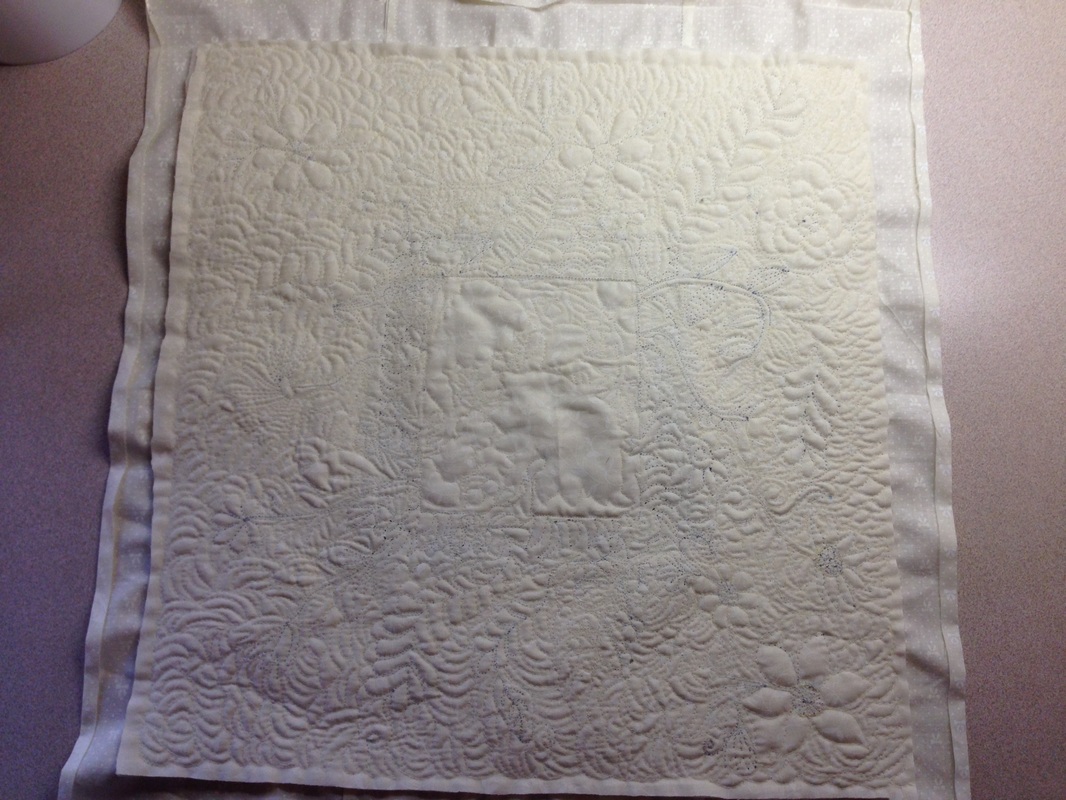 8. Once all edges are trimmed, turn your quilt over, press your facing and pin the edges towards the back.  9. Slip stitch your facing to the back of your quilt, overlap your corners neatly or fold and mitre them, remove your pins, press from the right side and you are done! 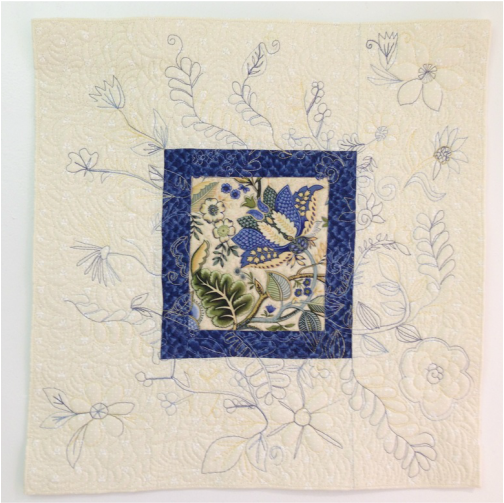 Have a great Tuesday everyone, I hope that this tutorial is helpful!🐣
0 Comments
Leave a Reply. |
Follow Me:
Welcome!Hi I'm Robin and I am a professional long arm quilter, pattern designer and teacher. I am passionate about all things quilty!  

Categories
All

Sponsors
This blog contains affiliate links. This means that we endorse products.
We do receive rewards for these endorsements and this helps to keep this site alive and well. We support products which we believe are the best quality and to inspire your creativity! |
 RSS Feed
