|
Brought to you by quiltingintheloft.com
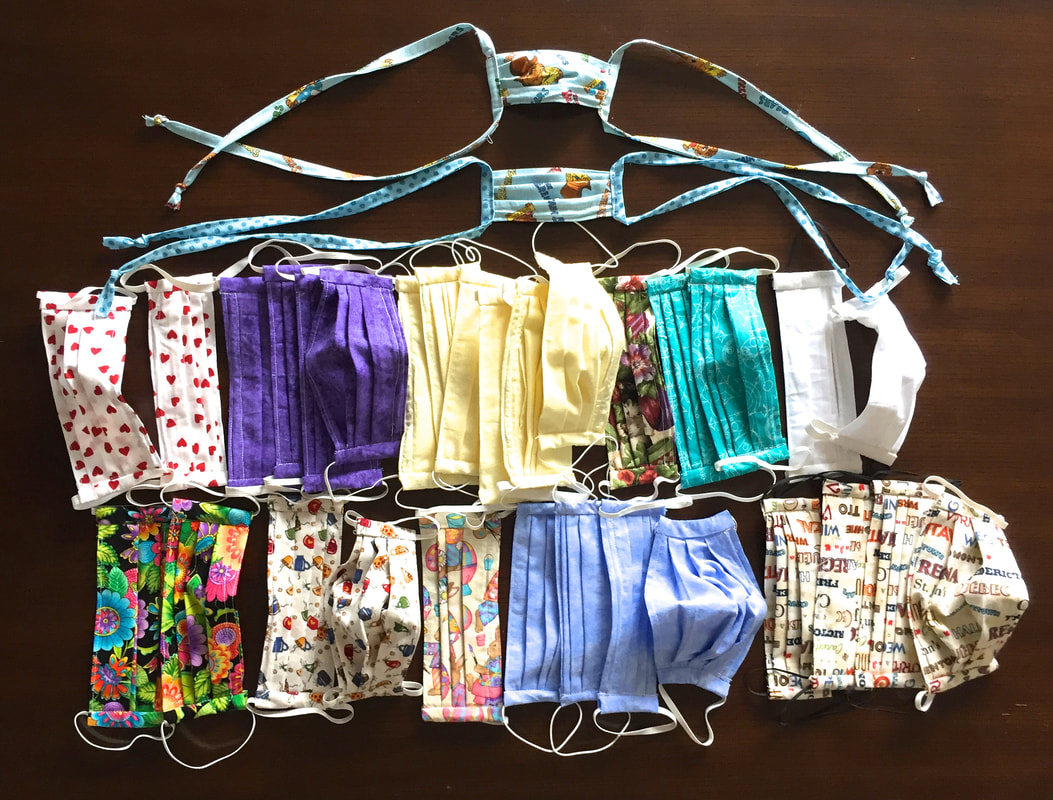 Face Masks to Assist in Covid 19 Pandemic Hello, never in a million years did I ever think I would be explaining a pattern for a face mask to help combat a virus for a world wide pandemic. These are trying times we live in, but by keeping busy and social isolating we can do our part. I am posting this tutorial because I think we are all trying our best to combat this terrible virus affecting everyone in society and we have a genuine wish to help. To date I have made 33 of these masks. This mask does not replace the N95 mask. There are conflicting reports out there about mask wearing. We were told as a community not to buy masks to prevent a shortage for medical professionals. What we do know is there are medical professionals in our community that are now asking for people to send them hand sewn masks. Please see drop off and contact info for masks at the bottom of this post As it relates to mask wearing as a whole community, I found this article: "It’s really a perfectly good public health intervention that’s not used,” argues KK Cheng, a public health expert at the University of Birmingham. “It’s not to protect yourself. It’s to protect people against the droplets coming out of your respiratory tract.” About this mask :
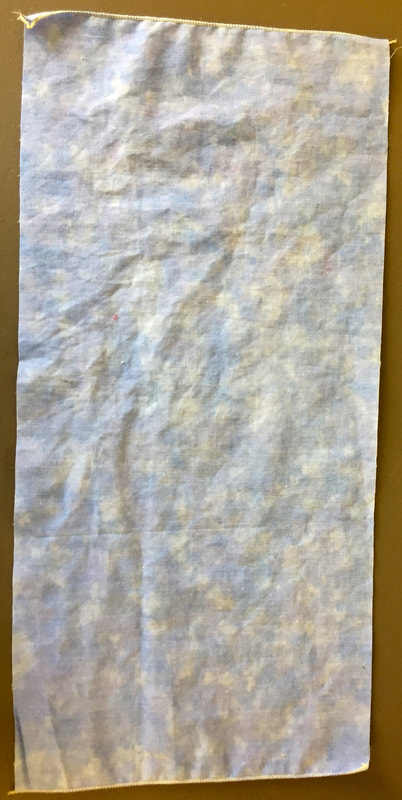 Step 1- Serge or zig zag the short ends of the mask fabric. 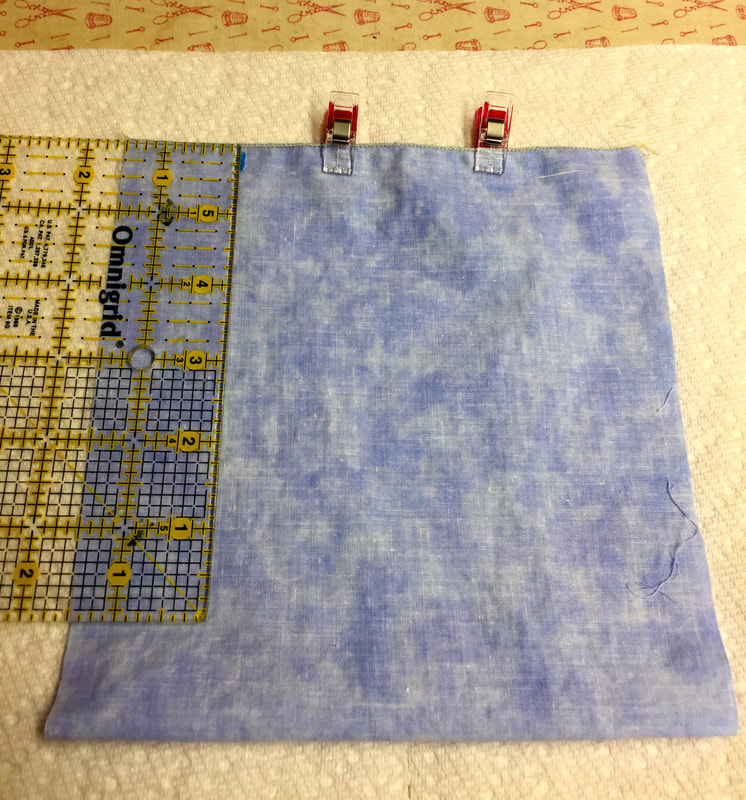 Step 2-Fold short ends right sides together and fold mask fabric in half, clip or pin. 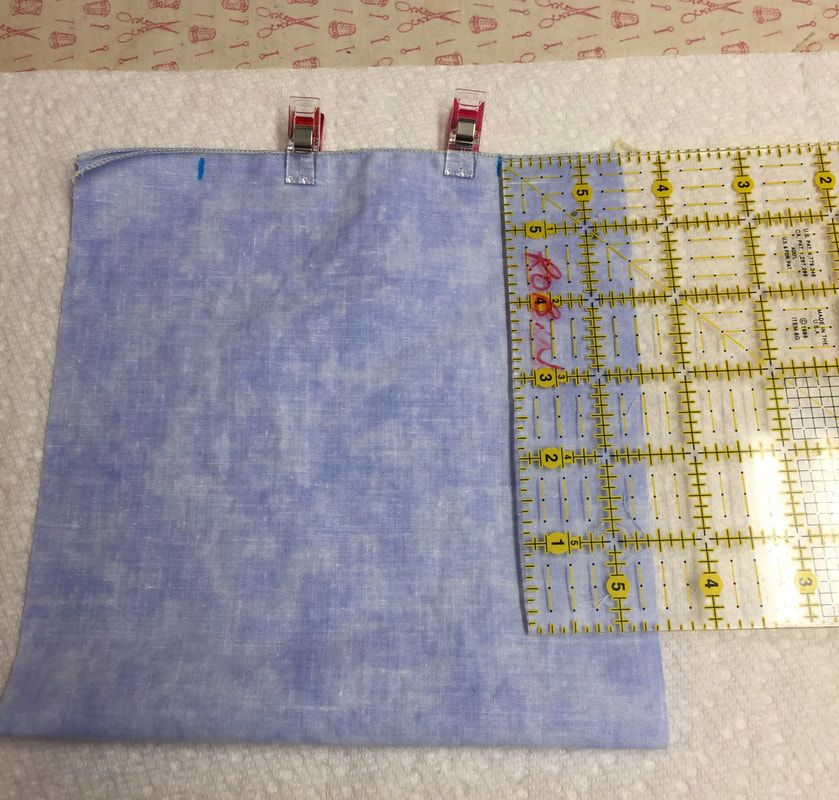 Step 3-Measure 1 ½” in from each raw edge, mark as shown. 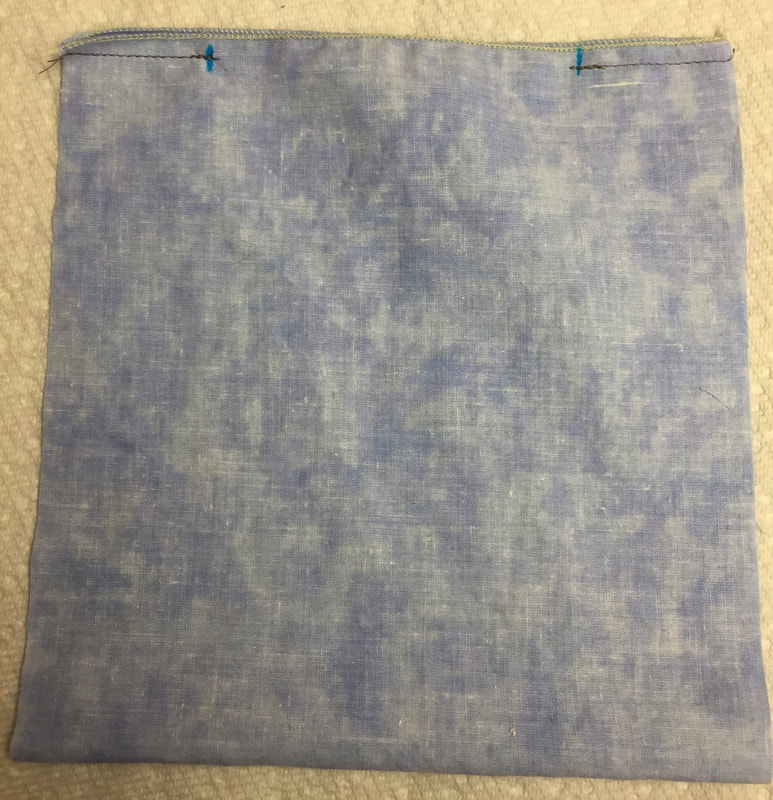 Step 4- Stitch from raw edge to marking on both sides of short ends. 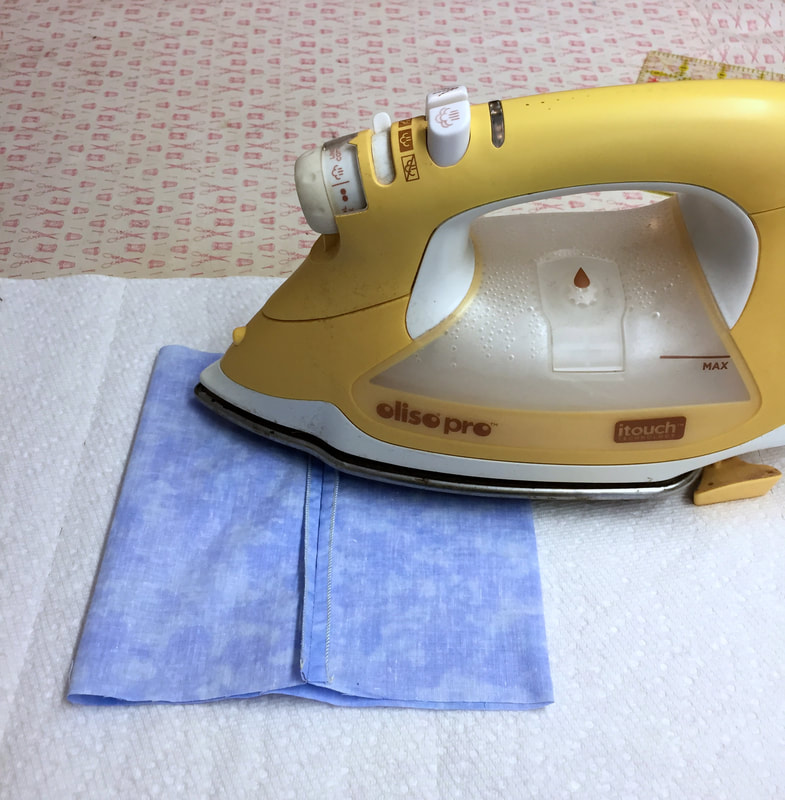 Step 5- Fold fabric with seam in center and press seam open. Step 6- Turn your fabric to the right side. Step 7-Top stitch close 1/8” to fold and seam line through one layer of fabric- see in photo below. 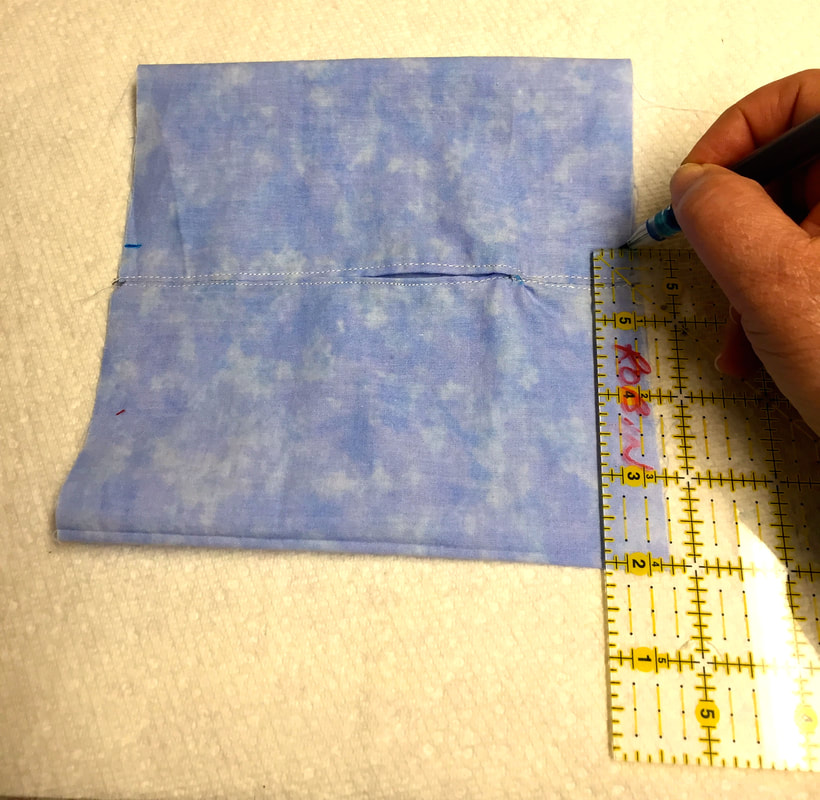 Step 8- Measure ½” from the seam line on both sides , mark on the raw edge. 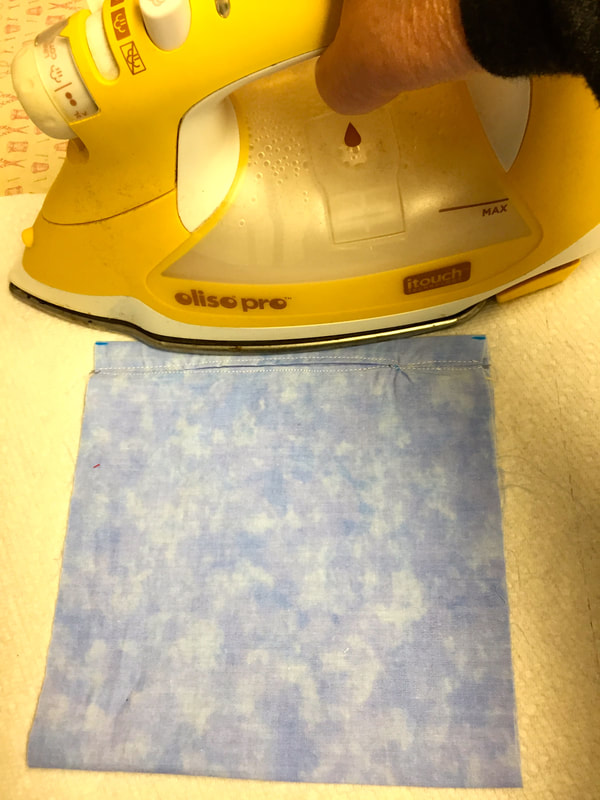 Step 9 & 10 Fold towards the ½” marks and press as shown. Press the bottom of mask as well. 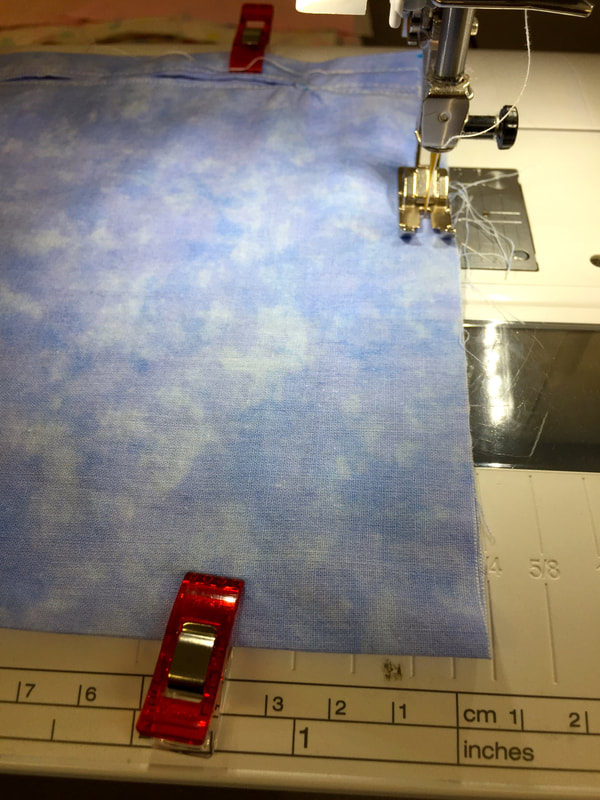 Step 11- Pin or clip top and bottom and stitch all the way around, using ¼” seam allowance. 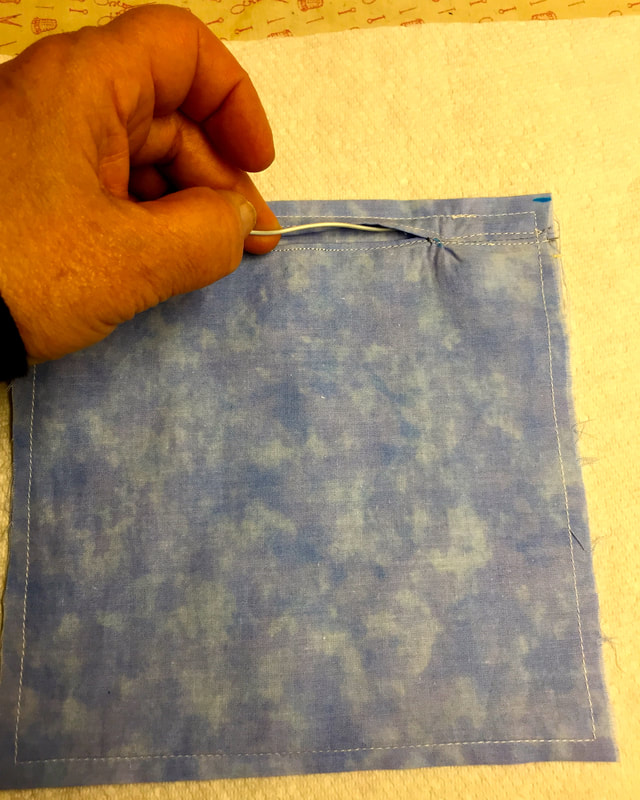 Step 12-.Add bendable wire to top opening and pin in place. 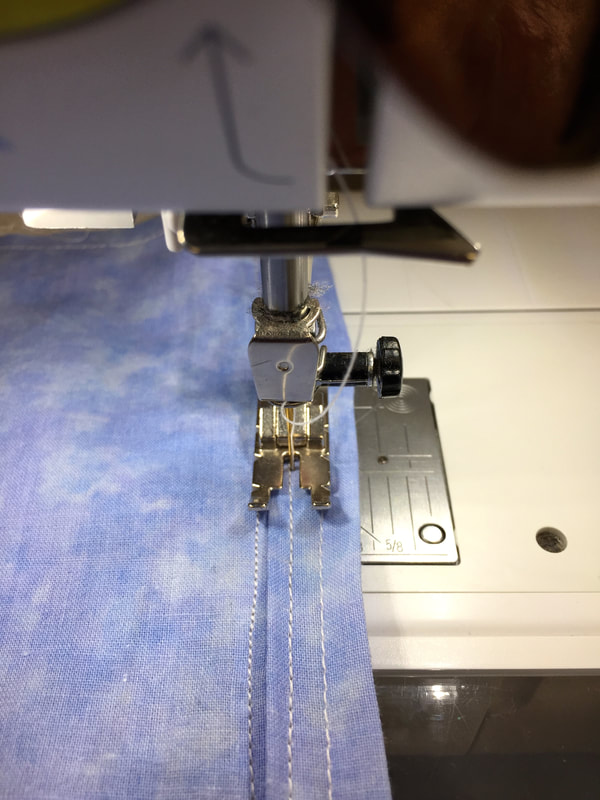 Step 13- Stitch ¼” from the outer stitch line holding the wire straight and in place against outer top stitched line, leave the opening on the bottom as shown in below photo. 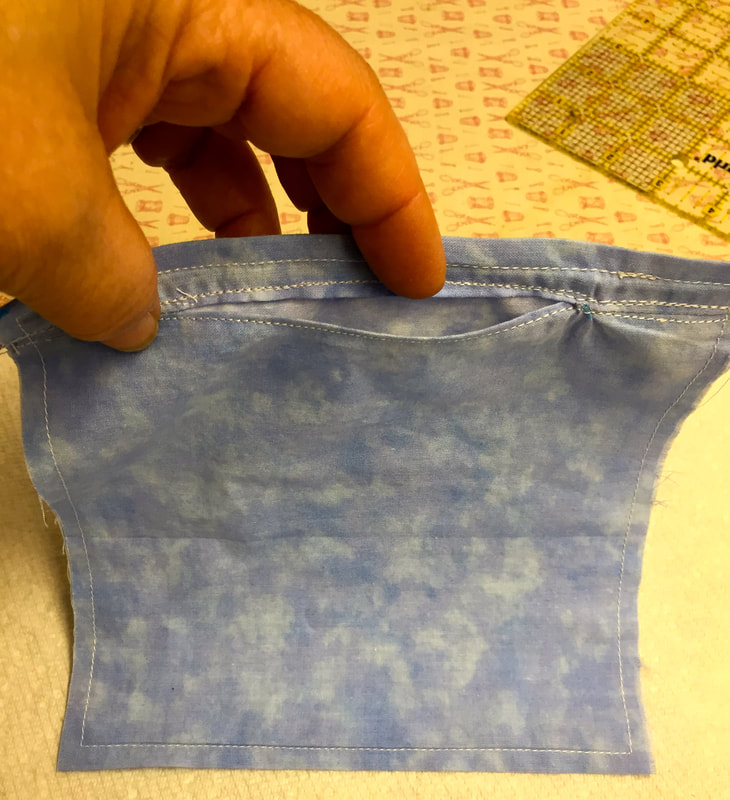 13- Wire sewn in and pocket now showing. 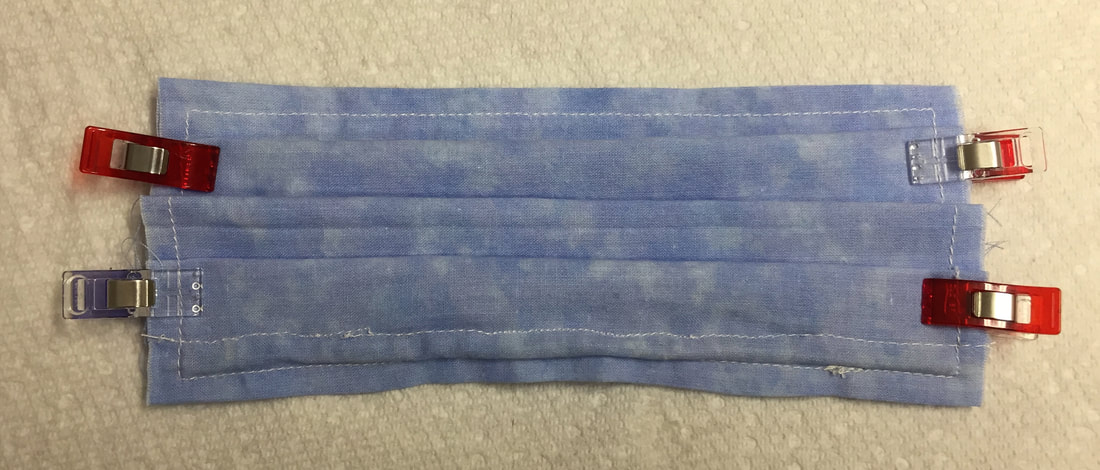 Step 14-Turn your mask so the right side is facing up and make (3 or more) pleats about one 1/2'” apart as shown. 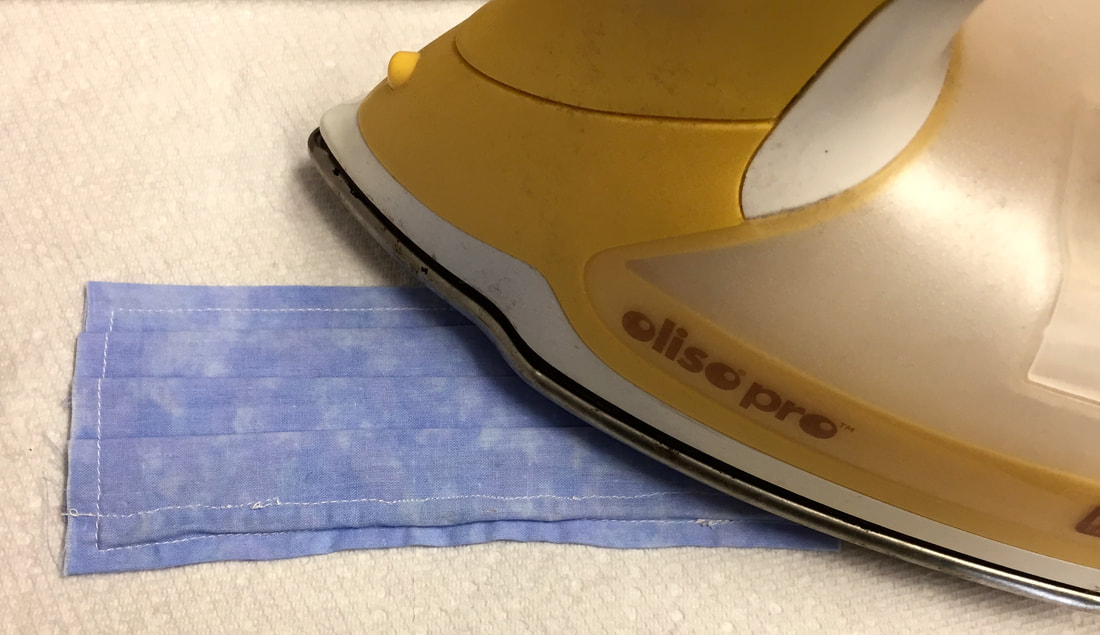 Step 15- Press the front and the back of your mask well to press pleats in place 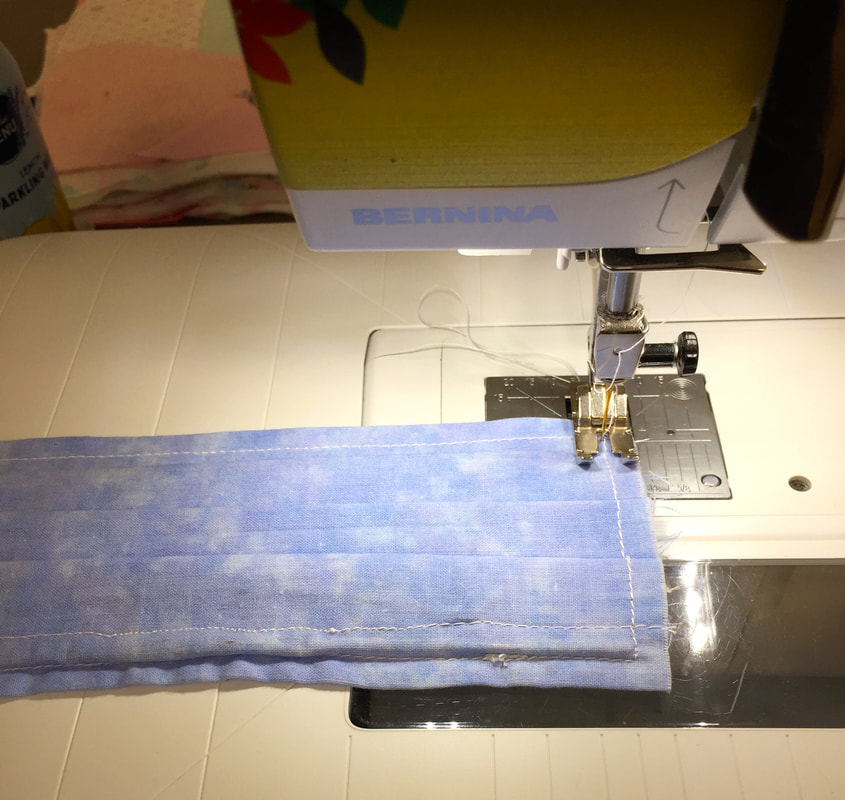 Step 16-Sew down the short sides with a 1/8” seam allowance. 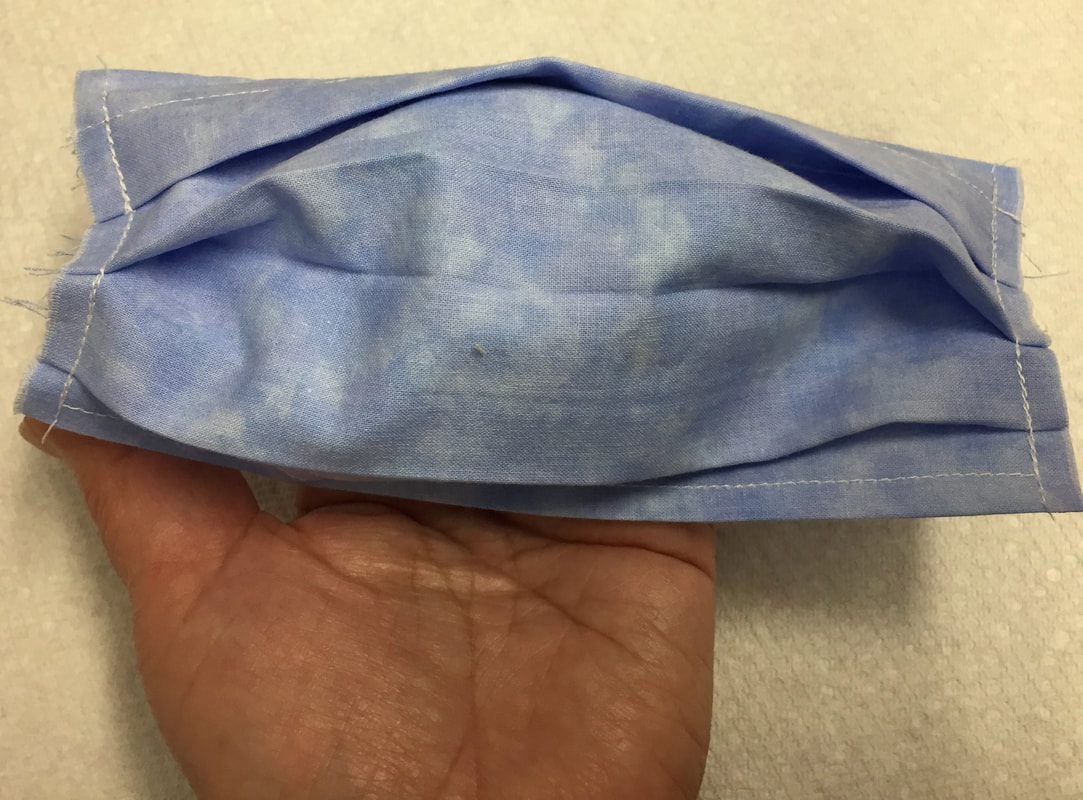 16- Mask should look like this now. 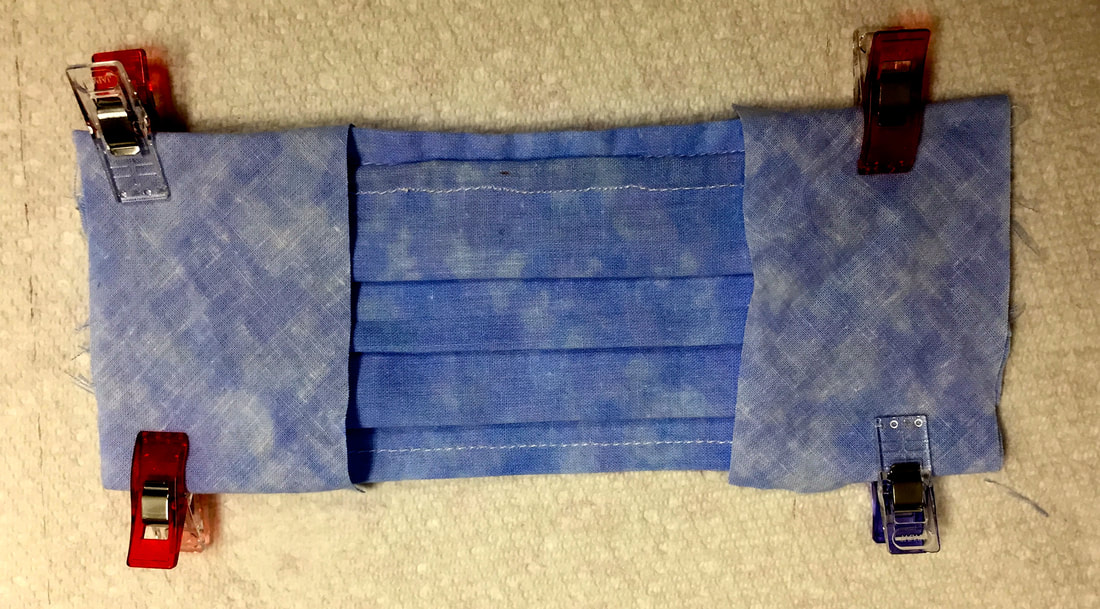 Step 17- Apply trim piece to sides, right side of trim piece to right side of mask as shown, rolling raw edge to the back (where pocket is) and sew ¼” seam allowance along the edge. 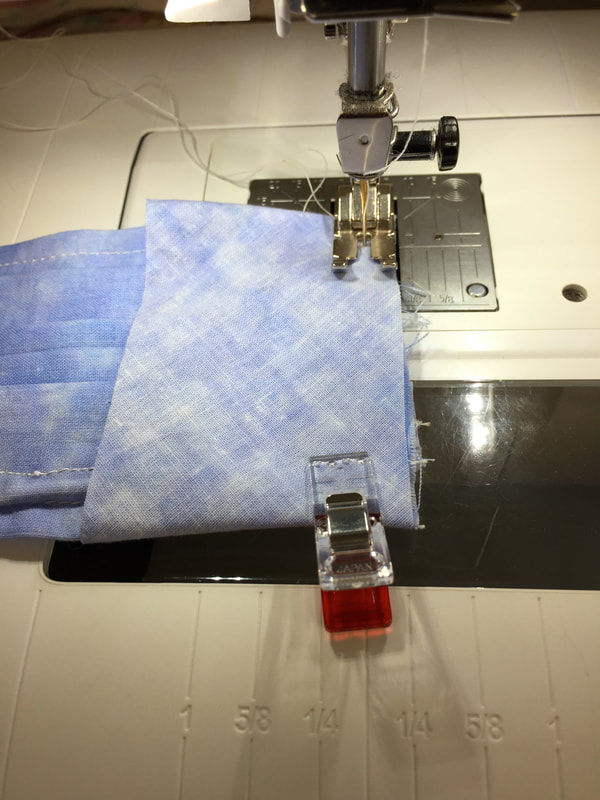 17- Sewing along the edge (with a 1/4" seam ) of the trim piece through all layers. 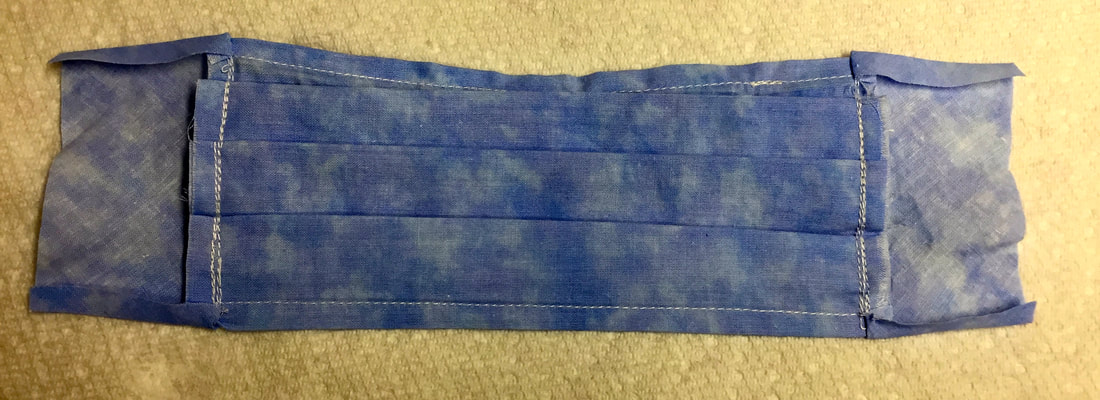 Step 18- Turn mask to the backside and press edges inwards, fold raw edge of trim in ¼” and press as shown.  Step 19 -Fold raw edge in 1/4“ and then fold pressed trim edge towards the back just beyond seam line and sew a line in the ditch on the right side as shown. 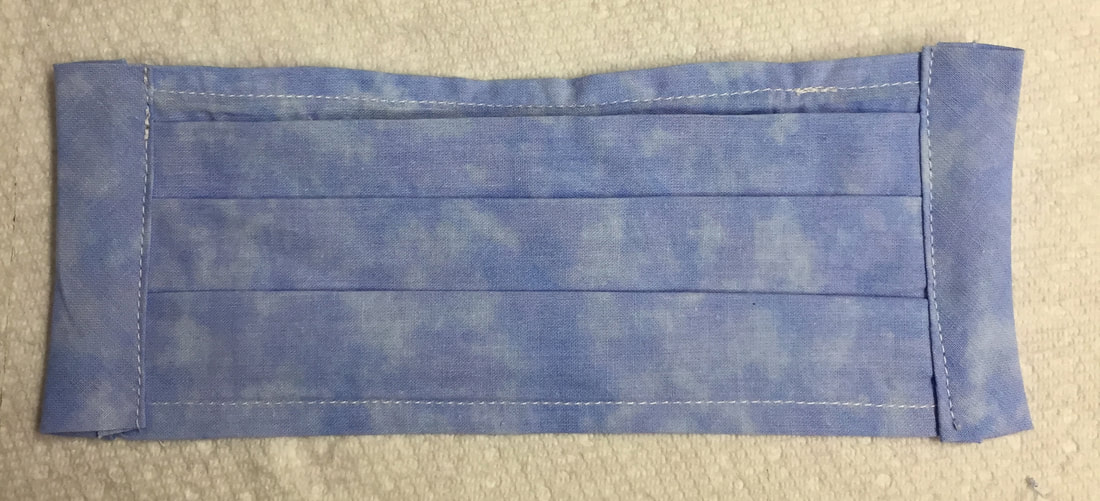 19. Sew close to the folded edge of the trim on one side and stitch in the ditch on the right side of the mask. 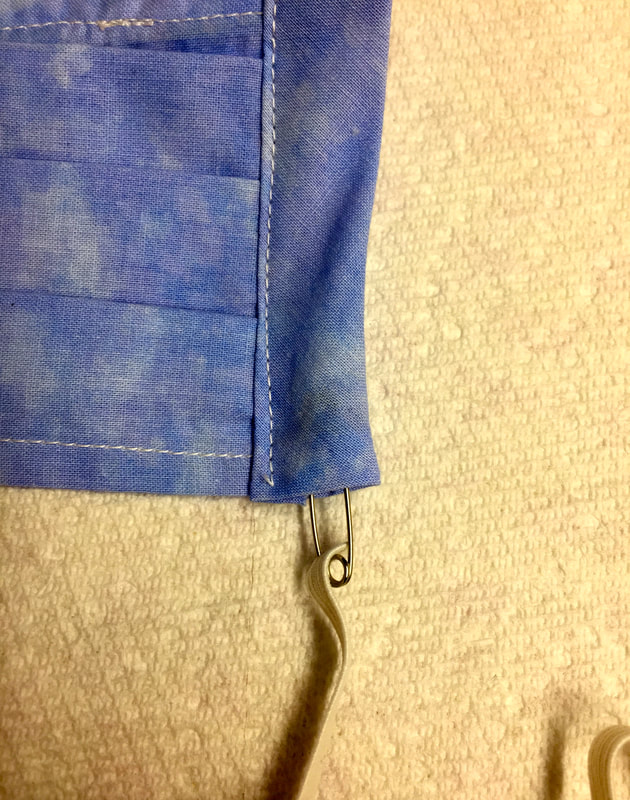 Step 20- Feed elastic through side trim as shown with a safety pin, tie into a tight knot, slide the knot back inside the trim opening. Do the same for the other side. 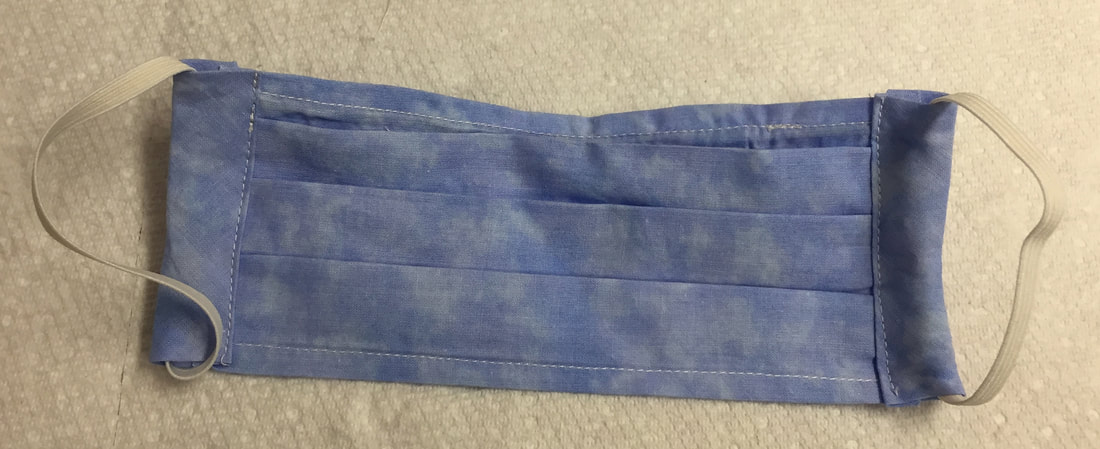 It's Done! It's Done! Please Note: if you wish to add straps you would extend the trim piece to 36 " centre it on the sides and top stitch without elastic. See photo below: 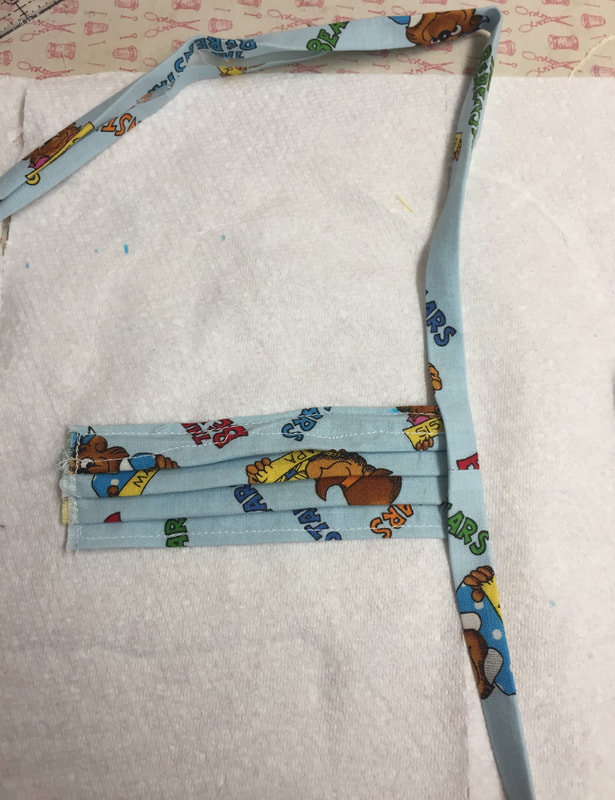 Adding straps instead of elastic. 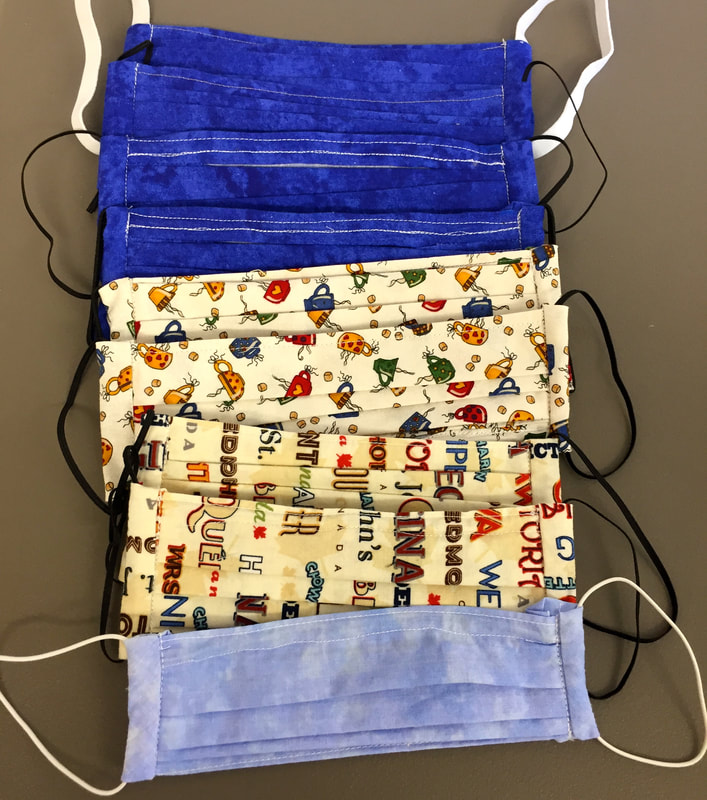 Made 9 more to be sent out- I'm up to 42 now! I am sure I'll make more. 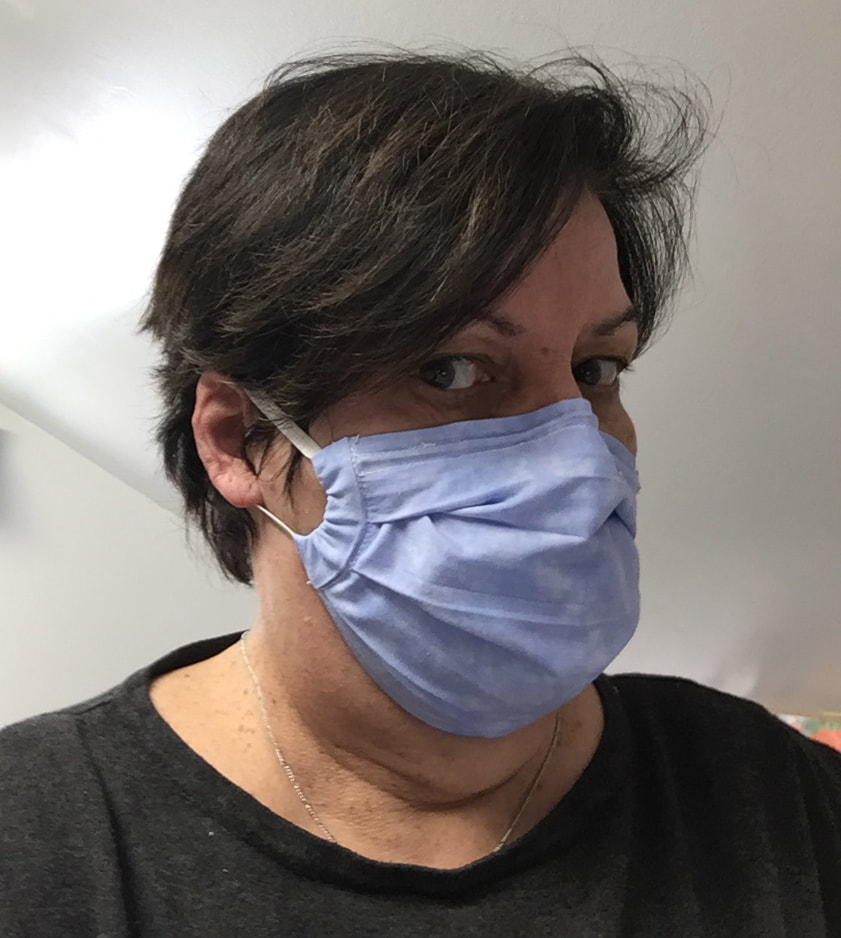 Not exactly a fashion statement and not at all pretty, but neither is this virus! There is a need out there. Please contact local health authorities in your area to find out where masks are needed. For KW area: Completed masks can be delivered to either of these locations: a) Community Living Cambridge, 160 Hespeler Road, Cambridge. The office is open from 8:30-4:30, however the doors are locked. Ring the doorbell and someone will answer the door. OR b) Cindy’s daughter’s home (where Cindy is currently living). They can be dropped off in her mailbox. The address is #1 – 230 Blair Road, Cambridge. Cindy is also willing to pick them up from your home. Please contact her at 519-498-4292 or email her at [email protected]. Also: Completed masks can be delivered to any of the following locations: Elmira- Karen Marche 9 Weigel Ave., Elmira Call 519-669-1039 before dropping off please Waterloo-Kristy Heimpel 487 Northlake Dr., Waterloo - Leave on the front porch Kitchener-Gwen Narimalla 258 Manchester Rd, Kitchener If you need child sized measurements please download the written tutorial here.
Many thanks to anyone is is willing and able to help! Hope you are making the absolute best of your social isolation, take care and stay well!
2 Comments
7/23/2020 12:46:52 am
Hello! I’ve been following your site for some time now and finally got the courage to go ahead and give you a shout out from Atascocita Texas! Just wanted to say keep up the good job!| Leave a Reply. |
Follow Me:
Welcome!Hi I'm Robin and I am a professional long arm quilter, pattern designer and teacher. I am passionate about all things quilty!  

Categories
All

Sponsors
This blog contains affiliate links. This means that we endorse products.
We do receive rewards for these endorsements and this helps to keep this site alive and well. We support products which we believe are the best quality and to inspire your creativity! |
 RSS Feed
