|
Brought to you by quiltingintheloft.com
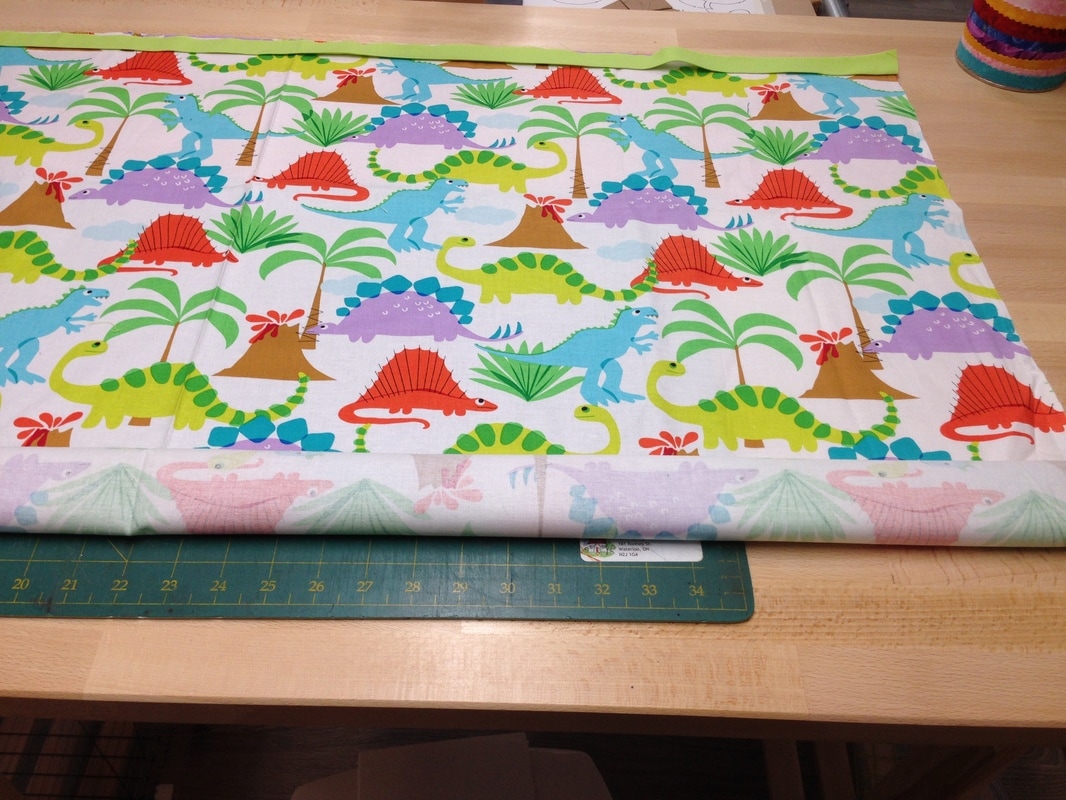
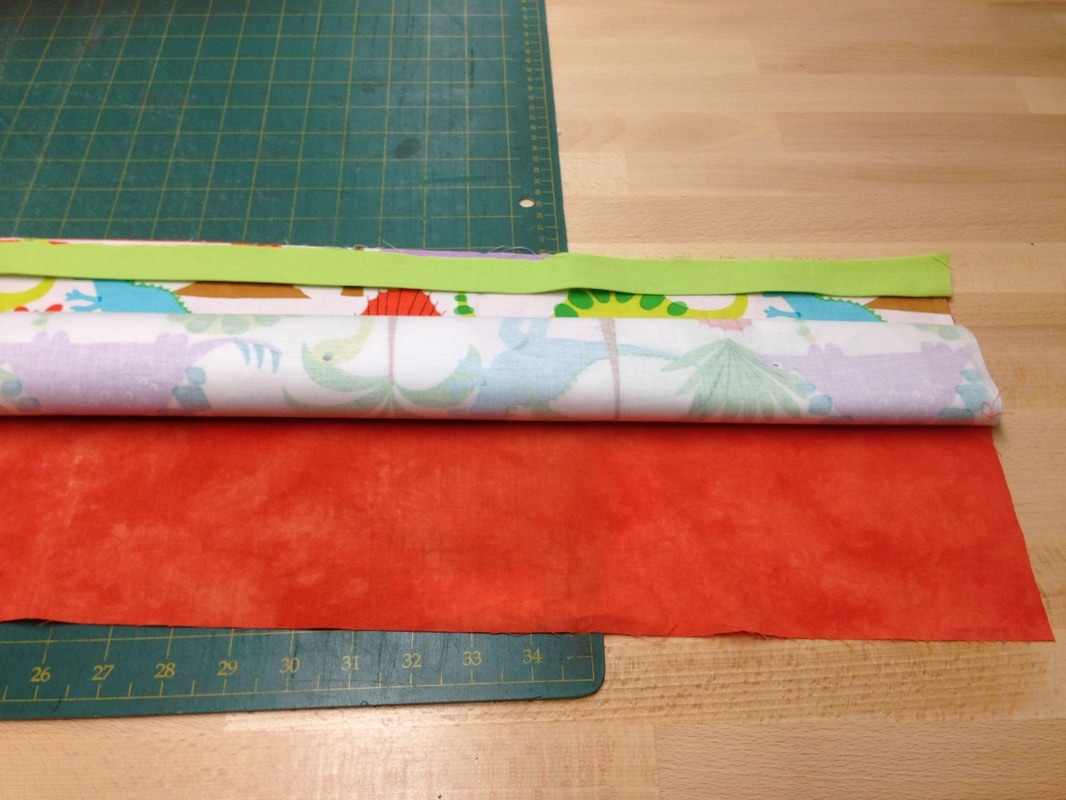
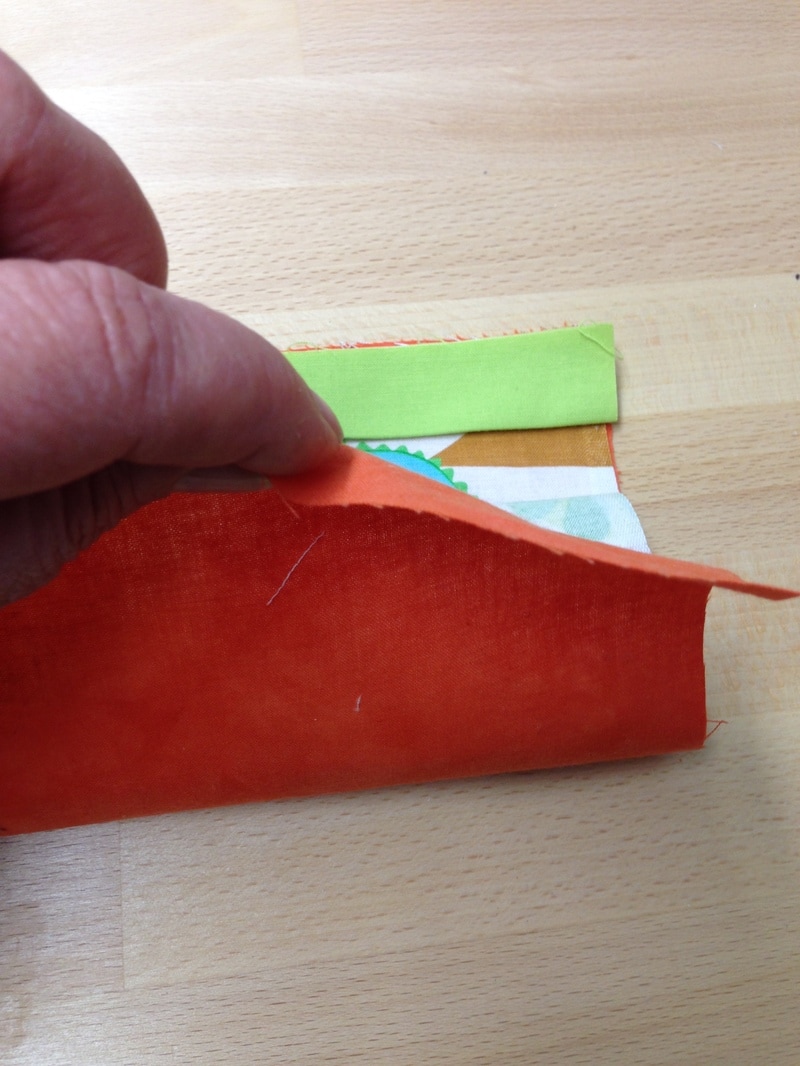
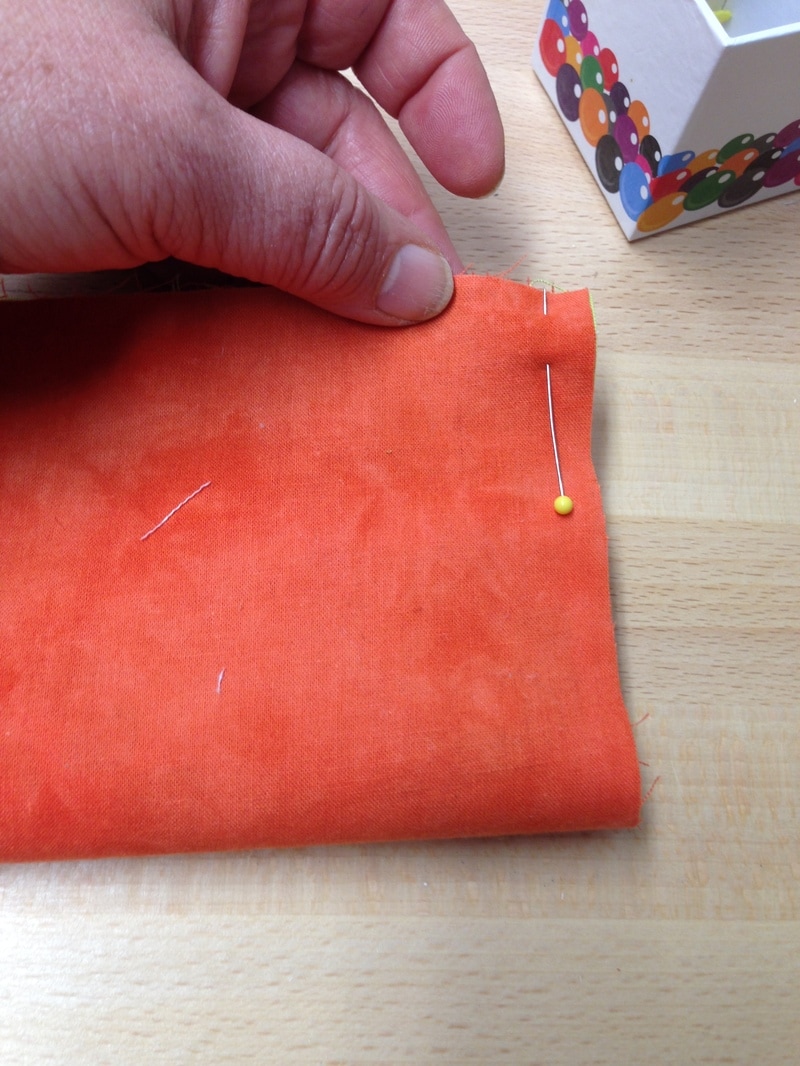
I hope you are enjoying your day! I have been looking at my stash of kids and baby fabric lately and realize I need to use up some of this fabric just sitting around waiting for it to be used. So I am on to another "stash busting" project! What better way than pillow cases? A pillow case uses up about 1 yard (close to 1 meter) of fabric and it's an easy way to have a gift ready for family. It does not have to be made out of "kids' only fabric. It can be made for people of all ages and you can personalize it with a name appliqued or embroidered on it if you like. Todays tutorial is simply how to make the basic pillow case. This "tube" method is so fast and easy, I will never make a pillow case any other way! This is the fabric I chose to get started with: 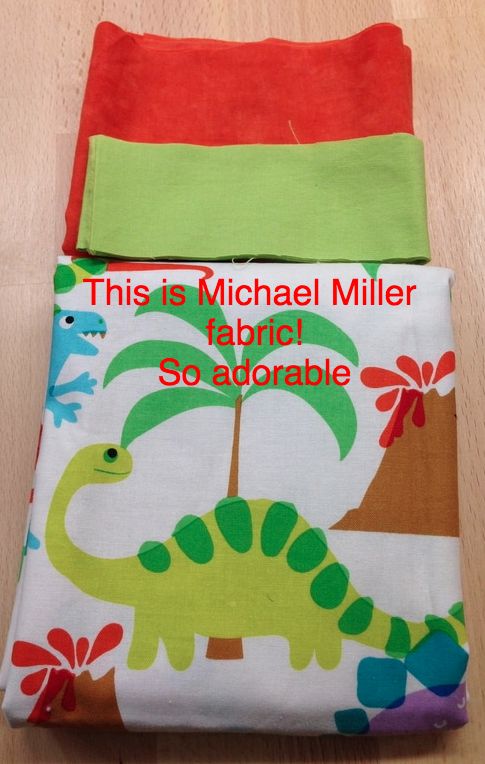 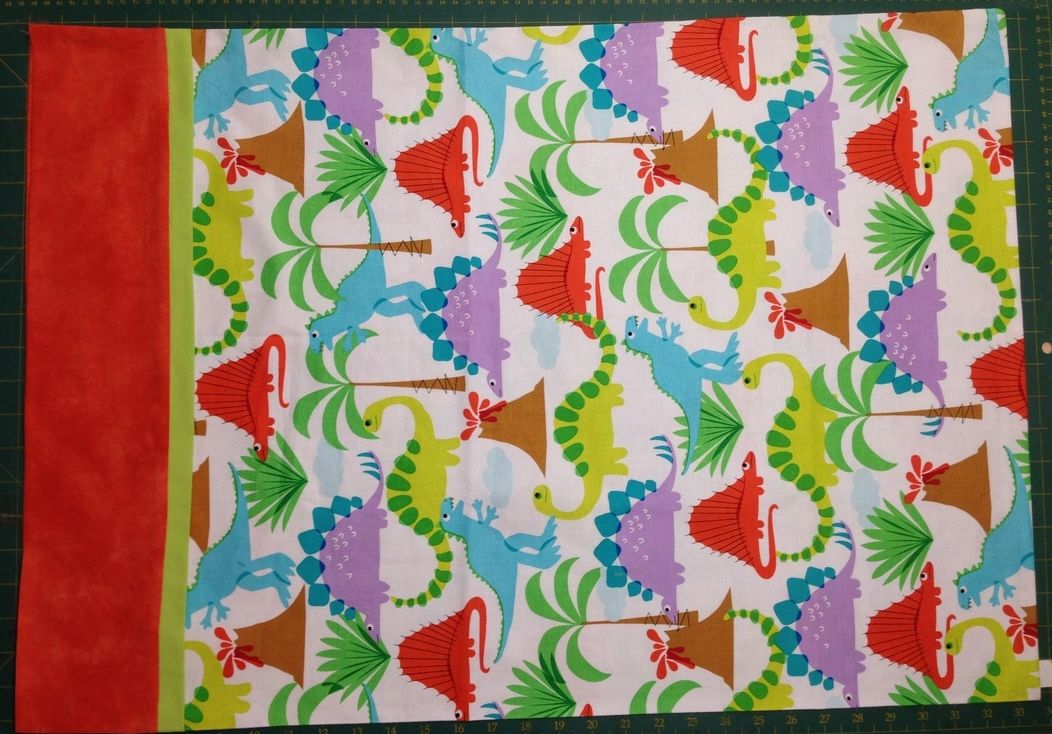 How to make the pillow case: 1) Chose 3 coordinating fabrics and cut 27"x width of fabric of main fabric (dinosaurs), 9" x width of fabric for a cuff, 2" x width of fabric of piping. 2) Lay the fabric on top of each other matching fold lines and cut off selvages through all layers so that you know that all 3 fabrics are exactly the same size. 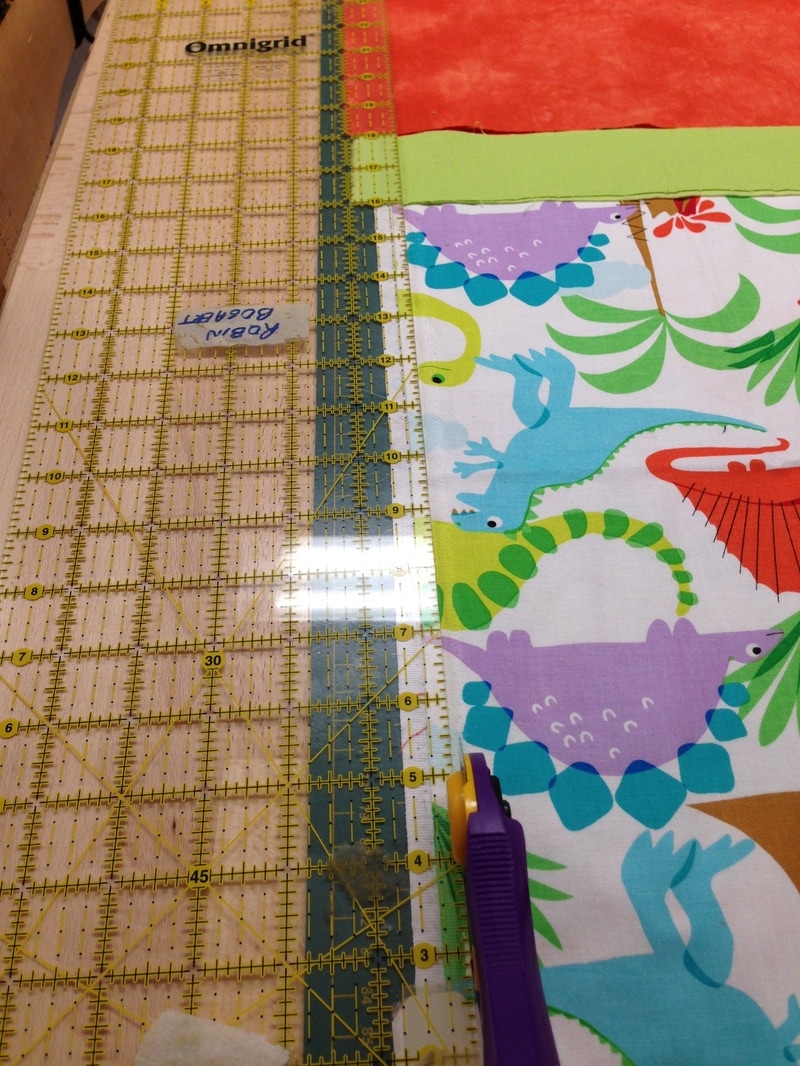 3) Fold the 2" piping piece and the 9" cuff piece in 1/2 on the long side and press well with wrong sides together. 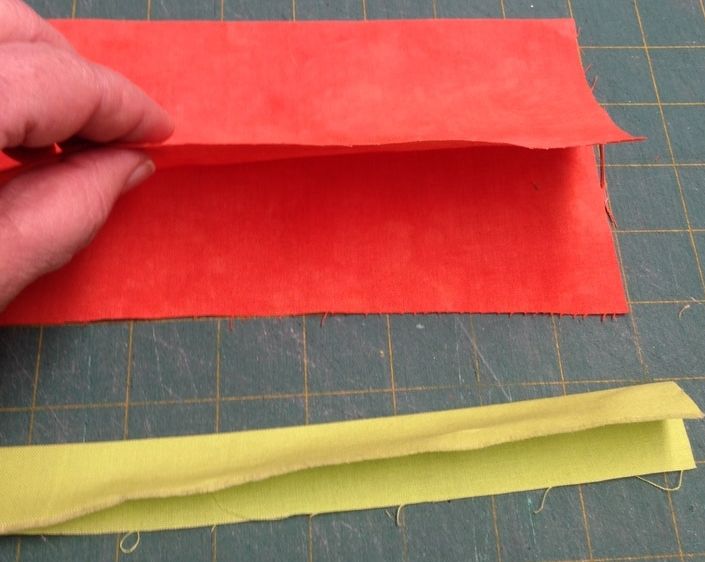 4) Open up your 9" cuff piece and lay it on a flat surface right side facing towards you. 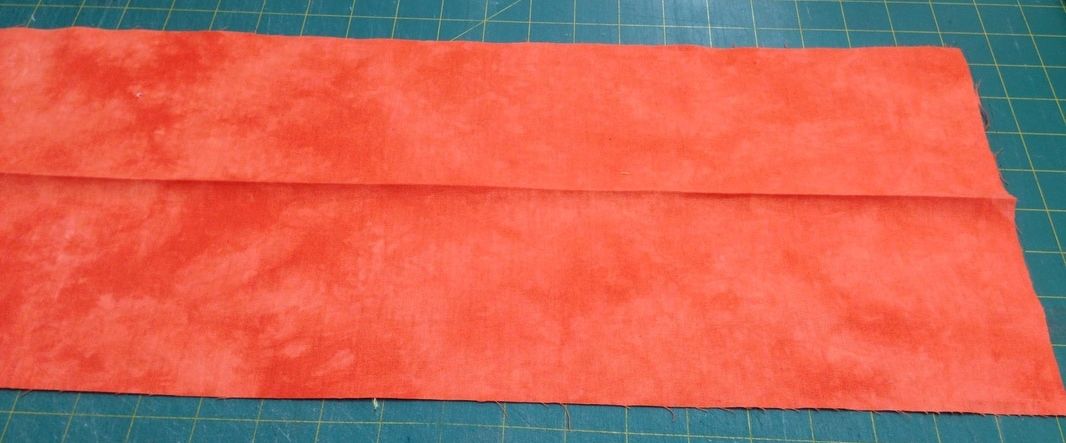 5) Open up and lay your 27" main fabric right side facing up on top of the cuff fabric (I know this seems wierd with wrong side facing right but bear with me!). Match your raw edges. 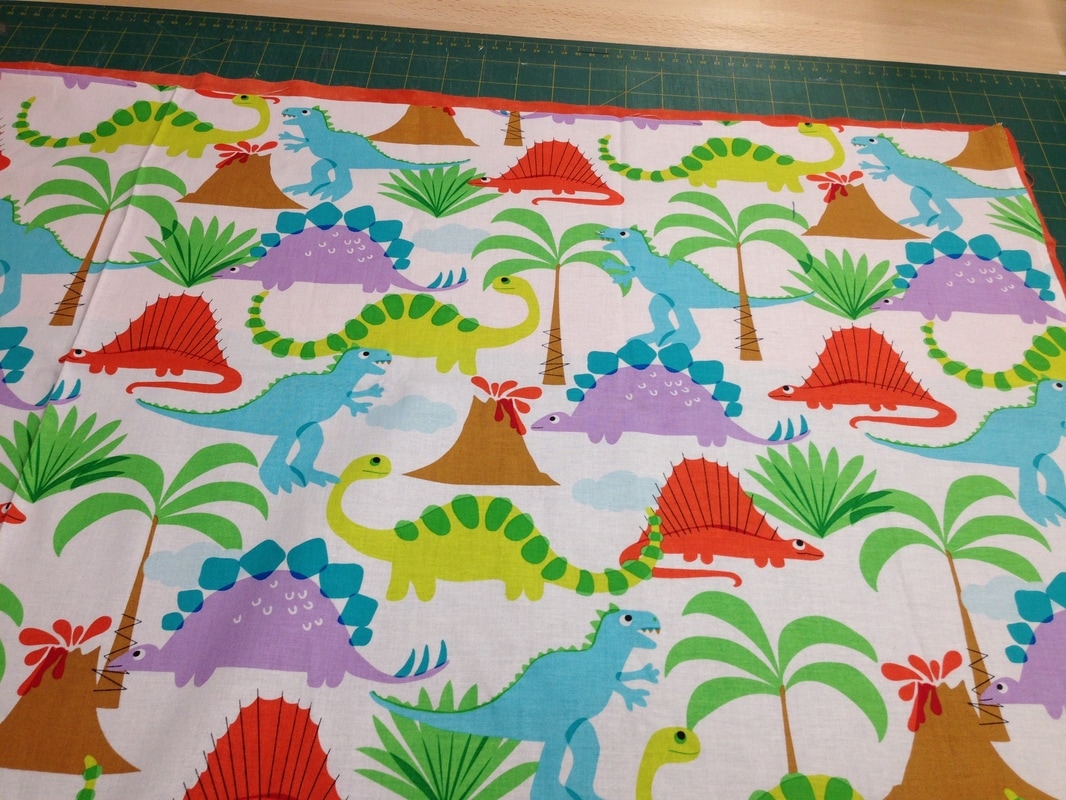 6) Keep your 2" piping fabric folded and lay this piece on top of the other fabrics matching raw edges 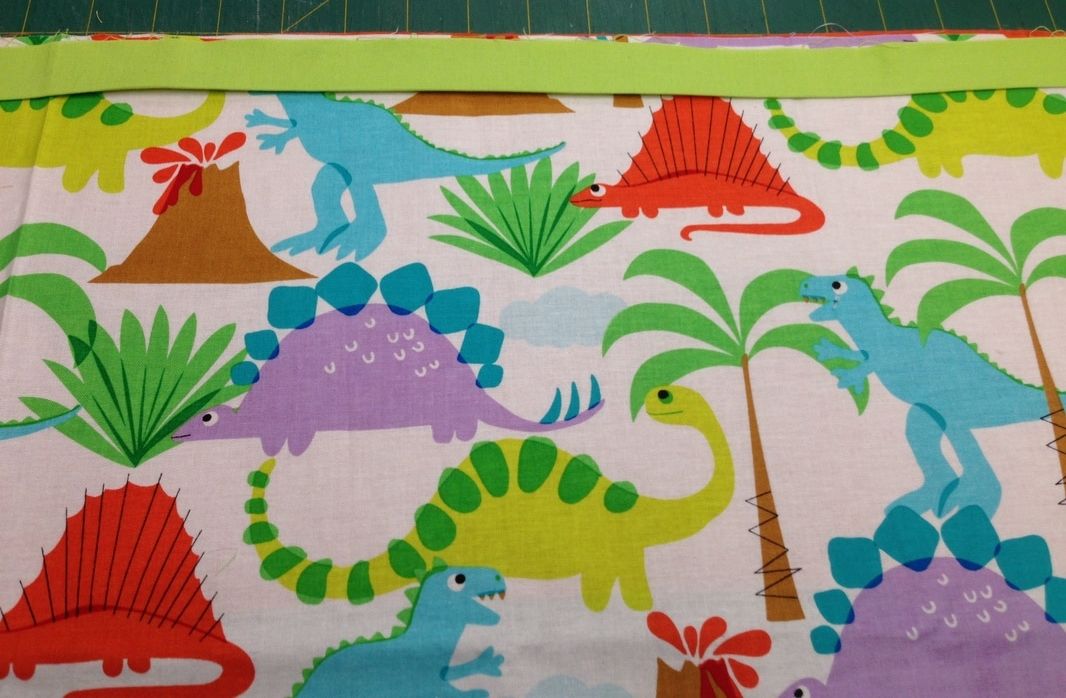 7) Start to roll the bottom edge of your main fabric up from the bottom towards the top edge of all fabrics until you can see the cuff fabric showing underneath your fabric roll. 8) Carefully pick up the bottom edge of the cuff fabric and bring it over top the main fabric roll and piping fabric and pin this bottom edge through all 5 raw edges of the piping main and cuff fabric. You will have a "Tube" 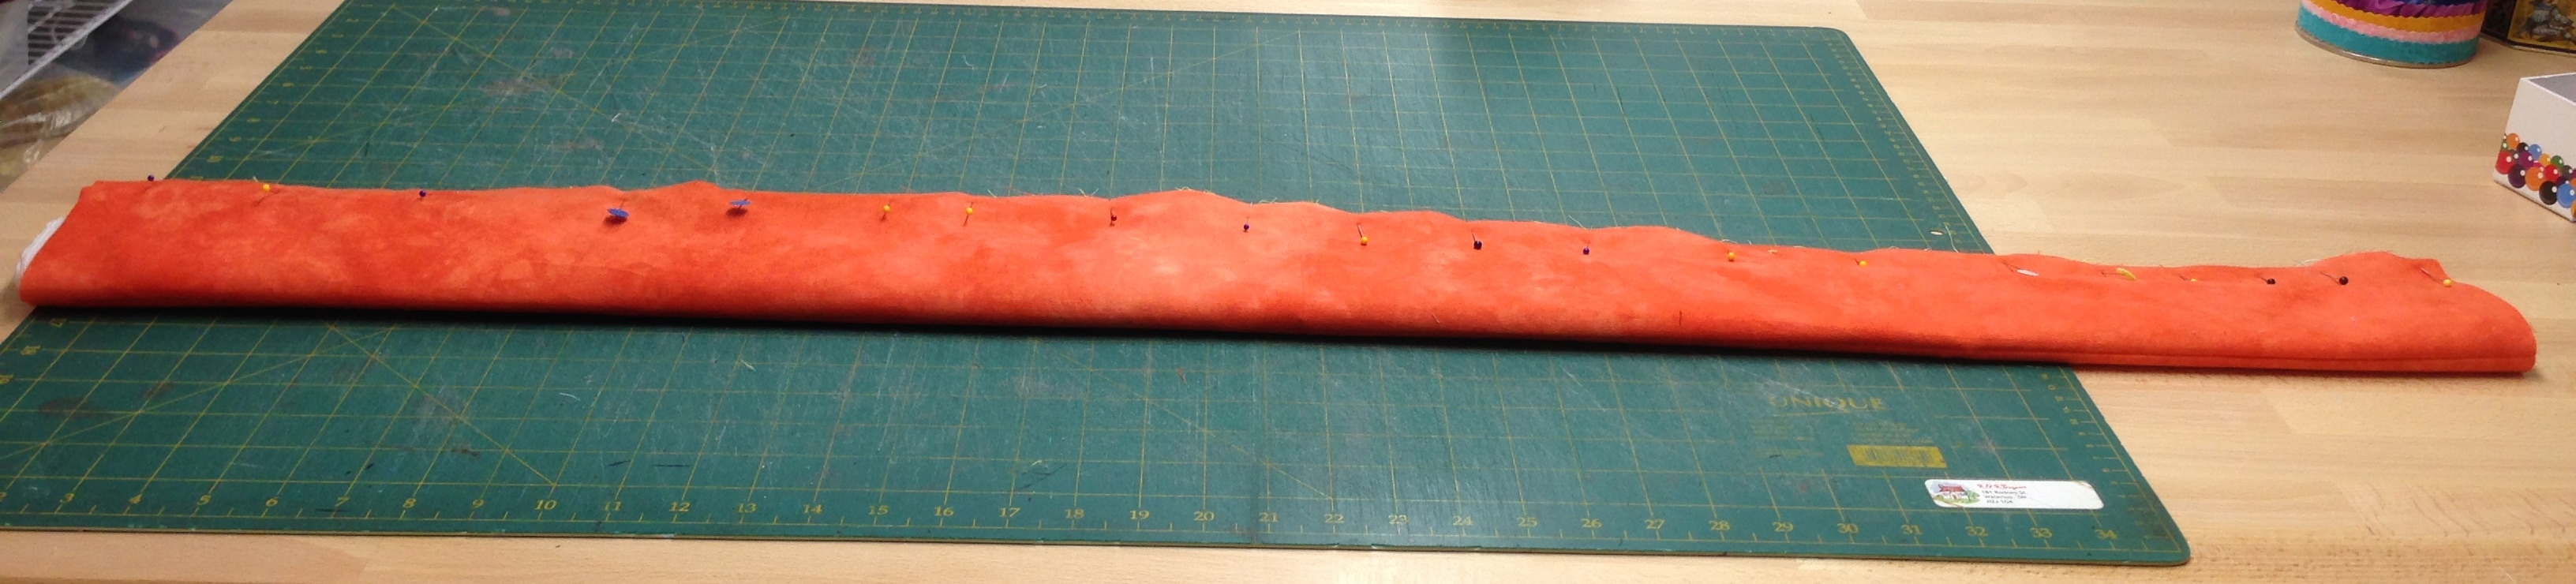 You now have a long tube pinned together 9) Sew 1/4" from the pinned raw edge of the "TUBE" 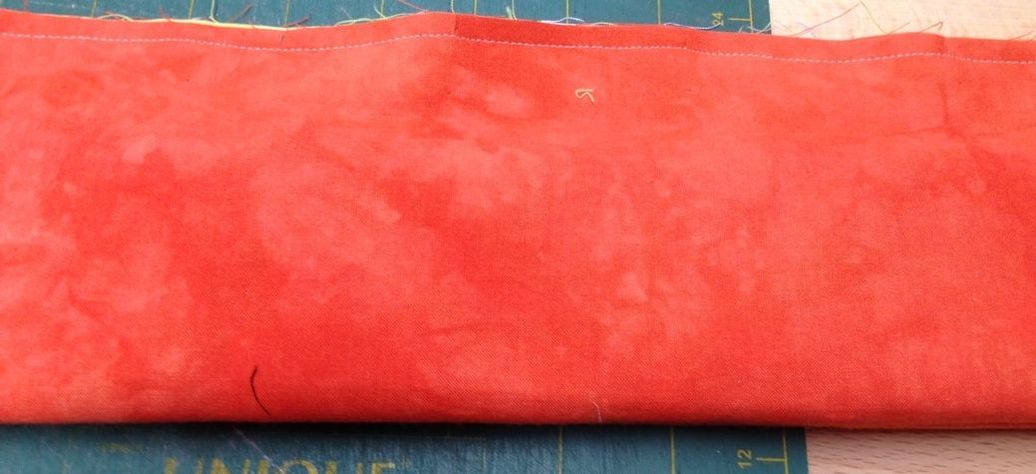 10) You will now turn/pull your fabric through the tube to the right side 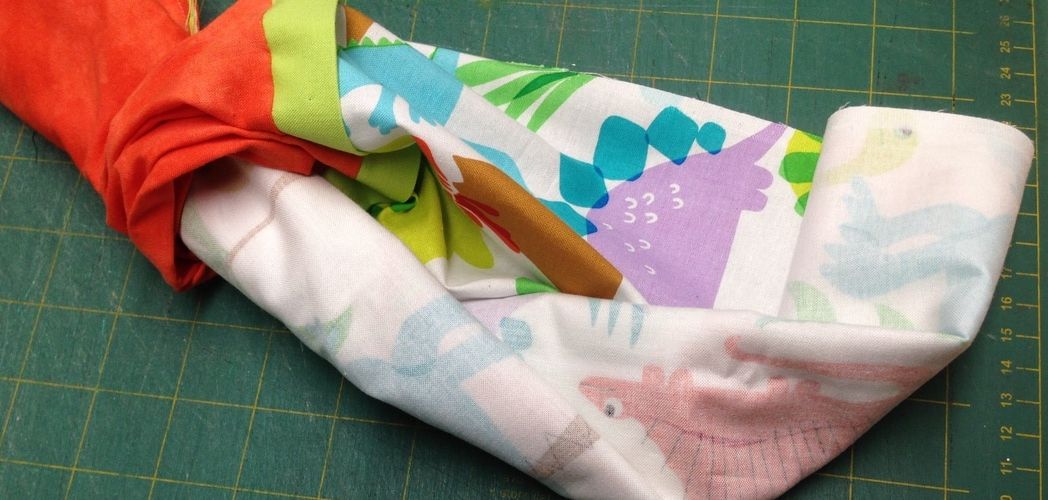 11) When it is all pulled out it should look like this: 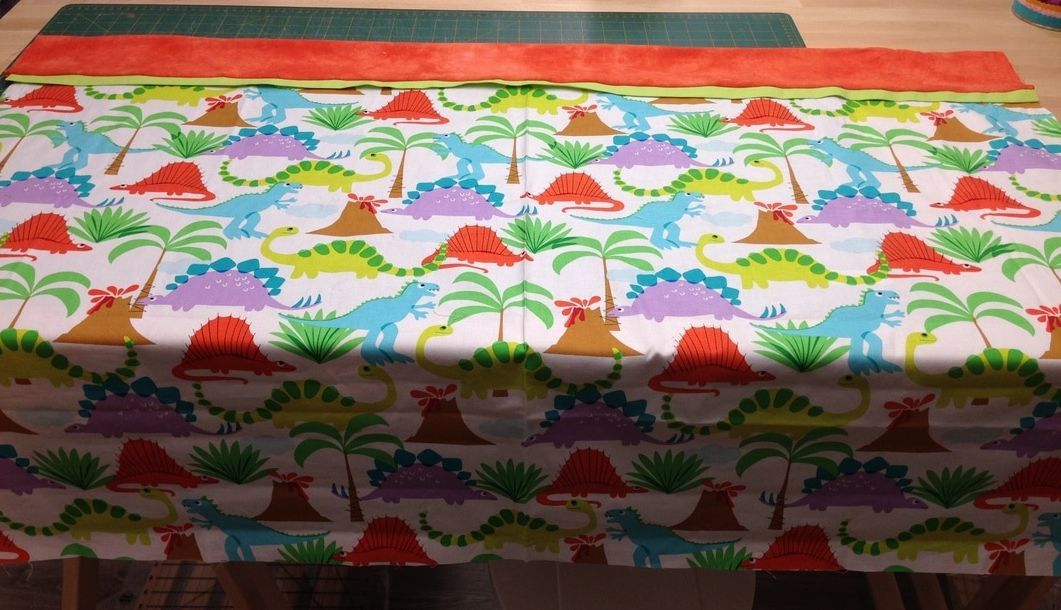 12) Fold your pillow case now right sides together so that piping and cuff match at the sides and pin to secure. 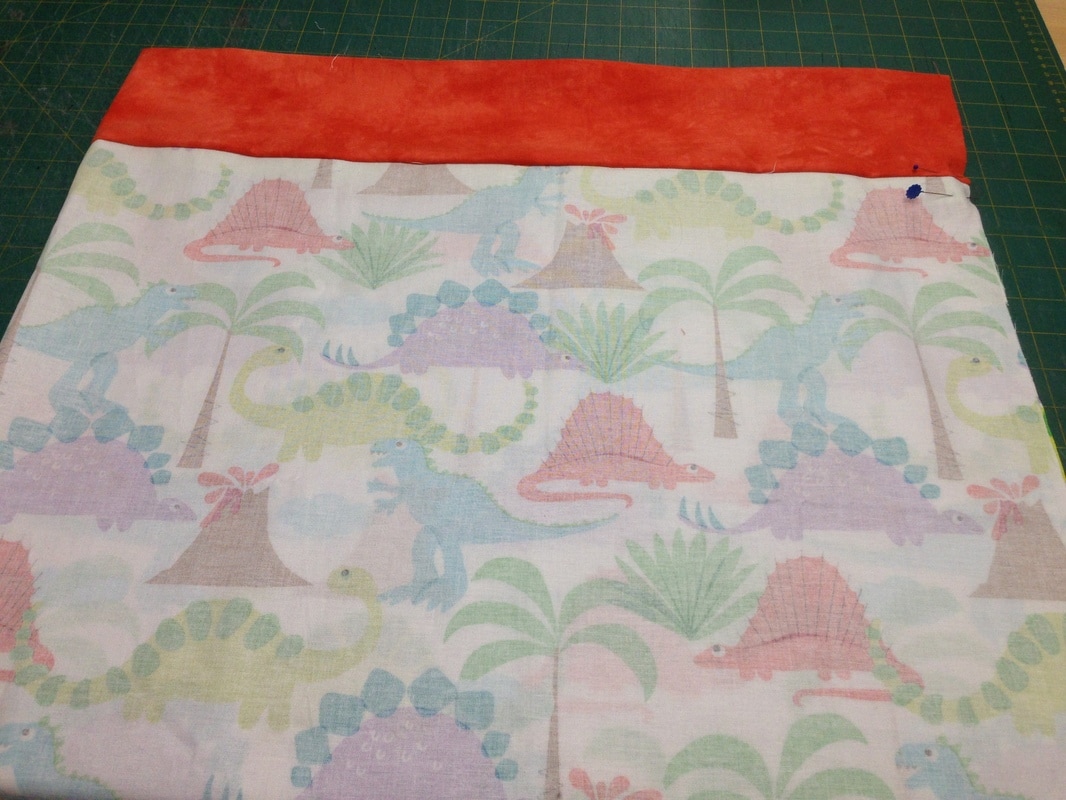 13) Sew down the side and across the bottom with a 1/4" seam allowance (you could also serge it at this stage as well if you have a serger). If you sew, you may also want to zig zag your raw edges to avoid fraying after sewing. 14) Turn your pillow to the right side and you are done! Admire your efforts! 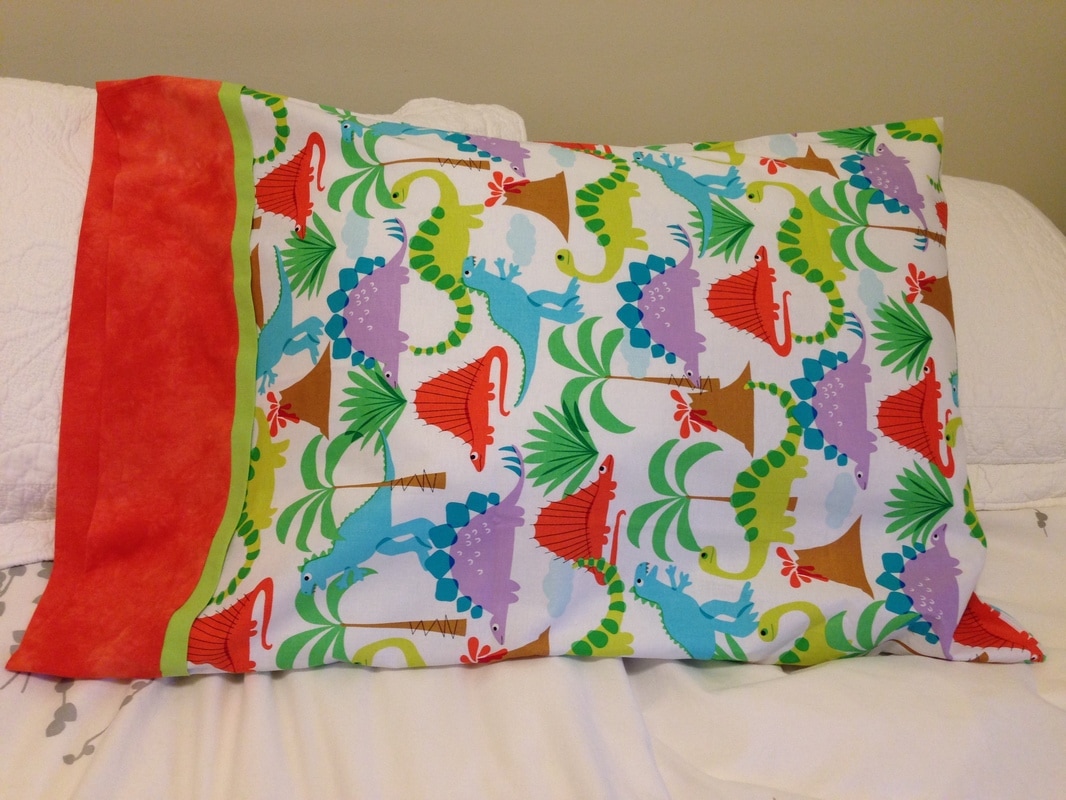 Your pillow case is now ready for gift giving! Some Show and Tell: Thanks to Mabsy for sharing her work and her photos! Mabsy makes these frequently as gifts and now that I have discovered this method, I will too! (I know now why she loves to make them!!)
Using quality quilting cotton (boutique,quilt shop cotton) makes an even longer lasting pillowcase than a purchased one. Choose fabric that is personality specific, embroider it and you have a wonderful gift and you have started to use up your stash! Have a great Tuesday! Stay Warm⛄️😊
0 Comments
Leave a Reply. |
Follow Me:
Welcome!Hi I'm Robin and I am a professional long arm quilter, pattern designer and teacher. I am passionate about all things quilty!  

Categories
All

Sponsors
This blog contains affiliate links. This means that we endorse products.
We do receive rewards for these endorsements and this helps to keep this site alive and well. We support products which we believe are the best quality and to inspire your creativity! |

 RSS Feed
