QUILTINGINTHELOFT
  • Blog
  • About
  • Quilting
  • Shop
  • Teaching
  • Gallery
  • Contact
  • Crochet
  • Sponsorships
  • Blog
  • About
  • Quilting
  • Shop
  • Teaching
  • Gallery
  • Contact
  • Crochet
  • Sponsorships
Search

Welcome To Quiltingintheloft.com

Picture
Brought to you by quiltingintheloft.com

It's Time For Pie! Tool & Technique Tuesday Pie Potholder

7/19/2016

6 Comments

 
Picture


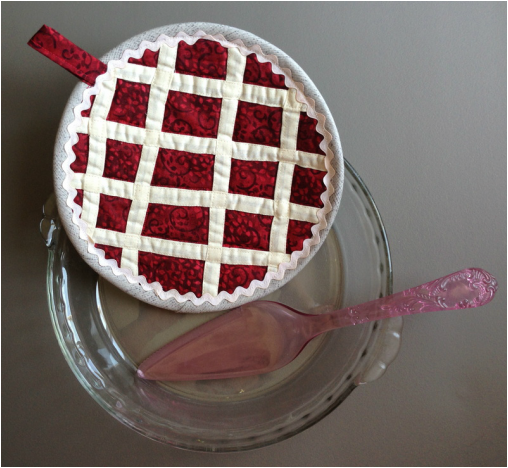
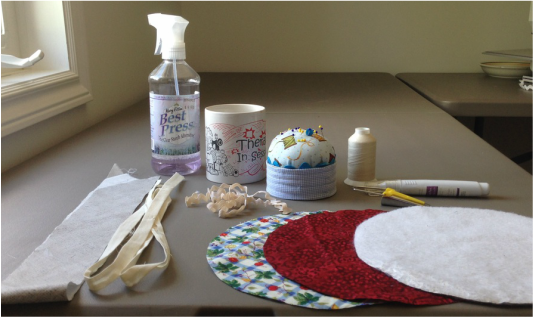
It's that time of the year, a time for fruit to ripen, markets to be open and plentiful sources of fruits and vegetables available.  

This very cute pot holder is inspired by the fruits of summer, picnics, potlucks and family get togethers. 

It's  raspberry pie time!

​mmmm my favourite was the pie at Stone Crock in St Jacobs!  


What you will need make this "Raspberry Pie":
  1. ​A 8 1/2" round diameter template or plate
  2. One piece of fabric ( cut 8 1/2" round) for the top to fit the template, think...... raspberry, blueberry, apple, peach, lemon or pumpkin pie.  Yumm!!  There are fruit fabrics available at many of the local quilt shops.
  3. A piece of fabric for the backing cut 8 1/2" round
  4. A 8 1/2" round piece of Insul-Bright insulated lining  (wonderful stuff to keep the heat off your fingers and table) designed for pot holders  oven mitts etc.
  5. A 5" x 2" piece of pie fabric for hanging tab.
  6. A 1/2" bias tape maker
  7. Best Press or spray starch
  8. 2 strips width of fabric (40" approx) of ivory fabric (cut straight of grain  7/8" wide) for lattice on the pie or purchased bias tape
  9. 30" approximately of white or ivory rick rack 1/2" width
  10. A tea bag to dye the rick rack if it is white
  11. Grey fabric cut on the 45 degree bias - approximately 27" x 2 1/2" for the binding/pie plate edge.
  12. Cream coloured thread and thread to match your fabric.
  13. A fabric glue stick (optional but useful)
  14. Scissors, pins a sewing machine, rotary cutter, cutting mat etc.

Picture
How to make it:
  1. Cut out all your fabric ahead of time as per cutting instructions above. Tea dye your rick rack if necessary with 1 tea bag in a cup of hot water for about 15 minutes, take it out and towel dry it.
  2. Make your bias tape for the lattice using the instructions for your bias tape maker. I cut my  fabric on a point -see below to feed it through the bias tape maker, spray with Best Press and press with an Iron as I pull the handle.
Picture
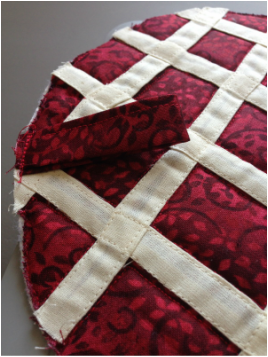
     3.  Audition your lattice by cutting 8- 10" lengths and weaving them on your pie fabric. Weave them under and over each other. Glue them in place with a dab of fabric glue.
Picture
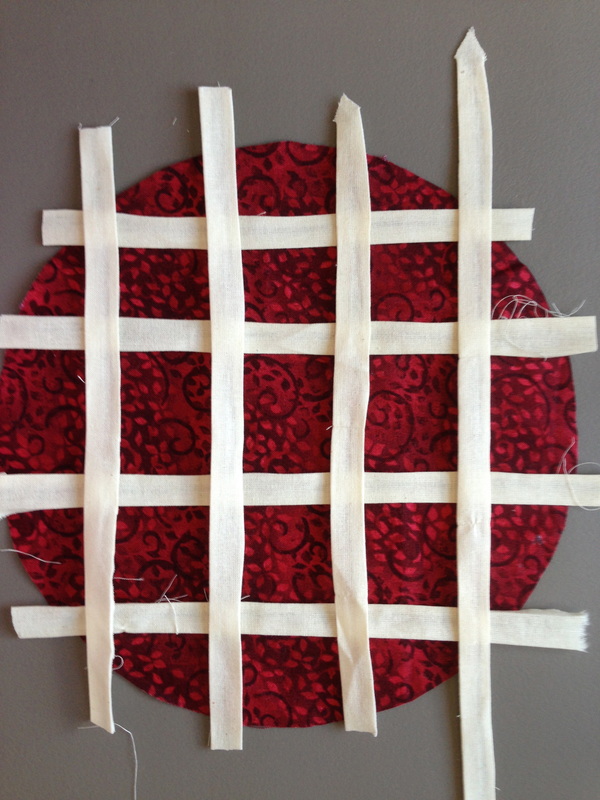
I know it doesn't look great yet!
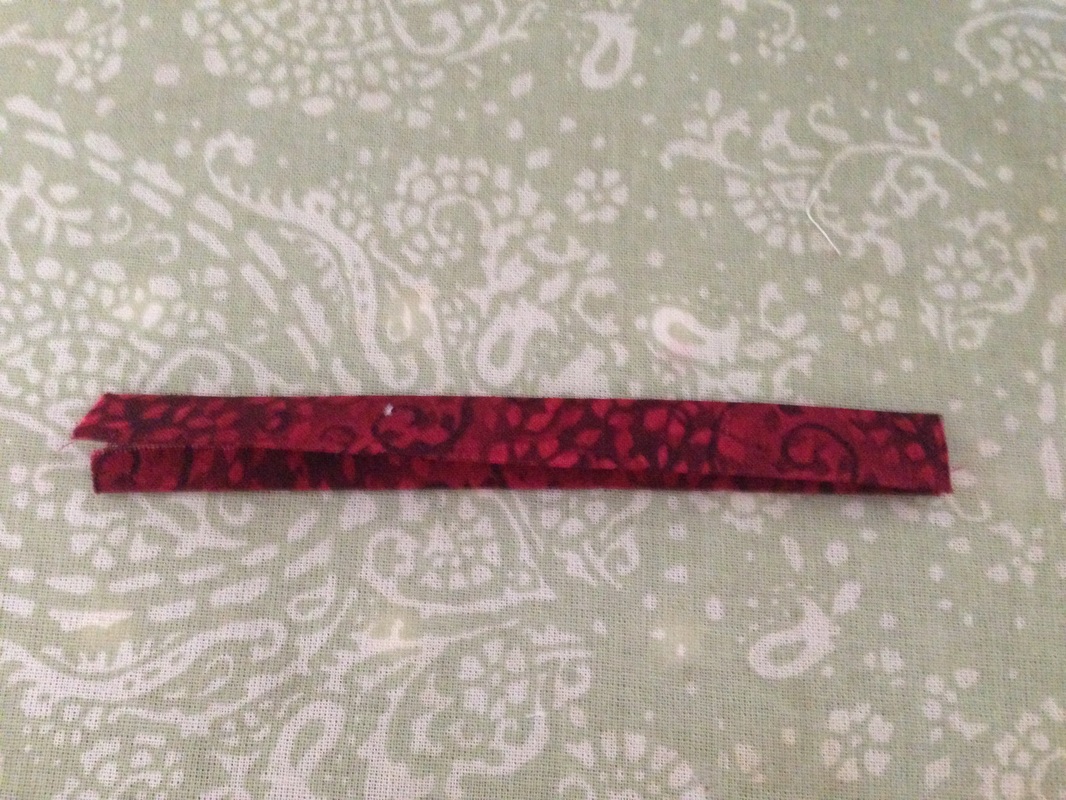
      4. Lay all 3 layers of fabric, the top, Insul-Bright and Backing together as if its a quilt and pin to baste and hold together.

      5.  Top stitch about 1/8" in on all sides of the lattice with cream coloured threads through all layers. Trim around the edge of your pie.

​      6.  Make a hanging tab by pressing your 5" x 2" piece of fabric in 1/4" on the long sides and then fold it in half encasing the raw edges. Top stitch this to close the finished edge.

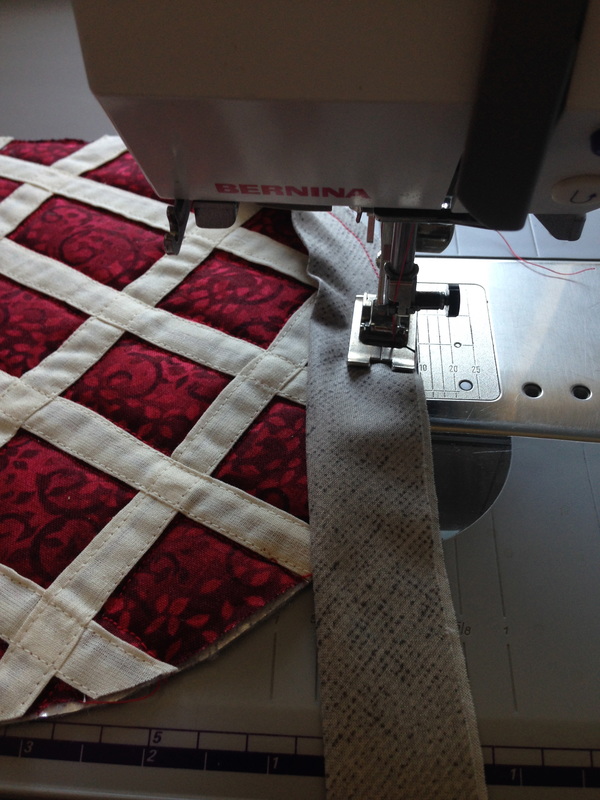
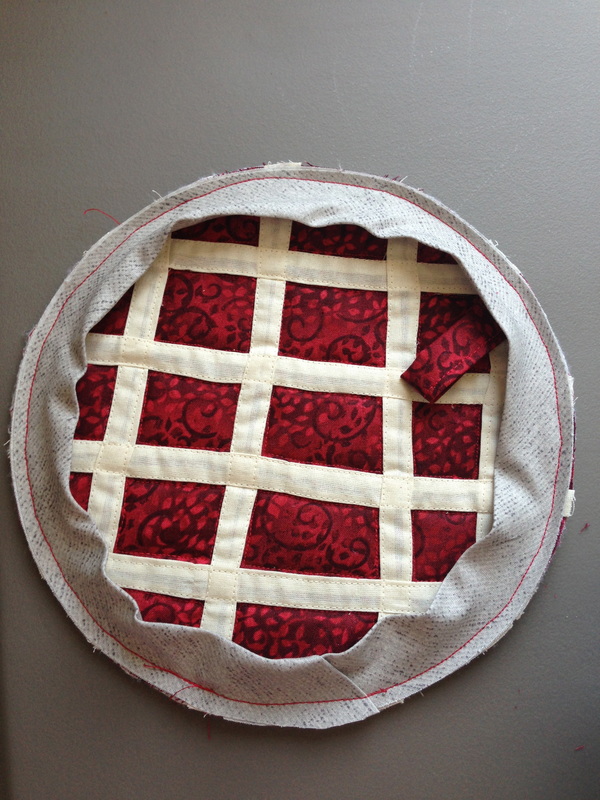
      7. Press the hanging tab in half and place the raw edges against the edge of the front of your pie where you think it looks best, sew it 1/8" from the edge to secure through all layers. leave the loop laying against the pie top
​
Picture
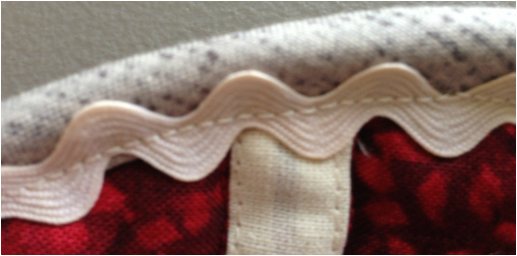
      8. Press your grey binding/pie plate edge fabric in 1/2 to make binding  as you would a quilt and sew it slowly​ to the front edge of your pie.  Finger press to the back of your pie and hand stitch in place.
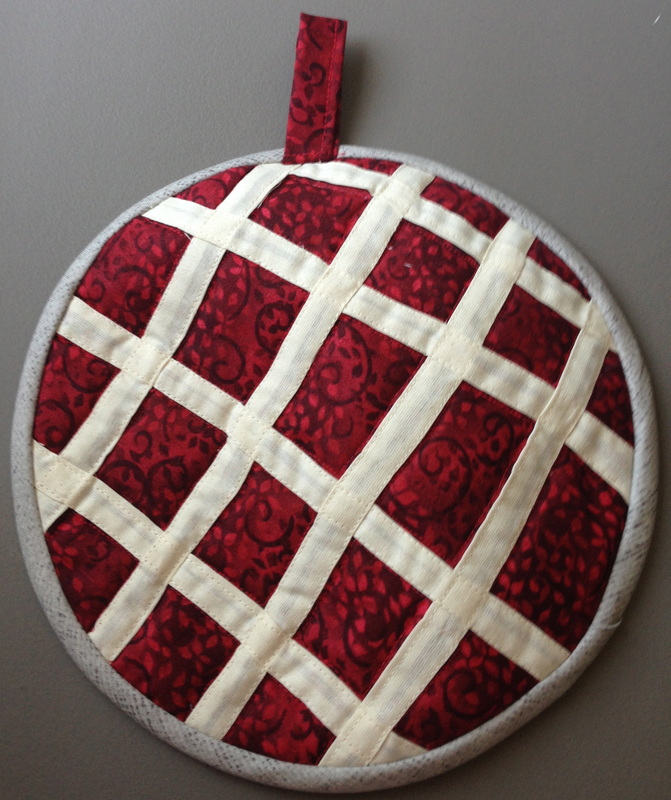
      9. Sew on your rick rack by placing the valley of the rick rack just against the inside edge of the binding on the pie fabric and stitching down the centre. You will also need to tuck in the rick rack ends carefully so they look neat.
Picture
It's done! Almost good enough to eat and way less calories.


Picture
Picture
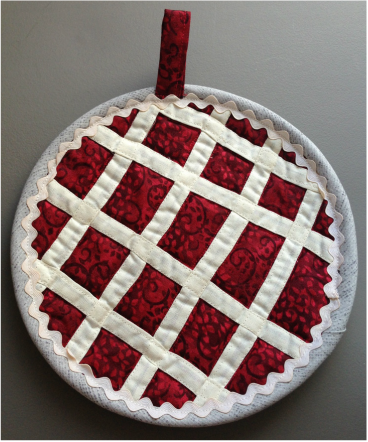
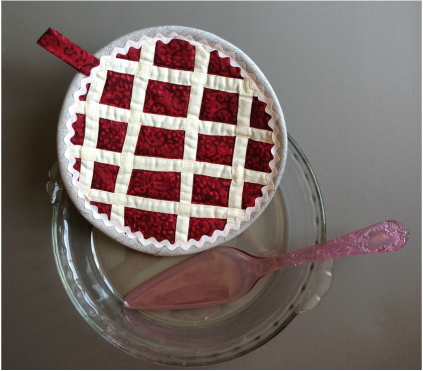
 I hope you enjoyed this little project and that you make many "pies" this summer! 

​Please send us your photos so that we can share all of your productive efforts. 

​Happy Tuesday! ❤️
6 Comments
Darlene Crosby link
7/29/2016 04:54:30 pm

Hello Robin! I just found your blog when I "purchased" one of your free patterns on Craftsy. I'm usually not interested in anything other than quilt blocks and quilts, but this pie potholder is the bomb! I absolutely have to make some of these. We live in SC, USA, and we have a lot of blueberries ripening. Now I have to go and pick out some yummy fabric. Thanks sew much for your blog and tutorials. I am glad I found you!

Reply
Robin link
7/29/2016 06:40:09 pm

Hi Darlene, I'm so glad you like my "pie" pot holder. I love it too and want to make more!!! Especially since it is pie season. I am also glad you found us! - keep an eye out every week, I "try" to share what I am working on. Please send me a pic at [email protected] of your own "pies" and I will be happy to share on the blog. Thanks again :) Robin

Reply
Doresa J Robinson
11/6/2017 10:50:25 am

Just heard about you and I love your pot holders. Thank you for doing this for all of us.

Reply
Robin link
11/10/2017 11:27:27 am

Thanks Doresa! I am glad you like them! Enjoy!

Reply
Belinda C link
11/23/2020 10:41:09 pm

I really appreciate your post

Reply
Candy
6/3/2024 02:49:46 pm

These pie potholders are adorable. And you did a great job of explaining the steps. Thank you

Reply


Leave a Reply.

    Follow Me:

    RSS Feed

      Subscribe to receive updates and exclusive content!

    Subscribe to Newsletter
    Picture

    Welcome!

    ​​Hi I'm Robin and I am a professional long arm quilter, pattern designer and teacher.  I am passionate about all thin​gs quilty!

    Picture
    KeepsakeQuilting

         Categories

    All
    About Us
    Baby Gift Ideas
    Baking
    Be Inspired!
    BERNINA
    Classes
    Crochet
    DIY
    Environment Friendly Projects
    Fabric
    Fantastic BOOKS
    Free Motion Quilting
    Free Patterns
    Give Aways
    Happy Monday
    Hexagon-quilt-along
    Holidays
    Learning
    Local-events
    Long Arm Quilting
    Monthly-minis
    Organizing
    Patterns
    Publications
    QUILTsocial.com
    Recipes
    Ruler Work
    Rulerwork
    Sale-items
    Scan-n-cut
    Stash-busting
    Teaching
    TGIF Fridays
    The Best Notions
    Tool & Technique Tuesday
    Tutorials
    Wedding DIY
    Wednesday Wonder Blocks
    You Tube

    Picture
    HummingBird Sewing Centre
    Waterloo County Quilters' 
    Elmira Needle Sisters
    Katjas Quilt Shoppe
    hyggeligt.ca , St Marys
    Quilting By Design, New Hamburg
    Stephen Bland Designs & The Idiot Quilter
    ​​Leah  Day
          Sponsors
    This blog contains affiliate links. This means that we endorse products. 
    We do receive rewards for these endorsements and this helps to keep this site alive and well.
    We support products which we believe are the best quality and to inspire your creativity!
Proudly powered by Weebly
  • Blog
  • About
  • Quilting
  • Shop
  • Teaching
  • Gallery
  • Contact
  • Crochet
  • Sponsorships