|
Brought to you by quiltingintheloft.com
How to Make a Snippet Background I'm working on a challenge block and have to include many shades of green, so I have decided to do it "snippet" style or some may call it crazy pieced. This is my own method and I hope you gain some new knowledge from it! Step 1- Prepare a background fabric from muslin or inexpensive cotton as you will not see it in the final project. Iron it smooth. My background is 18" x 18" square but this method would work as a background for any size. Set this aside. Step 2- Choose many pieces of fabric for the snippets, I found I used more than I thought because the fabric overlaps and it gets used up quickly. The pile below represents 35-40 pieces of greens- they are anywhere from 2 x 2" to 6 x6" and very scrappy. 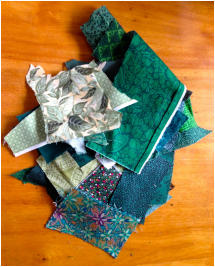  Step 3- Get out some fusible web, I am using Heat and Bond Lite and the reason for this is, it is heavier than other "light" fusibles and therefore with the overlapping process, I will be sure my fabrics are well fused. The manufacturers description of this is as follows: "Description: This heat activated adhesive has the strongest bonding power of any lightweight adhesive you can buy without adding extra weight or stiffness.
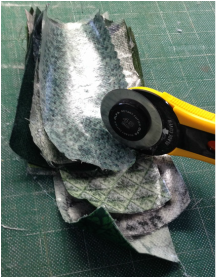
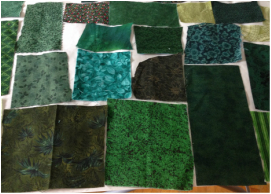 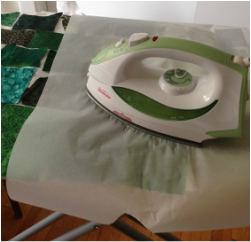 Step 5- Using a hot iron on cotton setting and lay either parchment paper or a silicon pressing sheet over your fabric (to protect your iron from the glue). Press down first directly and hold for 5 -10 seconds in all areas and then once fused, press the entire fused section of green with a gentle sweeping motion. Step 6- Once cool remove each piece of fabric from the fusible web sheet paper backing and trim all the edges so there is no fusible on the edge of each piece of fabric. Pile these fabrics in 2 piles . Using a rotary cutter ( with an old dull blade so as not to ruin a new one) you will be cutting these piles into "snippets". These pieces are a maximum of about 1.5", they are irregular shape cut randomly.
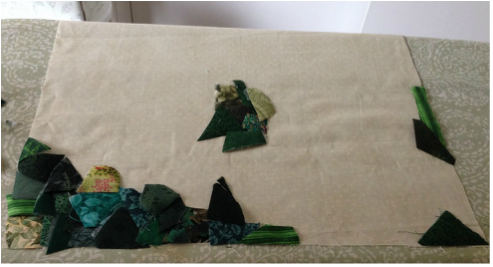 Step 7- Fuse the fabric snippets, fusible side down to right side of background using a hot iron. This takes a bit of time as you need to place each piece, filling in any gaps and overlapping where necessary until your entire background is filled. Again use a pressing sheet to protect your iron and press as you go so that your pieces are carefully and completely fused. Step 8- Admire your finished background and enjoy! Check back next Tuesday October 20th when I will be discussing what I will be doing to add "sewing" and thread painting to this block. I hope you try this and have as much fun as I did :) 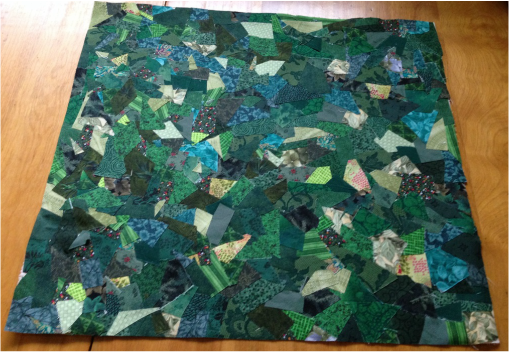
0 Comments
Leave a Reply. |
Follow Me:
Welcome!Hi I'm Robin and I am a professional long arm quilter, pattern designer and teacher. I am passionate about all things quilty!  

Categories
All

Sponsors
This blog contains affiliate links. This means that we endorse products.
We do receive rewards for these endorsements and this helps to keep this site alive and well. We support products which we believe are the best quality and to inspire your creativity! |

 RSS Feed
