|
Brought to you by quiltingintheloft.com
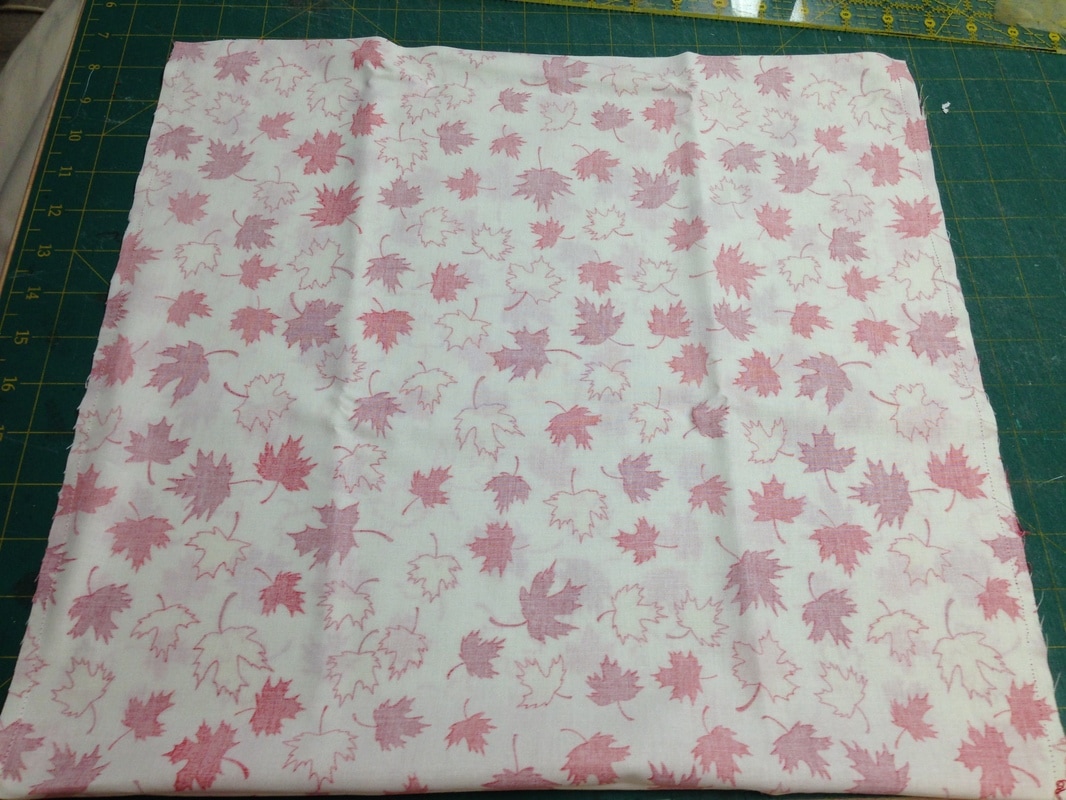
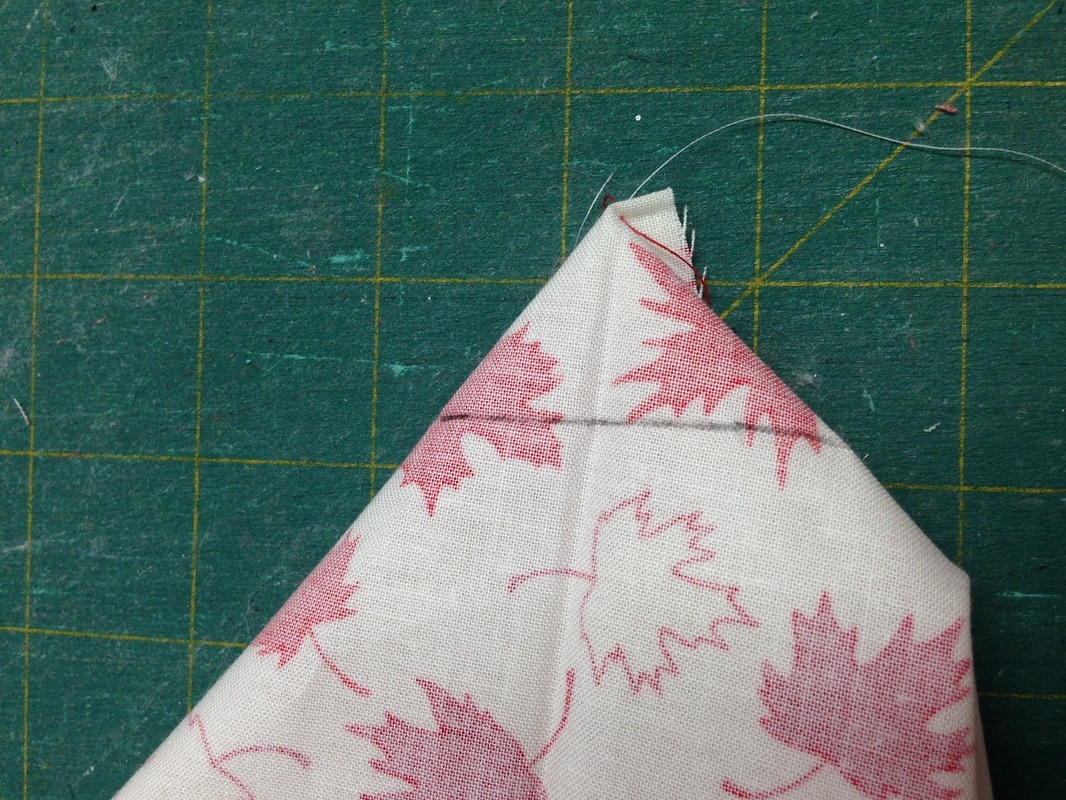
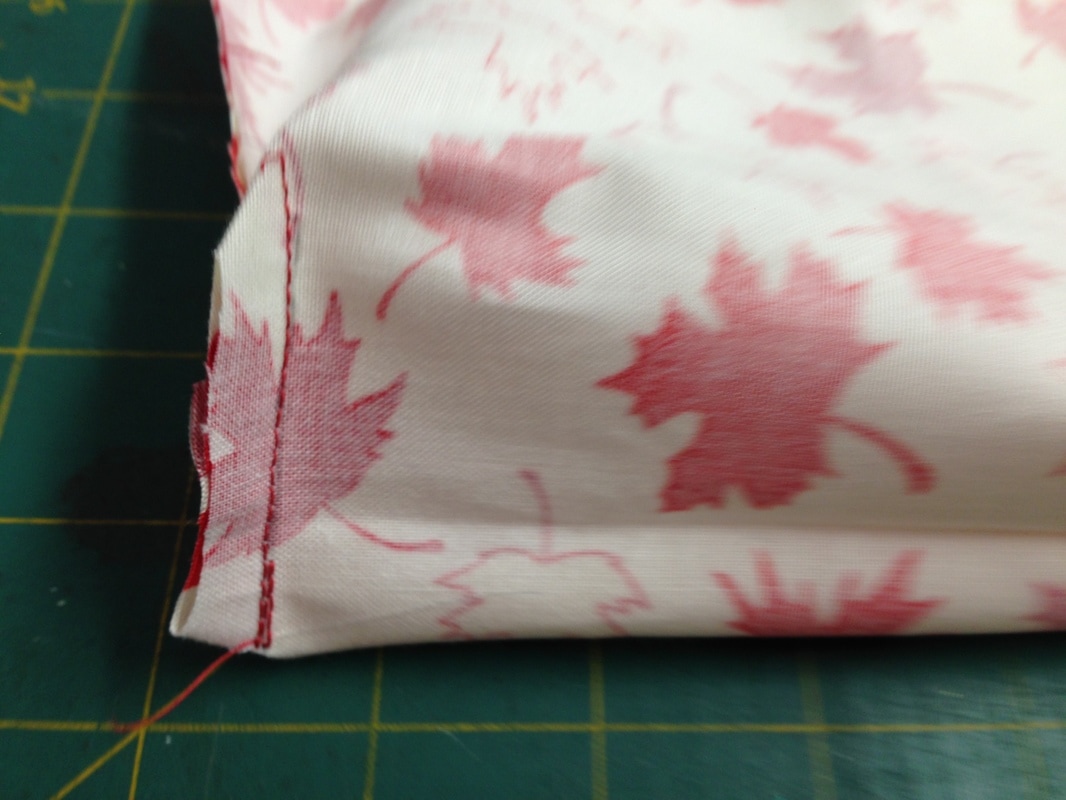
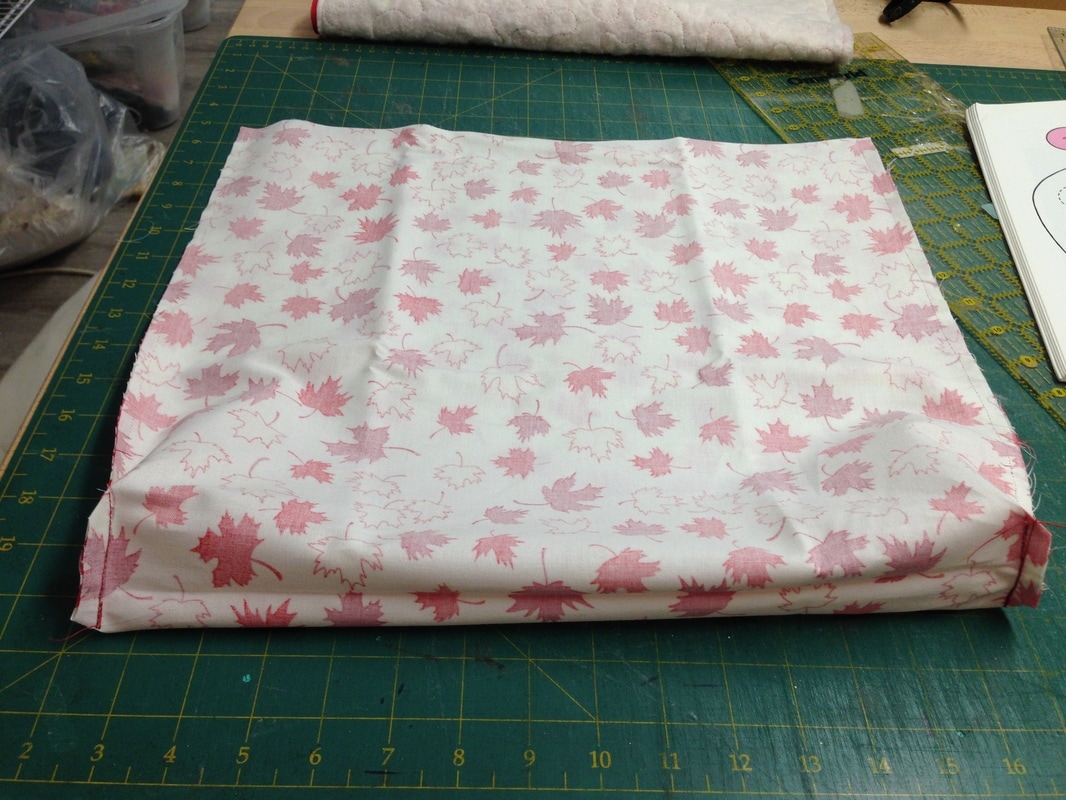
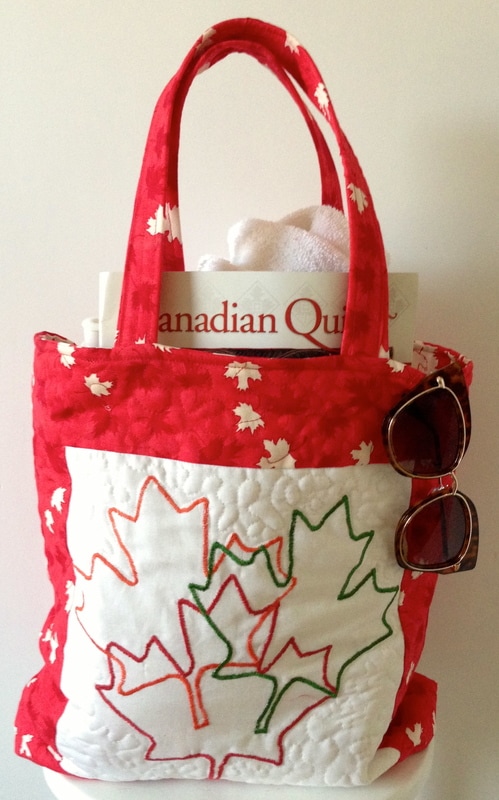 Canada Day Bag Ready for the beach Sorry folks, I have been away for a few days because of recent trunk shows in New Market (Region of York Quilters Guild) and Cambridge- Busy Hands. I was also teaching in Barrie, completing some custom quilts and some wedding prep for our family (my daughters) wedding June 24 (Yikes). Also, I just recently I found out I have a pinched nerve in my neck. The good news is I will survive, albeit I have been told to take it easy !! I am finding that this is not an easy thing to do! Just not in my nature!! 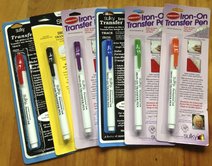 Remember these pens I spoke about in the previous post and the Maple Leaf satin stitch block I did with them? As you can see above I made them into a simple tote. I thought I would share how I made it .... and a great technique for making ultra simple and strong handles for all bags! Simple Tote Tutorial What you will need: Front of bag: 10 3/4" square, orphan block or make the Maple Leaf Block shown above from blog post 05/02/2017 2 Strips 3 1/2" x width of fabric for sashings around block Back of Bag: 16 3/8 x 16 3/8" square of fabric for back of bag Batting: 34 x 18" piece of batting Lining: 32 3/8" x 16 3/8" rectangle of fabric Handles: 2- 3 1/2 x 20" rectangles of fabric 2 Pieces of webbing (nylon or cotton) 1" x 20" How to make this simple tote: Cut your 2- 3 1/2" strips for block sashing as follows: Cut 2 strips 16 1/2 x 3 1/2", cut 2- 10 3/4" x 3 1/2" Sew the 2- 10 3/4" strips to the vertical sides of the block, see below: 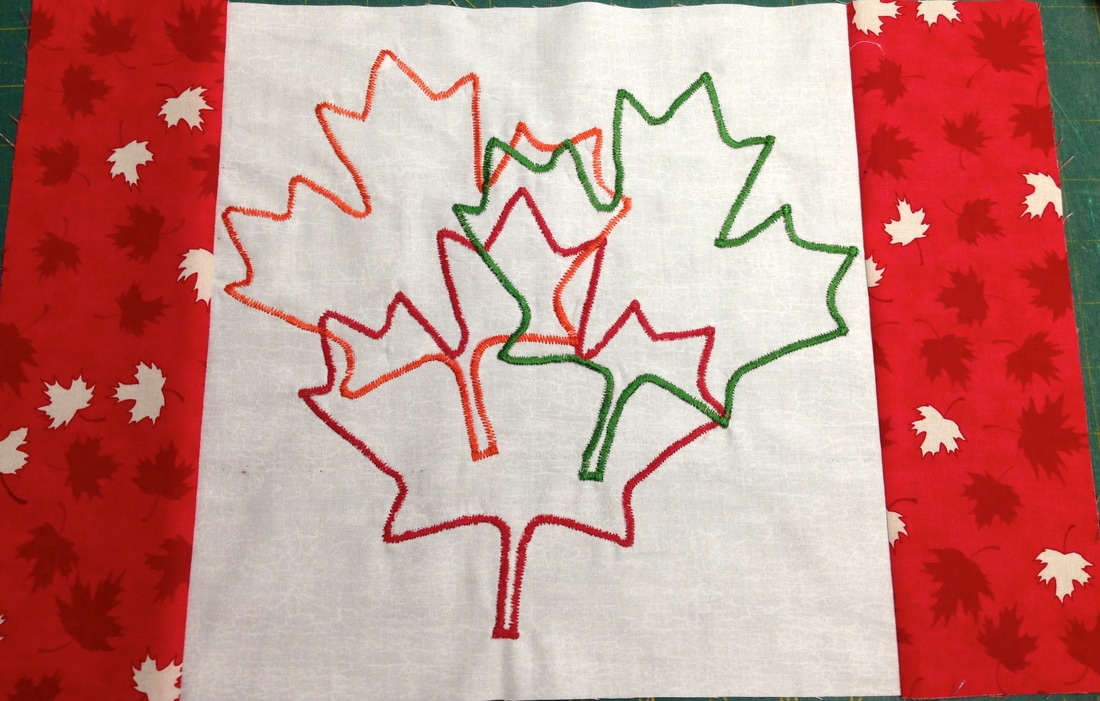 Sew the 16 1/2" strips to the top and bottom of your block, see below: 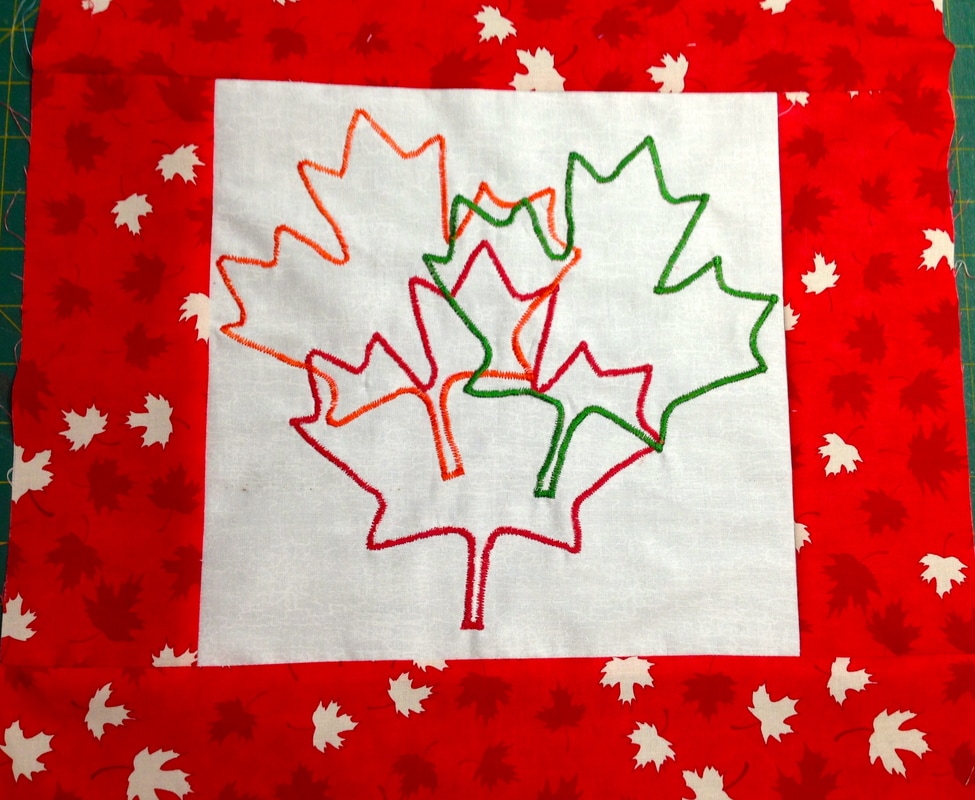 Your front of bag is completed, square it up to 16 3/8" x 16 3/8" Sew your back square fabric to the bottom of the front square right sides together. See below: 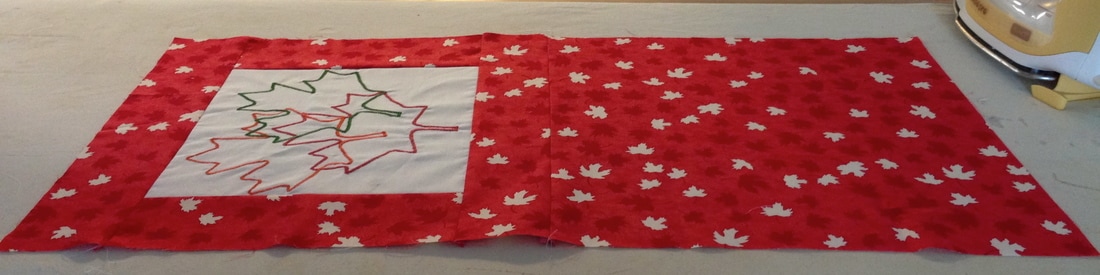 Quilt your top only to the batting with any pattern you desire, I just meandered mine. You could also just use fusible interfacing if your do not want to quilt it. Interfacing will give it body as well. See below: 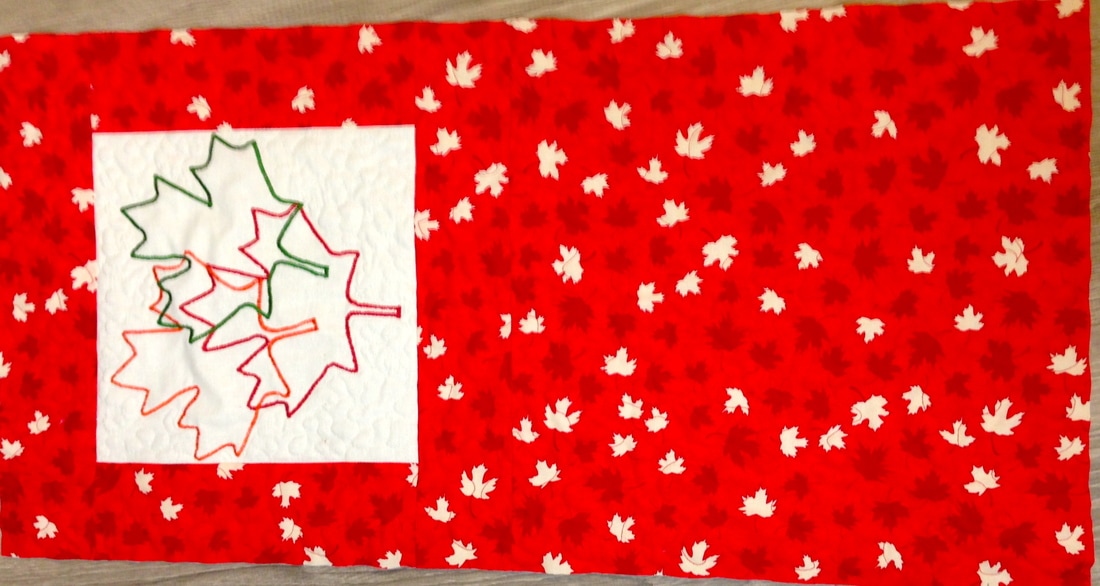 Fold your quilted/interfaced bag front in 1/2, right sides together and sew up the side seams. See below: 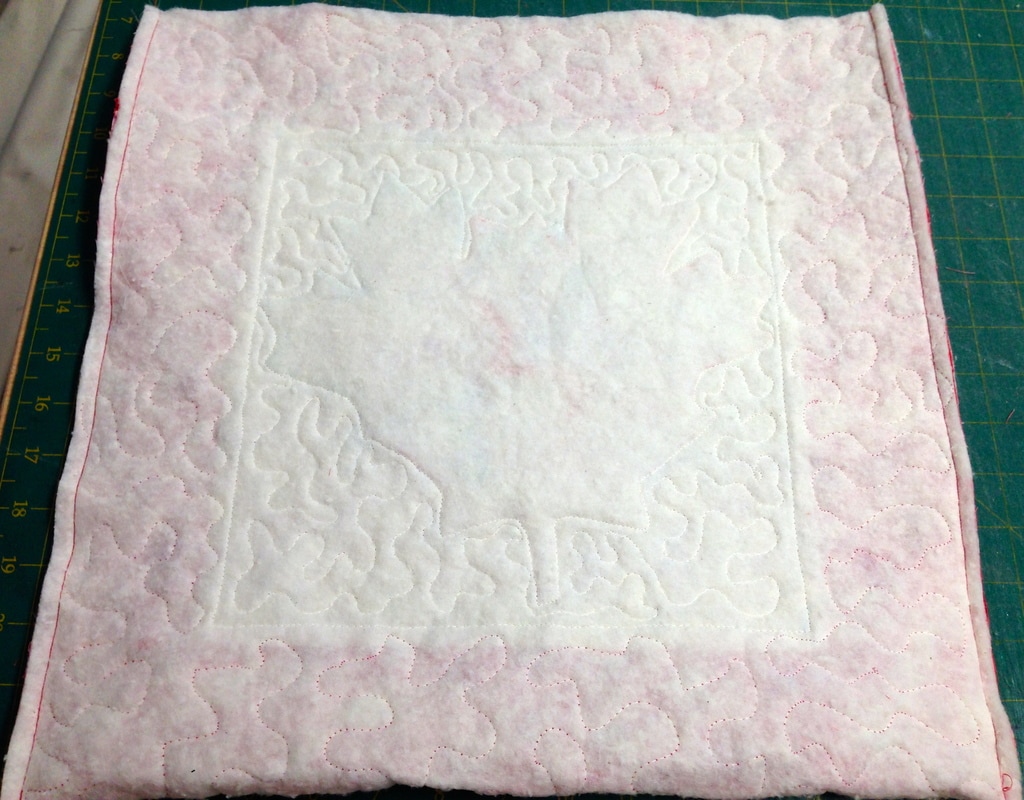 To box the bottom of your bag, mark a line 1" Up from the bottom corners of your bag on both sides. Sew on these lines and clip corners. See below: 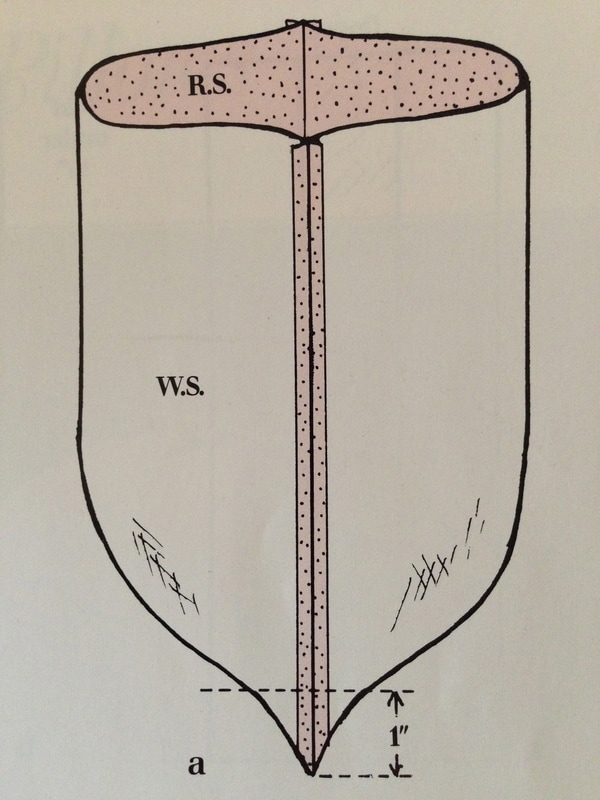 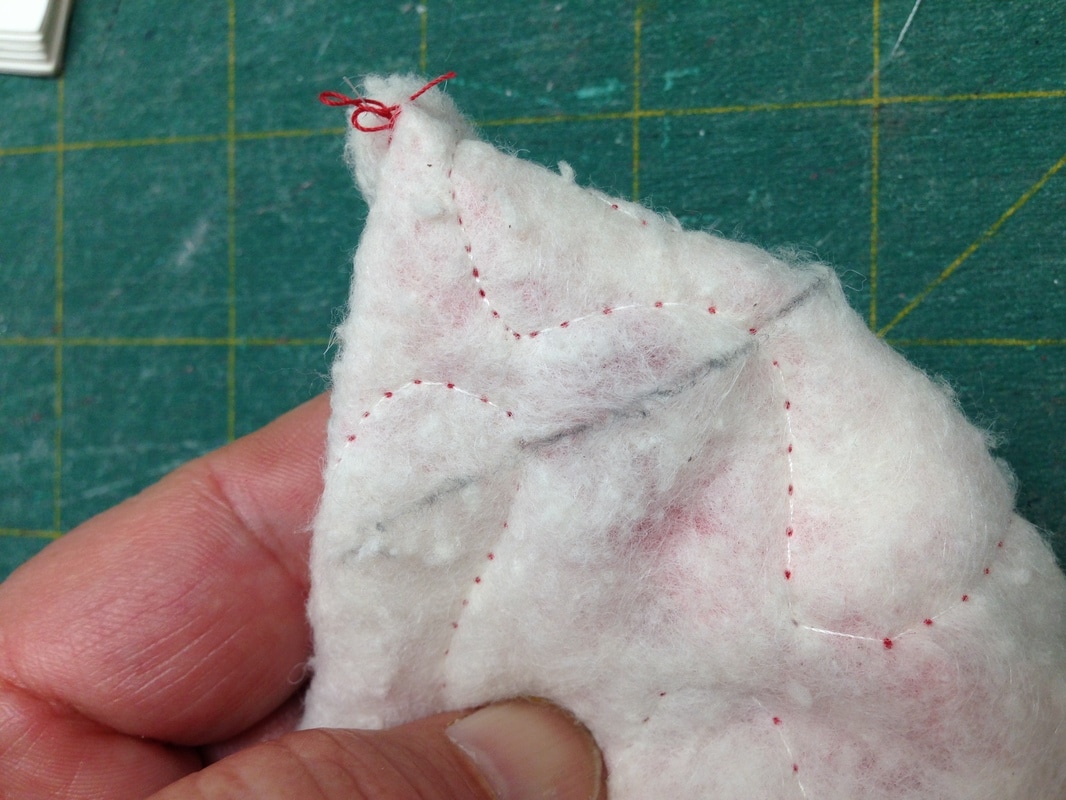 Fold your lining piece right sides together and sew up one side. On the other side sew, leaving a 3" gap for turning. Box the bottom corners as you did for the outside of the bag. See below: To make your handles, pin your webbing piece in the centre of your 3 1/2" x 20" handle fabric (wrong side) and sew it down the centre. See below: 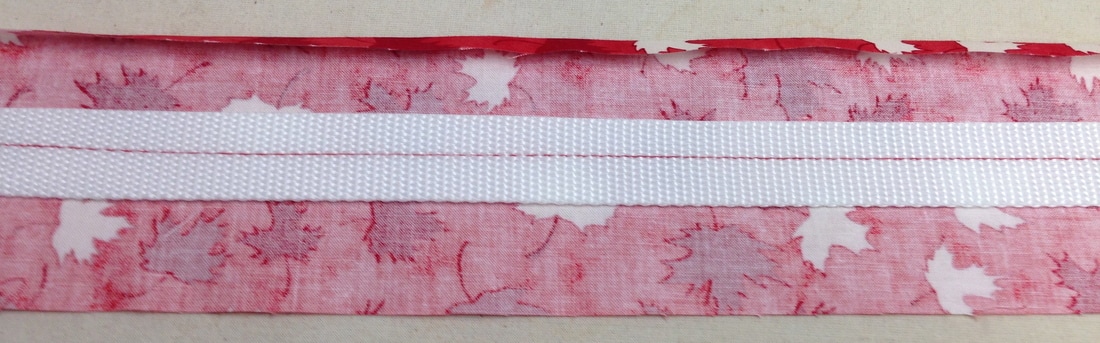 Press one side down 1/4", see above photo: Press the raw edge over the webbing, See below: 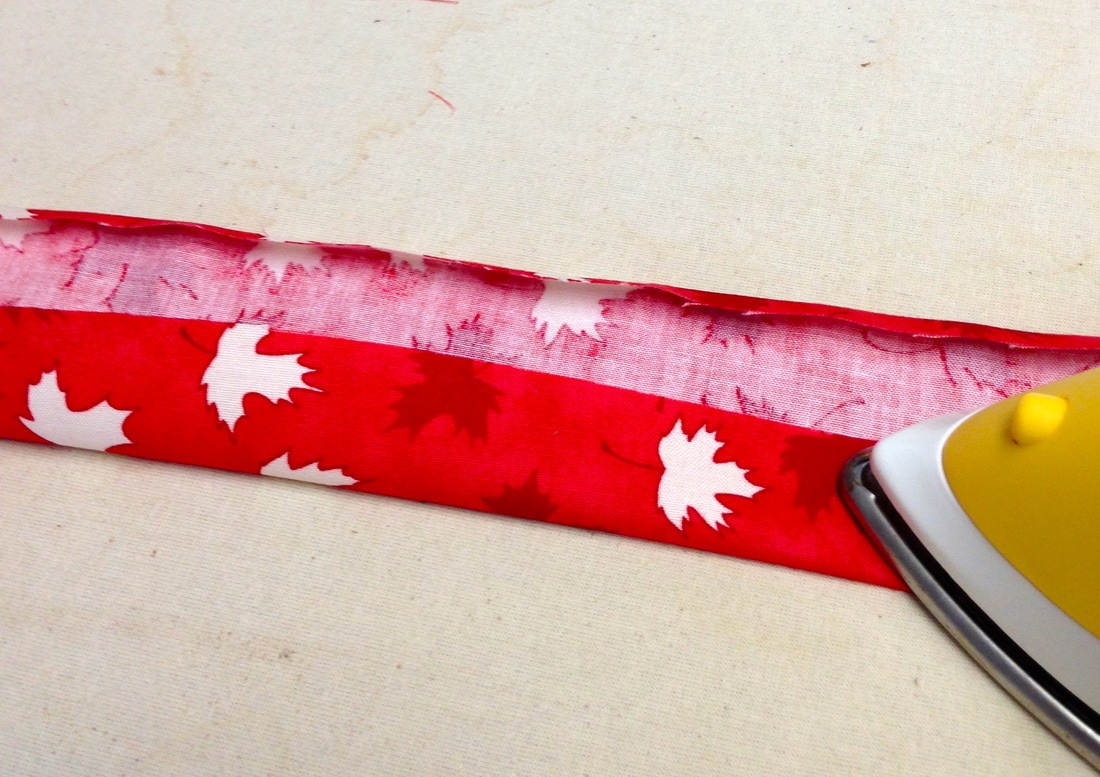 Press the 1/4" folded edge on top of the raw edge as below:  Top stitch to catch folded edge and alternate side (about 1/8" from edge). See below:  I was able to machine stitch through all layers like butter. If you have any issues with the thickness, change your needle to a top stitch or jeans needle as they will be stronger than quilting needles. Make 2 handles this way. You now have 2 very strong handles and it's a simple method for all bags. These handles are also very flexible. Pin and sew your bag handles onto the right side of your bag front and back 5" in from the corner on the right and left side & 1/8" from the top of the bag. Make sure your handles do not get twisted. See below: 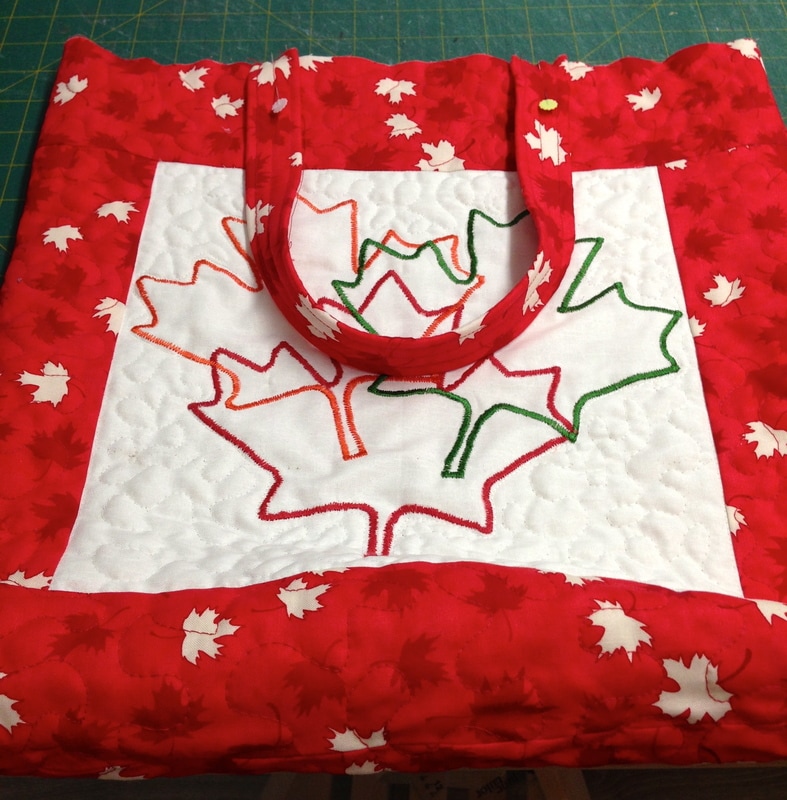 Front of bag 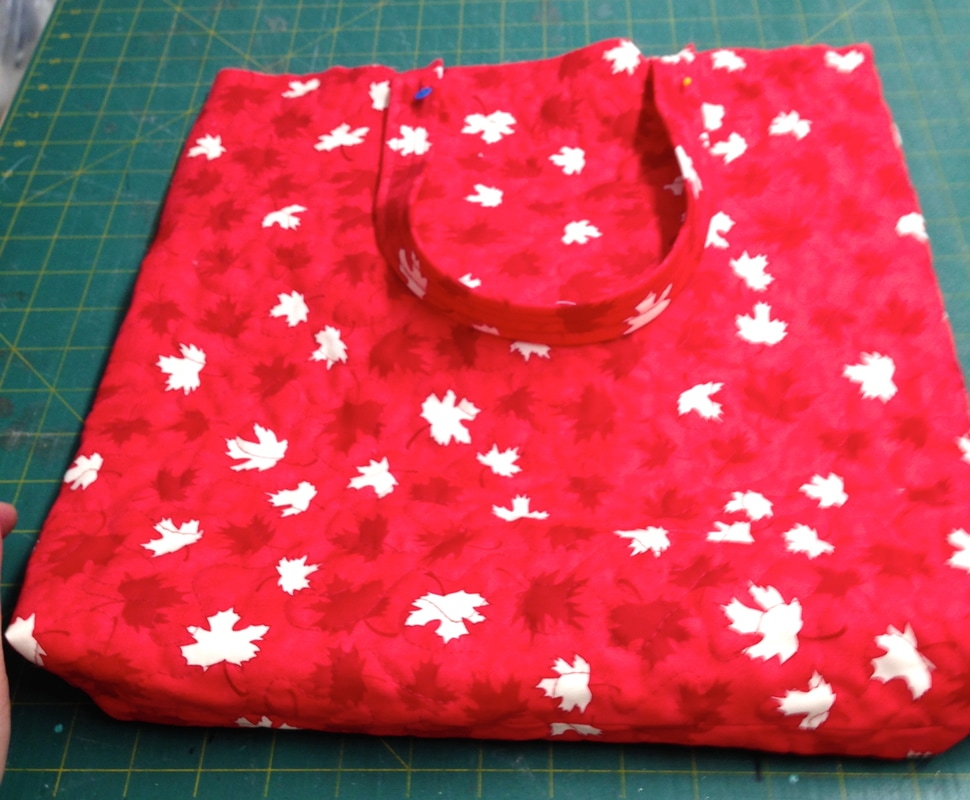 Back of bag 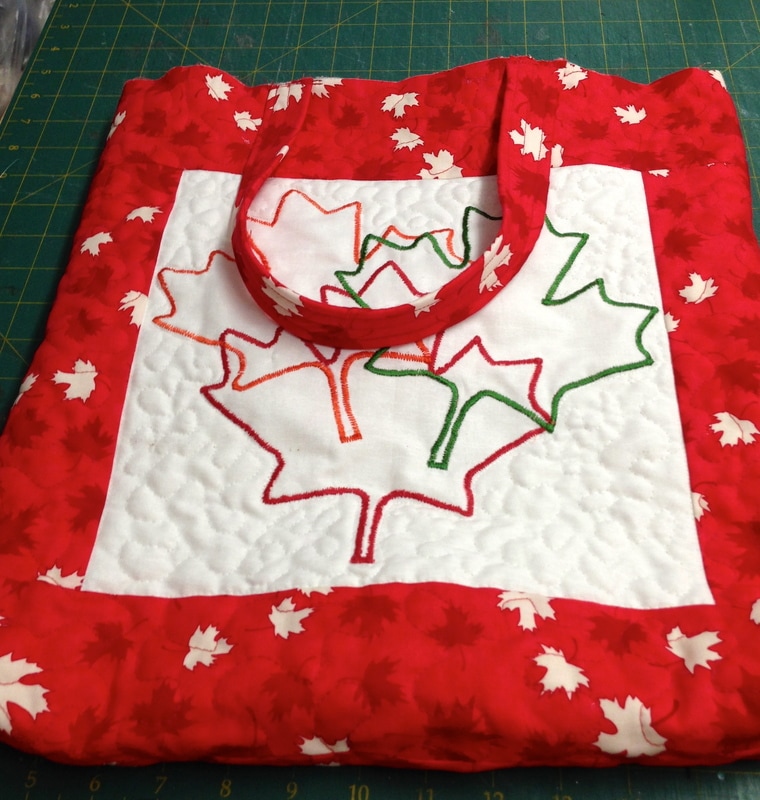 Sewn 1/8" from the top edge Insert the outside of your bag (right side facing out) inside the lining with right sides together. This will seem weird but trust me it works. See below: 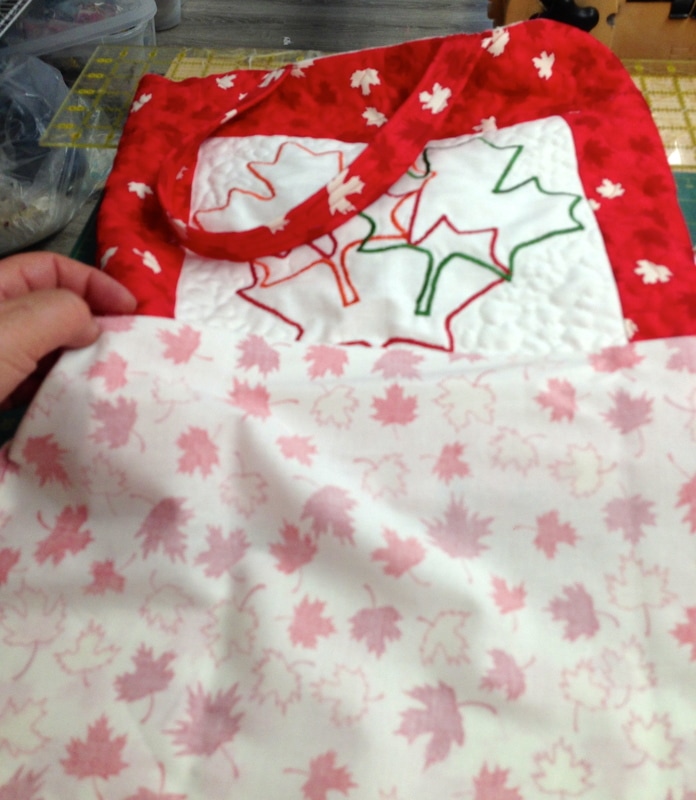 Make sure the handles are facing down and pin all side seams to match, pin around the top edge of the bag and sew. See below: 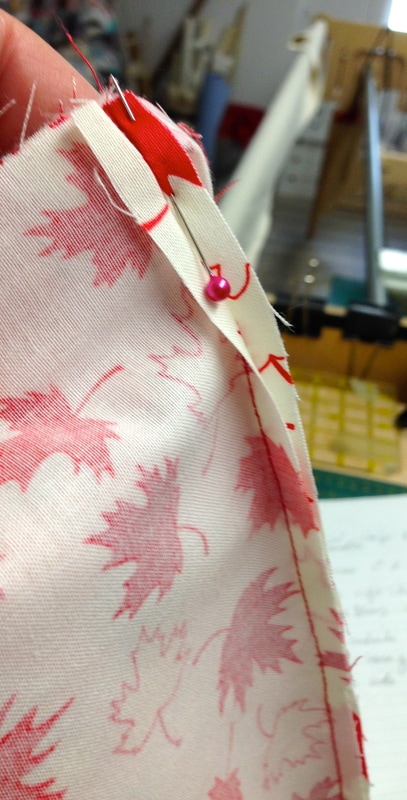 Lining seams and outside of bag seams pinned to match 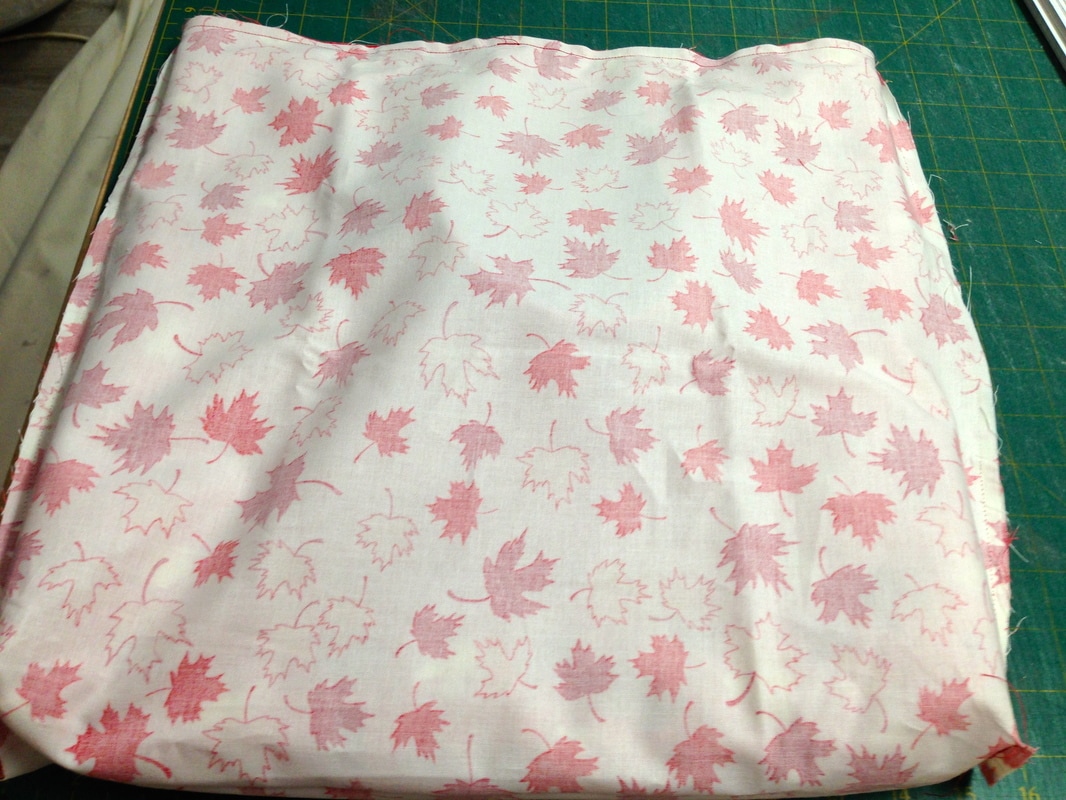 Top edge is sewn Using the gap you left in the lining pull your outside of the bag through the opening. See below: 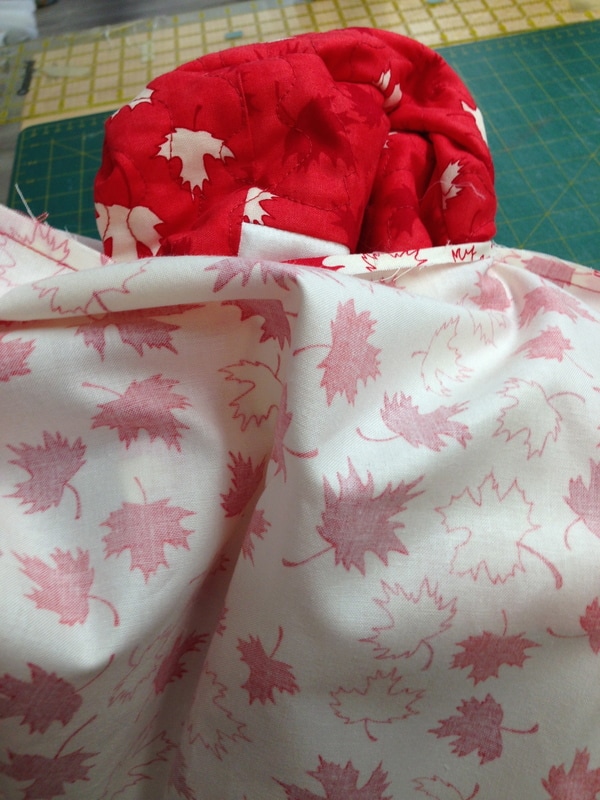 Once you have the entire bag out, tuck the lining back inside the bag, it's permanent home! Sew the gap closed on the lining inside by hand or by machine, your choice. Press the lining down towards the inside and top stitch all around the top edge of the bag to finish your bag. Admire your efforts! 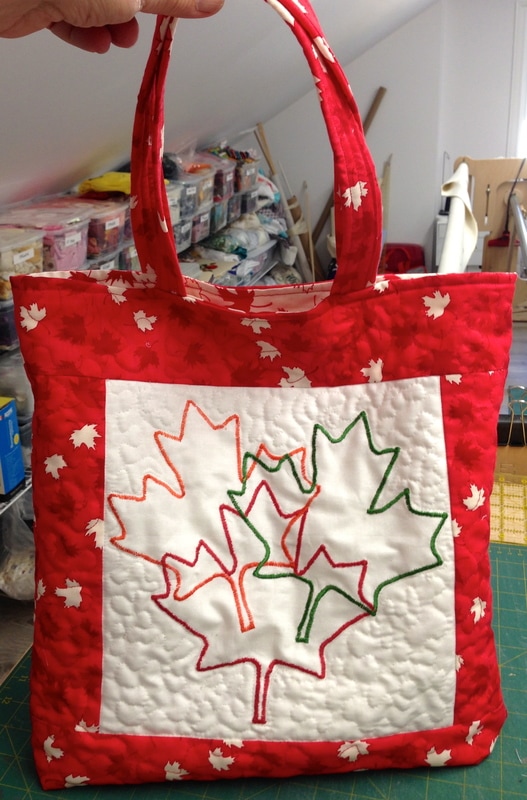 🍁You now have a sturdy bag to go to the beach, holiday or celebrate Canada Day!
I sincerely hope you enjoyed this simple tote tutorial and that you will try my handle method! Happy Friday! Enjoy some lovely weather this holiday weekend!
3 Comments
Leave a Reply. |
Follow Me:
Welcome!Hi I'm Robin and I am a professional long arm quilter, pattern designer and teacher. I am passionate about all things quilty!  

Categories
All

Sponsors
This blog contains affiliate links. This means that we endorse products.
We do receive rewards for these endorsements and this helps to keep this site alive and well. We support products which we believe are the best quality and to inspire your creativity! |
 RSS Feed
