QUILTINGINTHELOFT
  • Blog
  • About
  • Quilting
  • Shop
  • Teaching
  • Gallery
  • Contact
  • Crochet
  • Sponsorships
  • Blog
  • About
  • Quilting
  • Shop
  • Teaching
  • Gallery
  • Contact
  • Crochet
  • Sponsorships
Search

Welcome To Quiltingintheloft.com

Picture
Brought to you by quiltingintheloft.com

Make A Valentines Ear Bud Pouch –Part 2

2/8/2022

0 Comments

 
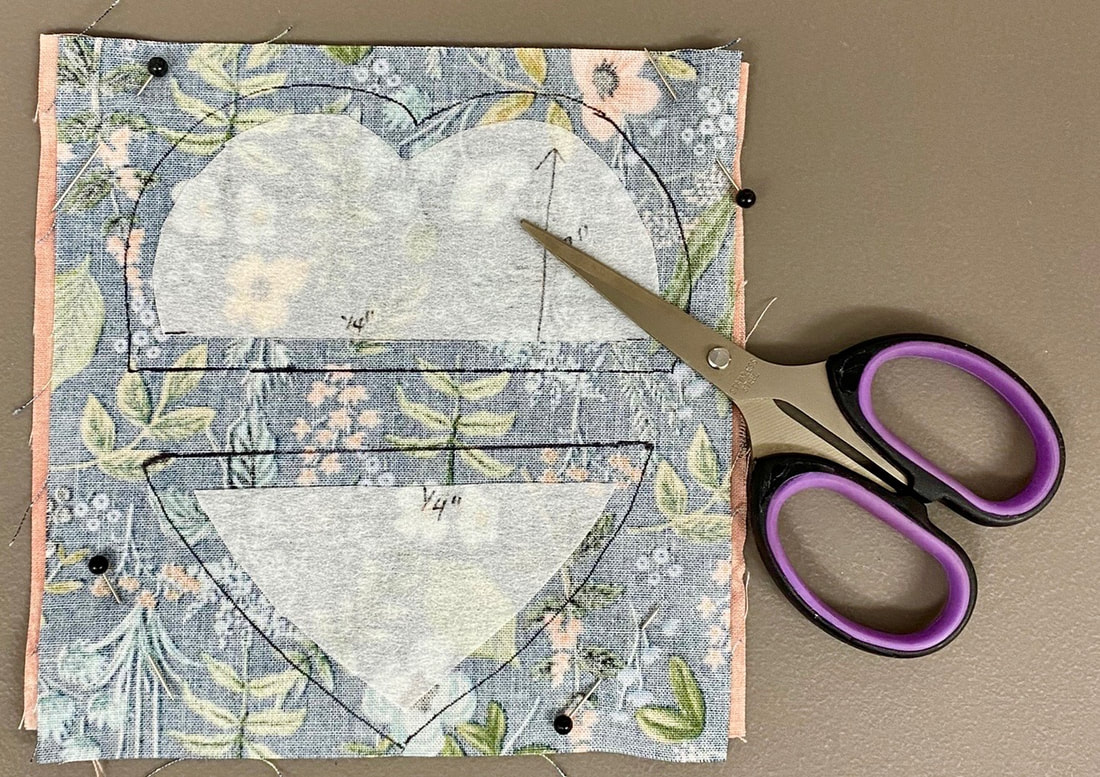
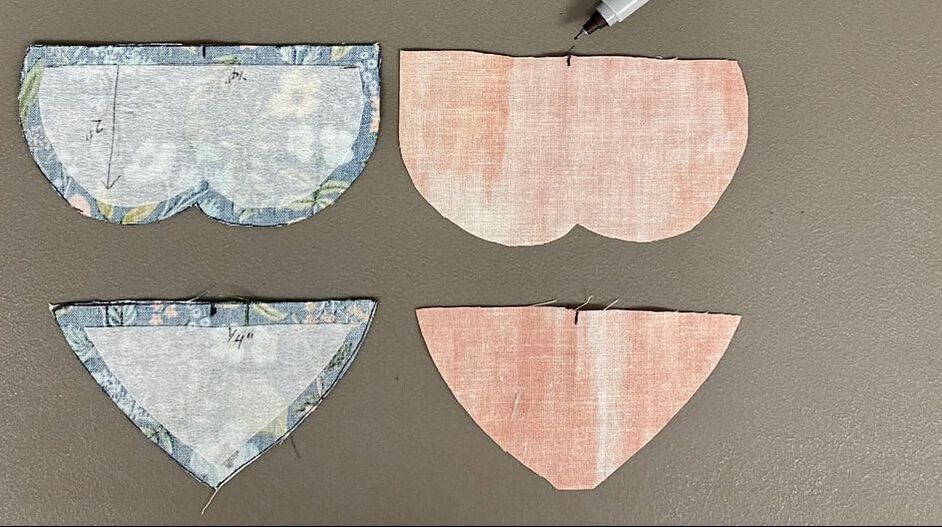
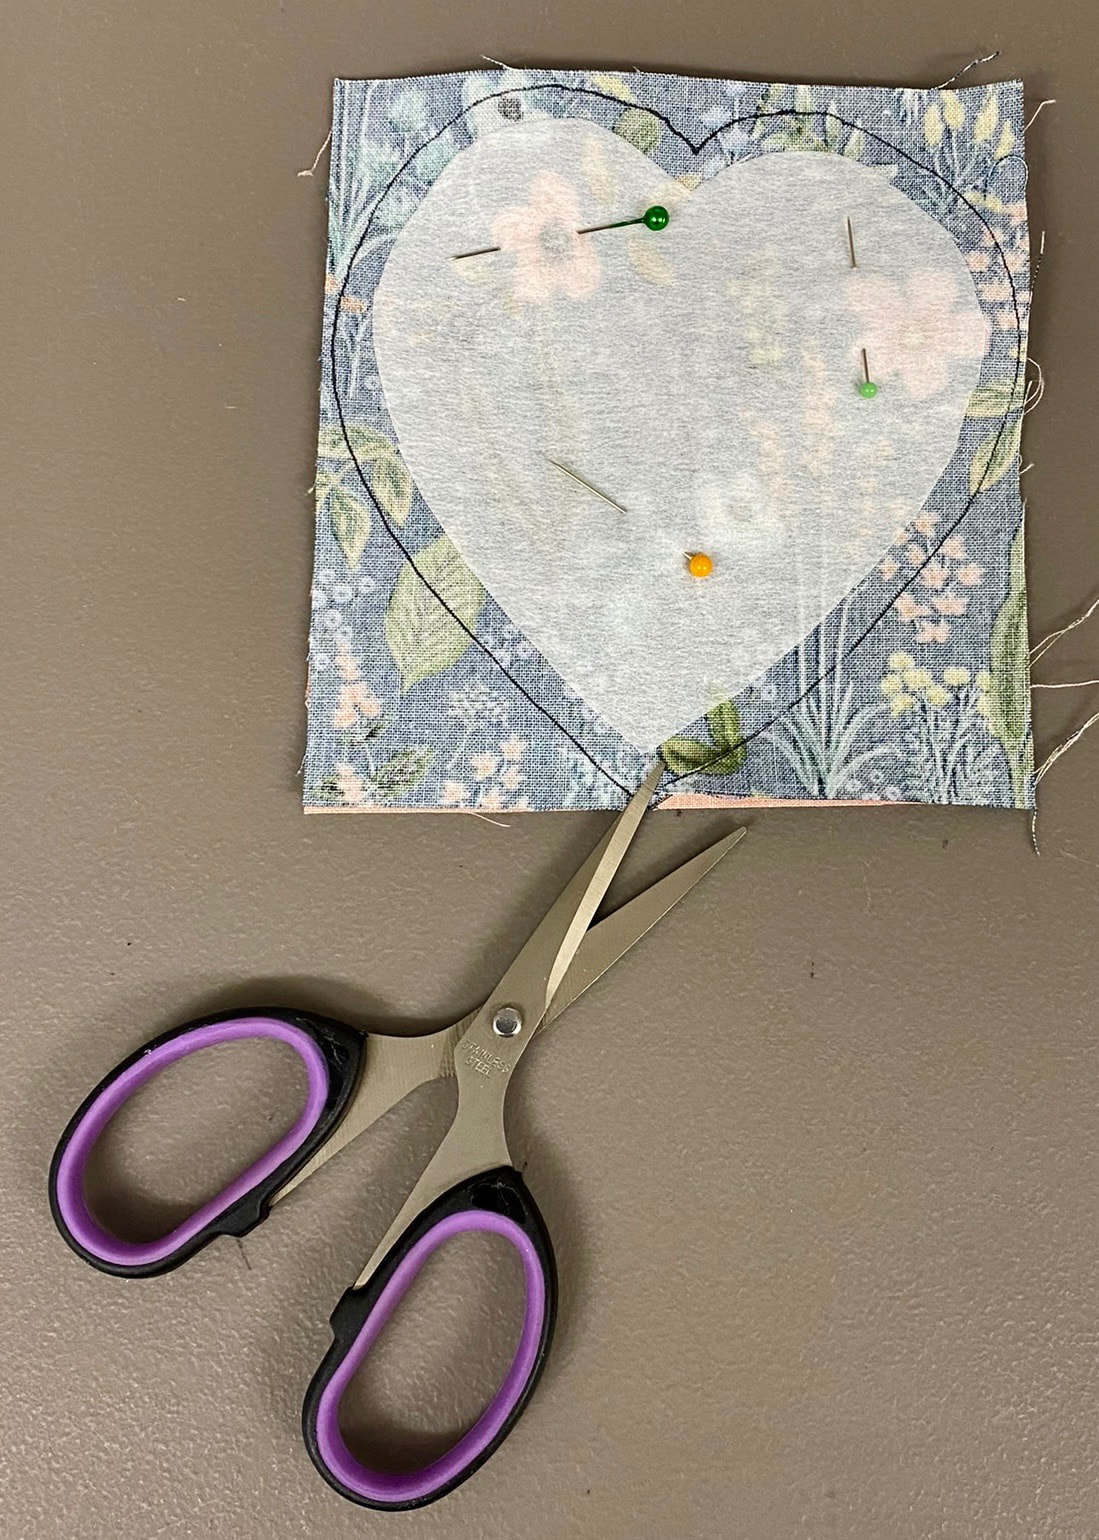
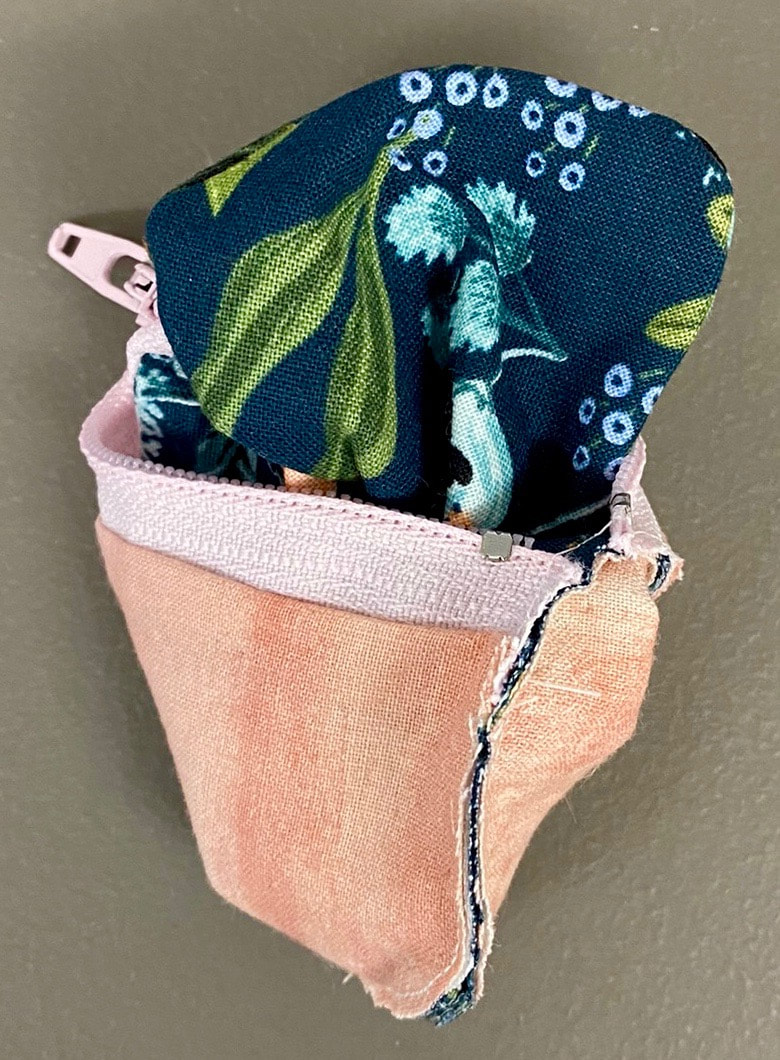
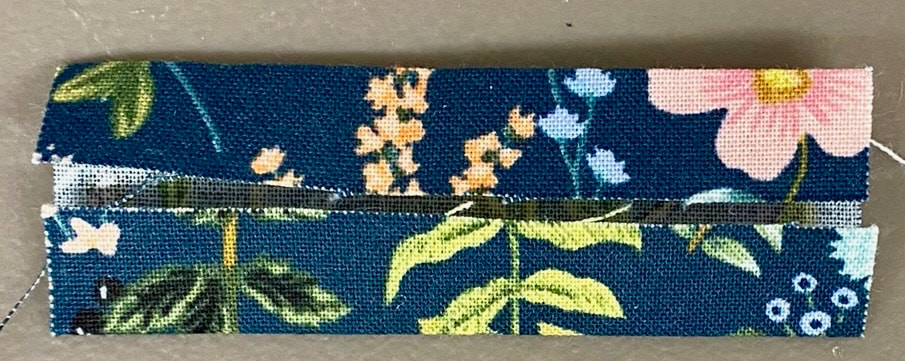
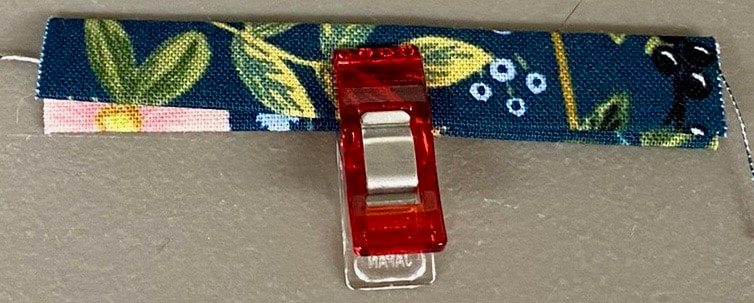
Today is all about fun & sewing with your sewing machine & finishing up the Valentines Ear Bud Pouch. The prep work is behind us! I’m using my Bernina 350 sewing machine, the #37- ¼” foot & the #4 zipper foot. Check out yesterday’s post below if you missed the cutting instructions.
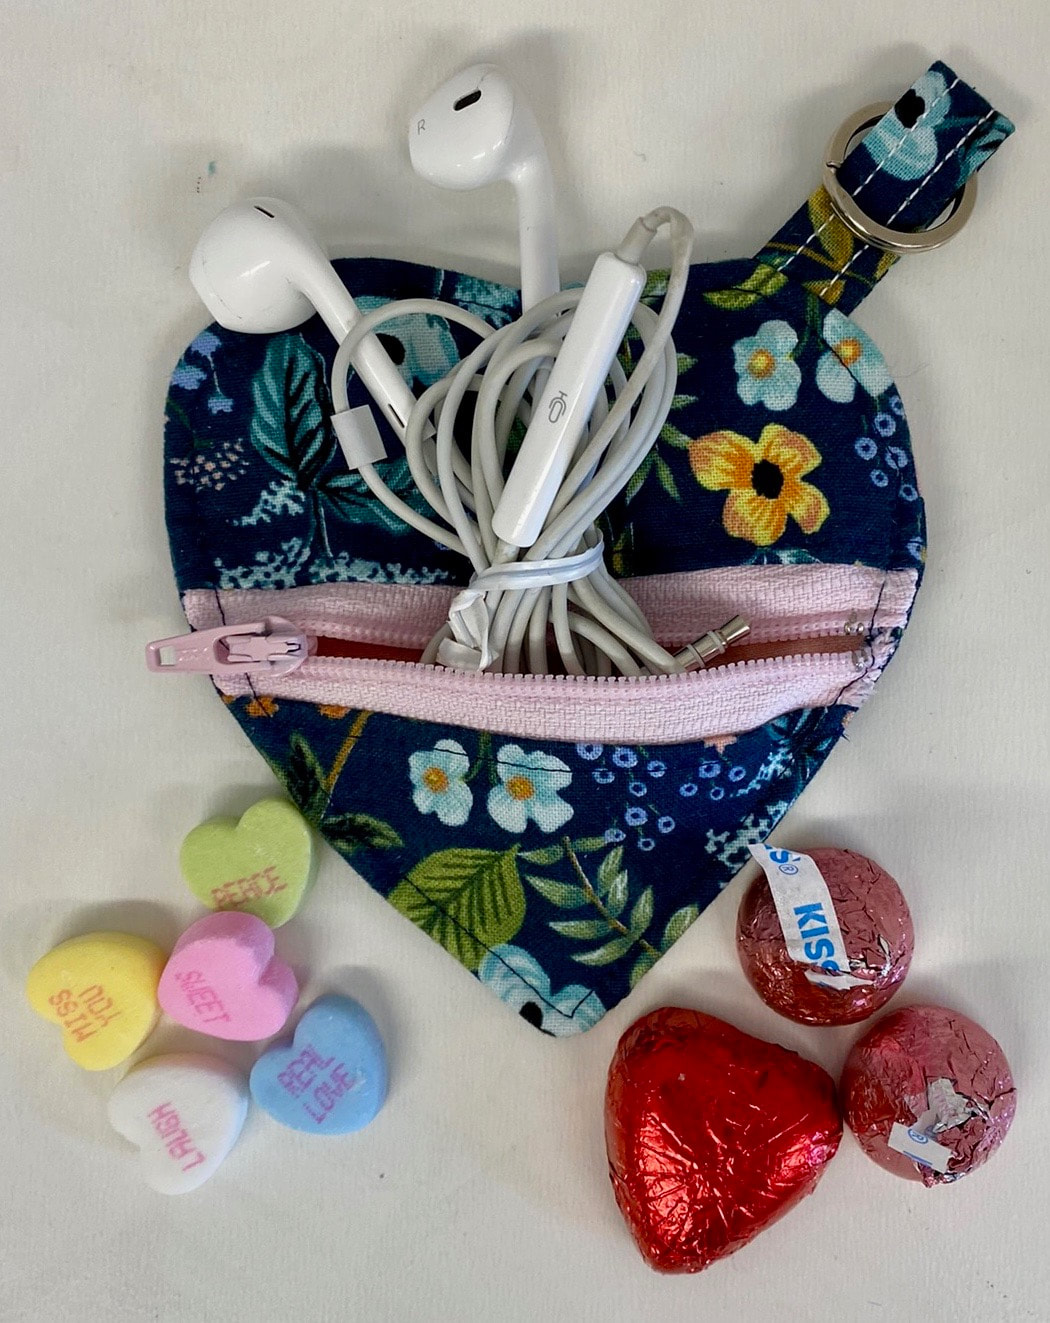
Picture
Sewing
  • Lay the interfacing top & bottom of the heart fusible side down to the wrong side of the 5.5” x 5.25” front pouch fabric, making sure to allow for a ¼” seam allowance to be drawn all around each piece.
  • Pin the other 5.5” x 5.25” lining piece to the front fabric as shown and cut out on the seam allowance lines.
 
  • Fold the top of the heart top pieces in half along the straight edge & mark the centers as shown. Do the same for the bottom pieces.
Picture
  • Fold the zipper in half & notch with scissors as shown on both sides.

Picture
  • Matching notch to marking, pin the zipper right side to right side of top front of heart fabric as shown.
Picture
  • Pin the lining top piece right sides against the wrong side of the zipper, matching the marked fabric & zipper notch as shown.
Picture
  • Insert a zipper foot on your machine and set the needle position as far left to the left as possible.  Sew the zipper to the top pieces using the right edge of the foot as your guide.
Picture
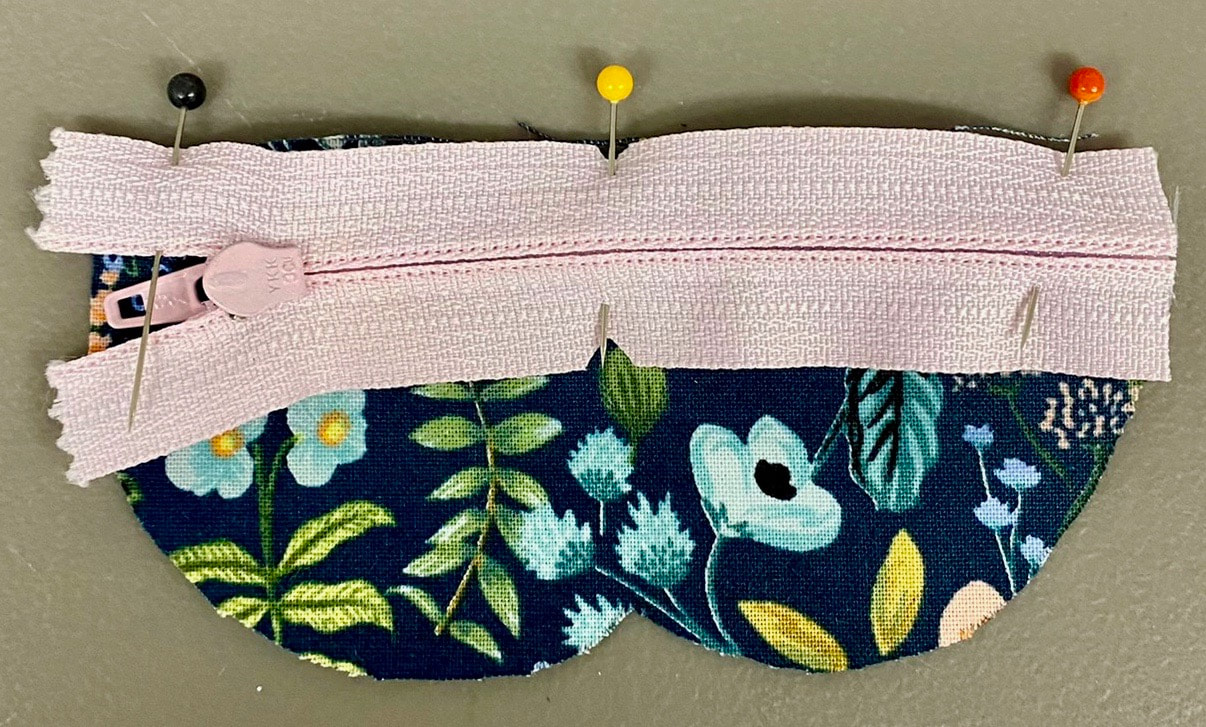
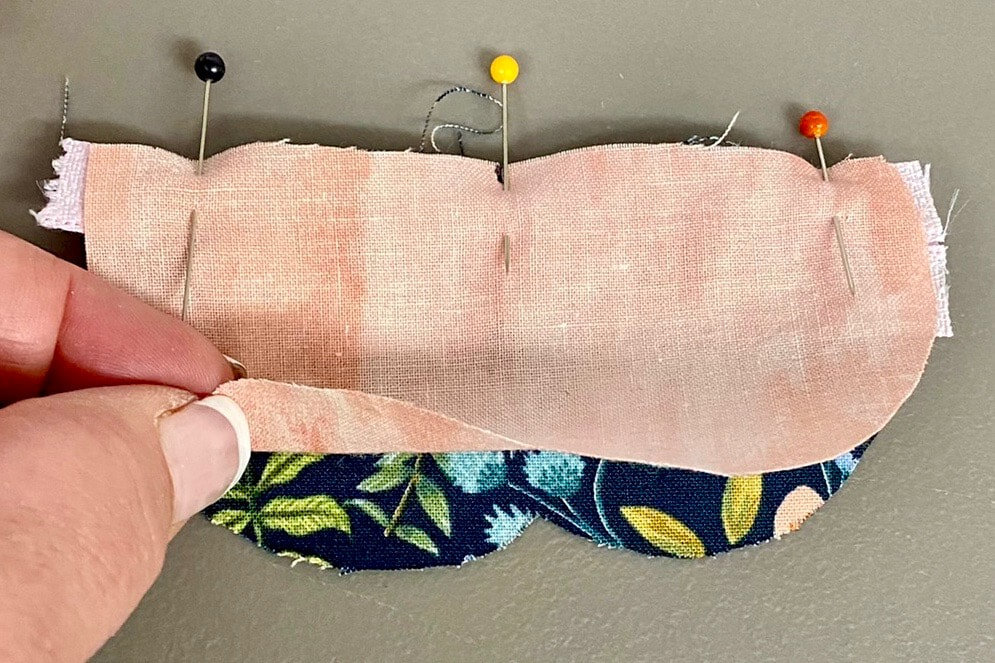
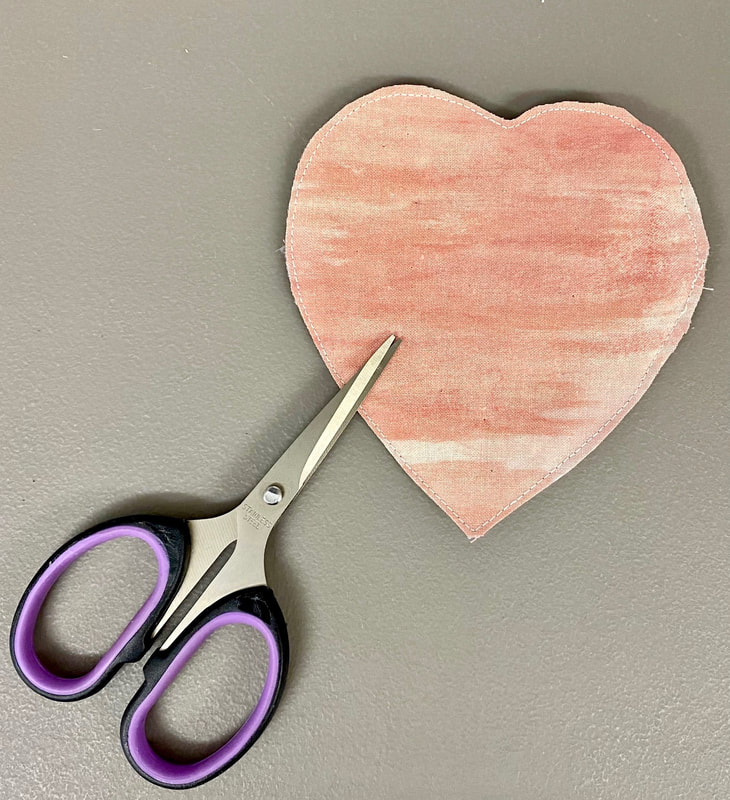
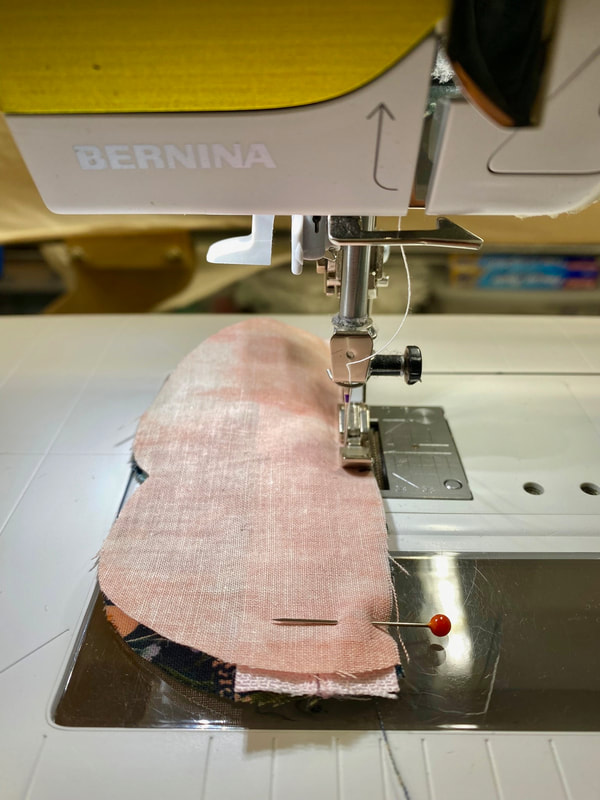
Tip: Remove pins, engage needle down function & move the zipper open as you go, this helps to allow for a straight line of sewing.
  • Press the lining & the top fabric away from the zipper.
Picture
  • Matching the notch & markings, pin the bottom front piece right side down to the right side of the zipper and the lining piece right side down to the wrong side of the zipper as was done with the top.
  • Sew as with the top pieces.
  • Press as with the top pieces.
Picture
  • Trim any excess zipper to make your heart front look uniform. Top stitch the fabric on each side of the zipper, approximately 1/8” on either side of the zipper.
Picture
 
  • Press the fusible side of the other heart interfacing to the wrong side of the 4.5 x 4.25 outside fabric, pin to the same sized lining fabric, draw a ¼” seam allowance & cut it out as with the front pieces.
Picture
  • Place the backing & lining fabric wrong sides together.
Tip: I used a fabric glue stick to adhere them together.
Picture
 
  •  Make the O- ring tab by folding the 3” length of the 2 x3” fabric in half, fold each side into the center & press one more time so that you have a pressed edge & folded edge as shown. Clip; ready to stop stitch 1/8” in from edge on both sides.
  •  Insert the ¼” foot on your machine & place the O-ring on the tab, fold it over and sew it to the upper left corner of the back fabric as shown using a 1/8” seam allowance.
Picture

  • Place the backing fabric right sides down to the zippered front fabric with the zipper opened to the center, right side of lining facing up, pin & sew with a ¼” seam allowance. Make sure your needle position is centered.
Picture
 
  • Trim the seam allowance close to the stitching as shown.
Picture
  • Turn the pouch to the right side through the zipper, poke out & smooth the point & corners, Press & top stitch 1/8” from the edge.
Picture
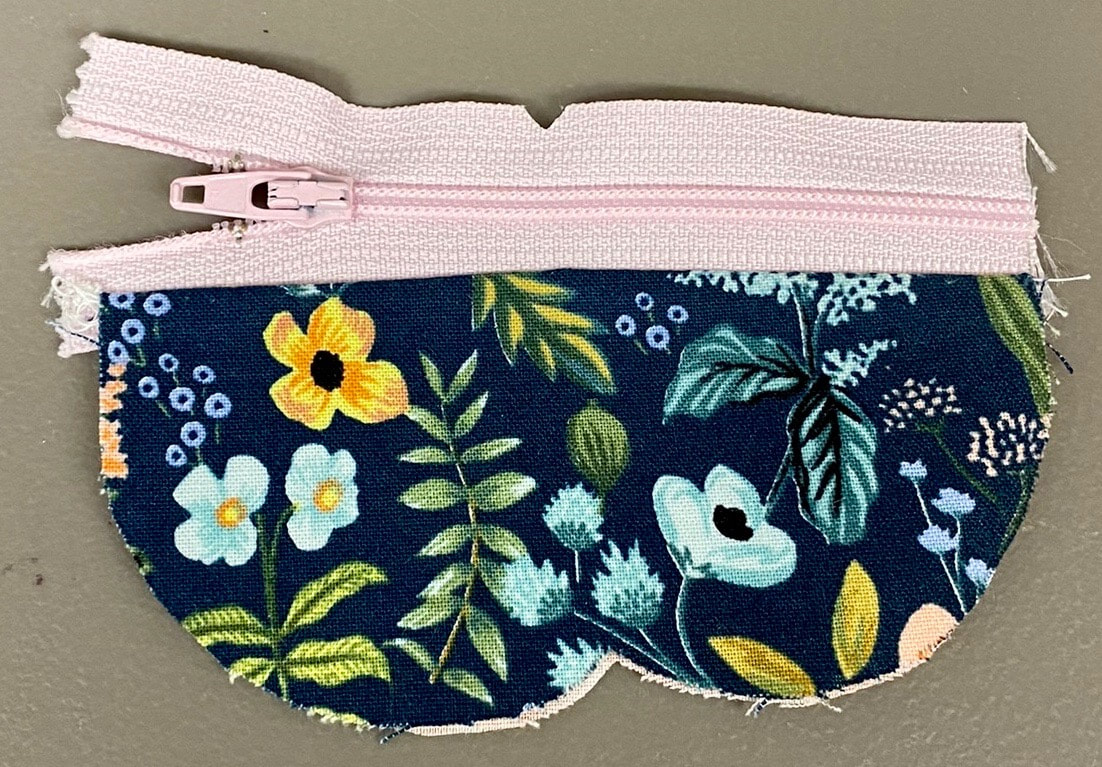
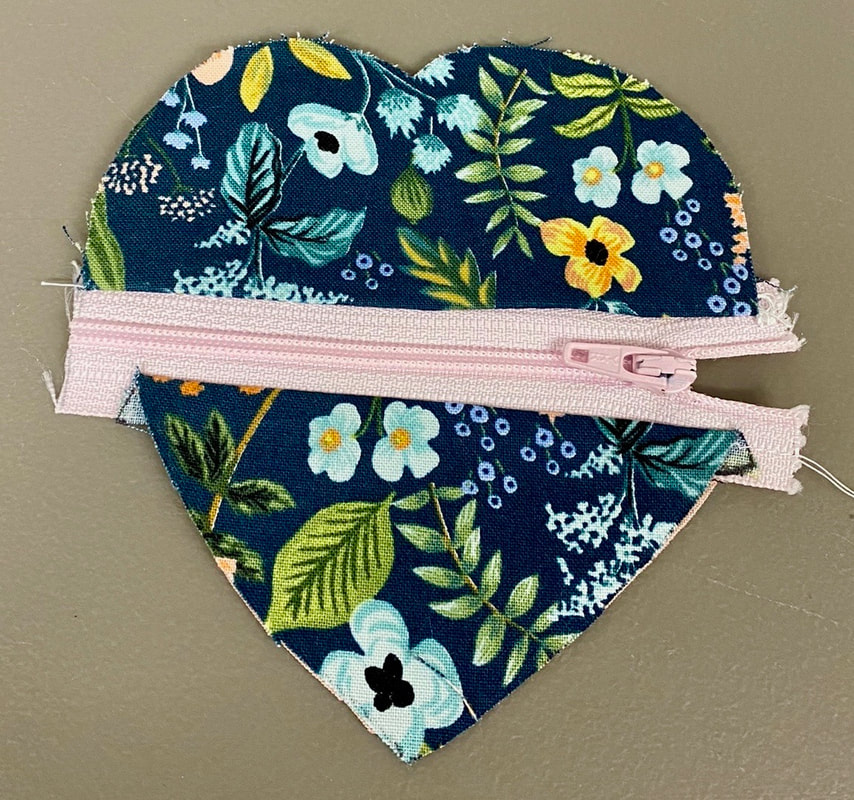
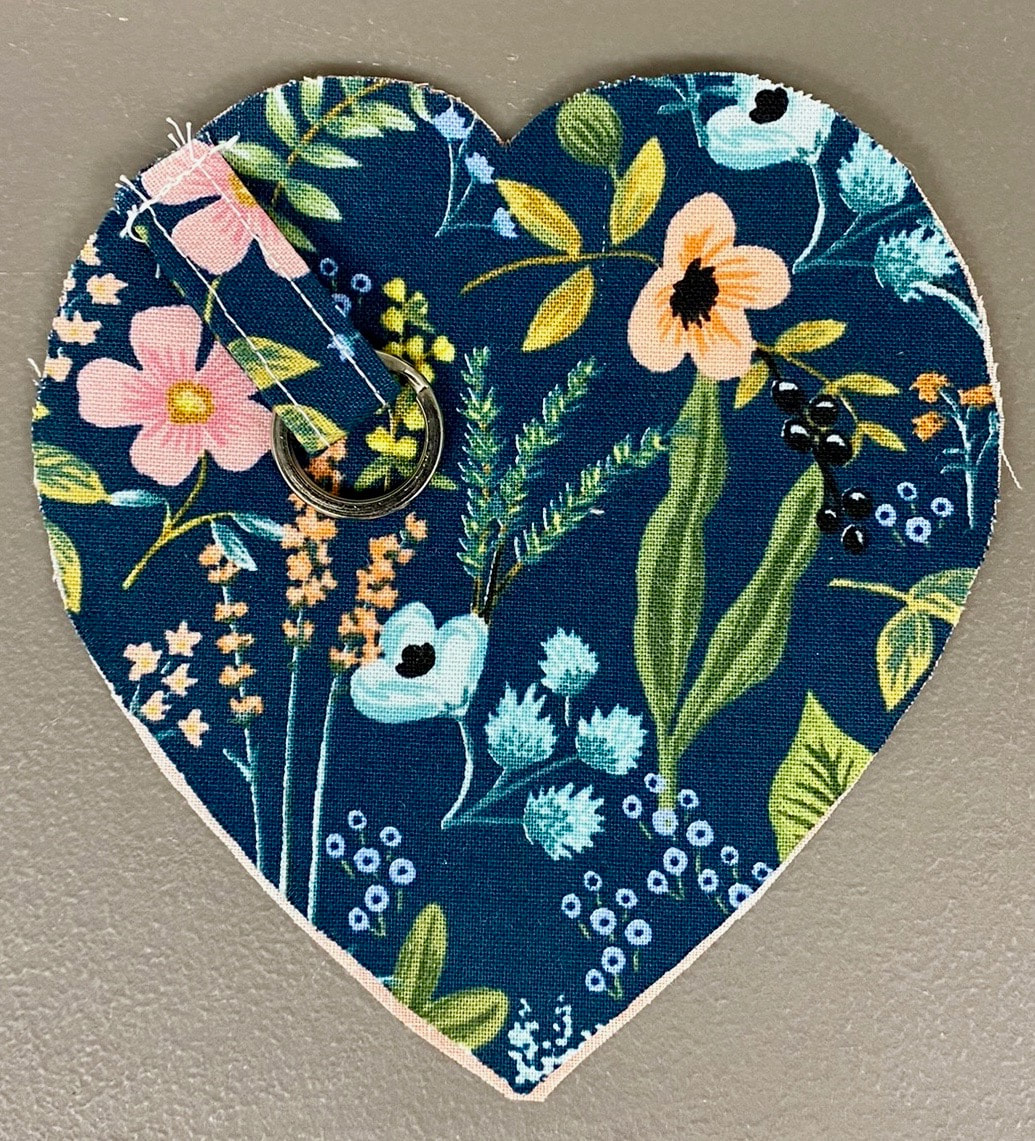
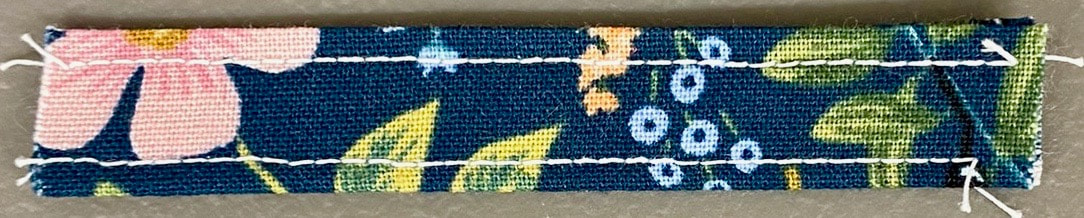
You're almost there!
Picture
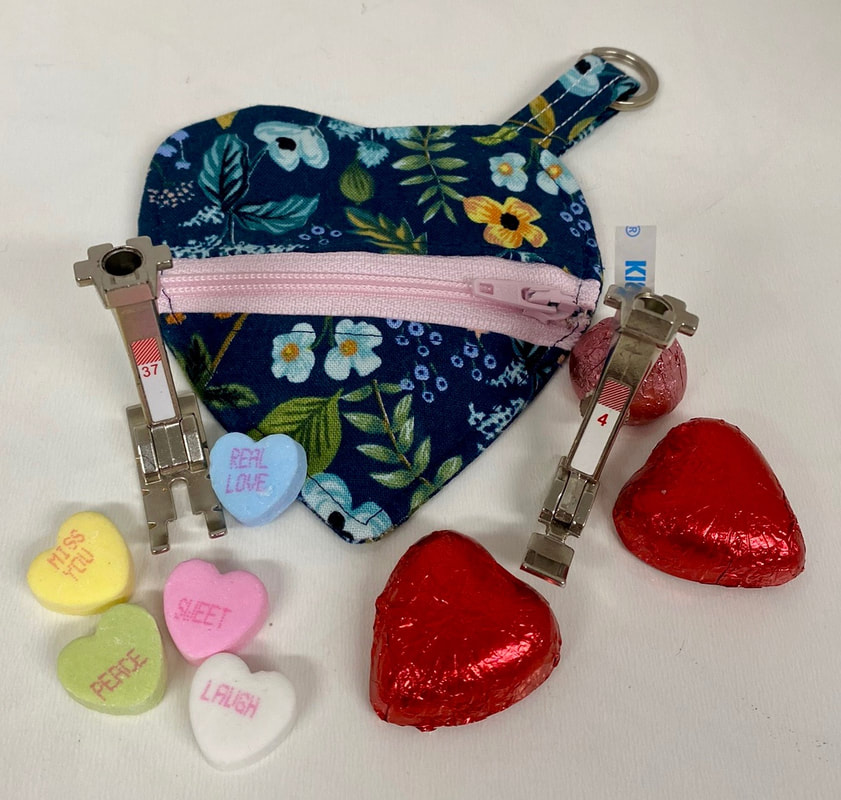
Your Valentines Ear Bud Pouch project is complete. Think about your fabric stash & what colours you have to make a Valentines gift for someone special.
Picture
 
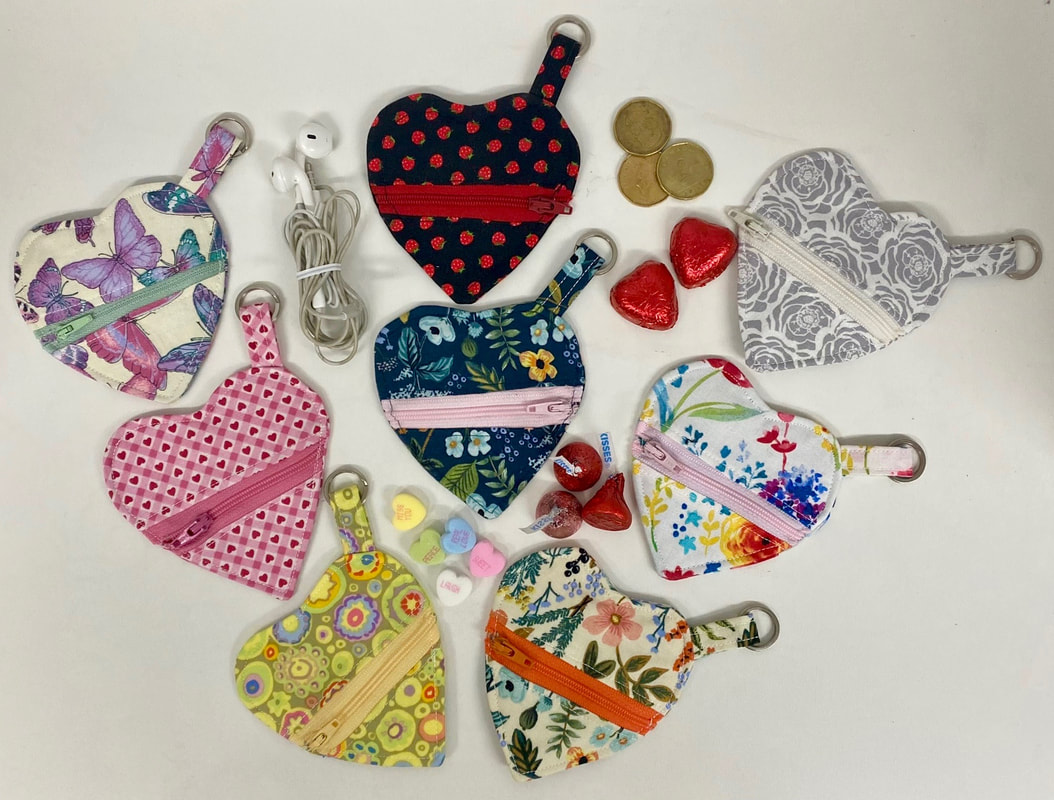
A ¼” foot, zipper foot & a Bernina sewing machine is all you need to make someone’s day. A little chocolate would'nt hurt either!❤️
Wishing you a Happy Valentines Day, I hope someone is sweet to you!
0 Comments


Leave a Reply.

    Follow Me:

    RSS Feed

      Subscribe to receive updates and exclusive content!

    Subscribe to Newsletter
    Picture

    Welcome!

    ​​Hi I'm Robin and I am a professional long arm quilter, pattern designer and teacher.  I am passionate about all thin​gs quilty!

    Picture
    KeepsakeQuilting

         Categories

    All
    About Us
    Baby Gift Ideas
    Baking
    Be Inspired!
    BERNINA
    Classes
    Crochet
    DIY
    Environment Friendly Projects
    Fabric
    Fantastic BOOKS
    Free Patterns
    Give Aways
    Happy-monday
    Hexagon-quilt-along
    Holidays
    Local-events
    Long Arm Quilting
    Monthly-minis
    Organizing
    Patterns
    Publications
    QUILTsocial.com
    Recipes
    Rulerwork
    Ruler Work
    Sale-items
    Scan-n-cut
    Stash-busting
    Teaching
    TGIF Fridays
    The Best Notions
    Tool & Technique Tuesday
    Tutorials
    Wedding DIY
    Wednesday Wonder Blocks
    You Tube

    Picture
    HummingBird Sewing Centre
    Waterloo County Quilters' 
    Elmira Needle Sisters
    Katjas Quilt Shoppe
    Xposures By Melony
    Quilt & Fibre Art Festival 
    hyggeligt.ca , St Marys
    Quilting By Design, New Hamburg
    Twill and Timber.com
    Wild North Kids
    ​​Leah  Day
    Den 'Ve Gems
          Sponsors
    This blog contains affiliate links. This means that we endorse products. 
    We do receive rewards for these endorsements and this helps to keep this site alive and well.
    We support products which we believe are the best quality and to inspire your creativity!
Proudly powered by Weebly
  • Blog
  • About
  • Quilting
  • Shop
  • Teaching
  • Gallery
  • Contact
  • Crochet
  • Sponsorships