|
Brought to you by quiltingintheloft.com
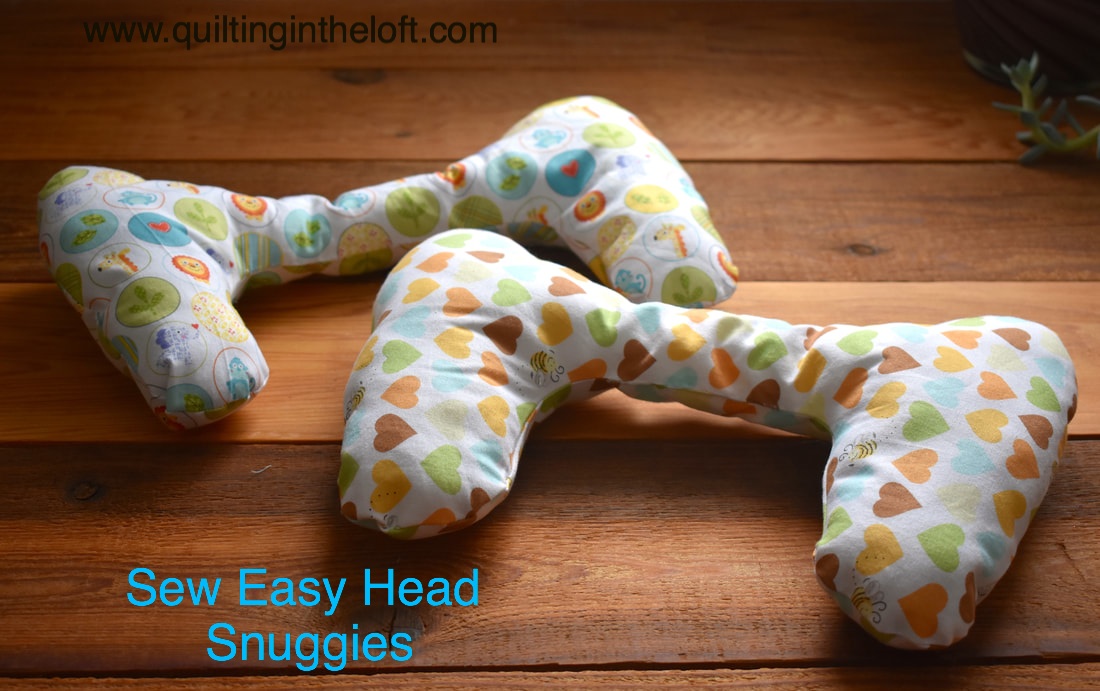 I have to credit this idea to my cousin Tiffany who had one of these infant head supports for her little girl Cora. I have decided that it is to be called a head Snuggie as it snugs up great to support little noggins! See a pic of the lovely Cora below with her Snuggie: 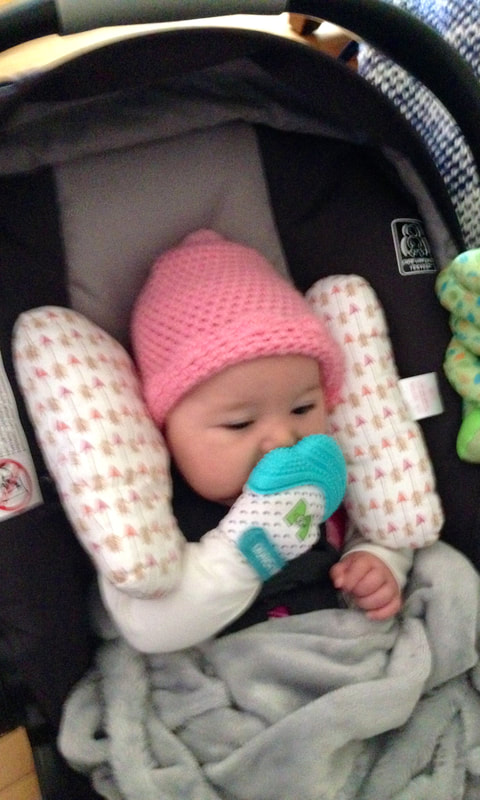 When I took a look at it, I knew that I could make it easily. I am pleased to report that this snuggie was a hit as a gift for my grandson! It works also as a head support while changing baby, as well as in the car seat. I chose gender neutral prints as we did not know until my grandchild arrived that he was a boy. My daughter and her husband wanted to wait on the gender reveal and it made a wonderful surprise. The below picture shows the head snuggie lined up on the changing table with a serged and environmentally friendly bottom wipe, See that blog post here. We are ready to change baby below: 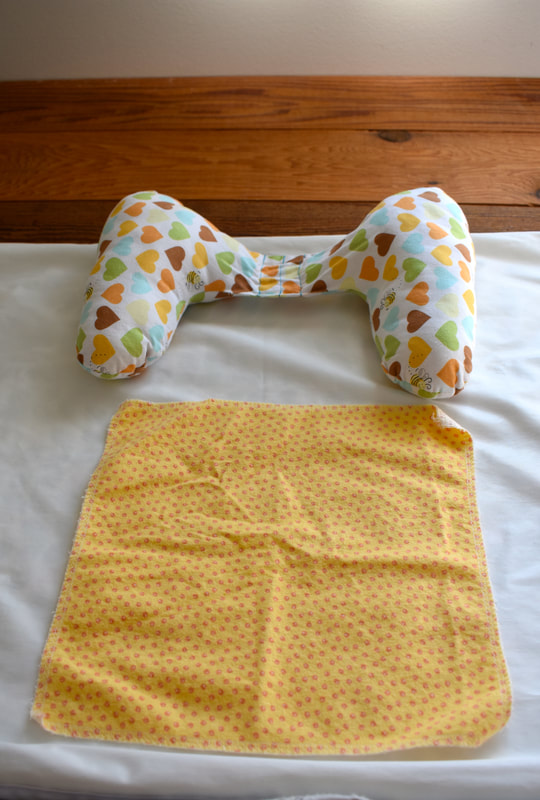 As you can see there was a design modification for the head snuggie that took place in BC while I was out visiting. The light stuffing in the centre was removed and a triple line of stitching was added to allow for babies neck contour. The snuggies look like butterflies and they are very effective at supporting babies head. See picture of my adorable grandson Eli with his head snuggie below: 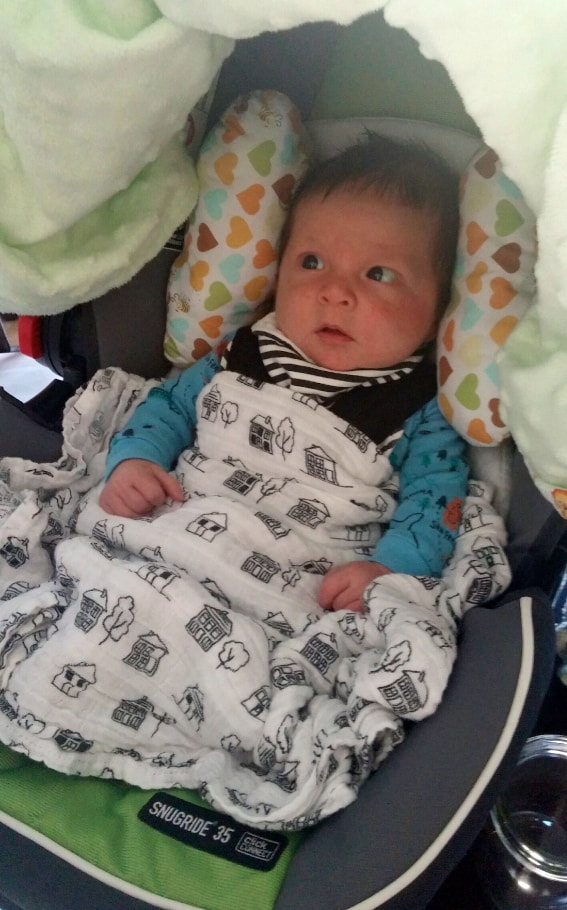 How to Make the Head Snuggie What you will need:
Free Pattern Download Here A piece of cotton fabric (cotton breathes) (pre-washed so it will not shrink too much when it is washed) Fiber fill stuffing Thread to match A sewing machine Normal sewing notions Hand sewing needle How to make your head snuggie: Download the Free Pattern Here Using the pattern, Cut 2 from fabric Sew right sides together leaving a 3" gap on one side of the neck area to turn to the right side Clip curves Turn snuggie to the right side Stuff moderately dense with fiber fill on the "wing" ends only, leaving the centre neck area free of stuffing, Sew the gap in the neck area closed by hand with a slip stitch Sew 3 top stitch lines of sewing in the neck area about 1/2" apart, see above picture. And you are done. 20 minutes of work and several months of use. A win, win! I hope you enjoyed this tutorial and will try your hand at making this very easy gift! Happy Wednesday!😊
1 Comment
Andrea Baeza
3/18/2024 02:13:26 pm
When printing the pattern, it appears to be much smaller than the finished project in the pictures in the blog. What are the finished dimensions of the snuggie? Leave a Reply. |
Follow Me:
Welcome!Hi I'm Robin and I am a professional long arm quilter, pattern designer and teacher. I am passionate about all things quilty!  

Categories
All

Sponsors
This blog contains affiliate links. This means that we endorse products.
We do receive rewards for these endorsements and this helps to keep this site alive and well. We support products which we believe are the best quality and to inspire your creativity! |
 RSS Feed
