|
Brought to you by quiltingintheloft.com

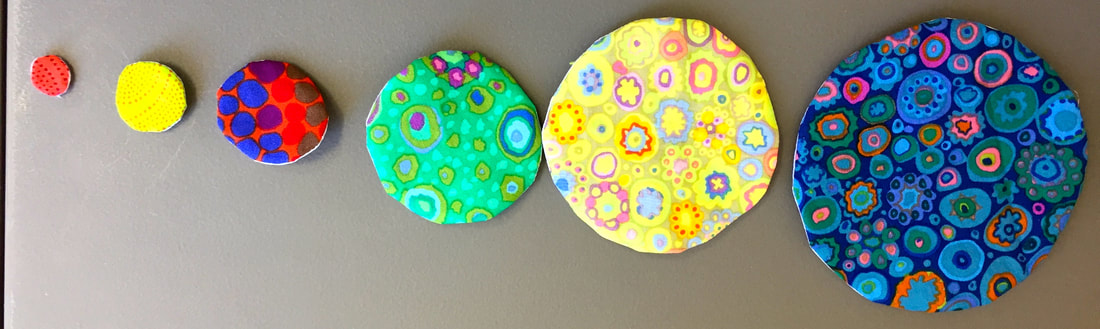
The above mini quilt/mug rug was part of a demo on Saturday at Hummingbird Sewing in Barrie, where I talked about the how to and the tools to make easy modern circles. I really love modern quilts with circles and consider the above mini quilt a precursor to circle quilts that I hope to make in the future.
Check here for an article in the Craftsy blog "5 Circle Patterns to Try" for even more inspiration 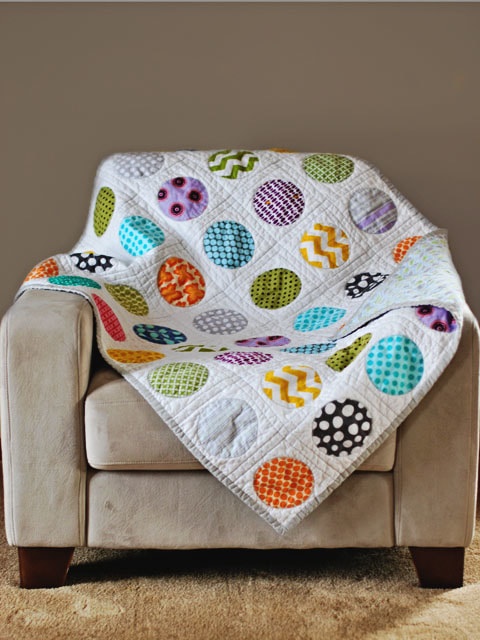
Photo courtesy of Craftsy Blog post 5 Circle Patterns to Try
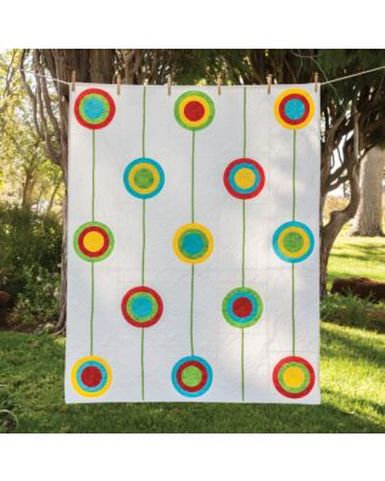 Go! Retro Circles Quilt Pattern from AccuQuilt Go! Retro Circles Quilt Pattern from AccuQuilt
Also have a look at this Free Pattern Download for GO! Retro Circles Quilt Pattern at AccuQuilt. Also another easy way to cut out circles. Click on the image to visit this site and download it for free! 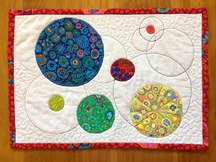
Tutorial
Modern circles for an adorable mug rug or mini quilt
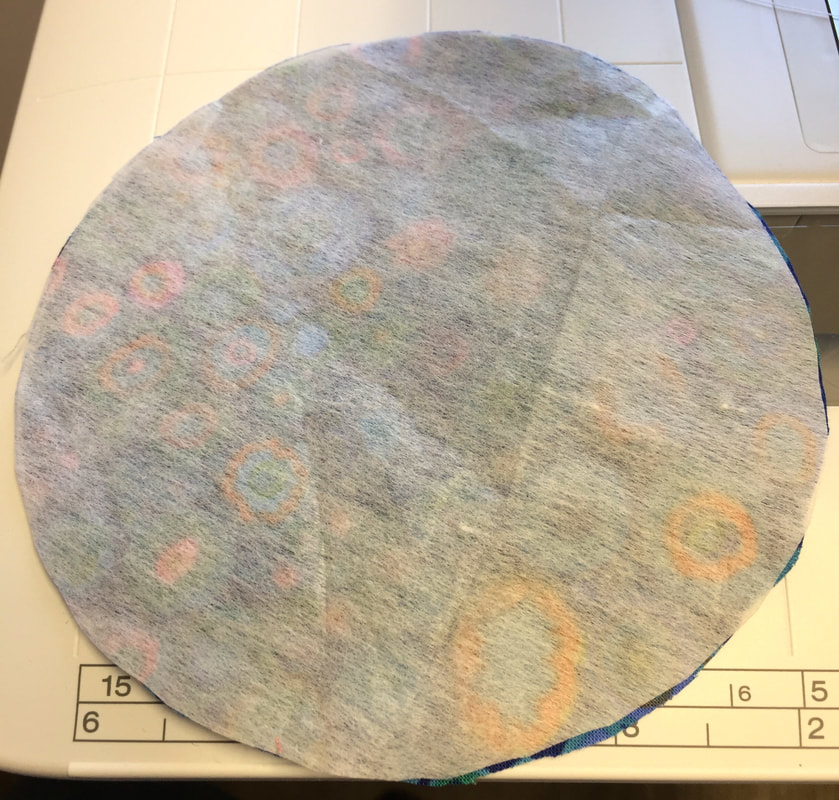
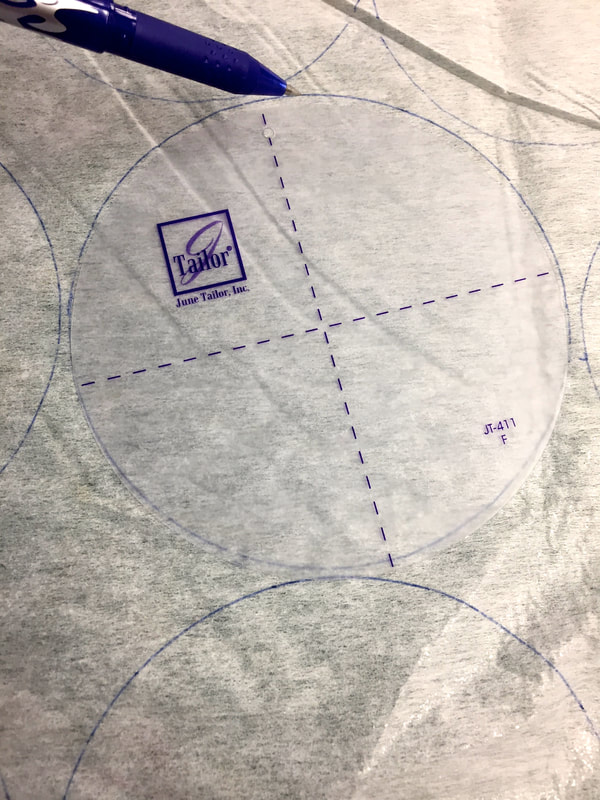
1. Draw circles with June Tailor Circle templates. See below:
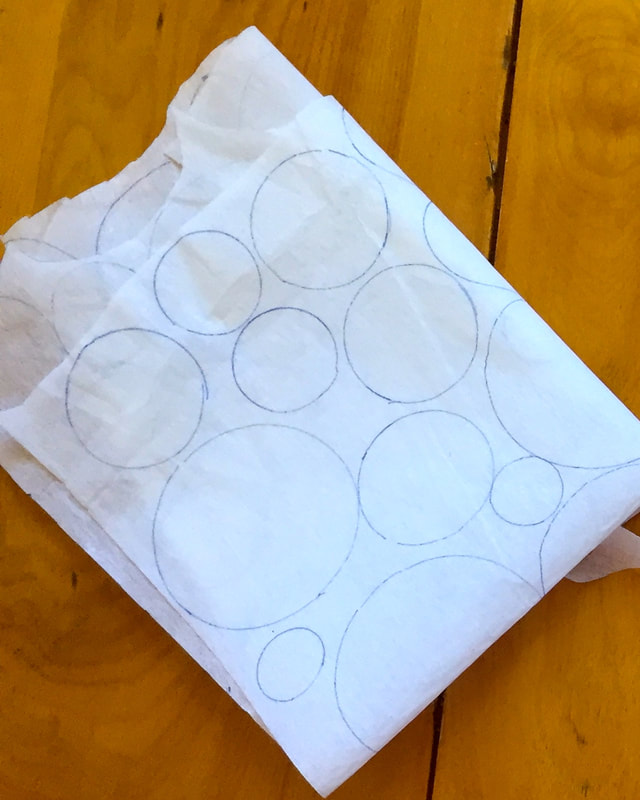
Draw these circles out on the non fusible side of light weight fusible web with a pen or pencil.
I use Pellon Fusible, the sheer weight fusible one that can also be used for shirt collars below:
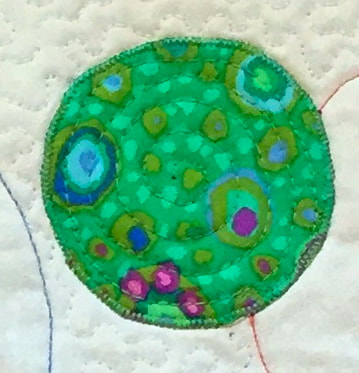
See a close up of my "Swiss Cheese" drawing of circles below:
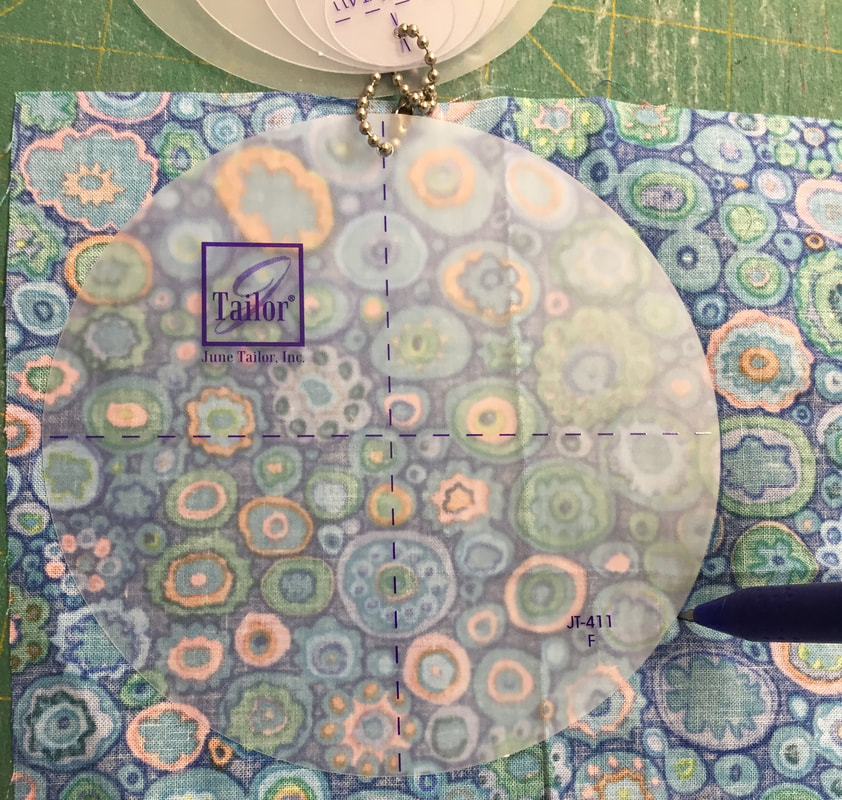
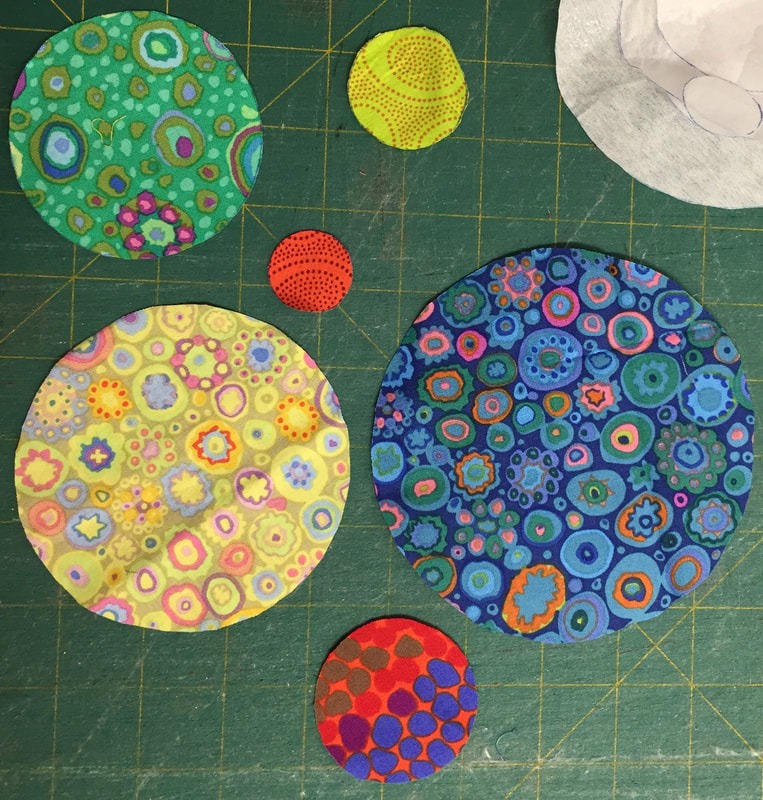
2. Use the circle templates again to trace and cut out fabric circles.
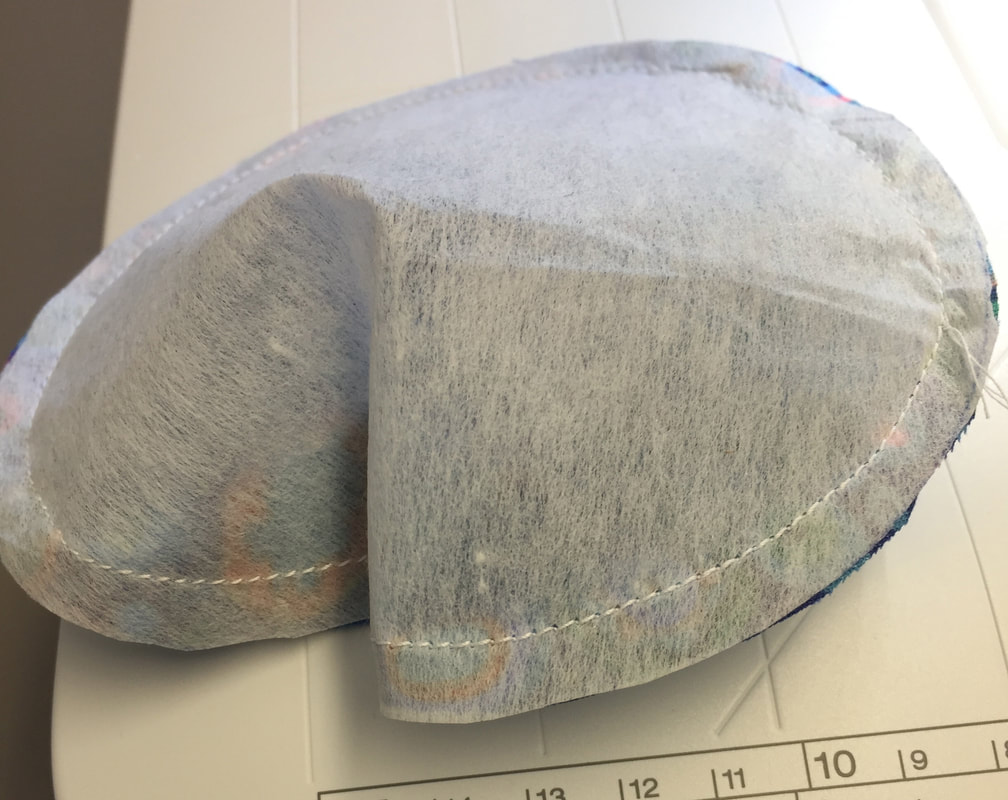
3. Lay your fabric circle right side together with the fusible side of your Pellon Interfacing (it will have a shiny, fusible side). See below (matte side is facing out):
4. Sew 1/4" from the edge all the way around (do not leave a gap for turning)

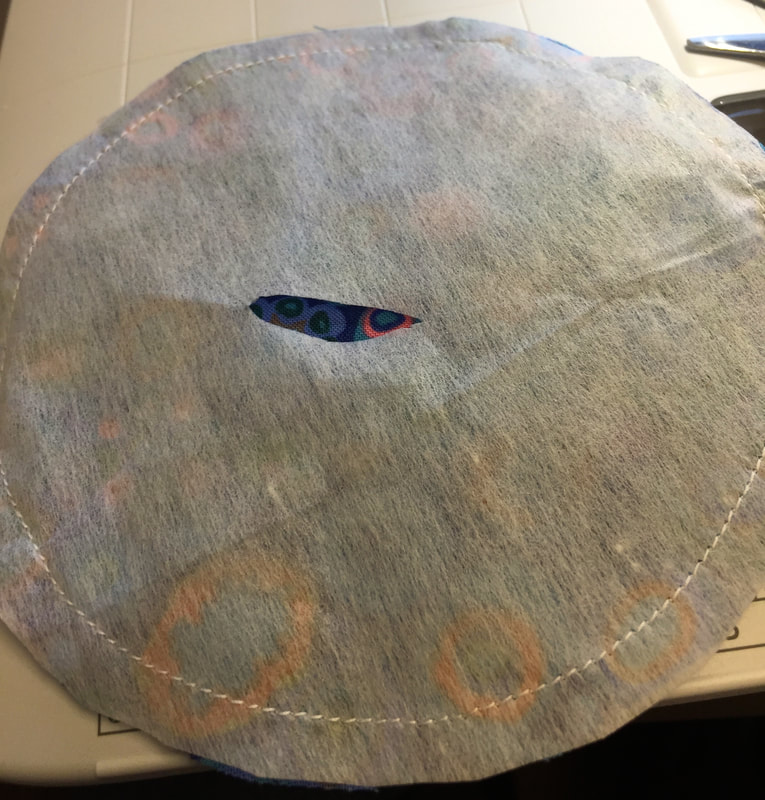
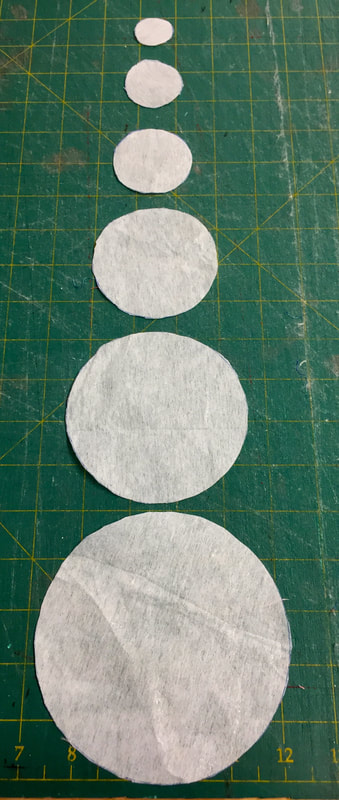
5. Pull the interfacing away from the fabric as shown below (it will look somewhat like a fortune cookie).
6. Cut a slit with scissors in the top centre of the interfacing only about 1.5", be careful not to cut fabric.
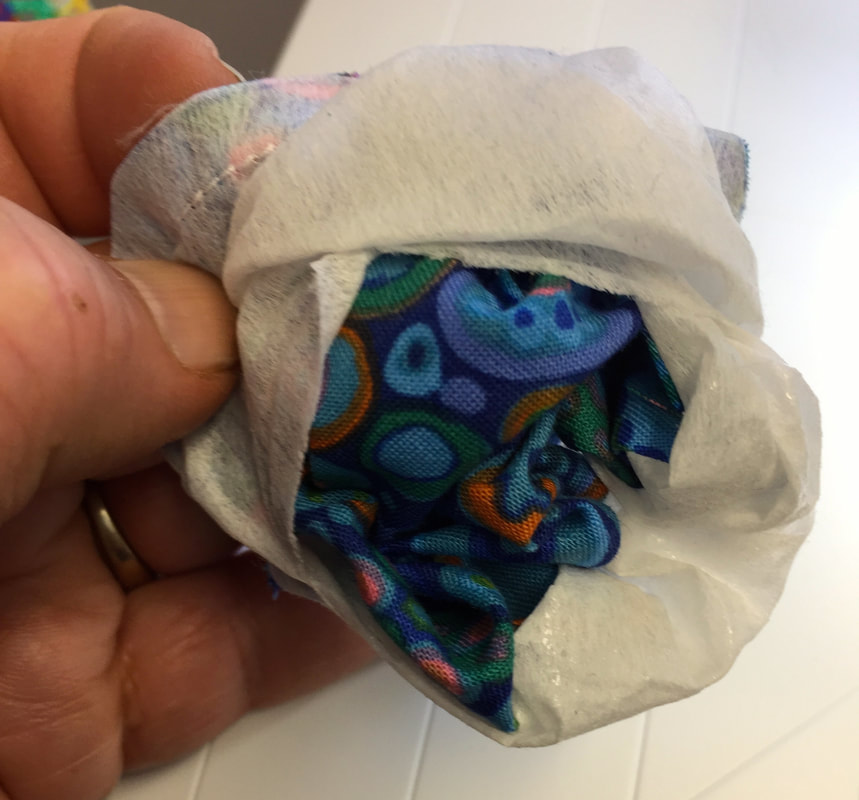
7. Turn your circle to the right side gently through the hole you just created.
8. Use a turning tool or Purple Thang (recommended) to smooth out seams, be gentle so that you don't rip through the interfacing. Once you have a nice looking smooth and flat circle set it aside and make more, DO NOT PRESS!
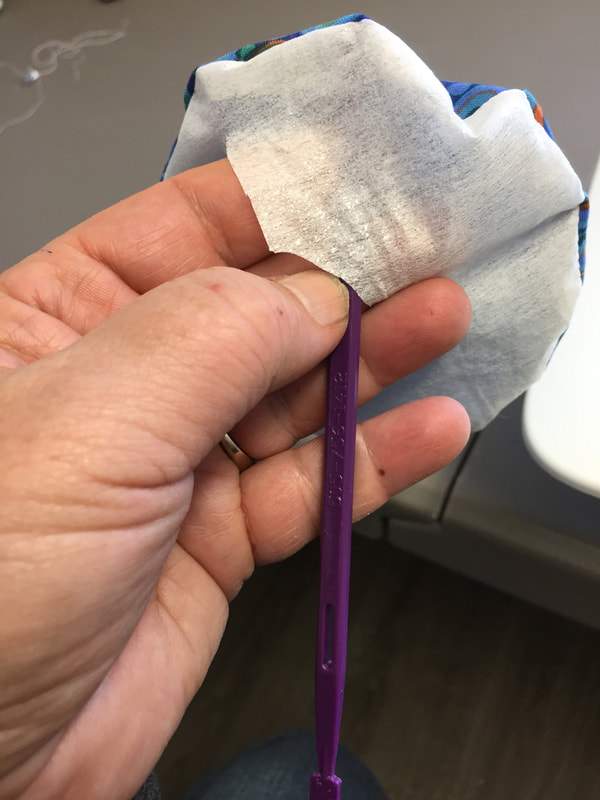
See where to get this awesome tool, that I use all the time below:
It's also a 1/4" measuring tool, bodkin, stiletto and turning tool! So handy in my sewing studio!!
9. Lay out your many circles and audition them on your background, press them down to the background once you are satisfied with the arrangement. Do not use steam but use a hot cotton setting. Press also on the wrong side of the background to insure the fuse is working.
10. Applique your circles to your background using monofilament thread and a zigzag, matching coloured thread and a blanket stitch or appliqué method of your choice. You will also want to stabilize your background while appliquéing. I used white freezer paper ironed shiny side down to the back of my project and tore it away after my appliquéing was completed. See my blanket stitch (very close together) and coloured thread below:
11. Mark circles for quilting on your background with your circle templates and a wash out marker and sandwich your quilt.
12. Quilt (free motion) your marked circles ( I used many thread colours) and meander around the circles, Quilt the circle appliqués as desired. See below for inspiration only! Try your hand at your own method and imagination!! 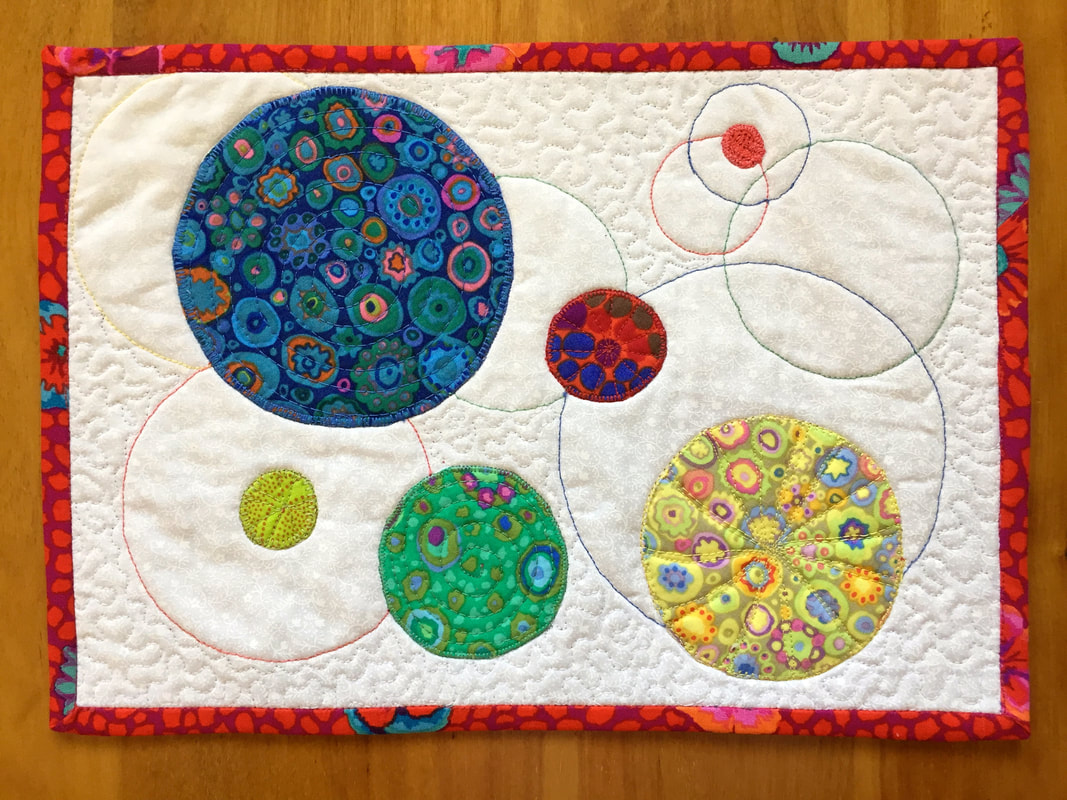
I hope you try your hand at this method and send us photos of your quilt project to share with our readers!
Happy Thursday! ?
0 Comments
Leave a Reply. |
Follow Me:
Welcome!Hi I'm Robin and I am a professional long arm quilter, pattern designer and teacher. I am passionate about all things quilty!  

Categories
All

Sponsors
This blog contains affiliate links. This means that we endorse products.
We do receive rewards for these endorsements and this helps to keep this site alive and well. We support products which we believe are the best quality and to inspire your creativity! |
 RSS Feed
