|
Brought to you by quiltingintheloft.com
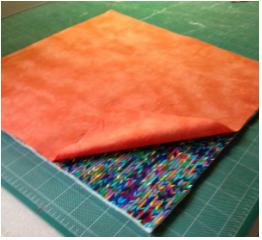
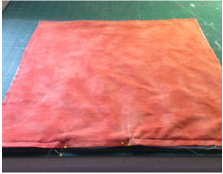
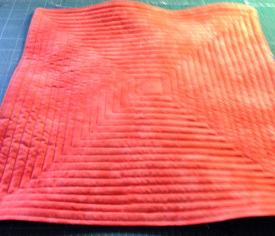
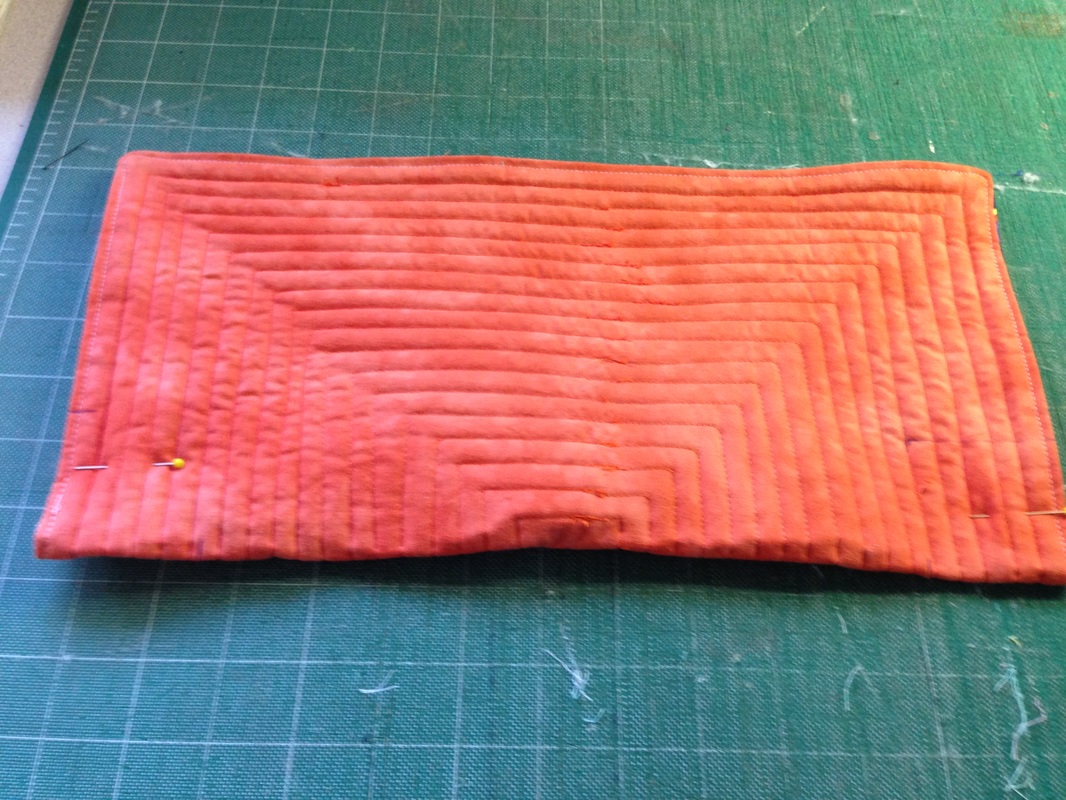
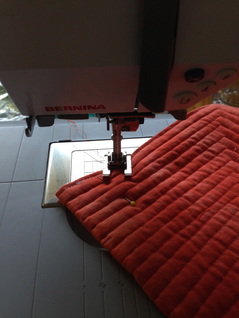
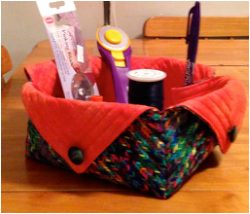
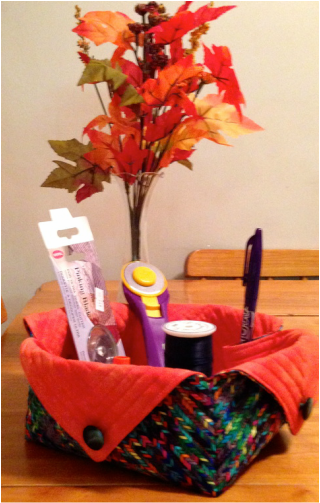 Made from 2- 15" squares of fabric and one piece of batting Ok today's Wednesday Wonder is not a block but it is made with squares of fabric :) Some of you may have made this cute little fabric basket already, but I have not made it yet and recently came across a way to make it and so I thought I would share the method. You can store your sewing supplies, craft supplies, nail polish, pretty soaps, halloween treats or give it to someone as a gift filled with Christmas goodies. It can be made in any size you like and I have already decided that I want to make more of them for sure! Step 1- Determine what fabric you would like for the lining and for the outside, cut lining and outside into a square 10", 12", etc as you like (a rectangle will not work). Cut 2 squares- 1 of lining and one of outside. Cut the same for batting Step 2- Lay the outside fabric right side up on the batting and iron it, lay your lining fabric right side down to the outside fabric- see pics below Step 3- Pin a 3" gap on one side and sew 1/4" all the way around the square, leaving the gap open and clip corners just up to the stitching Step 4- Turn to the right side and poke out corners, press and slip stitch the gap. Step 5- Quilt the quilt sandwich as desired, I quilted mine echoing the outside edges using a walking foot around and around until the square sandwich was filed with echo stitching
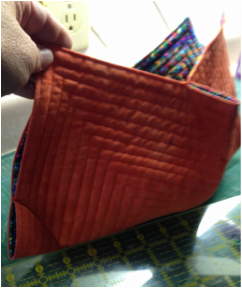
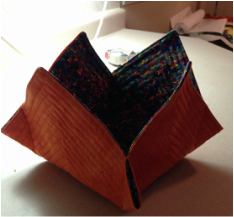
Step 6- Fold your square in half with your lining showing on the outside, in the folded corners draw a mark 2" vertically from the fold along the sewn edge on each side and 2"inches horizontally from the sewn edge onto the fold. Use a frixion or erasable marking pen- draw a line from the 2" vertical line and the 2" horizontal line on an angle and sew from the finished edge on this line towards the folded edge. See below:
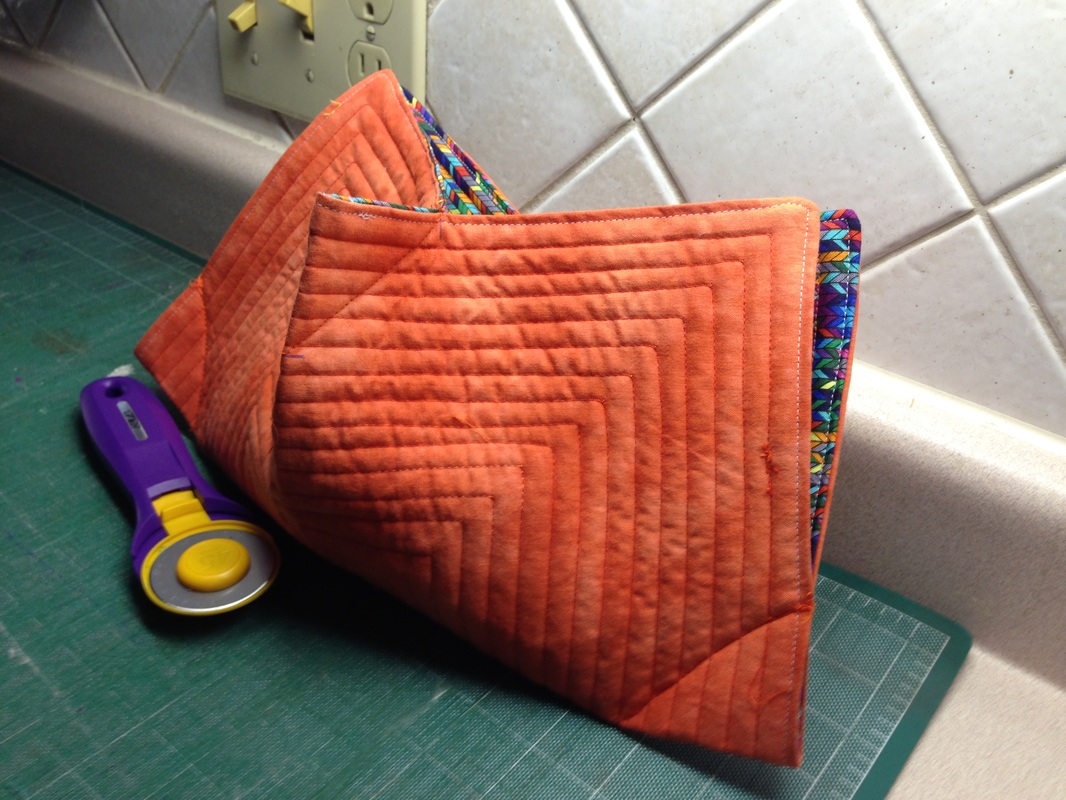
Step 7-Do you remember those origami boxes we made in school with little phrases on them? This project now reminds me of this. Now grab the top centers of your rectangle and pulling toward you fold a rectangle again, measure the same and mark and sew as you did in step 6- refer carefully to my pictures below
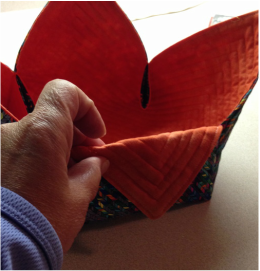
Step 8- Turn your project to the right side and poke corners gently, you will notice the corners are open on the inside and you can either slip stitch these closed and against the lining or keep them open for pens, rotary cutter etc. Step 9- Turn your inside corners out to the outside fabric and sew a button on the point to make flaps, fill it with all your "stuff" and enjoy!- refer to picture
I hope you enjoyed this tutorial, like us on Facebook, follows us on Twitter and Instagram and we would love to hear your comments. If you make one, send your photo to [email protected], I will be happy to share your efforts with our readers.
0 Comments
Leave a Reply. |
Follow Me:
Welcome!Hi I'm Robin and I am a professional long arm quilter, pattern designer and teacher. I am passionate about all things quilty!  

Categories
All

Sponsors
This blog contains affiliate links. This means that we endorse products.
We do receive rewards for these endorsements and this helps to keep this site alive and well. We support products which we believe are the best quality and to inspire your creativity! |

 RSS Feed
